
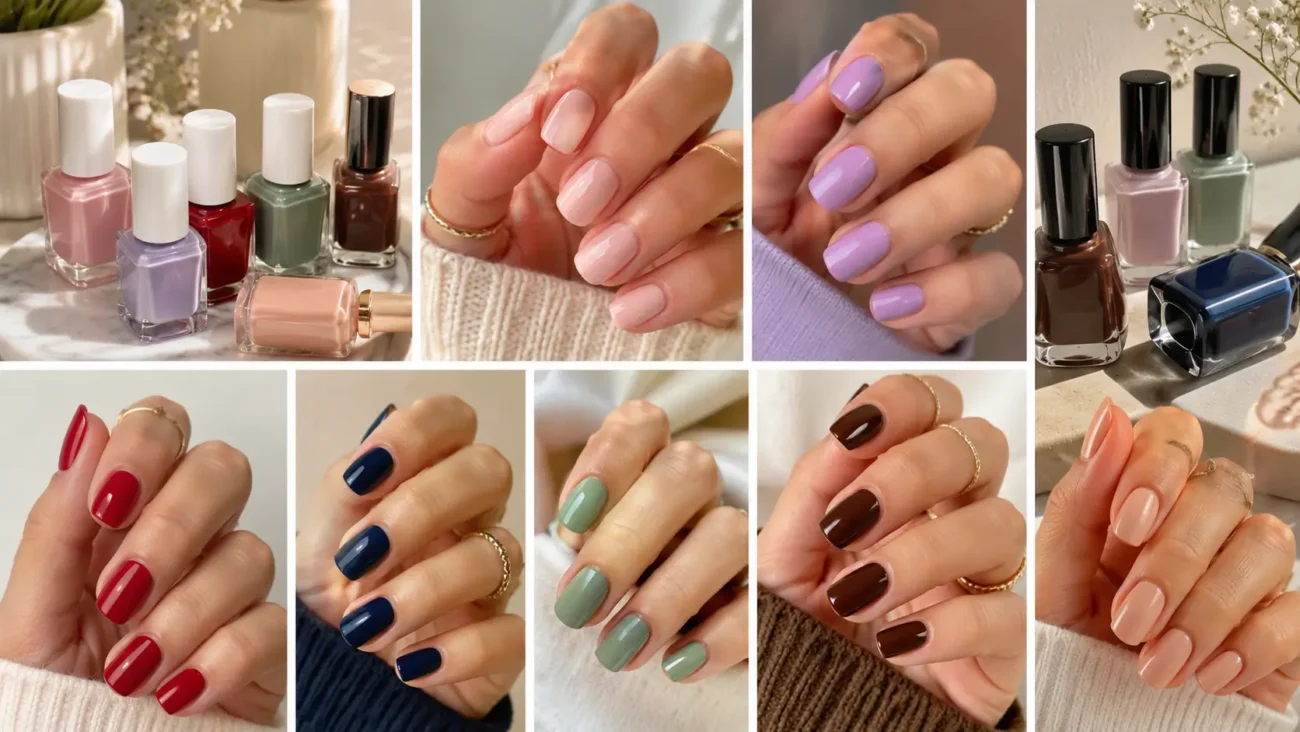
Nail polish can change the mood of your hands with one thoughtful shade, yet the most memorable manicures usually depend on more than simply choosing a color from the bottle. Finish, transparency, undertone, nail length, and the way a shade responds to light can completely alter the final result.
A soft tint may look clean and natural in one coat, then become richer and more expressive after a second layer. A muted cream can feel relaxed with a satin surface, while the same color becomes more polished beneath a glossy top coat. The ideas below focus on six distinct nail polish directions that feel modern, wearable, and visually strong without relying on complicated nail art.
Each concept can be adjusted for short, oval, almond, square, or longer shapes, allowing the polish itself to become the main design feature. Whether you prefer barely visible color, noticeable depth, shifting pearl, or an unusual textured finish, these ideas offer different ways to make a manicure feel connected to your clothing, accessories, and personal style.
Rosewater Veil Nail Polish
Rosewater veil nail polish gives the nails a clean wash of pink that looks soft, luminous, and carefully finished rather than heavily coated. The shade sits between clear polish and a traditional pale pink, allowing a little of the natural nail to remain visible through the color. This makes it especially useful when you want the hands to look polished without creating a strong contrast with clothing, jewelry, or makeup. Choose a rose tone that feels slightly warm for a healthy glow, or select a cooler petal tint when you prefer a calmer and more delicate appearance.
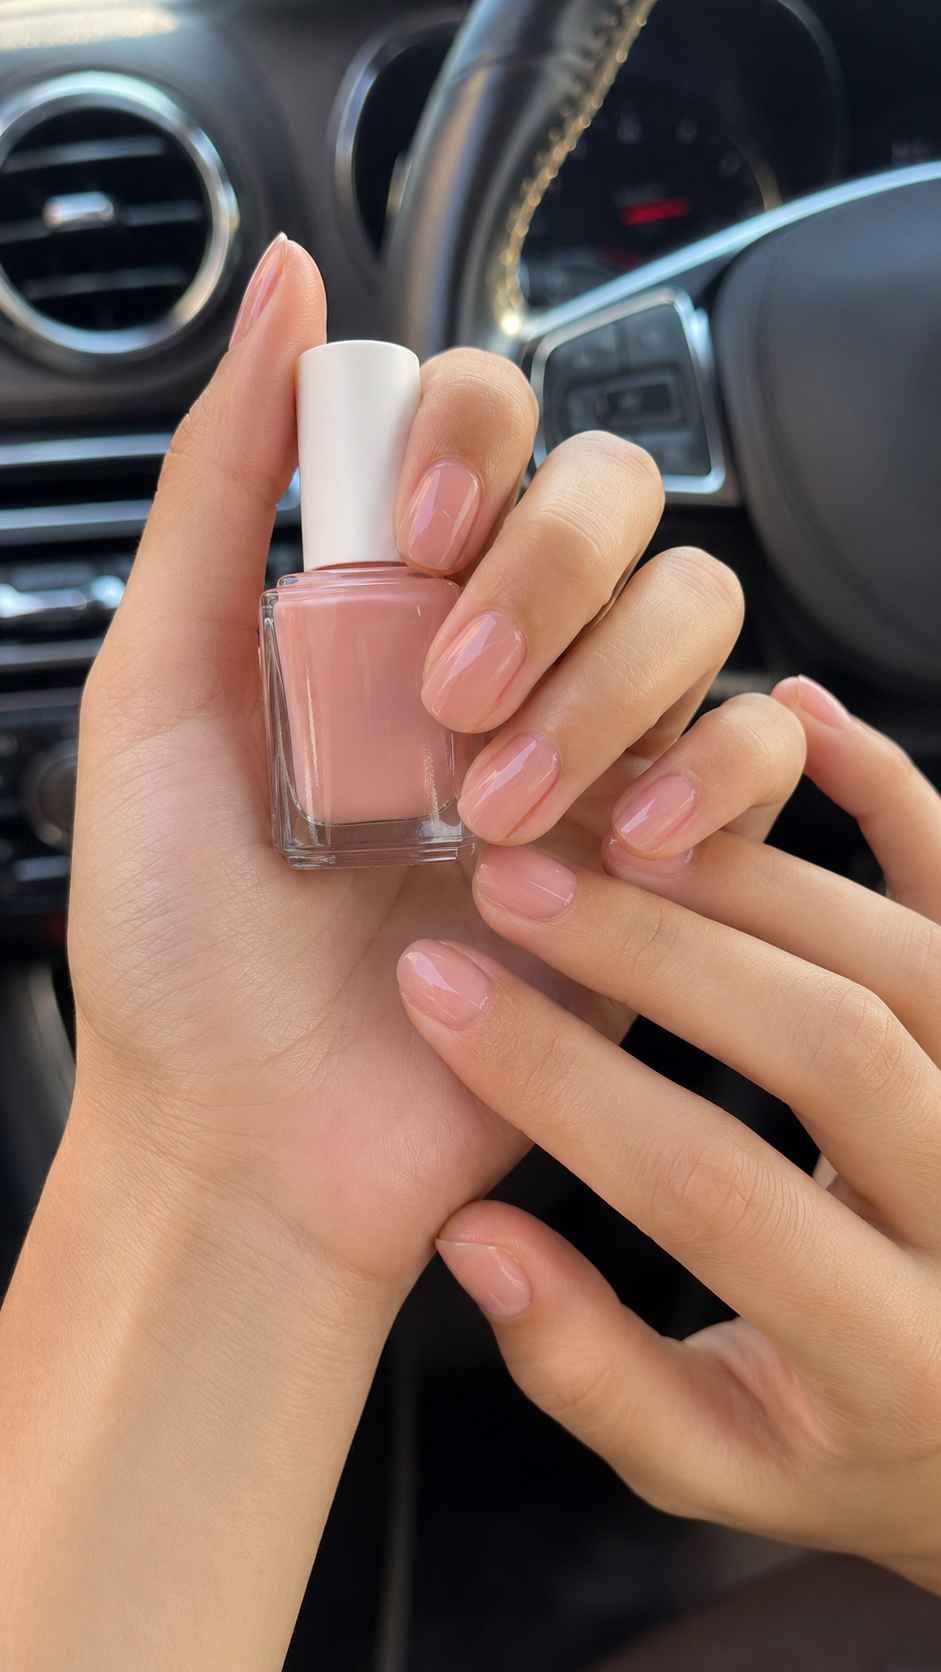
The most important detail is smooth application because every layer should appear even from the cuticle to the tip. A rounded nail shape strengthens the gentle mood, while a short square shape gives the same polish a cleaner and more modern character. The finished manicure should look softly tinted rather than completely covered.
Keep the First Coat Almost Transparent
Begin with one very thin layer and allow the natural nail tone to remain part of the finished color. This creates a fresh appearance that works beautifully with simple outfits, light fabrics, silver jewelry, and soft makeup. The brush should carry only enough polish to cover the nail without leaving visible streaks or thick areas near the cuticle.
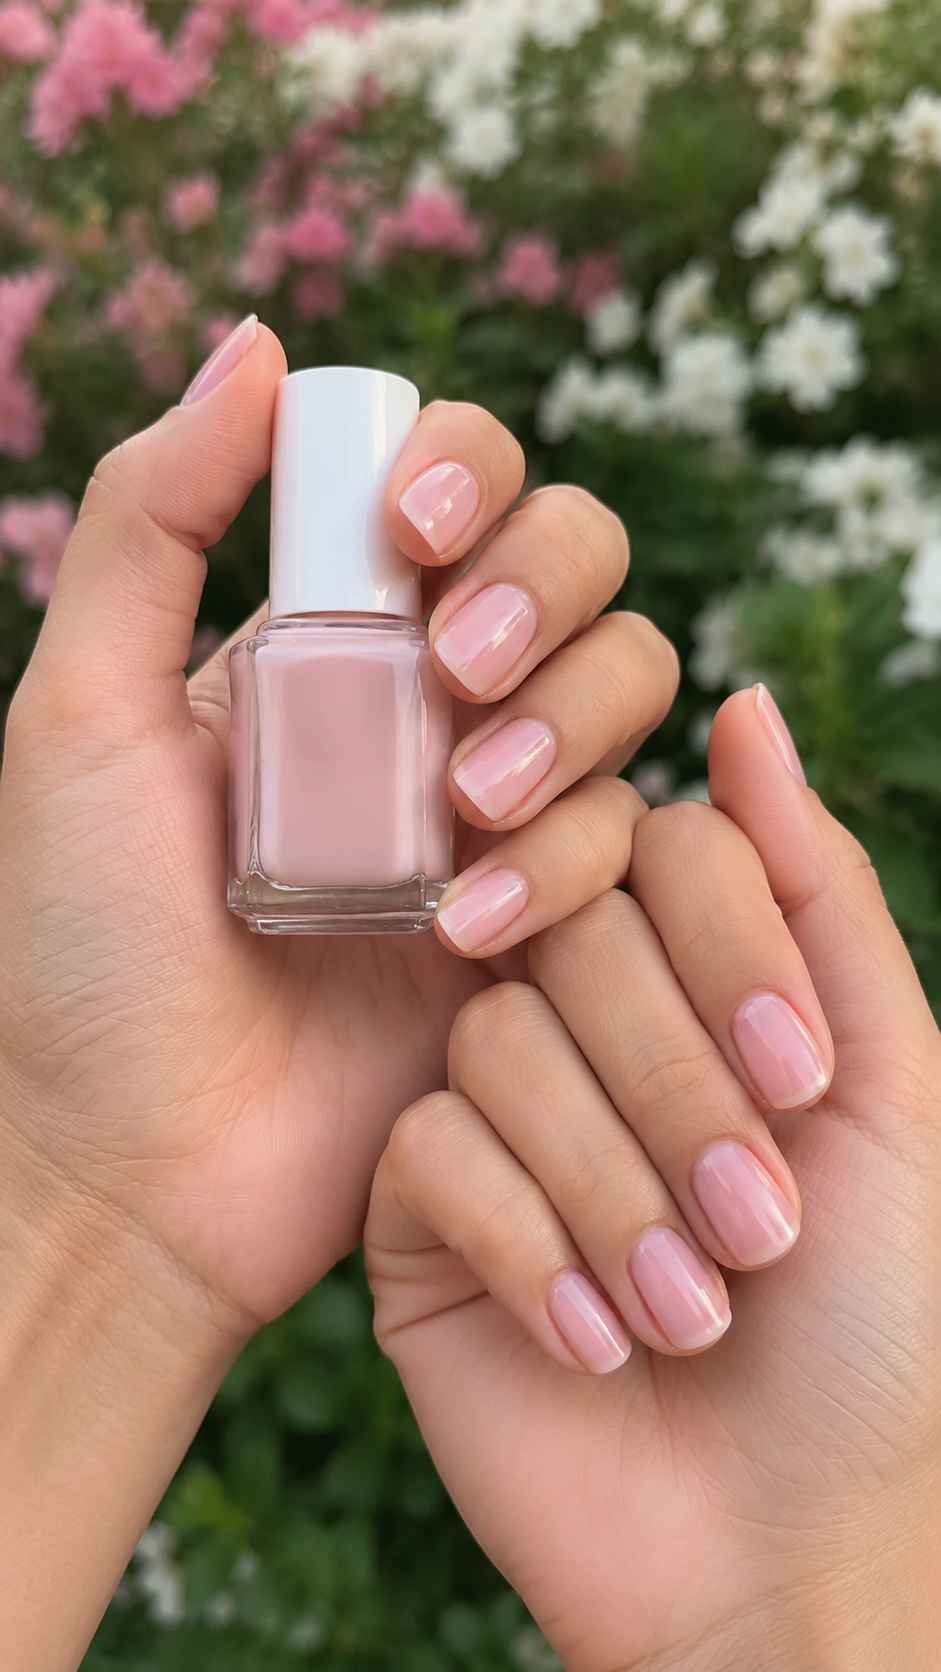
Use three controlled strokes when possible, placing one through the center and one along each side. If the formula looks uneven, wait until it dries and add another whisper thin layer rather than applying one heavy coat. The result should resemble a natural flush of color, giving the nails brightness without hiding their original character. This approach is particularly suitable for short nails because the translucent polish makes the entire manicure look neat, light, and carefully maintained.
Build Petal Depth With Two Layers
Two light coats can turn a barely visible tint into a richer rosewater finish while keeping the manicure translucent. Allow the first layer to dry completely, then add the second coat with fewer brush strokes so the surface remains smooth. This method makes the pink look more noticeable without becoming chalky or heavy. It is especially flattering on oval and almond nails because the extra depth follows the graceful shape and makes the tips appear softly defined.
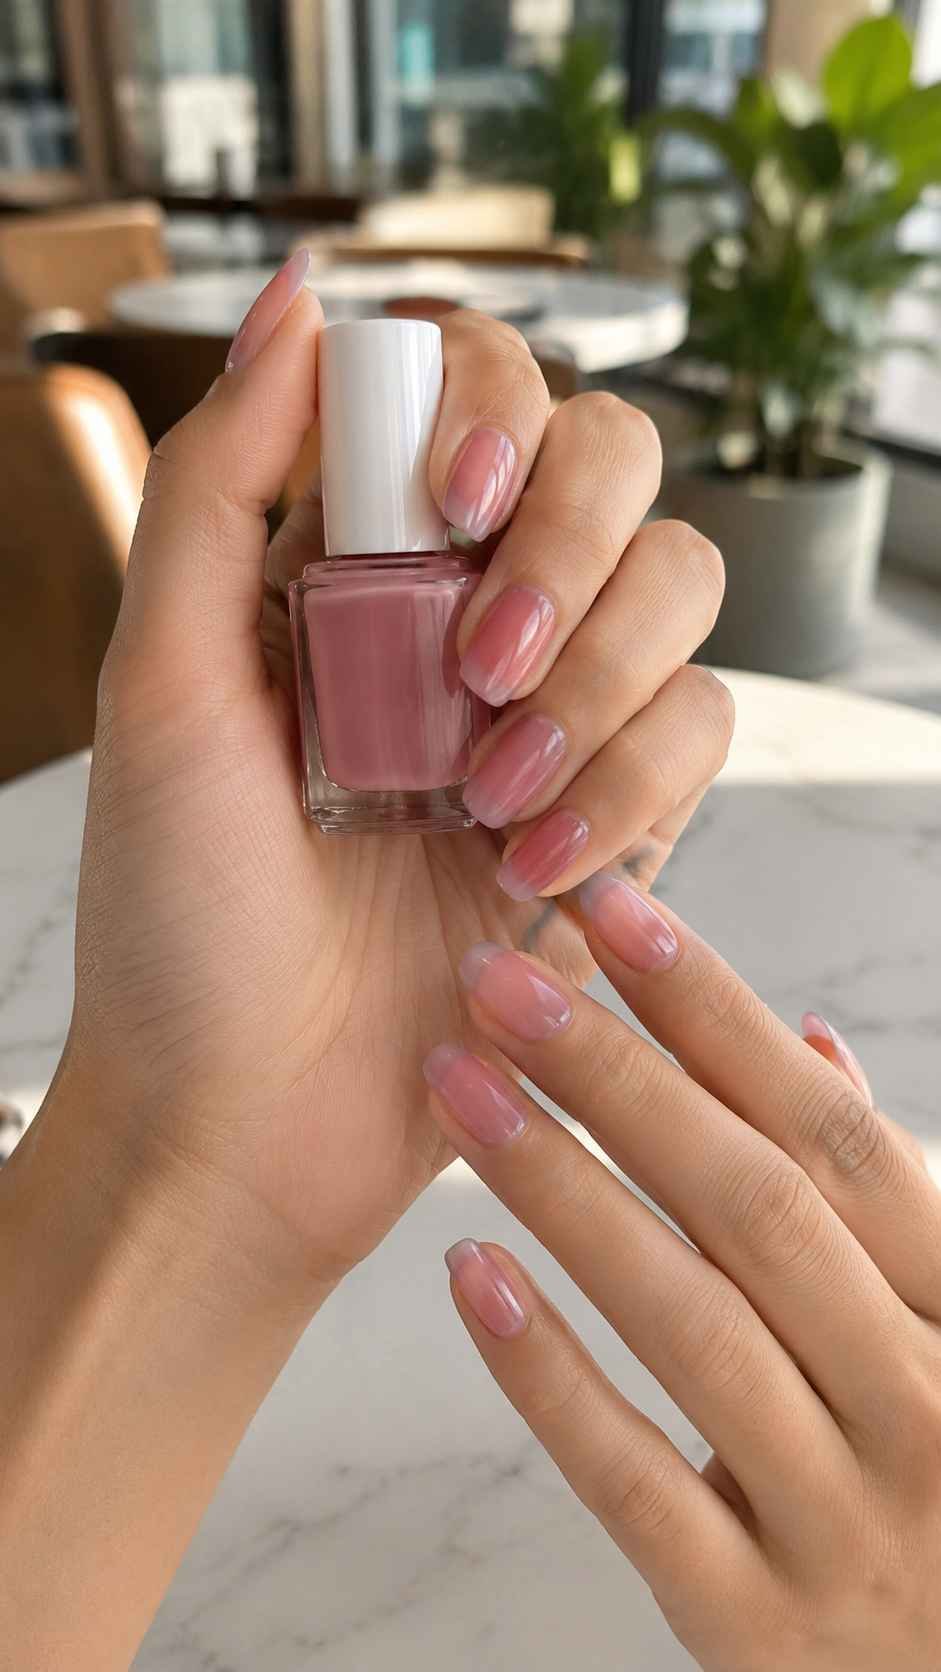
Pair the finished color with cream, taupe, denim, muted green, or deep burgundy clothing for an easy contrast that still feels refined. Keep the layers thin around the sides because excessive polish can make a delicate shade appear bulky. The final color should retain enough transparency to catch natural light and reveal the soft variation beneath it.
Seal the Color With a Cushion Gloss
A rounded glossy top layer gives rosewater nail polish a plump and almost liquid appearance. The shine should look smooth from every angle, so apply the top coat in one controlled layer and gently seal the free edge to reduce early wear. This finish is useful when the color itself is quiet because the reflection adds enough interest to make the manicure feel intentional. Keep the cuticle area neat and moisturized since a sheer polish naturally draws attention to the entire nail and surrounding skin.
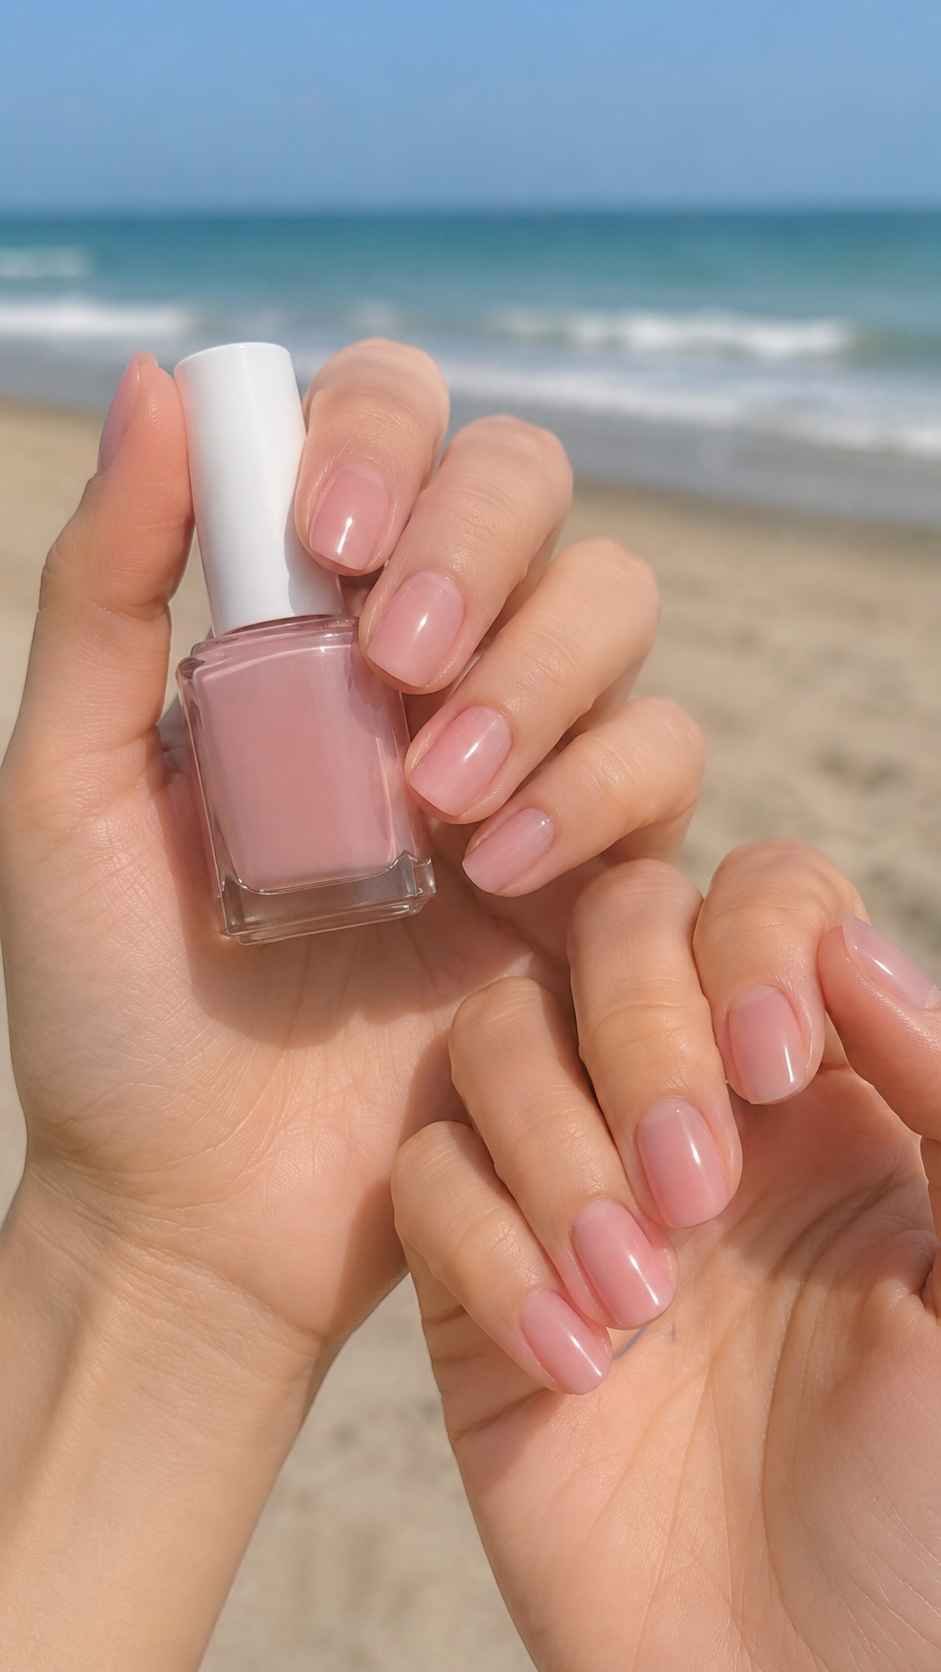
Avoid applying several thick top coat layers because too much product can soften the shape of shorter nails. One even layer is usually enough to create the desired cushion effect. The completed look feels clean, modern, and suitable for casual outfits, work clothing, special events, and elegant evening styling.
Cashmere Satin Nail Polish
Cashmere satin nail polish creates a smooth surface with gentle reflection rather than intense shine or a completely flat matte appearance. The finish gives familiar colors a softer personality, making them look calm, modern, and easy to coordinate with different outfits. Muted rose, clay, mushroom, smoky blue, faded olive, and quiet plum can all work beautifully with this treatment.
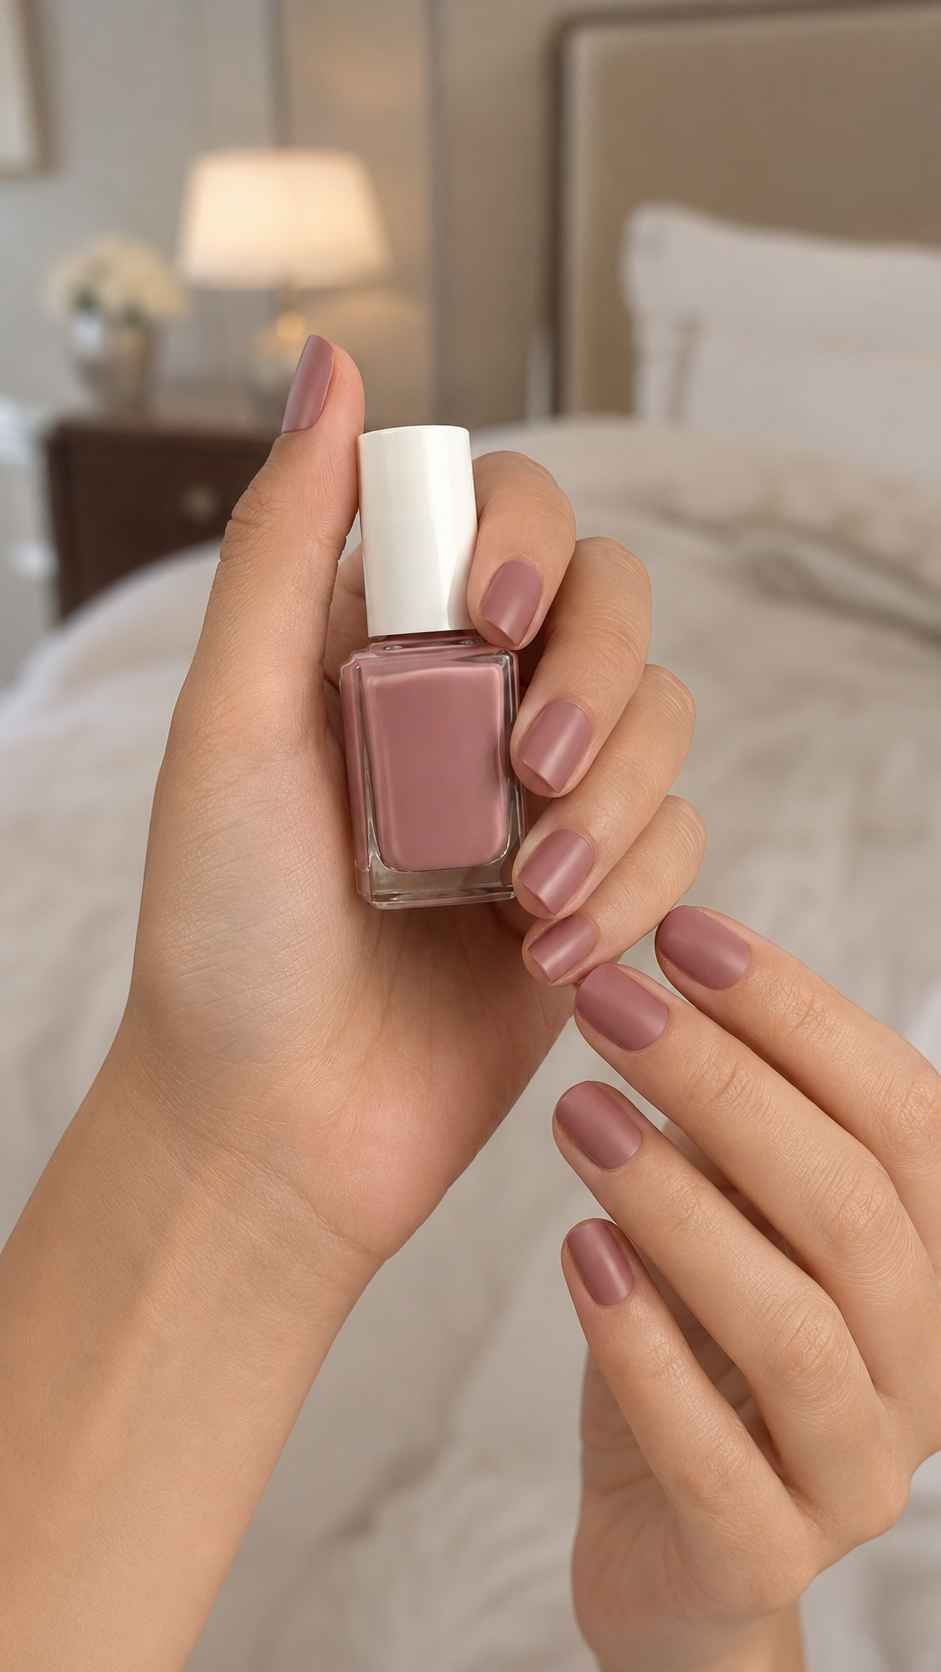
The shade should appear velvety without looking dry, which means the color layers need to remain even before the satin top coat is applied. This concept is particularly useful when you want something more distinctive than an ordinary cream polish but do not want shimmer, glitter, or mirror reflection. Short square nails make the finish look neat and structured, while oval and almond shapes give it a softer character. The controlled surface allows the color itself to remain the main feature of the manicure.
Use a Muted Shade as the Foundation
Begin with a cream polish that contains a small amount of grey, brown, or softened white. This muted foundation prevents the satin finish from looking too bright or artificial. Apply the color in two thin coats, allowing the first coat to settle before adding the next one. A dusty rose can create warmth, while a soft mushroom or clay shade offers a more neutral direction.
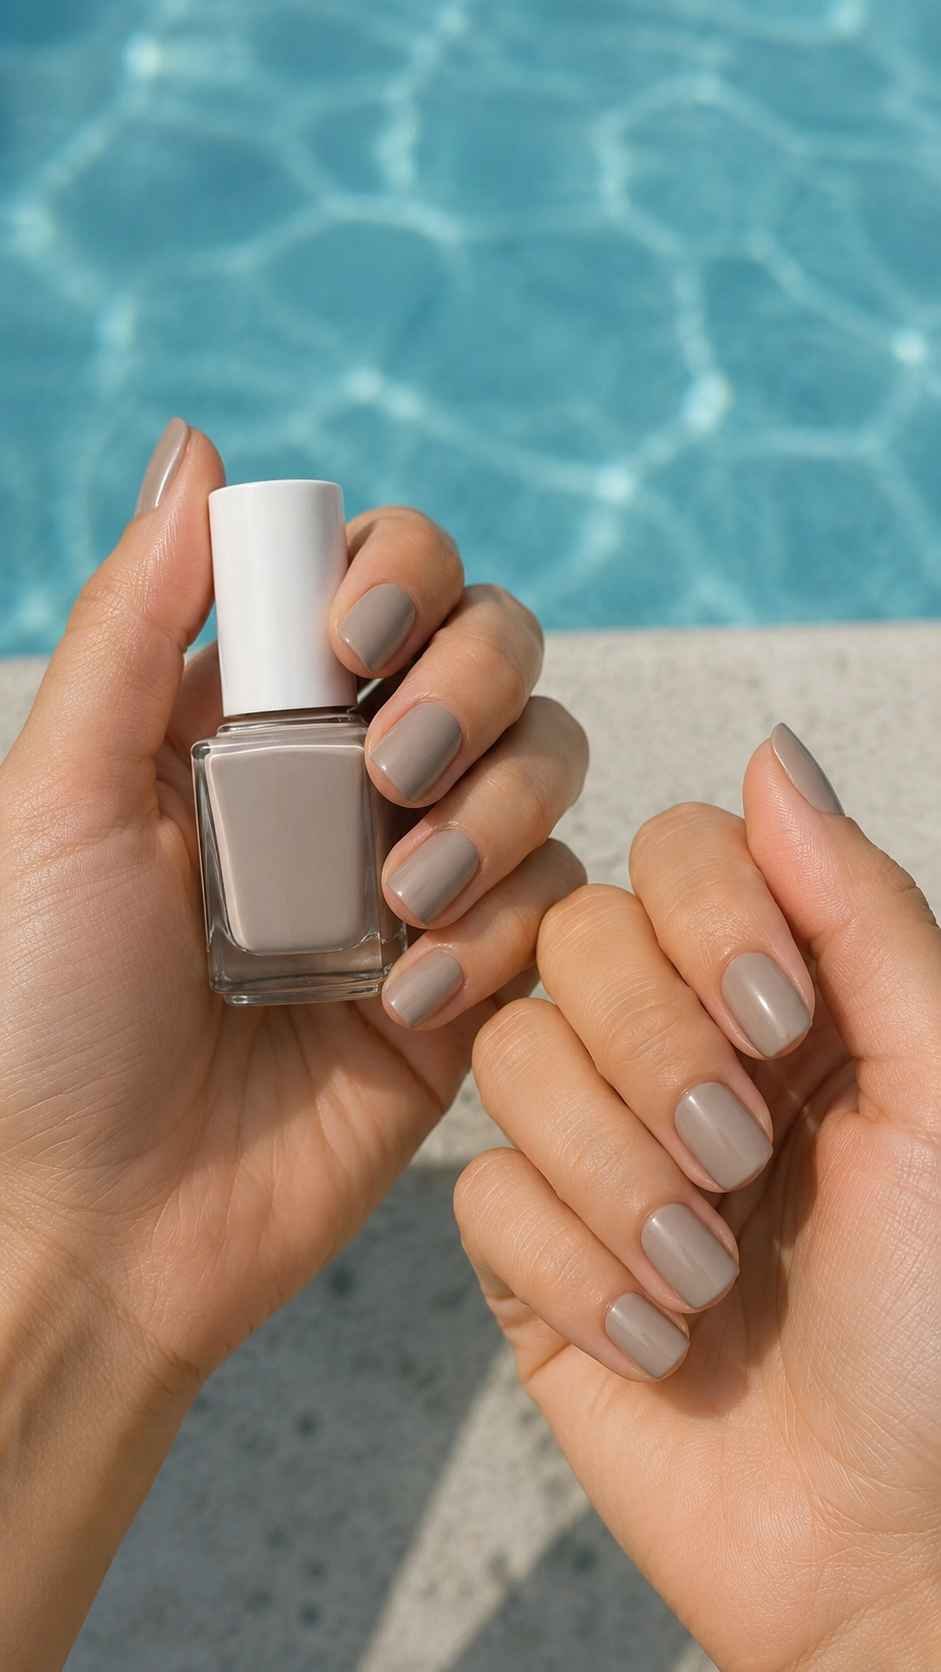
Make sure the polish reaches close to the side edges without touching the surrounding skin because the reduced reflection makes uneven application easier to notice. Once the color has dried, apply one satin top coat from the cuticle toward the tip. The finished manicure will have a quiet, fabric like appearance that pairs naturally with knitwear, tailored clothing, suede accessories, and simple jewelry.
Balance Satin Nails With Natural Cuticles
A satin manicure looks most polished when the nail shape and surrounding skin remain clean and moisturized. Because the surface does not reflect as much light as a glossy finish, rough edges and dry cuticles can become more noticeable. Shape every nail before applying the base coat, then use a small amount of cuticle oil after the manicure has fully dried. Avoid rubbing oil directly over wet satin polish because it may disturb the even surface.
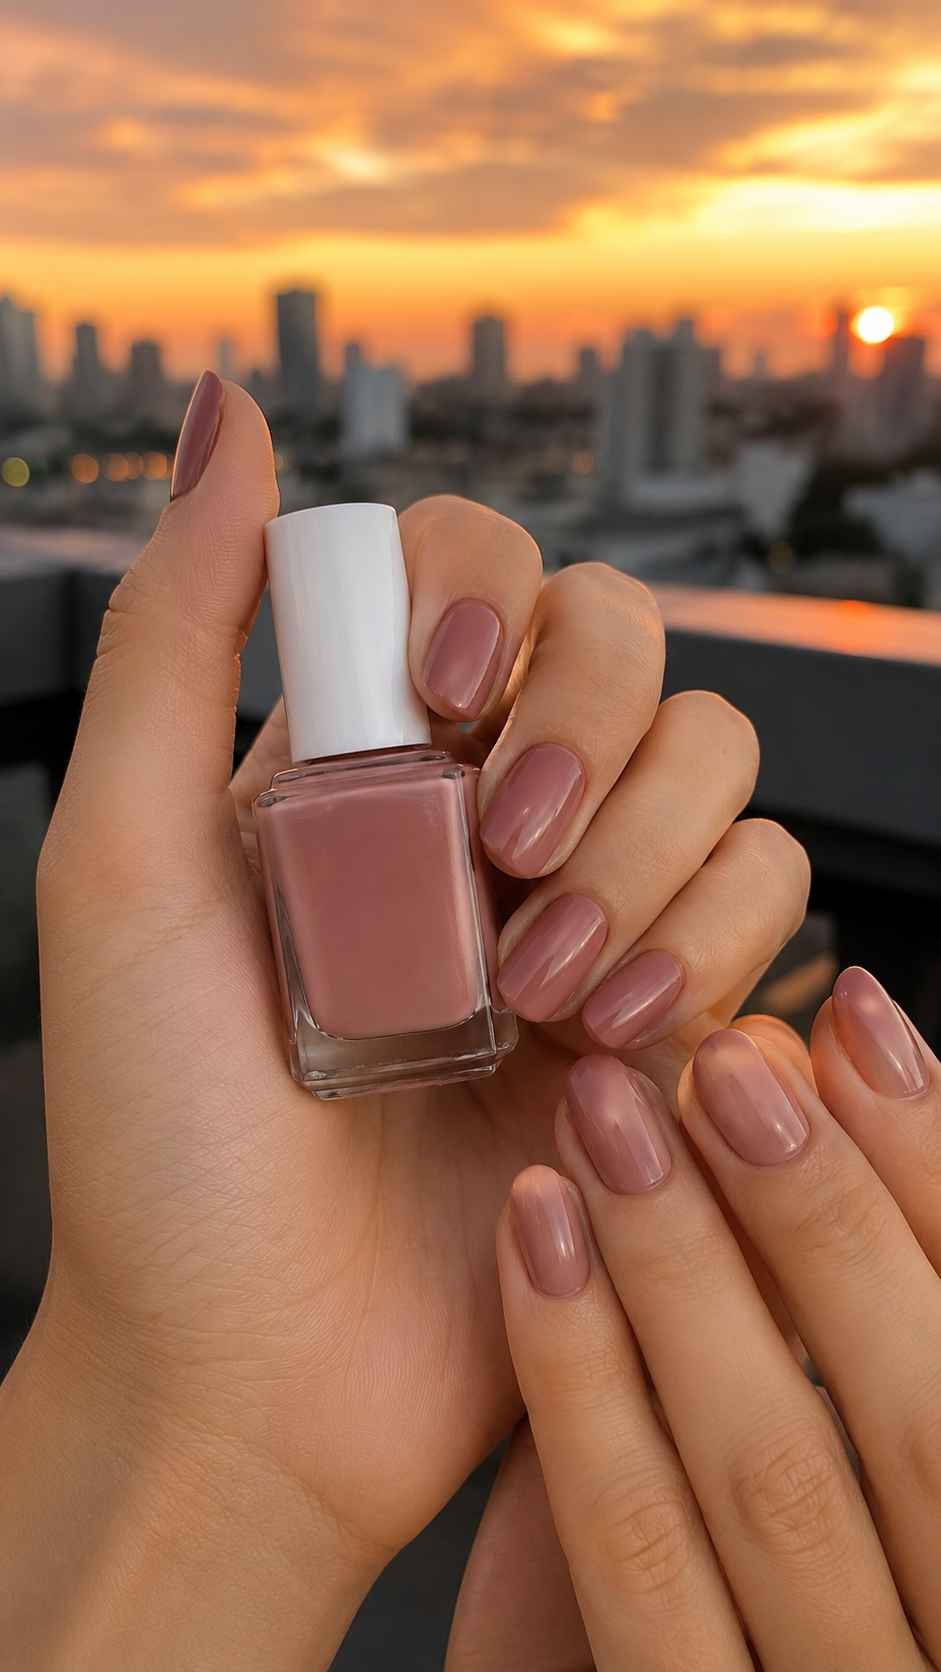
Short oval nails work especially well with this finish because their soft outline matches the controlled reflection. Medium almond nails create a slightly more elegant result. The combination of a neat shape, smooth color, and healthy surrounding skin gives the manicure a considered appearance without requiring decorative details or contrasting shades.
Refresh the Finish Without Adding More Color
When the satin surface begins to lose its smooth appearance, refresh it with another thin layer of satin top coat rather than adding more colored polish. Extra color can make the manicure thick around the edges and change the carefully balanced shape. Clean the nail surface gently, remove any oil, and apply the new finish in a controlled layer.
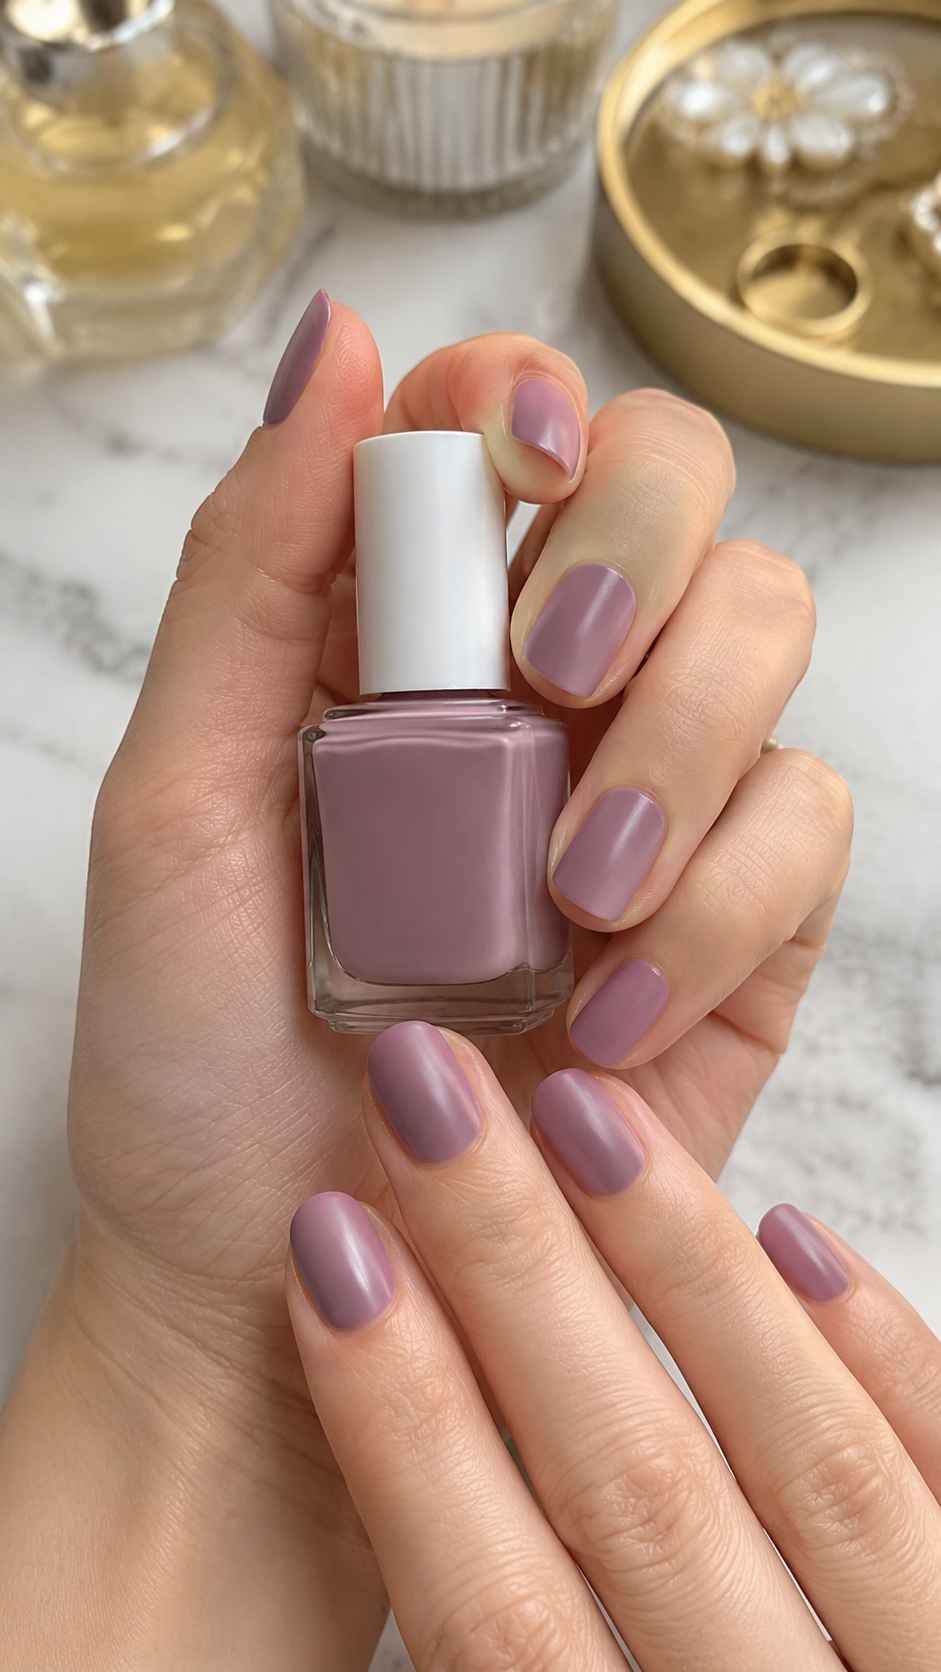
This can restore the soft reflection and help the manicure remain presentable for longer. Choose a formula that dries evenly because streaks are more noticeable on satin surfaces than beneath high gloss. The refreshed result should appear smooth and softly illuminated, not completely matte. This simple maintenance method allows muted nail polish to retain its calm character while keeping the entire manicure looking deliberate, tidy, and connected to a refined personal style.
Moonstone Pearl Nail Polish
Moonstone pearl nail polish creates a quiet glow that changes as the hands move through different light. The finish is softer than mirror chrome and more refined than obvious glitter, making it useful when you want dimension without a highly reflective metallic surface. Look for pearl particles that shift between champagne, pale rose, cool silver, and faint lavender rather than displaying one flat shimmer color.
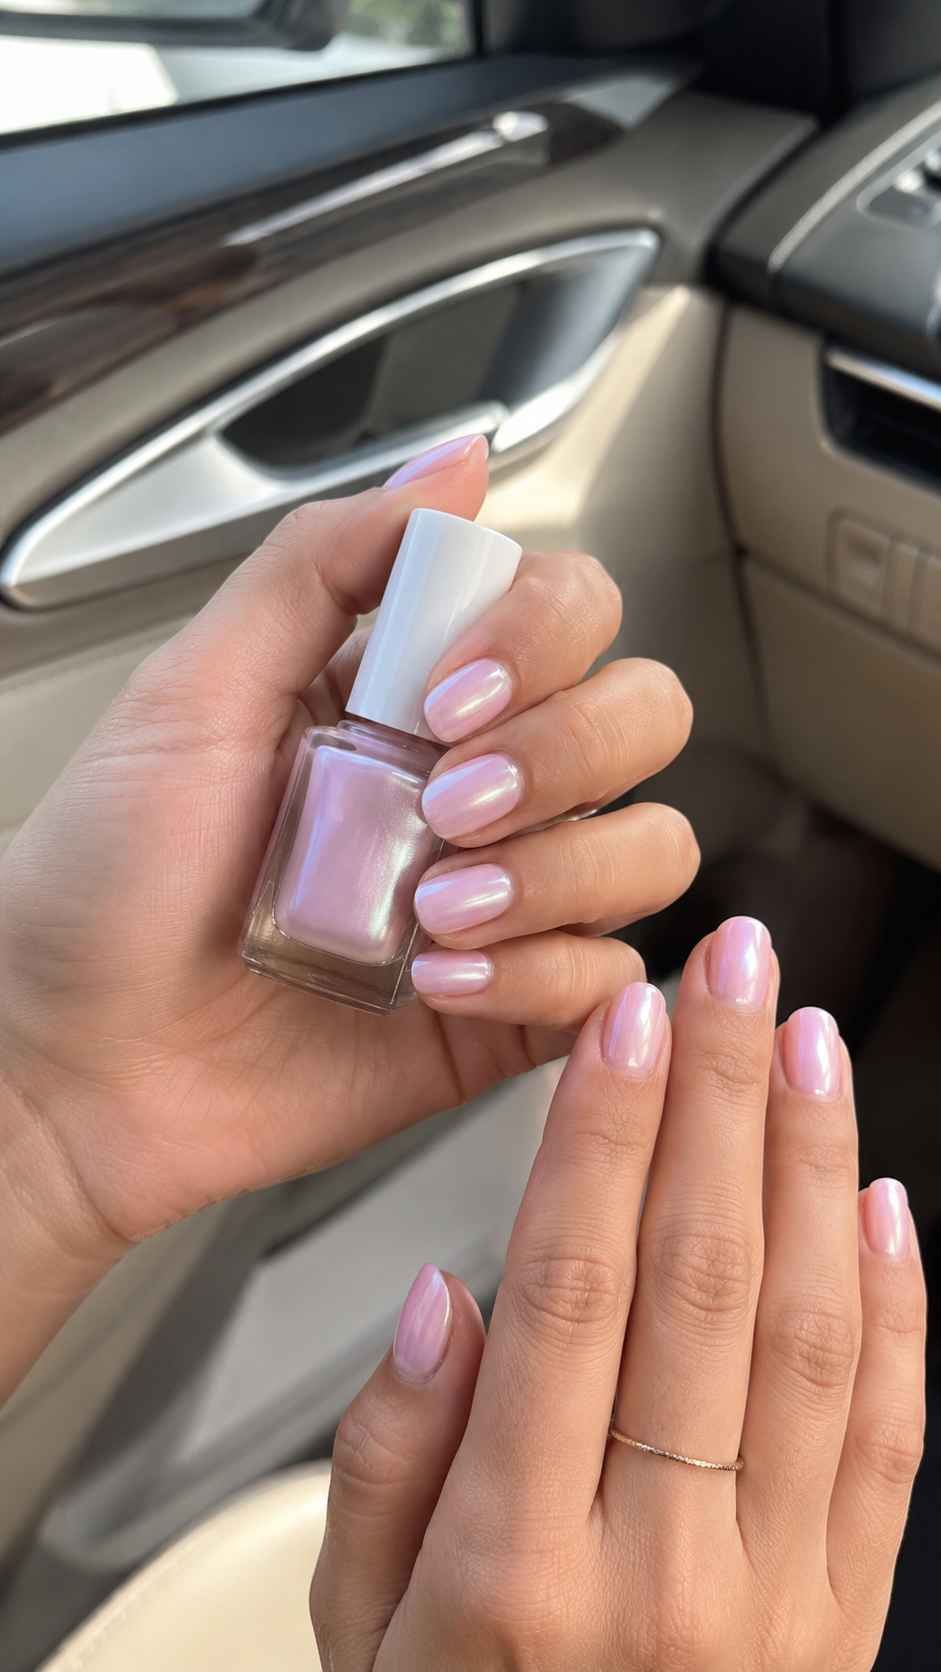
The base can remain translucent for a delicate effect or become more visible when layered over a cream polish. Moonstone pearl works across many nail lengths because the light movement follows the shape instead of depending on detailed placement. It also pairs easily with satin clothing, simple knitwear, evening fabrics, and minimal jewelry. The key is choosing a finely milled pearl finish so the surface looks smooth rather than grainy, scattered, or heavily frosted.
Layer Pearl Over a Clear Blush Base
Begin with a clear blush or very soft pink base, then apply one thin coat of moonstone pearl. The natural nail should remain slightly visible beneath the glow, creating an airy and elegant effect. This combination catches light without looking overly silver or frosted. Keep the pearl coat thin so the particles spread evenly from side to side instead of gathering near the edges.
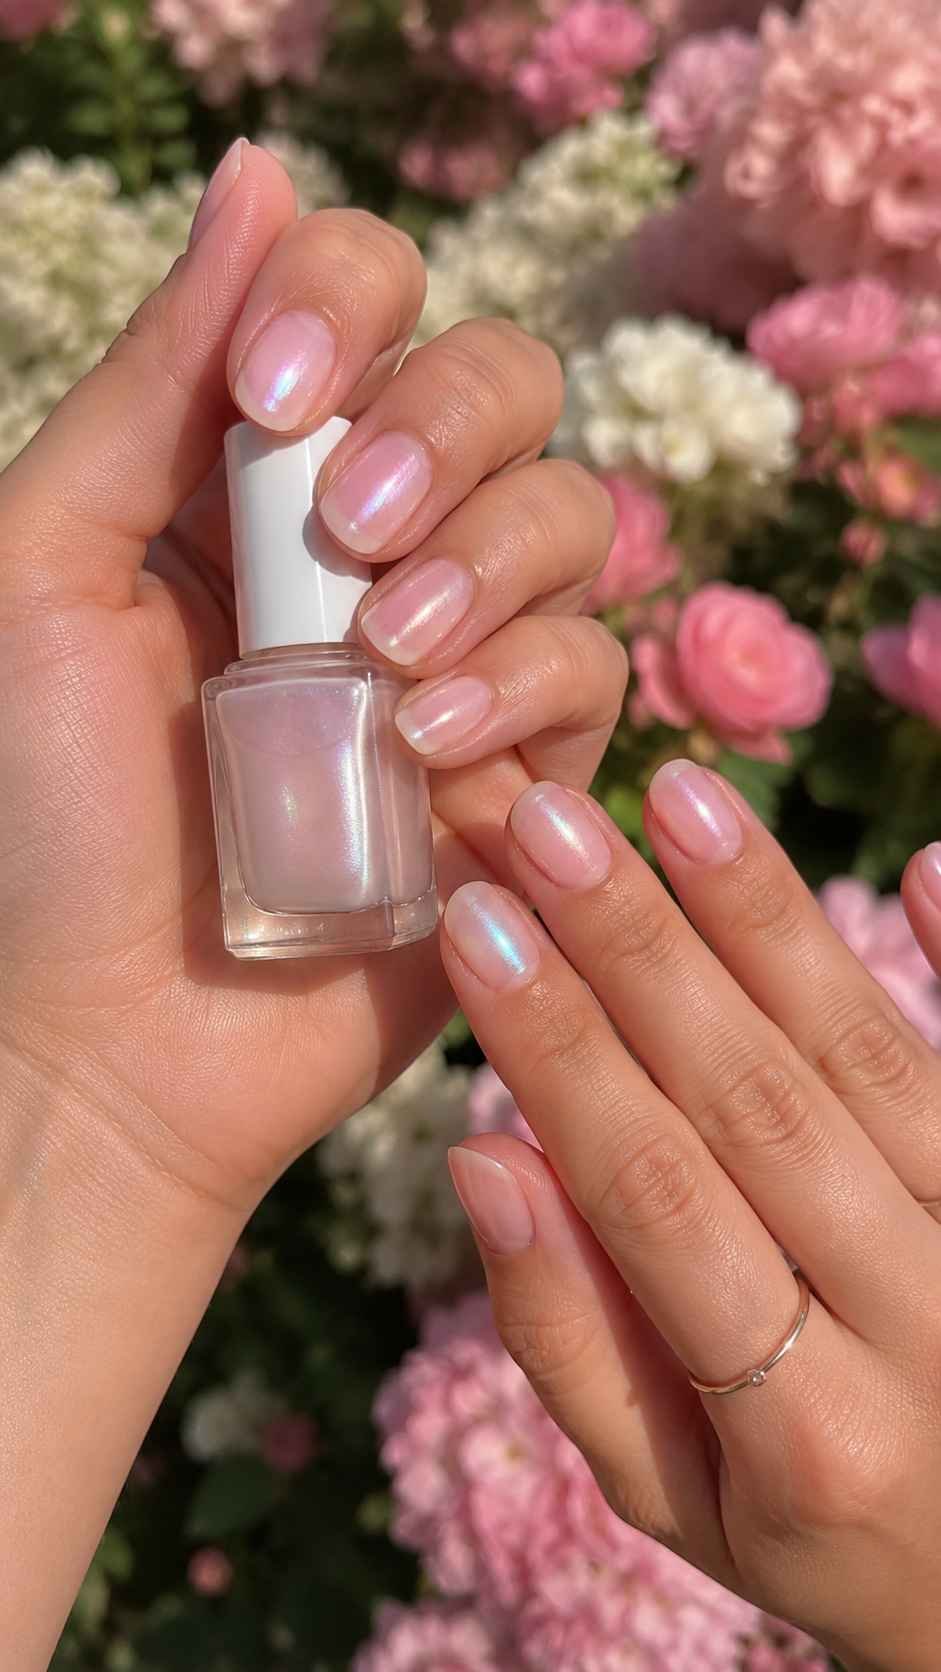
The result works especially well on short oval nails and suits both everyday clothing and more polished outfits. A final clear top coat will deepen the shine and make the pearl movement easier to see without covering its delicate character. Use soft brush pressure because pressing too firmly can create streaks in the pearl particles. The finished manicure should reveal a changing glow only when the hands move, giving it a subtle and sophisticated quality.
Use a Cream Base for a Brighter Glow
A soft cream base gives pearl polish more presence and makes the manicure look smoother and brighter. Apply the cream shade in one or two even coats, then add a light pearl layer once the base is fully dry. This method creates a luminous finish that feels polished without becoming stark. Choose champagne pearl for warmth, pale rose pearl for softness, or cool silver pearl for a cleaner mood.
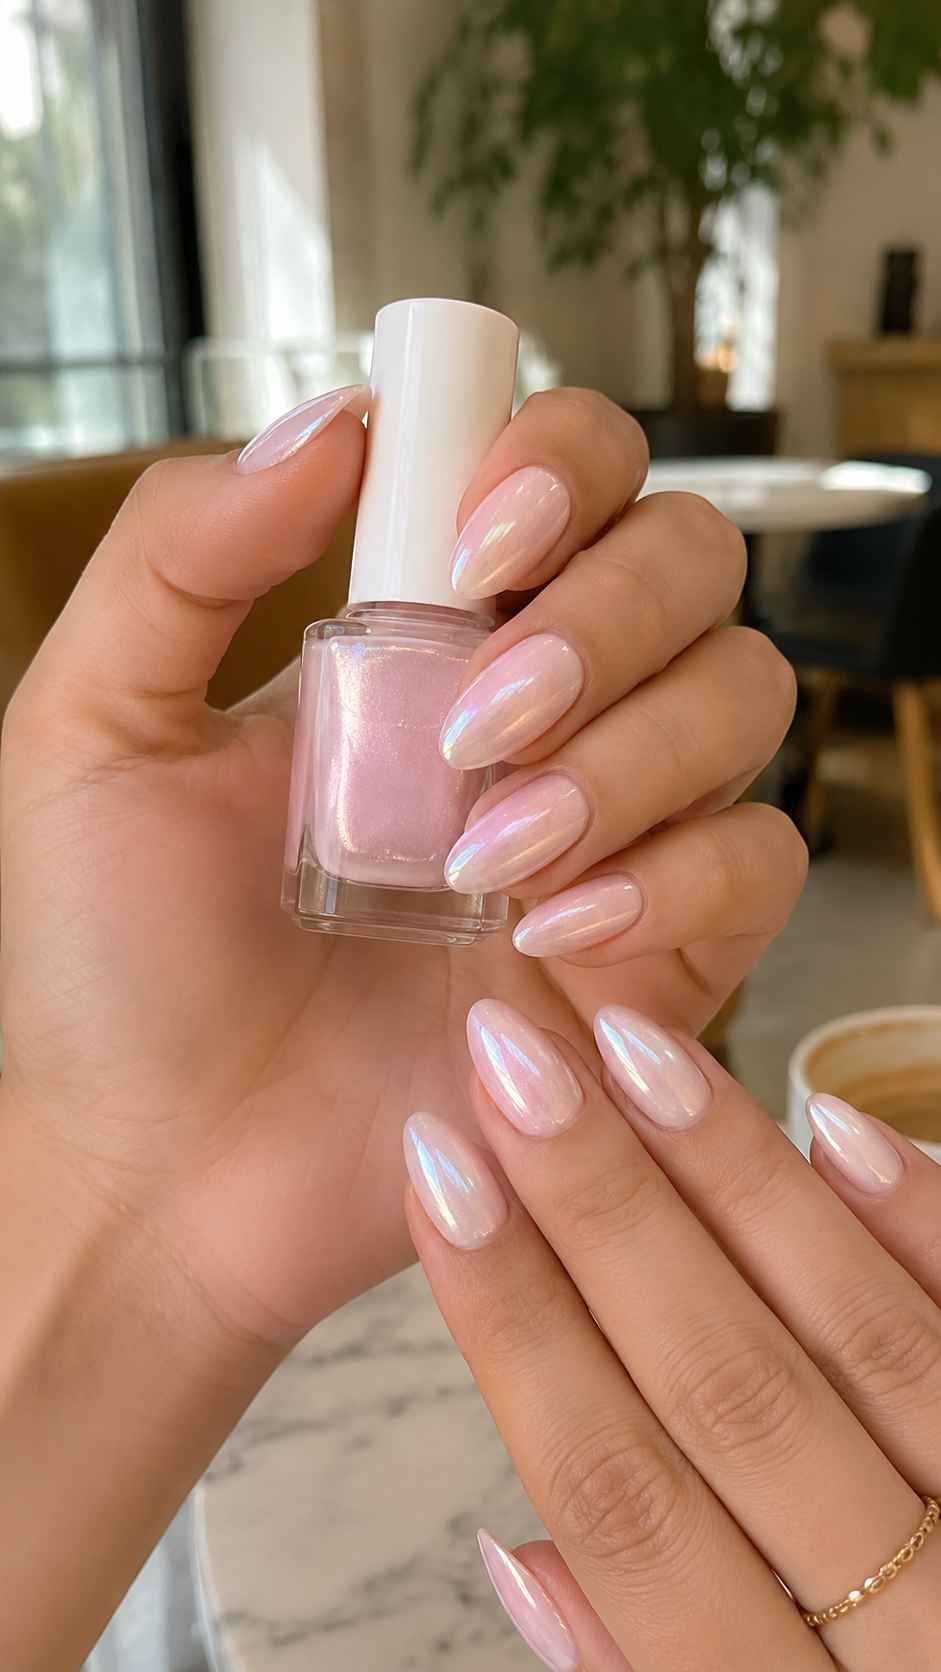
The layered color looks beautiful with gold, silver, or mixed metal accessories because the glow changes subtly under different lighting. Keep the cream base thin so the final manicure does not become bulky. This brighter interpretation is especially attractive on almond and oval nails, where the curved surface allows the pearl reflection to travel naturally from one side of the nail to the other.
Add Pearl Only Through the Final Coat
For a quieter result, apply your chosen solid polish first and use pearl only as the final color layer. A soft taupe, muted rose, pale grey, or gentle plum can become more dimensional with one transparent pearl coat. The base color remains visible, but the moving light prevents it from looking flat. This technique is useful when you already own several cream polishes and want to change their character without selecting a completely different shade.
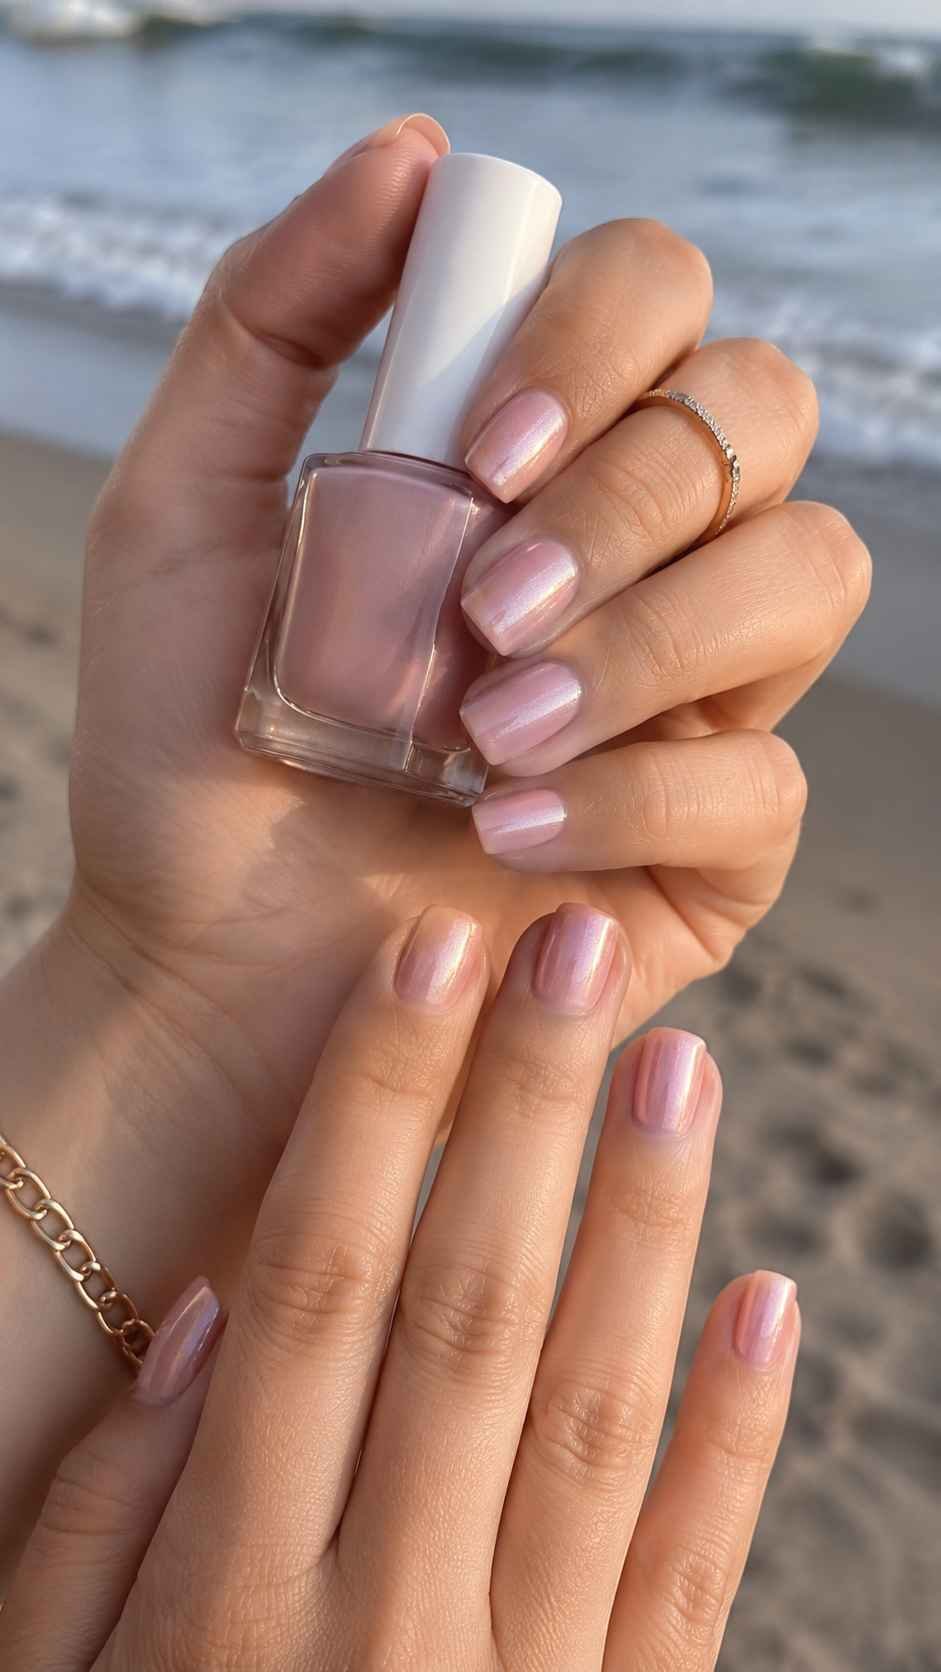
Test the pearl over one nail first because the undertone can alter the color beneath it. A warm pearl may make grey look softer, while a cooler pearl can give rose polish a cleaner appearance. Keep the final layer even so every nail reflects light in the same controlled way and the manicure retains a professionally planned finish.
Mulberry Smoke Nail Polish
Mulberry smoke nail polish combines rose, plum, and softened grey to create a mature color that feels rich without becoming excessively dark. It offers more depth than pale pink and more softness than a traditional purple, making it an adaptable choice for changing wardrobes and different occasions. The smoky quality keeps the shade calm, while the mulberry undertone adds enough color to prevent it from appearing dull.
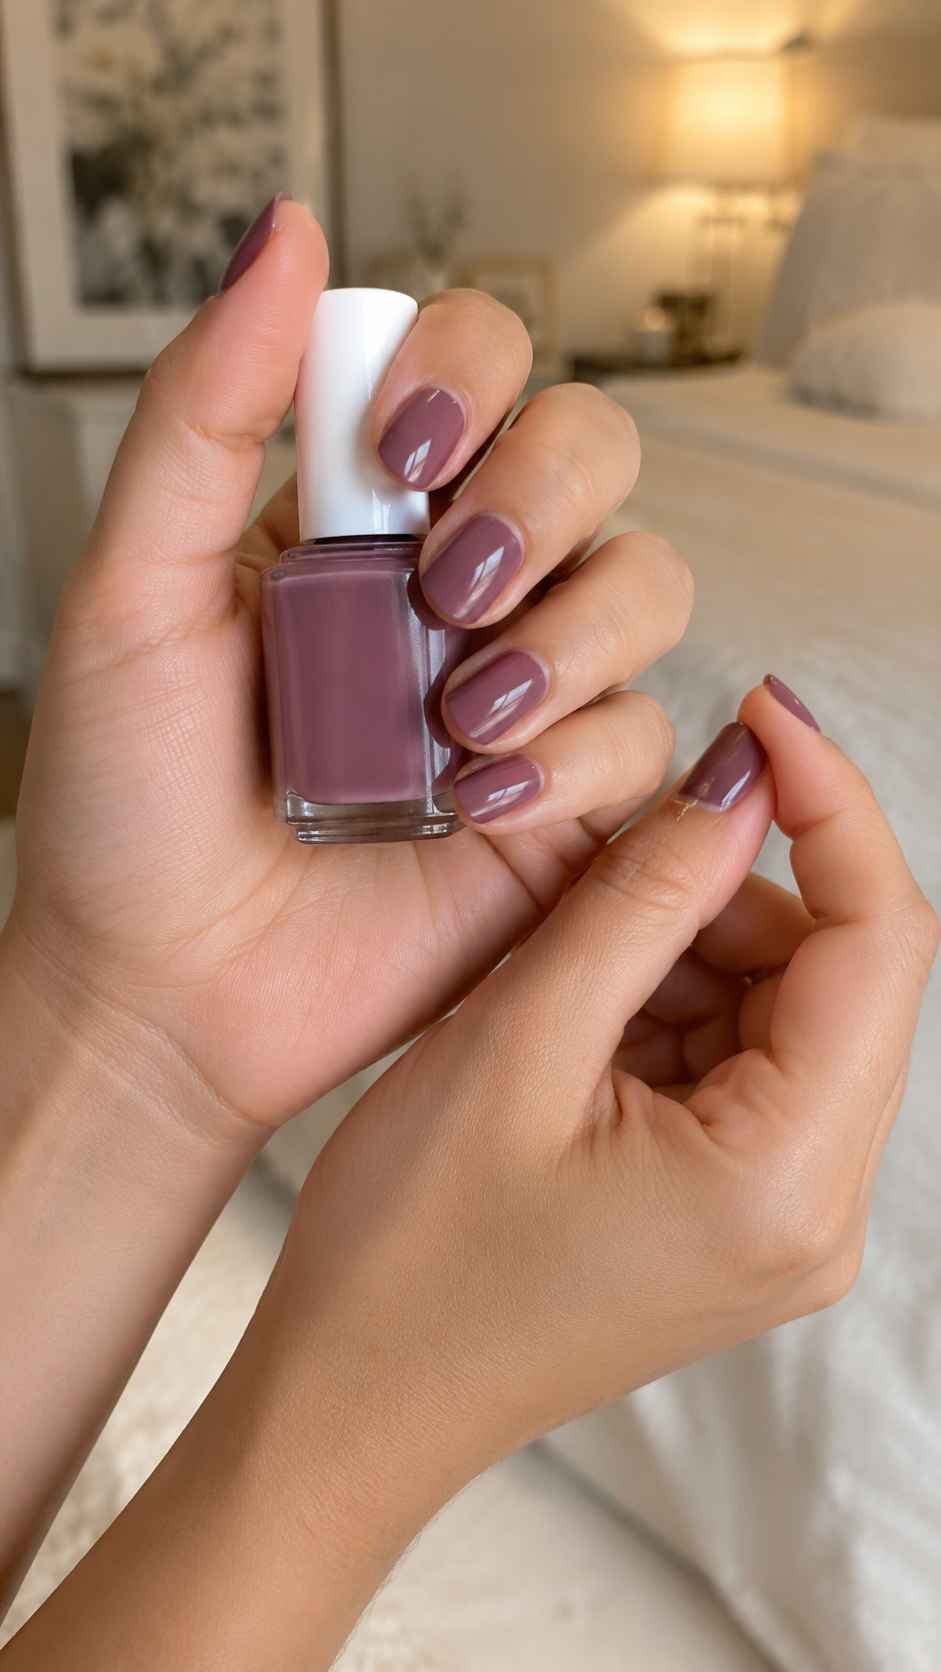
This polish works particularly well with neutral clothing, deep green, navy, camel, dusty blue, and soft cream. A glossy finish gives it a polished evening mood, while a softer surface creates a quieter everyday appearance. Because the color sits between several familiar families, it can look slightly different under indoor and natural light, giving the manicure greater visual interest throughout the day. Clean application helps the complex undertones remain clear and balanced.
Wear Dusty Mulberry for Everyday Style
A dusty mulberry shade keeps the plum and rose tones soft enough for regular wear. Choose a formula with medium depth so the color remains visible without looking almost black. Two thin coats will usually create the best balance between opacity and smoothness. This version is especially flattering on short oval or soft square nails because the muted color gives the shape a neat and intentional appearance.
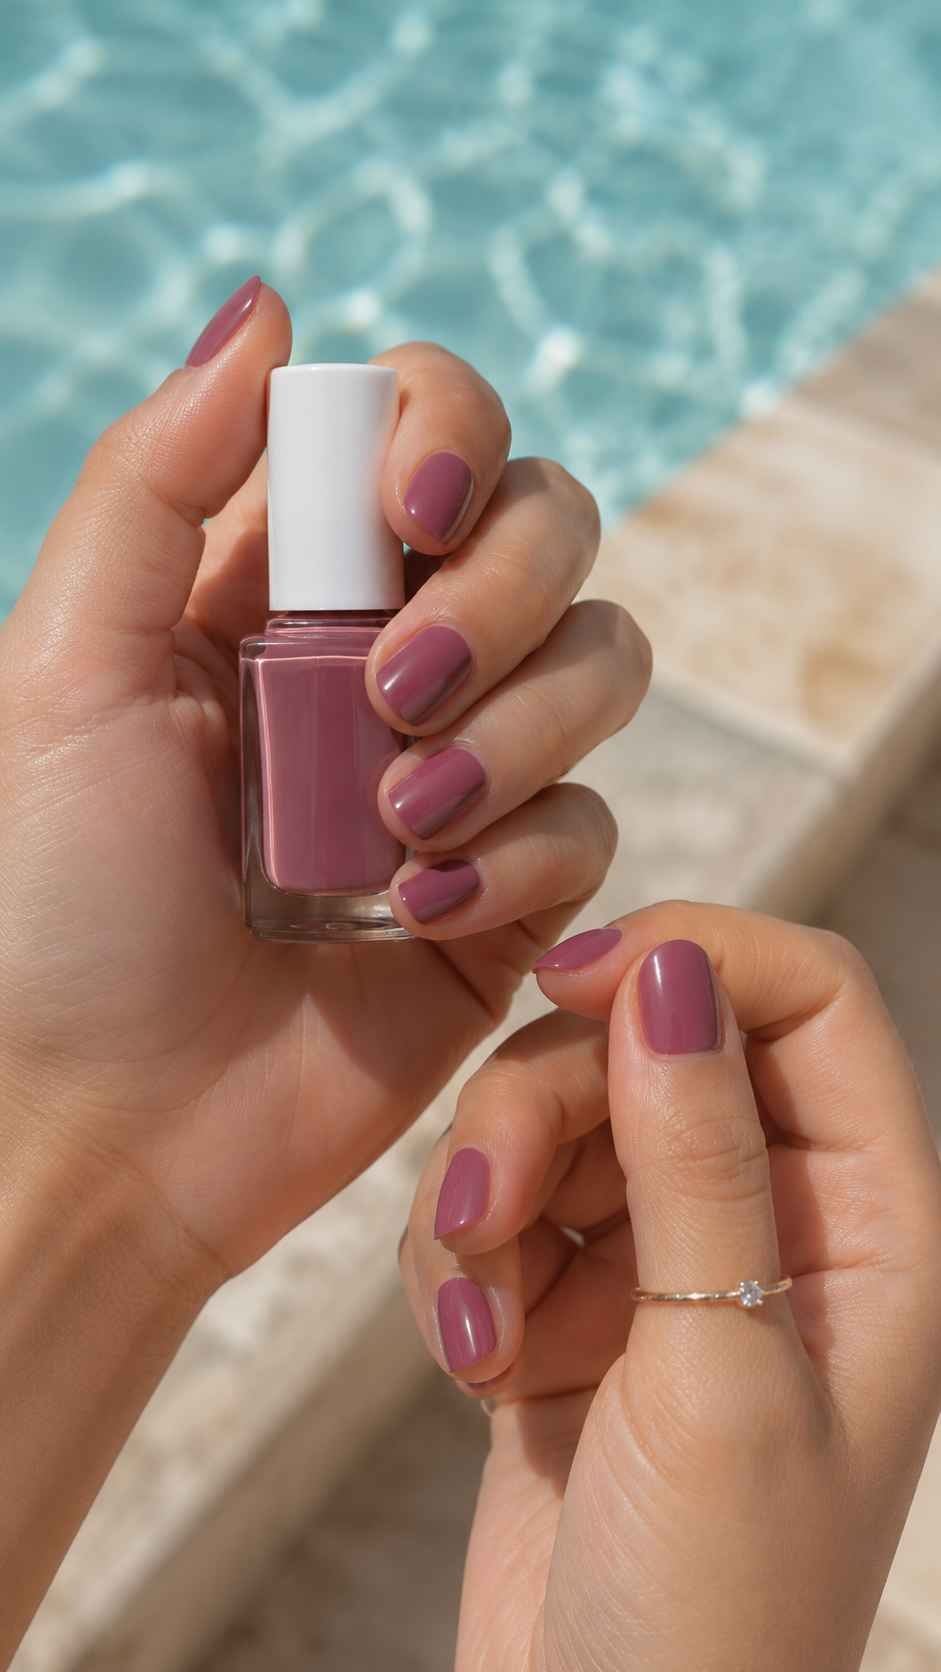
Pair it with cream sweaters, dark denim, grey tailoring, or muted prints when you want the manicure to support the outfit rather than compete with it. Keep the top coat smooth and moderately glossy so the hidden rose tone becomes visible as the hands move. The color should feel refined and expressive, providing more personality than a simple neutral without becoming difficult to coordinate with everyday clothing.
Deepen the Shade With a Plum Taupe Base
A plum taupe base adds earthy depth beneath mulberry polish and creates a more complex final color. Apply one coat of the muted base, then cover it with a thinner mulberry layer. The combination should remain smooth and unified rather than showing two separate bands of color. This method is useful when you want a deeper manicure without moving into extremely dark purple or brown shades. The result feels sophisticated with leather accessories, structured coats, soft brown makeup, and evening clothing.
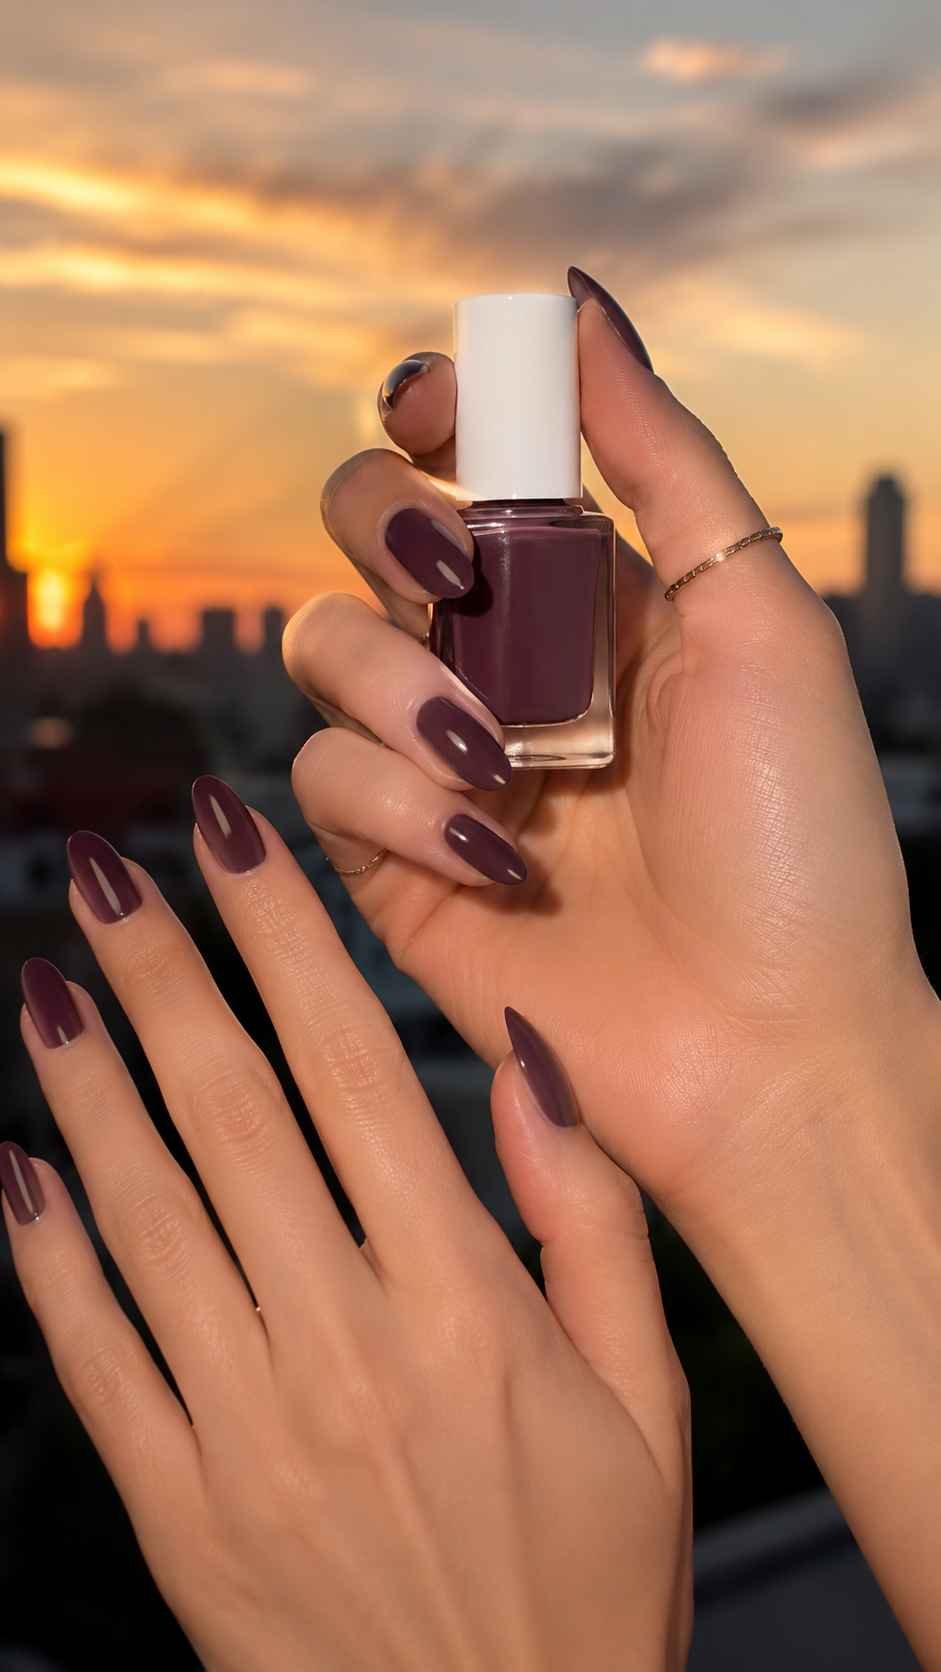
Finish with a glossy top coat to bring out the hidden rose tones and prevent the layered polish from appearing dull. Test the combination on one nail before completing the manicure because different formulas may change the balance between plum, taupe, and rose. A carefully chosen base can give one polish several new styling possibilities.
Keep Mulberry Light Near the Cuticle
Leave the color slightly softer near the cuticle by applying the first coat across the entire nail and concentrating the second layer through the center and upper portion. The transition should remain subtle and smooth rather than forming a visible line. This controlled depth makes the polish look lighter around the base while giving the tip a richer mulberry finish. The method can visually lengthen short nails and add movement without introducing nail art.
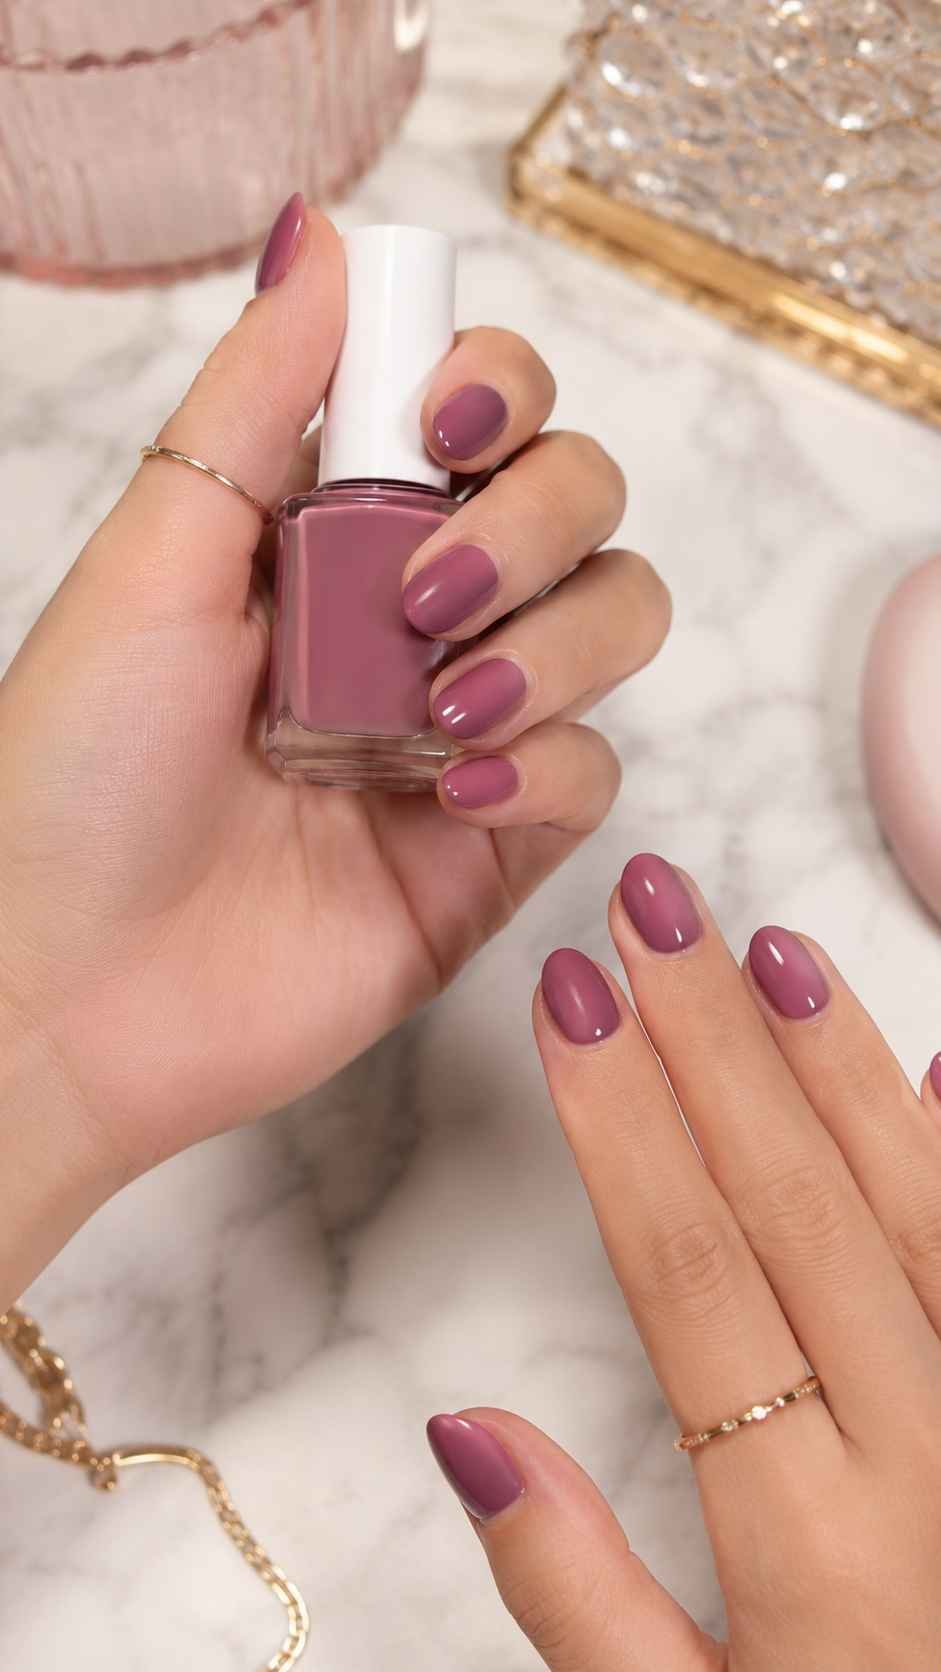
Use a clean brush with very little product when blending the second coat downward. Finish with a clear top layer to unite the different levels of color. The result gives a familiar cream polish a more dimensional quality while maintaining the quiet, smoky character that makes mulberry easy to combine with both light and dark wardrobes.
Mineral Speckle Nail Polish
Mineral speckle nail polish brings texture to the manicure through tiny suspended flakes that resemble stone particles, mica, salt crystals, or fragments of polished clay. The effect should remain fine and controlled rather than looking like large pieces of glitter. Soft cream, pale grey, muted clay, cool mauve, and translucent bases allow the small particles to remain visible without creating an overly busy surface.
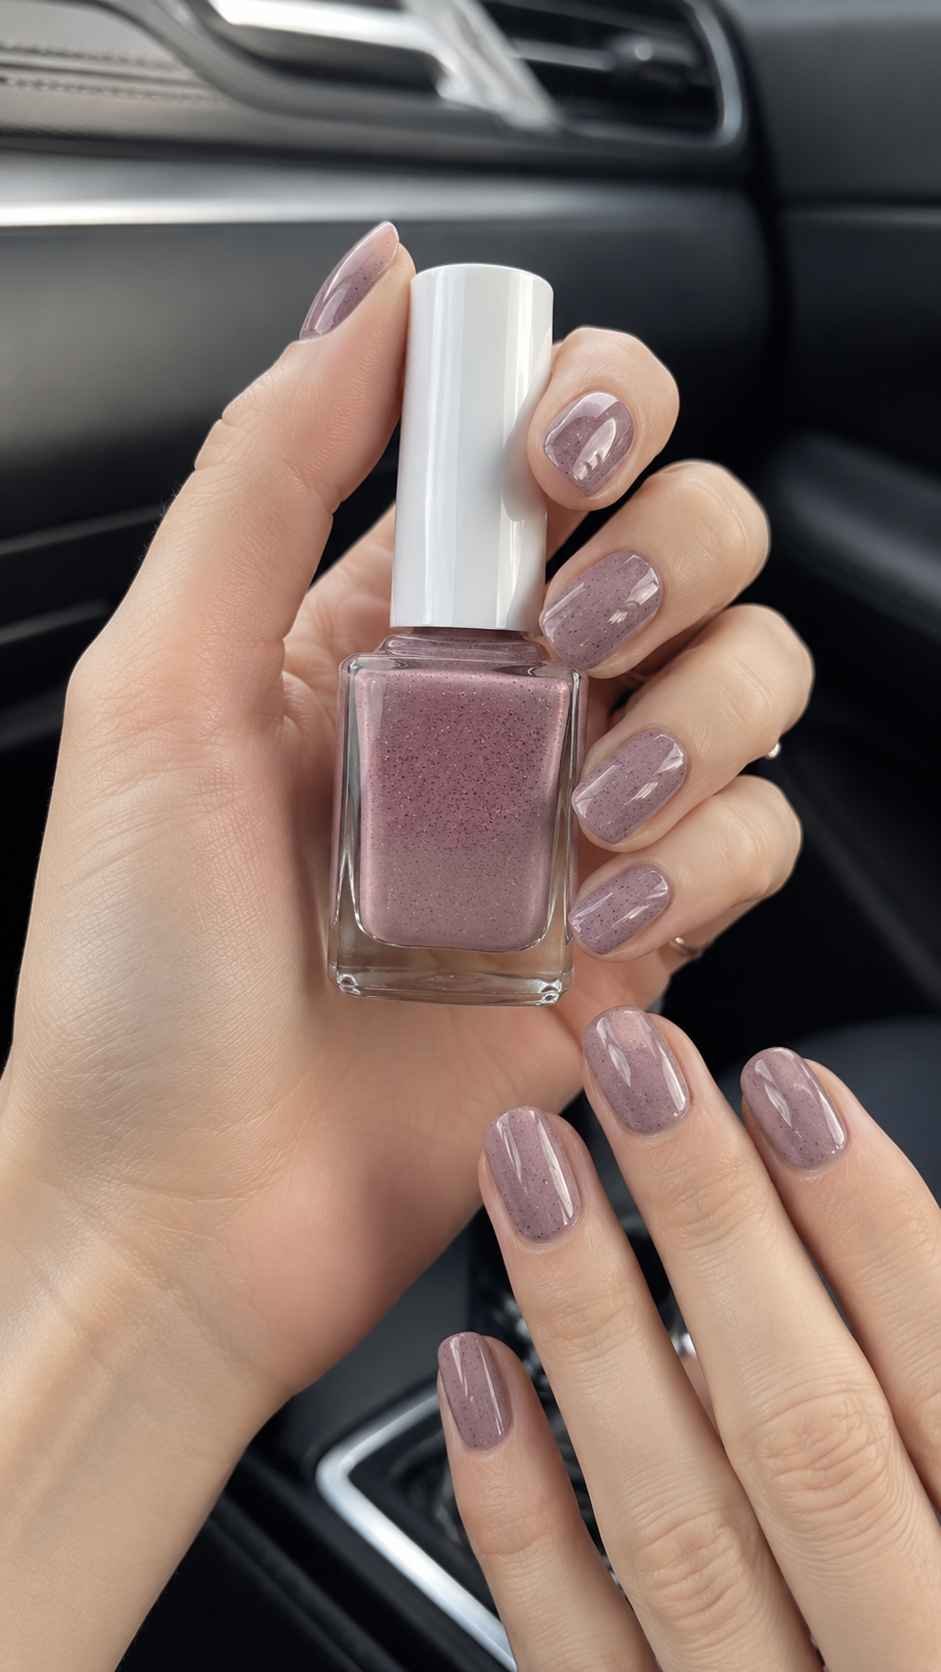
This finish offers an easy way to make a single polish look detailed while keeping the nail smooth and comfortable. It works particularly well on short nails because the compact surface makes each fleck noticeable, although longer shapes provide more room for the particles to spread. The most balanced formulas contain pieces in related colors rather than several unrelated bright shades. A clear top coat can smooth the surface while preserving the mineral inspired appearance.
Choose Fine Flecks for a Refined Finish
Look for nail polish containing very small flakes that distribute evenly across the brush. Fine particles create texture without overwhelming the base color or making the manicure resemble traditional glitter. Apply one thin coat and examine the spacing before deciding whether another layer is needed. A second coat will increase the number of speckles, while one coat creates a lighter and more natural effect.
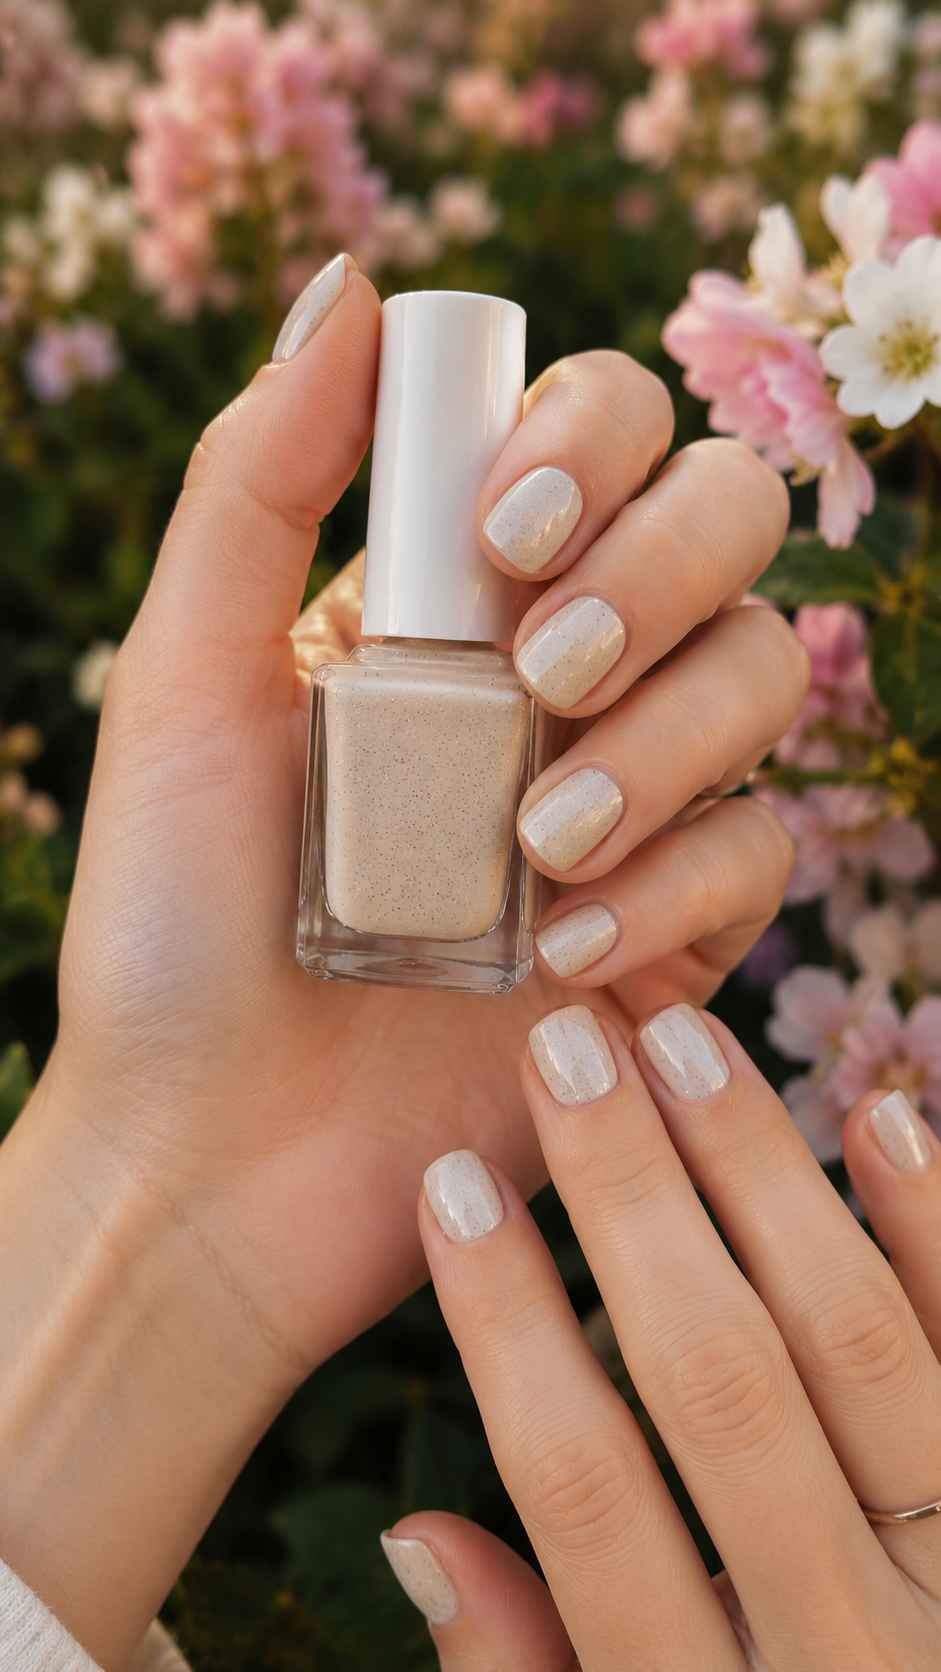
Cream with grey flecks feels calm and modern, while clay with darker particles creates a warmer appearance. Keep the nail shape simple so the unusual finish remains the main detail. Short rounded nails and soft square shapes work especially well because they give the scattered mineral pieces a clean frame and prevent the manicure from becoming visually complicated.
Layer Speckles Over a Related Base
If the speckled formula is very transparent, apply a solid color beneath it to give the particles greater definition. Choose a base that belongs to the same color family but is slightly lighter than the speckled polish. A pale grey base can support charcoal flecks, while a soft rose base can hold mauve particles. Allow the foundation to dry fully before adding the textured layer so the brush does not disturb the color beneath it.
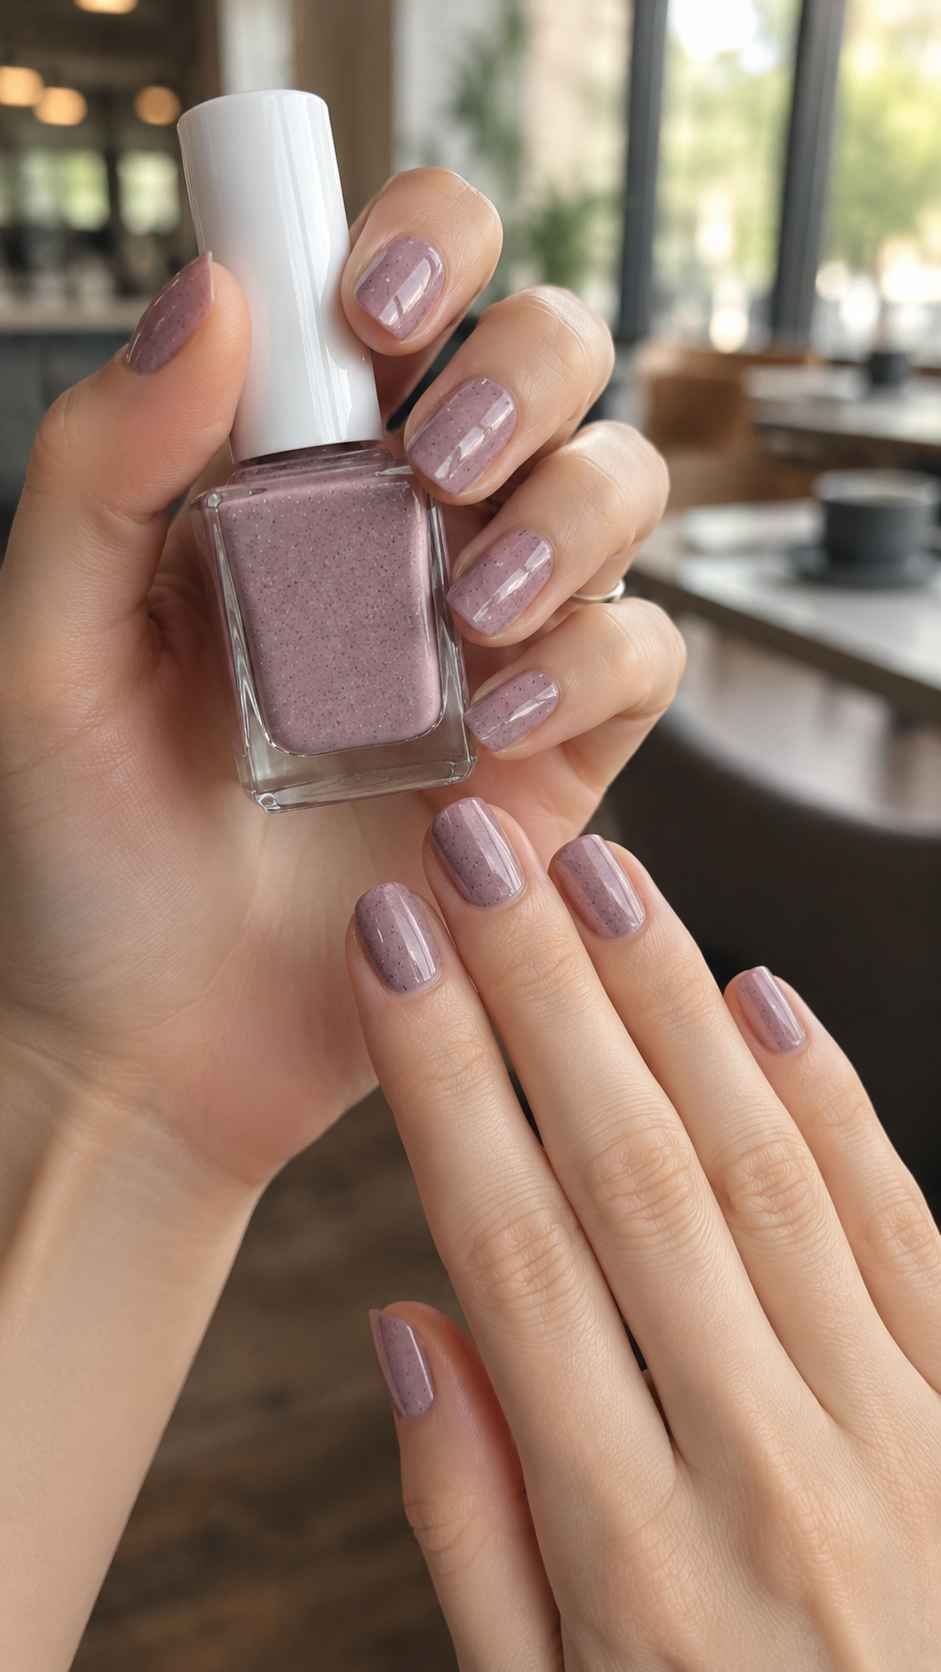
Use only one coat of speckled polish when the base is already opaque. This keeps the manicure smooth and prevents too many particles from gathering near the tip. The layered result should resemble polished stone with small natural variations, giving the nails depth without requiring painted patterns, attached decorations, or complicated salon techniques.
Control the Particle Placement With the Brush
Speckled polish does not always distribute perfectly during the first stroke, so use the brush to guide particles into empty areas before the layer begins to dry. Avoid repeatedly brushing the entire nail because this can create uneven thickness. Instead, collect one or two flecks from the bottle and place them carefully where additional texture is needed. Keep the arrangement slightly irregular so the finish continues to look natural.
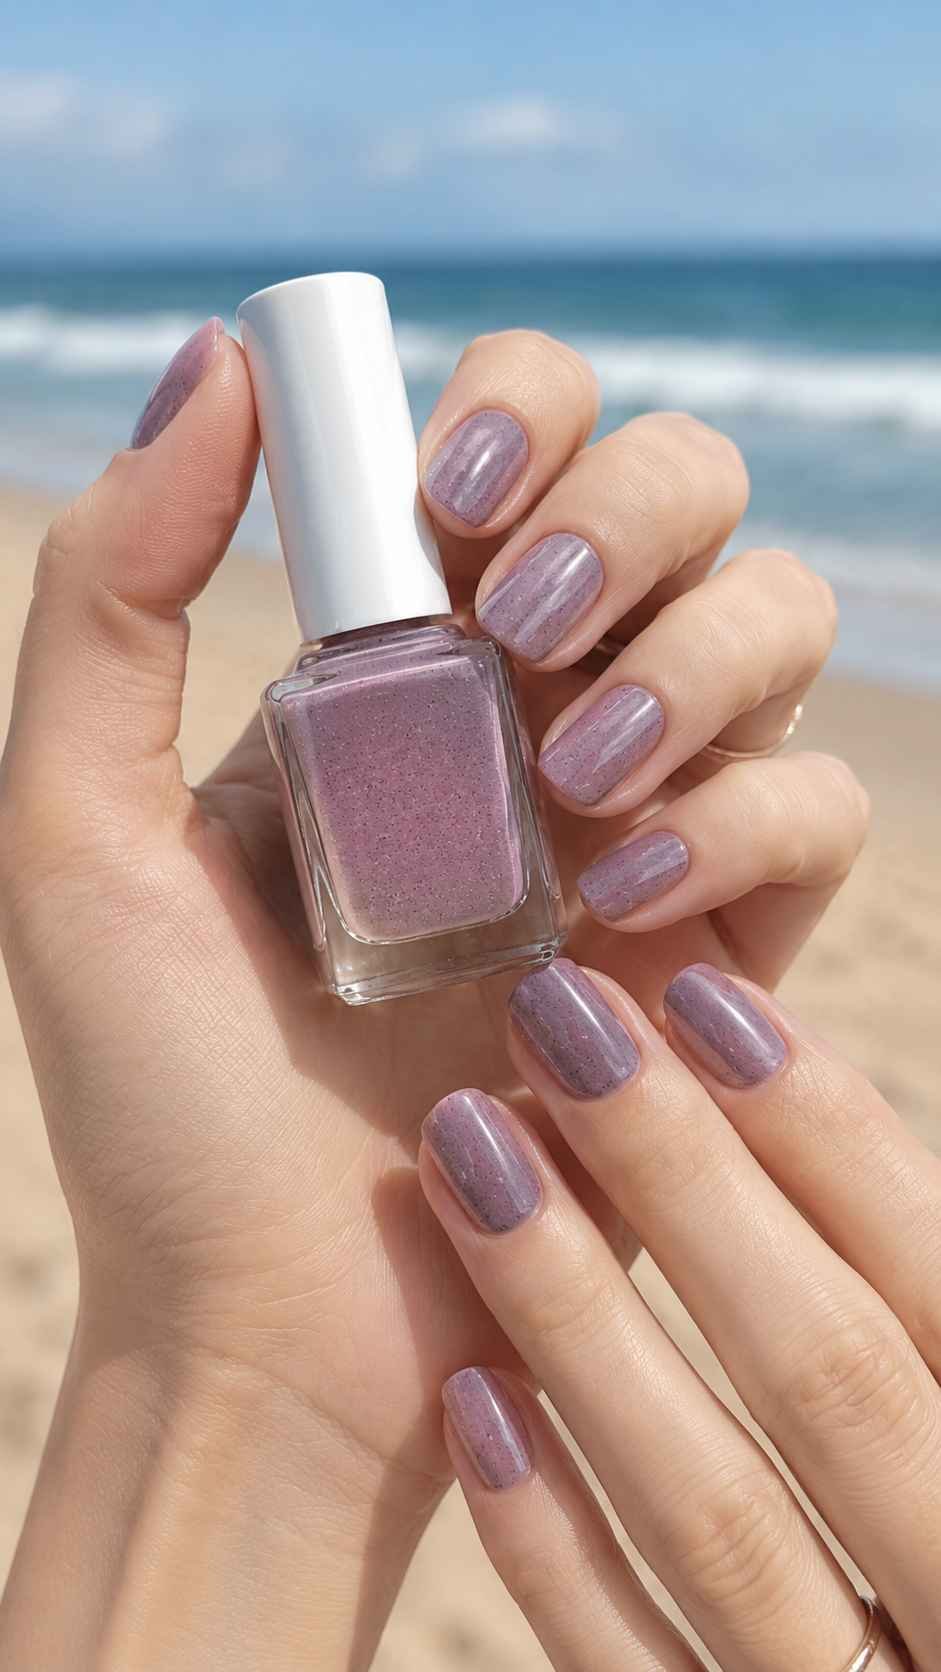
Once the particles are balanced, allow the polish to settle and cover it with a smoothing top coat. The final surface should feel even when touched, with the visual texture remaining beneath the clear layer. This controlled application helps every nail look related while preventing identical placement, making the manicure feel organic, polished, and thoughtfully completed.
Denim Rain Nail Polish
Denim rain nail polish explores blue through softened, slightly grey tones that feel calm, cool, and wearable. The shade is less bright than a clear sky color and less intense than a strong ink blue, making it easy to pair with a wide range of clothing. Think of washed denim after light rain, where the color remains visible but the surface appears muted and smooth. This polish can move from pale blue grey to a deeper medium denim without losing its relaxed character.
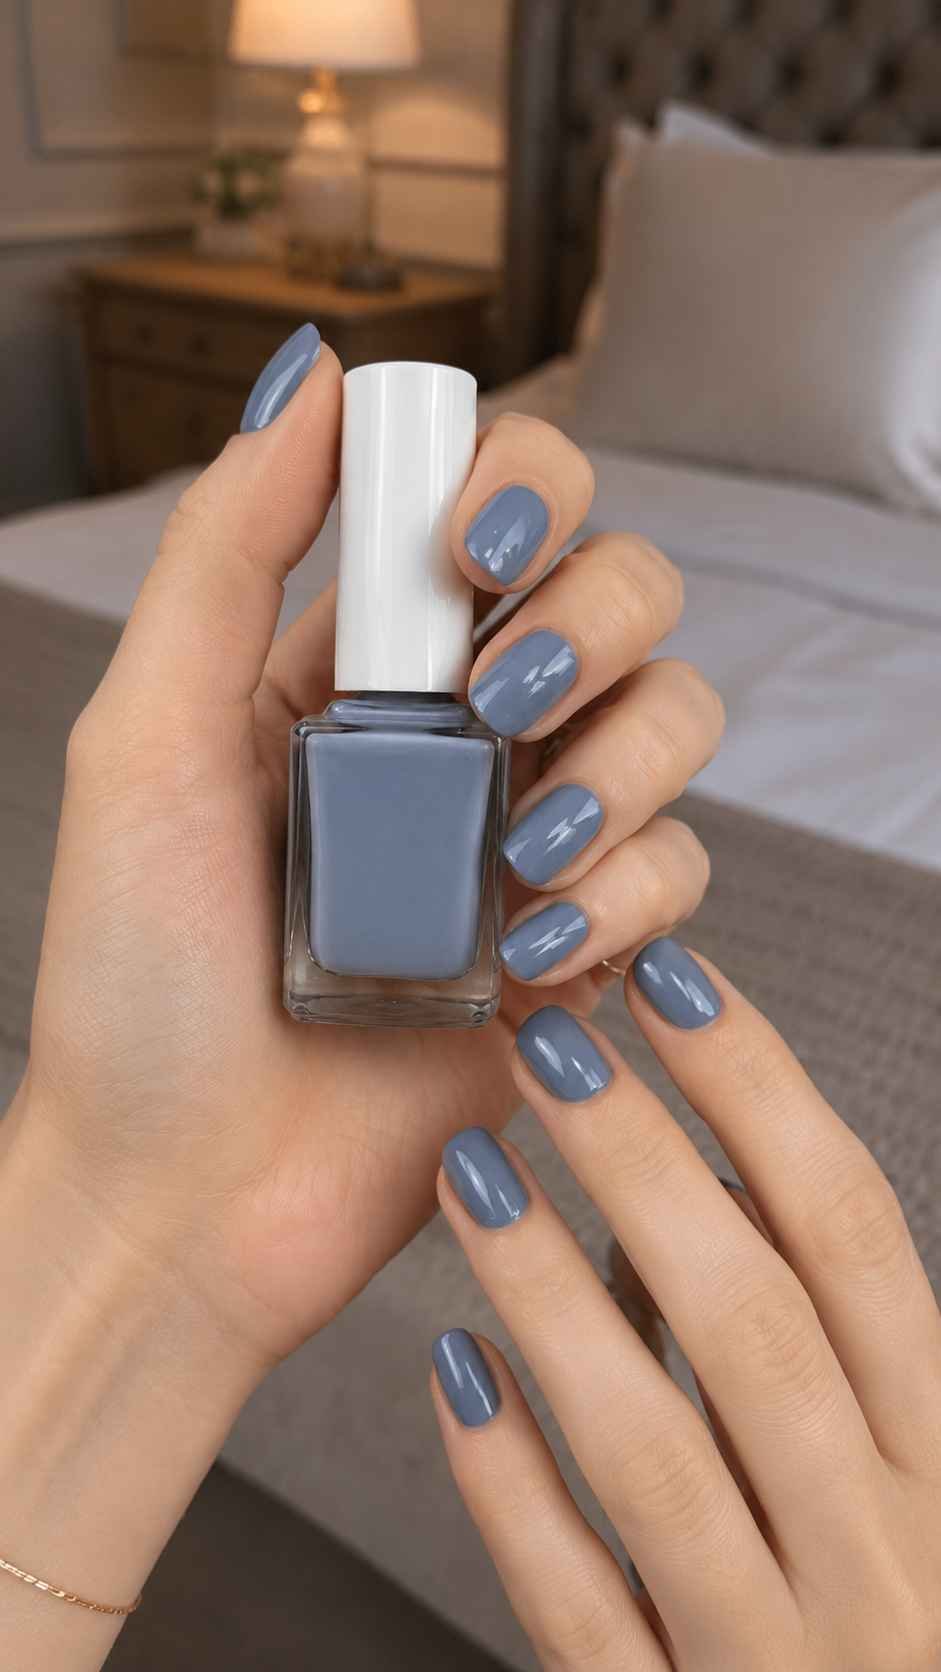
It looks especially strong with white, charcoal, camel, burgundy, silver, and different washes of denim clothing. A glossy finish makes the shade appear cleaner, while a satin surface strengthens its soft textile quality. The color suits short square nails, rounded shapes, and longer almond nails because its calm undertone keeps every length balanced rather than making the manicure look overly bright or dramatic.
Begin With Pale Washed Denim
A pale denim shade contains enough grey to keep the blue soft and controlled. It creates a clean manicure without using a traditional neutral, making it useful when you want quiet color. Apply two thin coats to avoid streaks, especially when the formula has a light creamy base. This version looks beautiful on short square or rounded nails and pairs easily with white shirts, soft knitwear, tan bags, and silver jewelry. Keep the top coat glossy so the pale shade looks smooth rather than chalky.
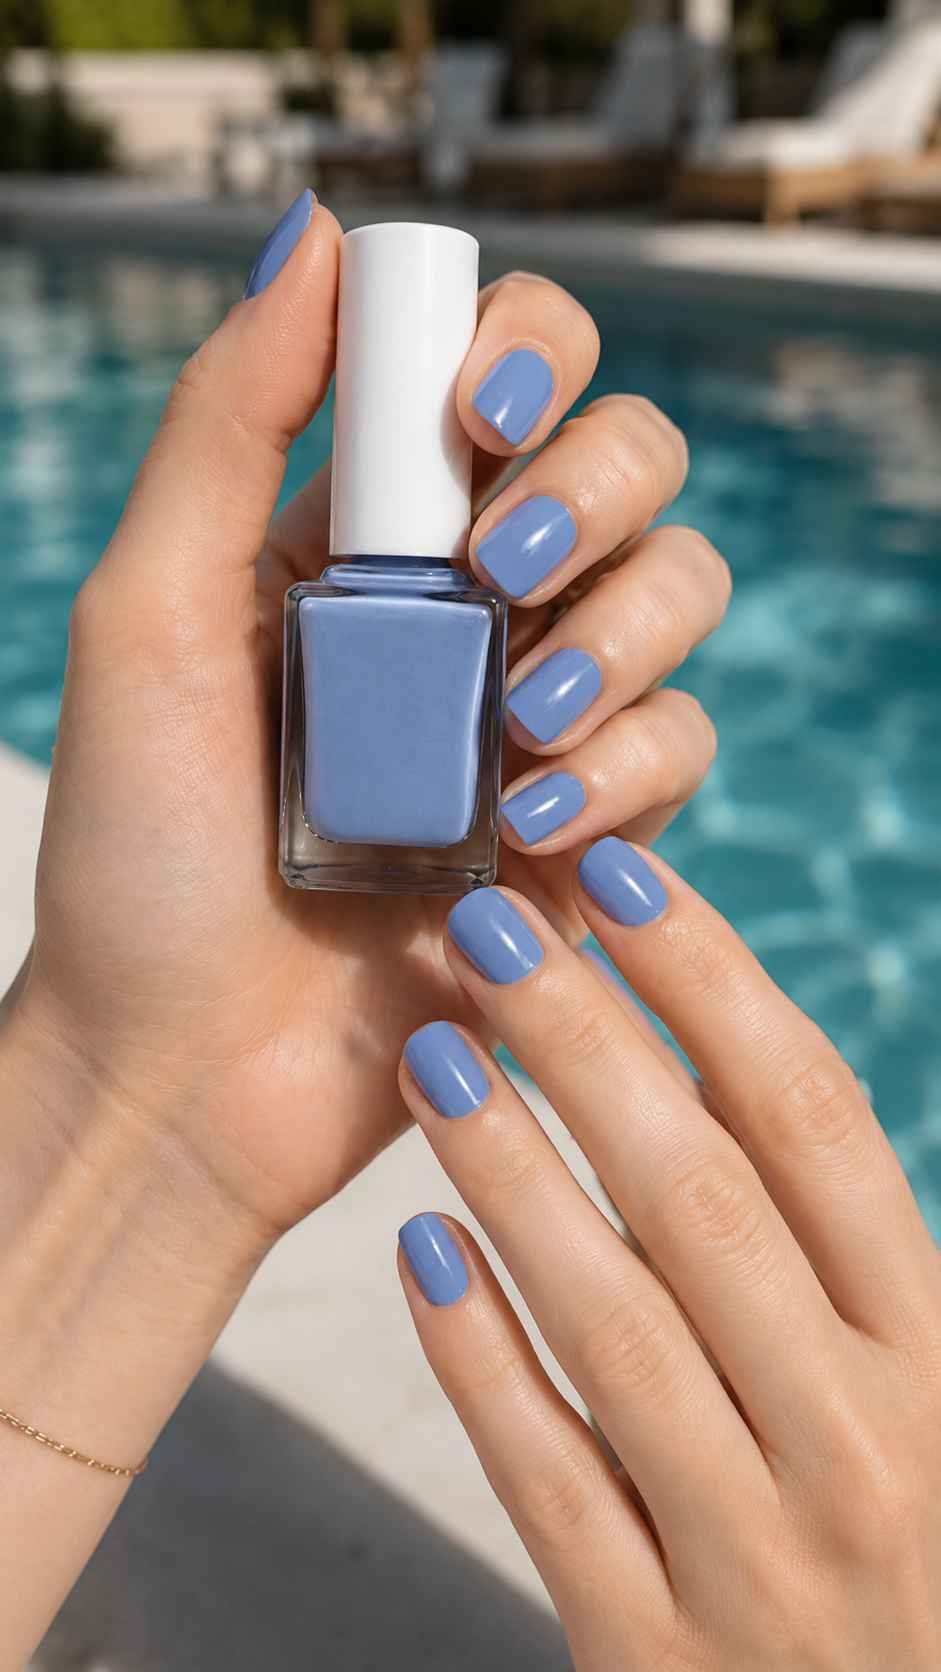
If the first layer appears uneven, allow it to dry rather than trying to correct it immediately with repeated brush strokes. The second layer will create more consistent coverage while preserving the washed quality that gives the color its relaxed and distinctive personality.
Choose Medium Denim for Everyday Depth
Medium denim rain polish gives the hands more color while remaining easy to coordinate. Look for a blue with muted grey undertones rather than a bright primary finish. The shade should feel rich enough to stand alone but soft enough for regular outfits. Two even coats will create a balanced result on oval, almond, or square nails. Pair it with cream, black, camel, burgundy, or patterned clothing. The color also works well when your outfit already includes denim because the manicure can echo the fabric without matching it exactly.
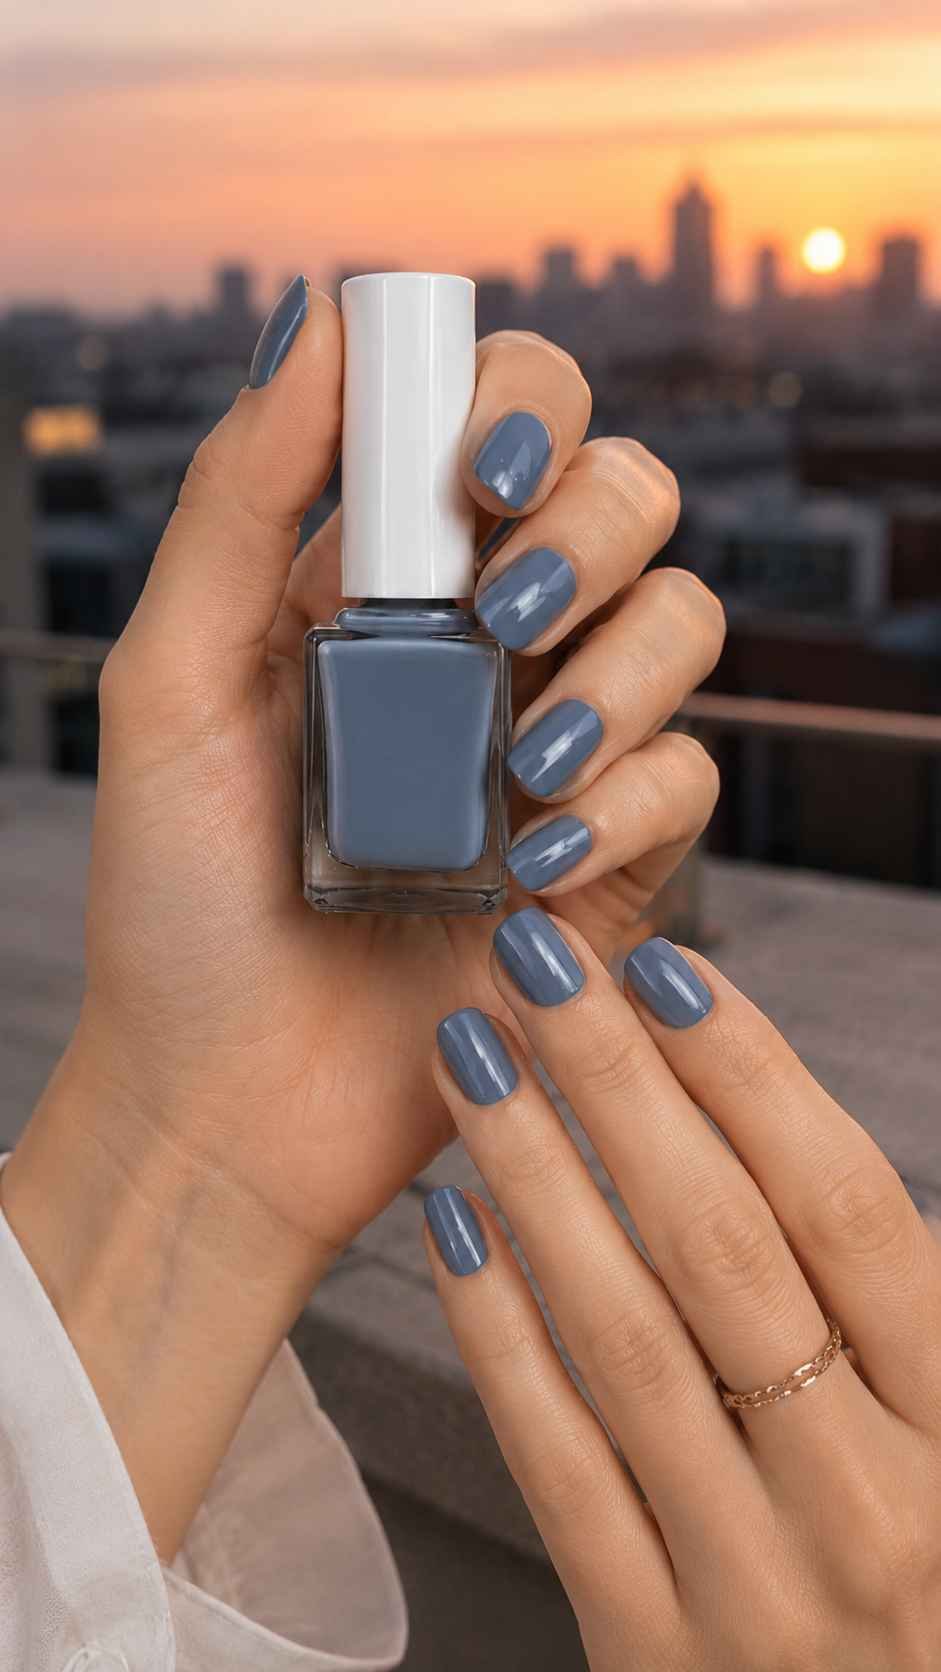
Keep the cuticle line clean and slightly rounded to complement the calm color. A clear glossy top coat will deepen the blue, while a satin finish will emphasize its soft fabric inspired character. Both options allow the shade to remain wearable without looking ordinary.
Deepen the Mood With Storm Denim
Storm denim moves closer to deep blue grey while staying lighter and softer than navy. It creates a stronger manicure that feels polished and slightly dramatic without becoming harsh. Apply a protective base coat, followed by two thin color layers and a smooth top coat. This deeper version looks especially elegant on short oval nails or medium almond shapes. It can support evening outfits, tailored clothing, and darker wardrobes while still feeling distinctive.
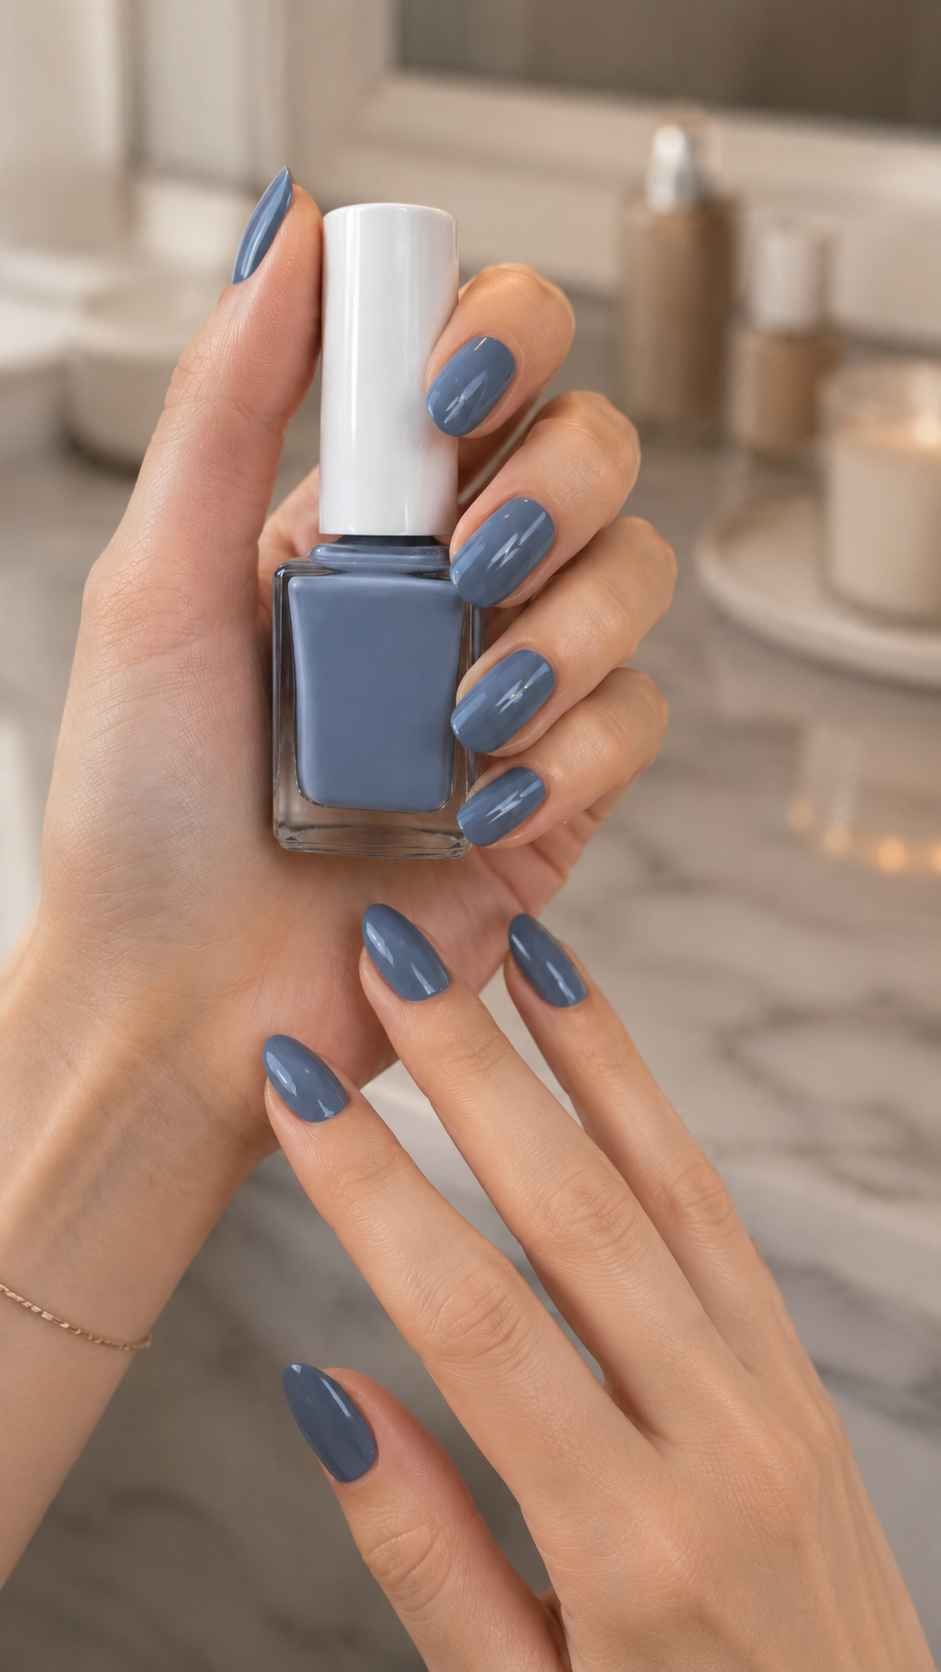
The grey influence keeps the blue refined, allowing the manicure to remain versatile even when the shade has noticeable depth. Avoid applying the color too thickly near the sides because deep polish can make the nail shape look wider. Clean edges, controlled layers, and an even reflection will give storm denim a sophisticated finish that remains practical for regular wear.
Let Nail Polish Complete Your Entire Look
The right nail polish can become more than a finishing step because color and surface can help connect your hands with the rest of your personal style. Rosewater veil offers a clean translucent glow, cashmere satin creates quiet softness, and moonstone pearl introduces subtle moving light. Mulberry smoke gives deeper outfits a refined companion, mineral speckle adds controlled texture, and denim rain brings a cool alternative to familiar neutral shades.
Choose the idea that fits your wardrobe, nail shape, and preferred level of contrast, then adjust the number of coats and final finish until the color feels completely personal. A manicure does not need complicated decoration when the polish has enough depth, texture, or light movement to hold attention on its own. Continue exploring related nail color ideas, manicure shape guides, polish care routines, pedicure shades, seasonal palettes, and outfit styling articles to build looks that feel connected from the first accessory to the final glossy detail.
