
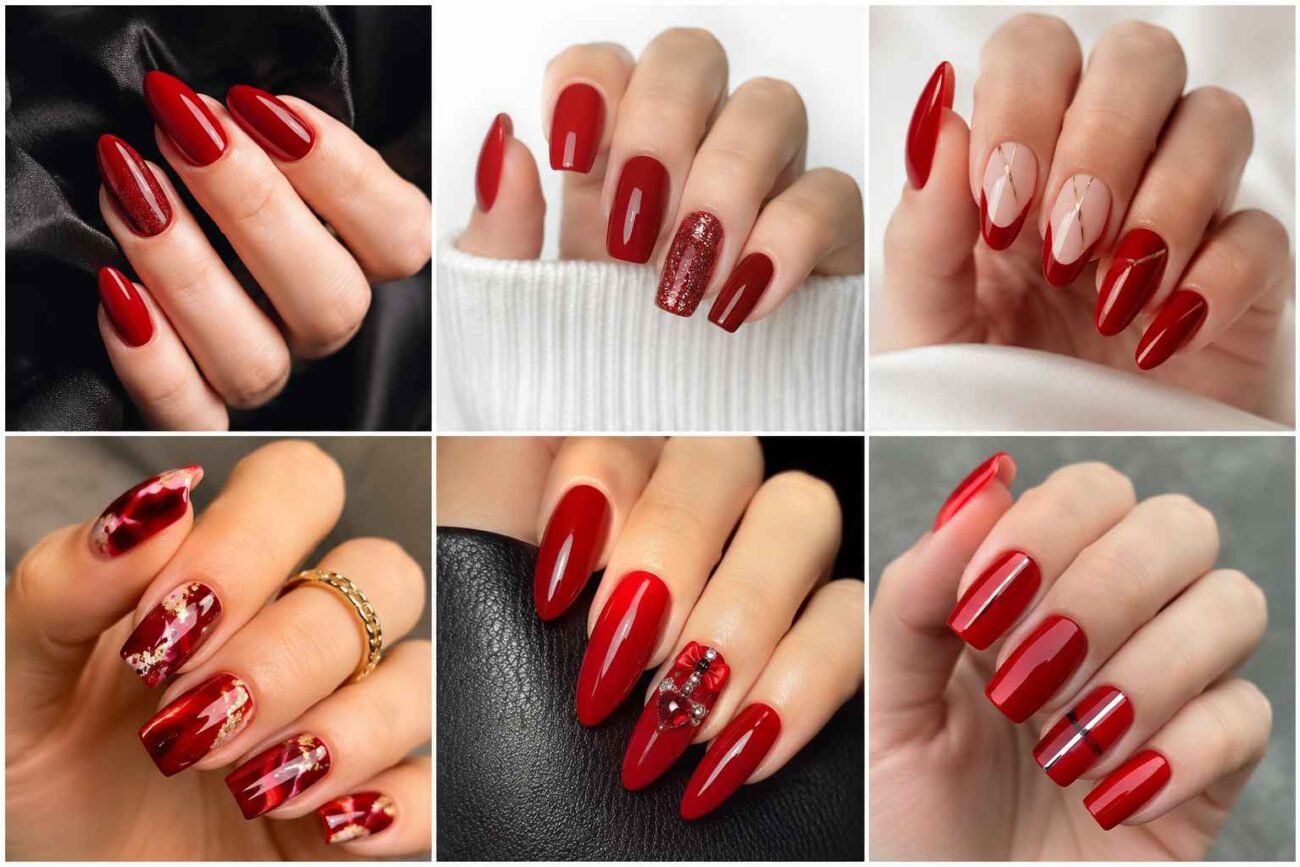
Red nails can look polished, playful, dramatic, or quietly luxurious depending on the shade, finish, and placement. A memorable nails red design does not need crowded decoration. The strongest looks use a clear color story and one distinctive detail.
Tomato tones bring fresh energy, cherry glass adds juicy depth, burgundy magnetic polish creates evening drama, and brick red graphics offer an artistic alternative to ordinary solid color. The six ideas below explore completely different moods and can be adapted for short natural nails, almond shapes, square tips, oval nails, or longer extensions.
Tomato Red Glass Nails With Sunlit Transparency
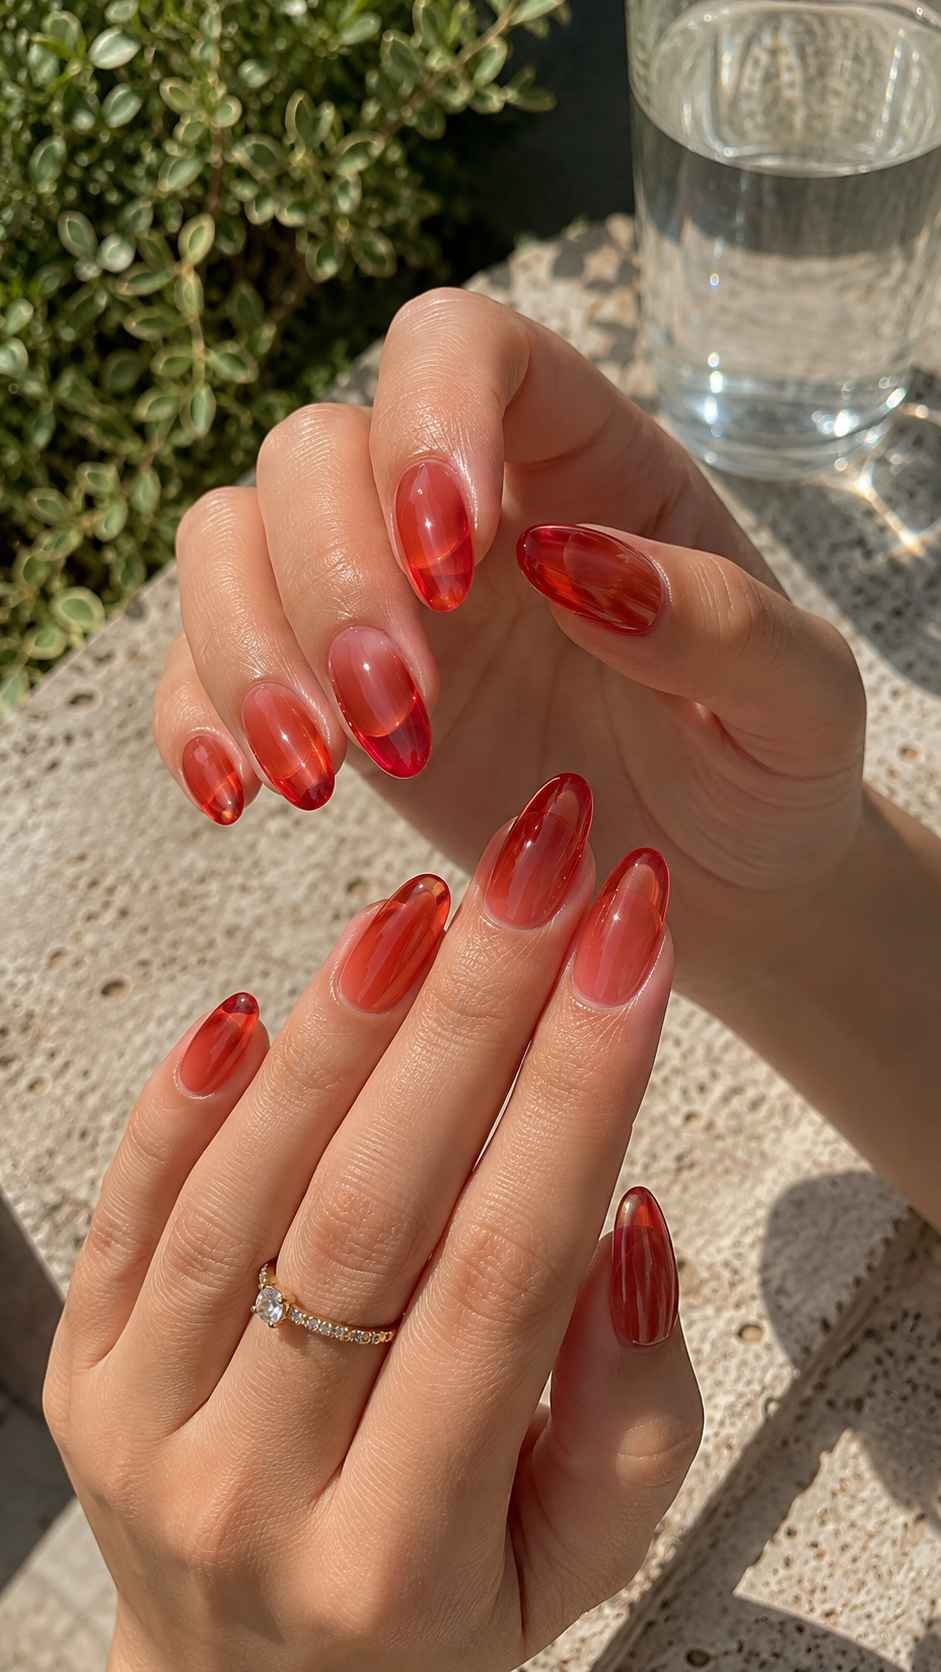
Tomato red has a warm orange undertone that gives nails vivid color without becoming neon. Turn it into a translucent glass finish instead of using a heavy opaque coat. The result feels bright, juicy, and clean on short oval, rounded square, or almond nails. Keep the cuticle line precise and the surface highly glossy. This manicure pairs easily with white clothing, denim, floral dresses, and simple accessories because the red already provides a strong focal point.
Build Color With Thin Syrup Layers
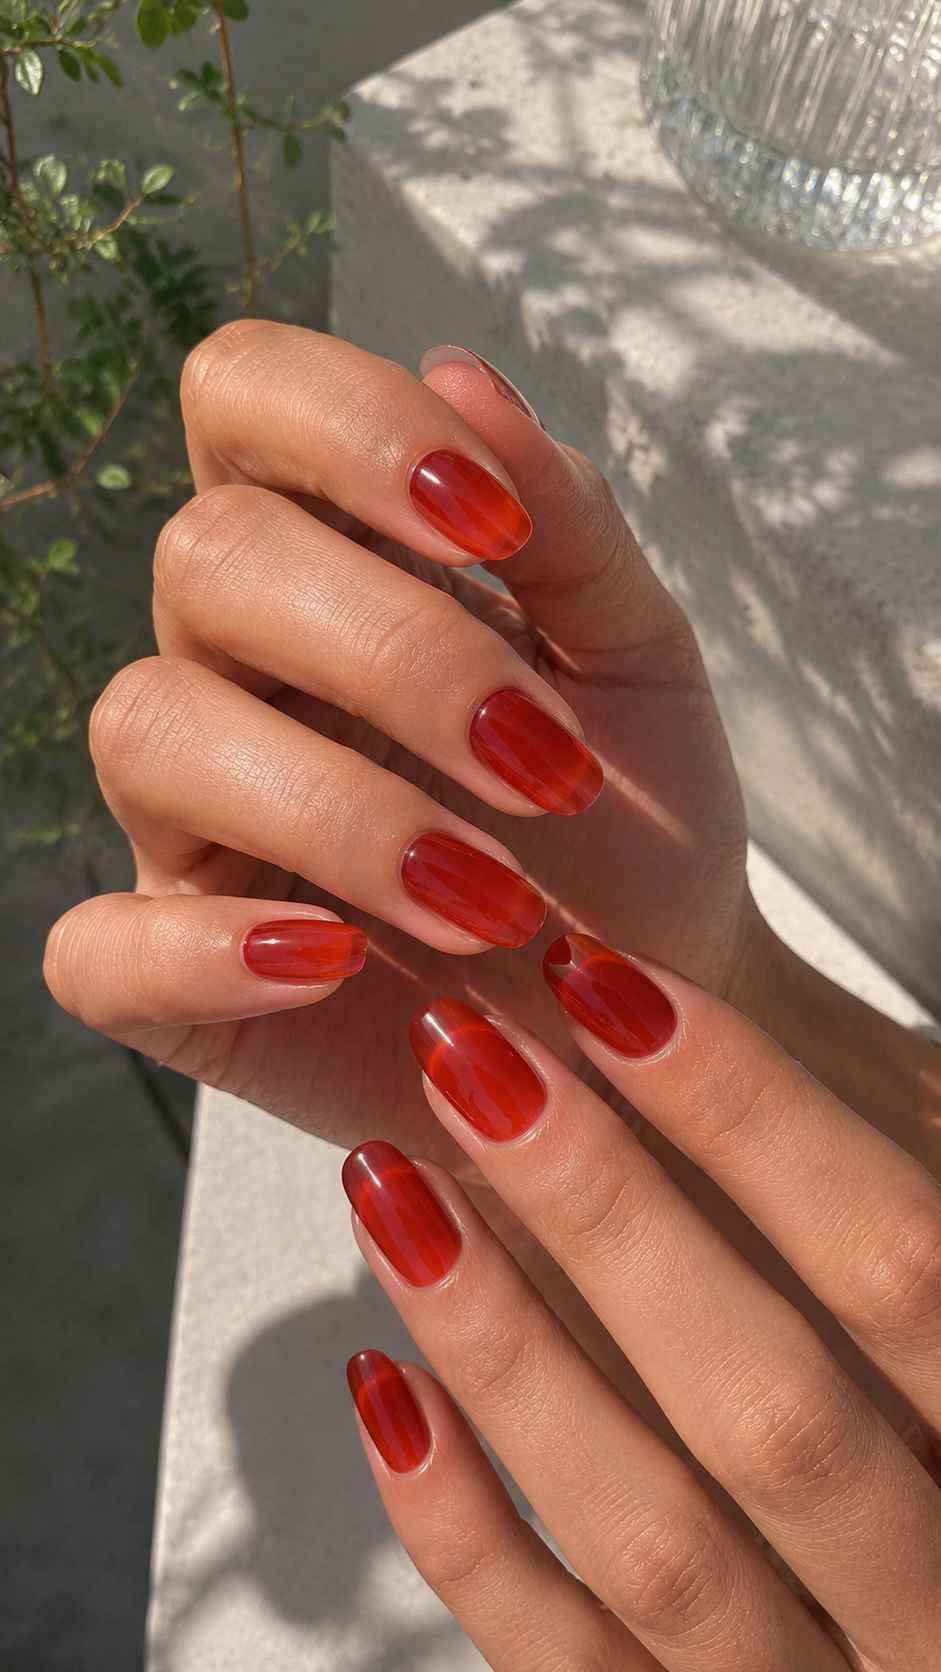
Apply several thin coats of transparent tomato red. Each layer should deepen the center while keeping the edges luminous. Finish with a smooth glossy top coat so the nails resemble polished candy. The design stays minimal, but the layered color gives it enough depth to look carefully finished.
Leave a Clear Crescent Near the Cuticle
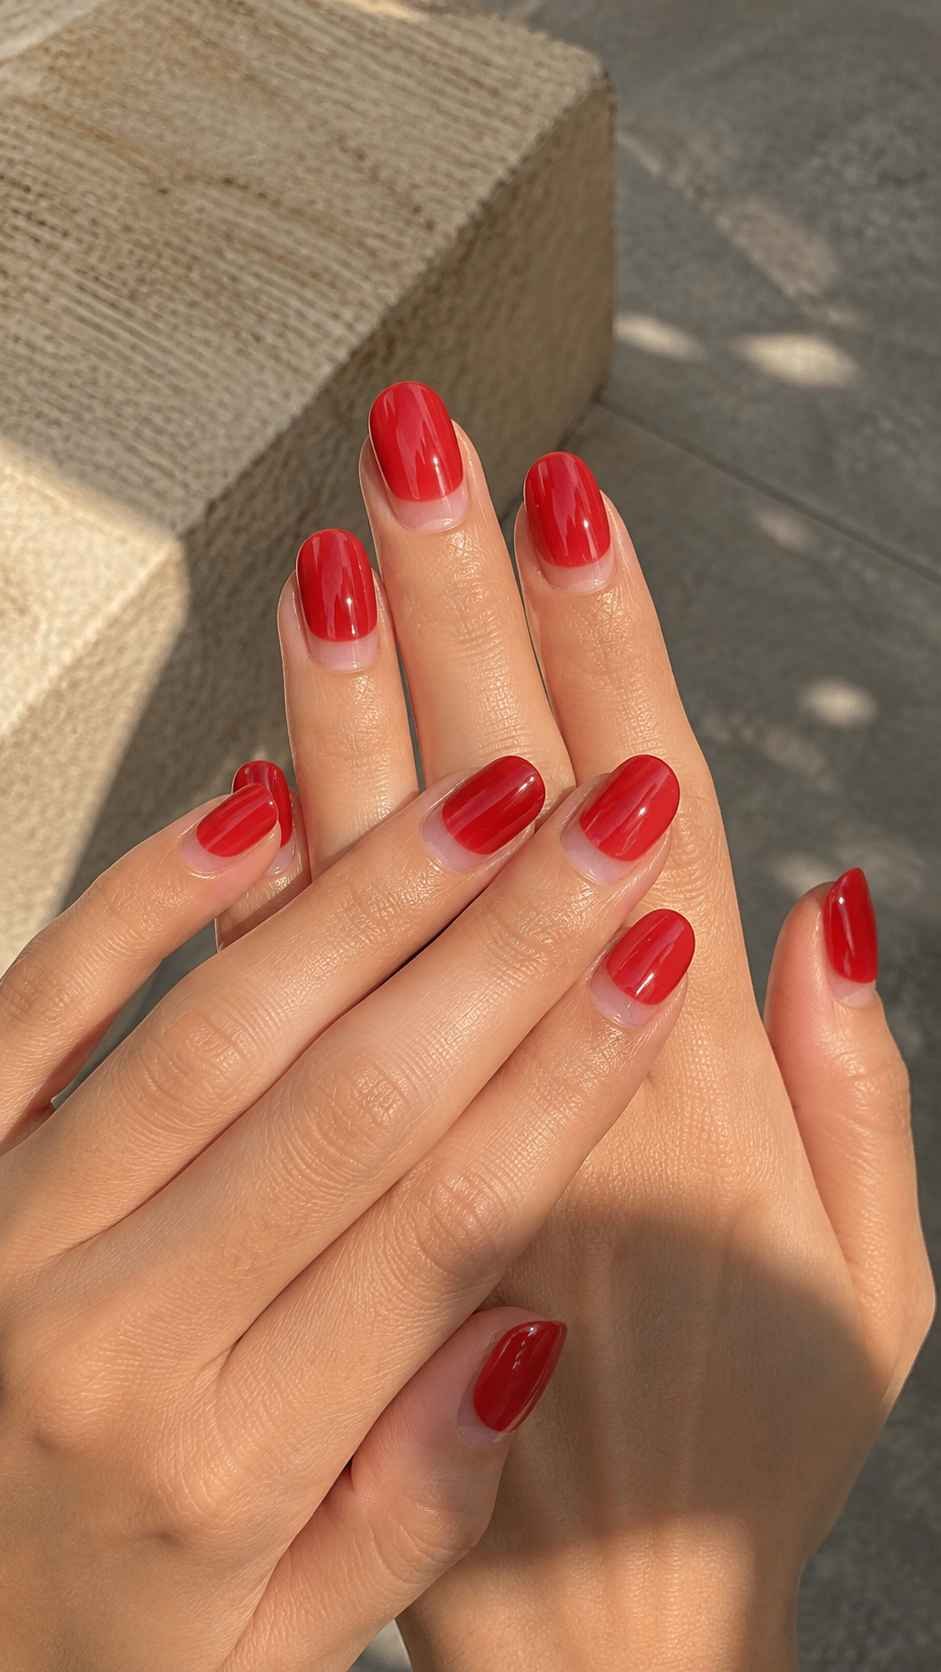
Keep a small curved section of natural nail visible near the cuticle. This open space makes the bright shade feel lighter and can visually lengthen shorter nails. Keep every crescent narrow and balanced so the result looks deliberate rather than unfinished.
Add One Tiny Tomato Accent
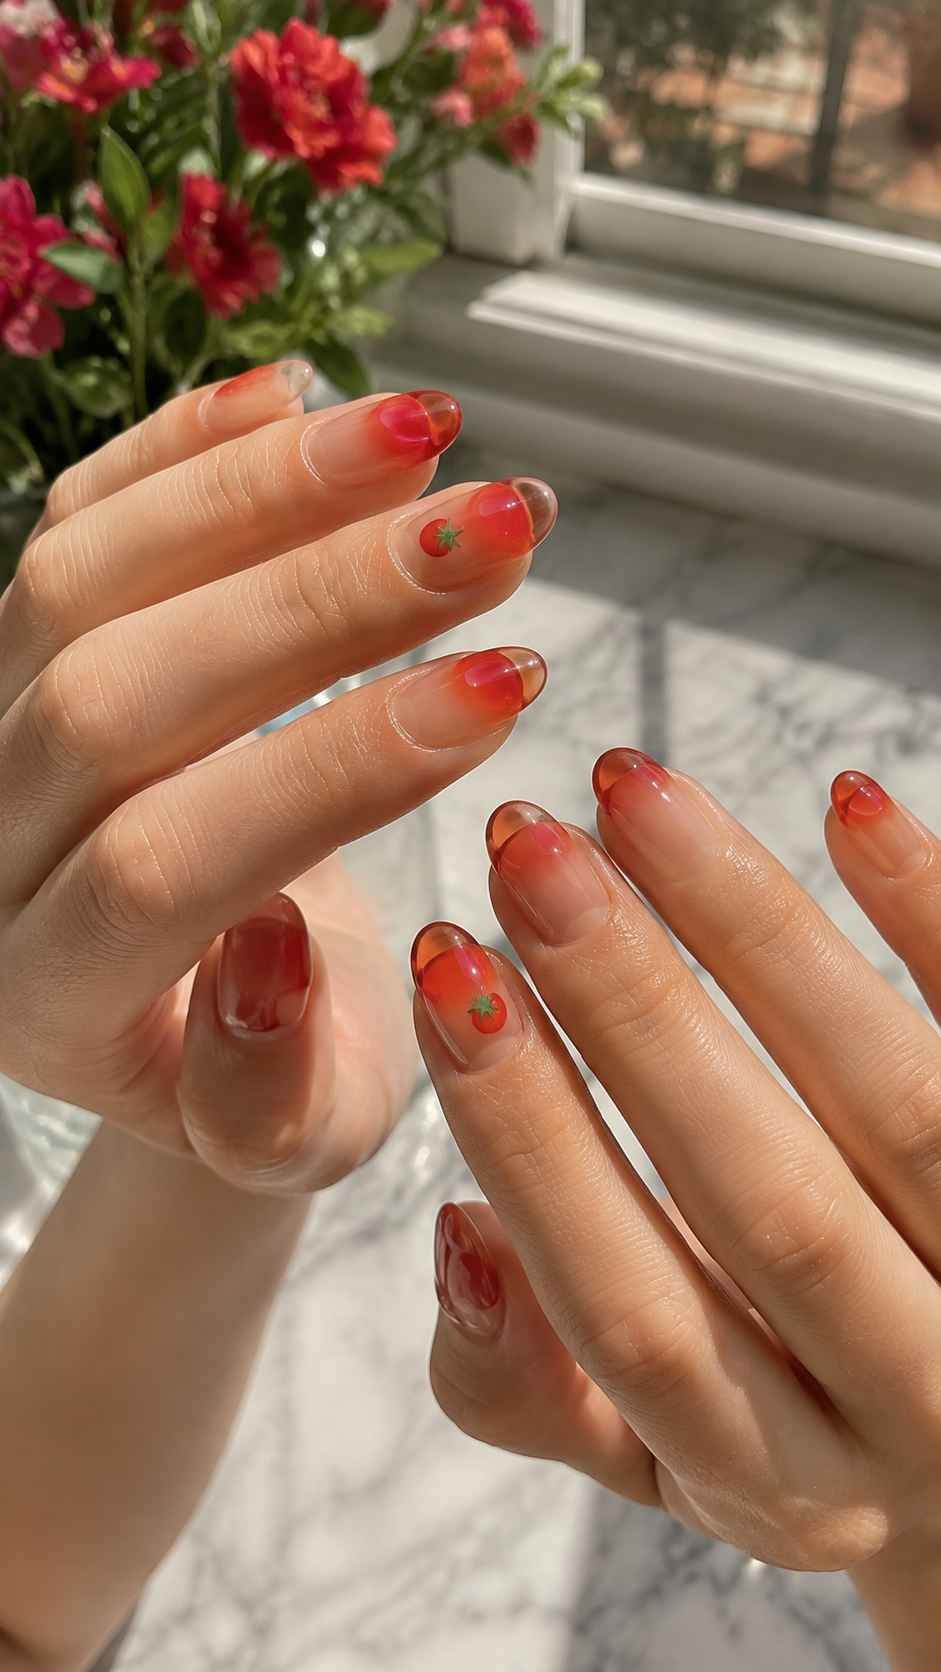
Paint a miniature tomato near one corner of a single accent nail. Use a simple round red shape with a tiny green leaf. Keeping the illustration small adds personality without turning the whole manicure into a heavily themed set.
Black Cherry Velvet Nails With Magnetic Depth
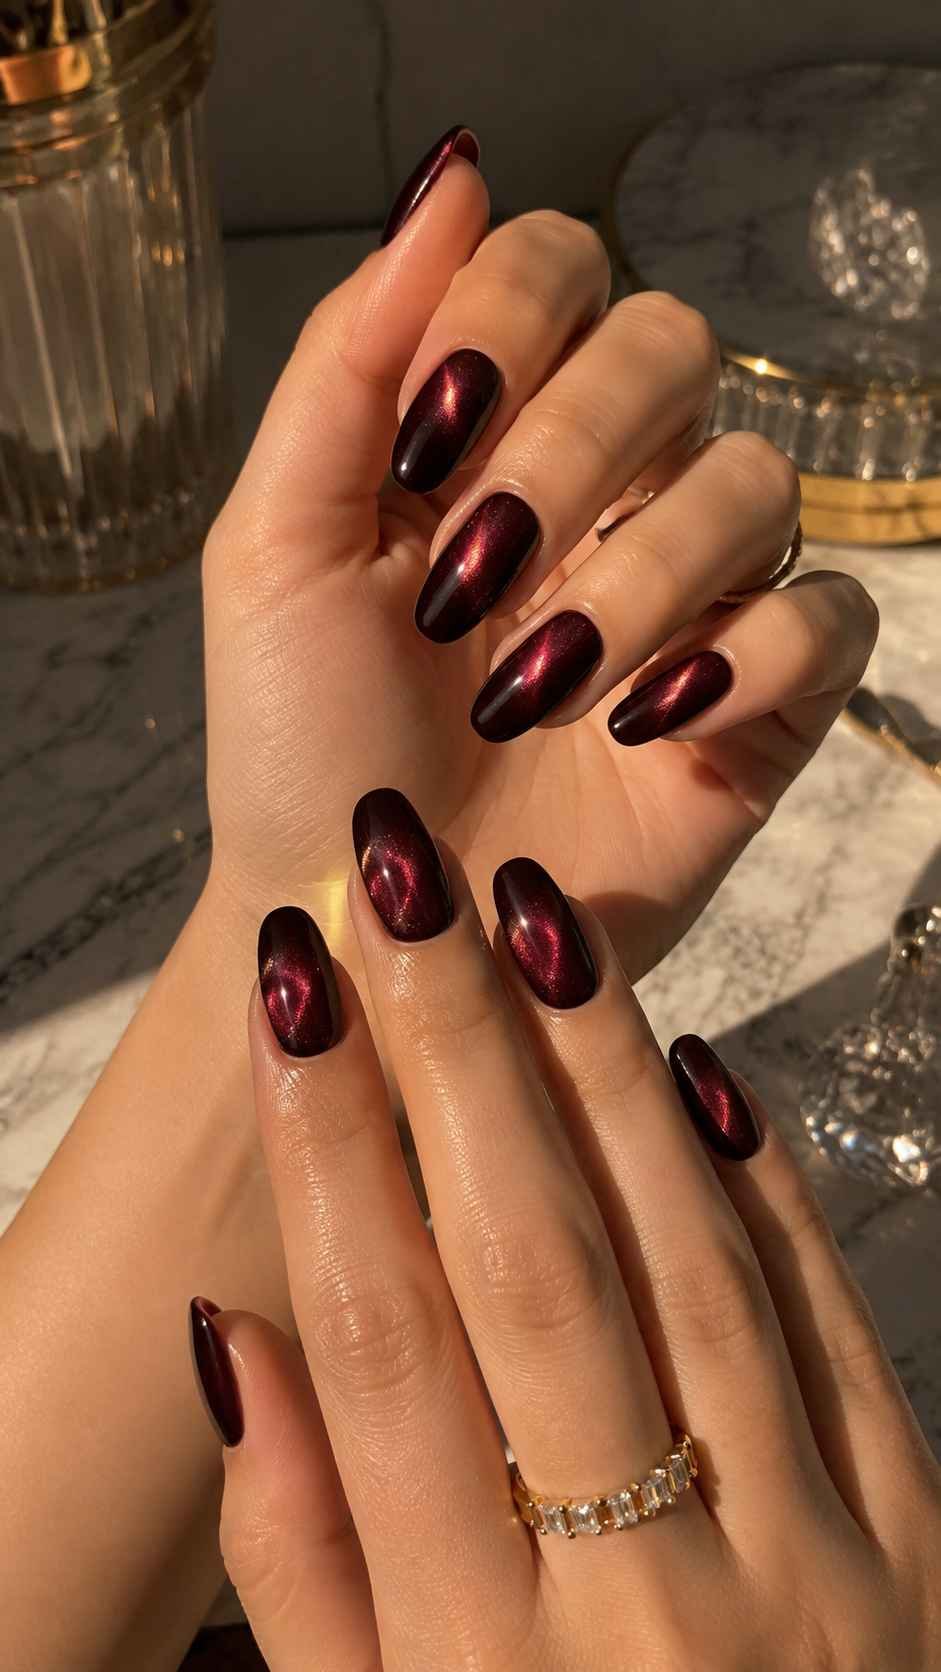
Black cherry blends wine red with plum and brown shadows, creating a color that changes as the hand moves. A magnetic cat eye finish adds a soft reflective beam that makes the polish resemble velvet or garnet stone. This dramatic nails red design looks elegant on almond, oval, squoval, and coffin shapes. Pair it with black outfits, satin fabrics, silver details, or evening makeup, and avoid extra decoration so the moving light remains the main feature.
Create a Narrow Center Beam
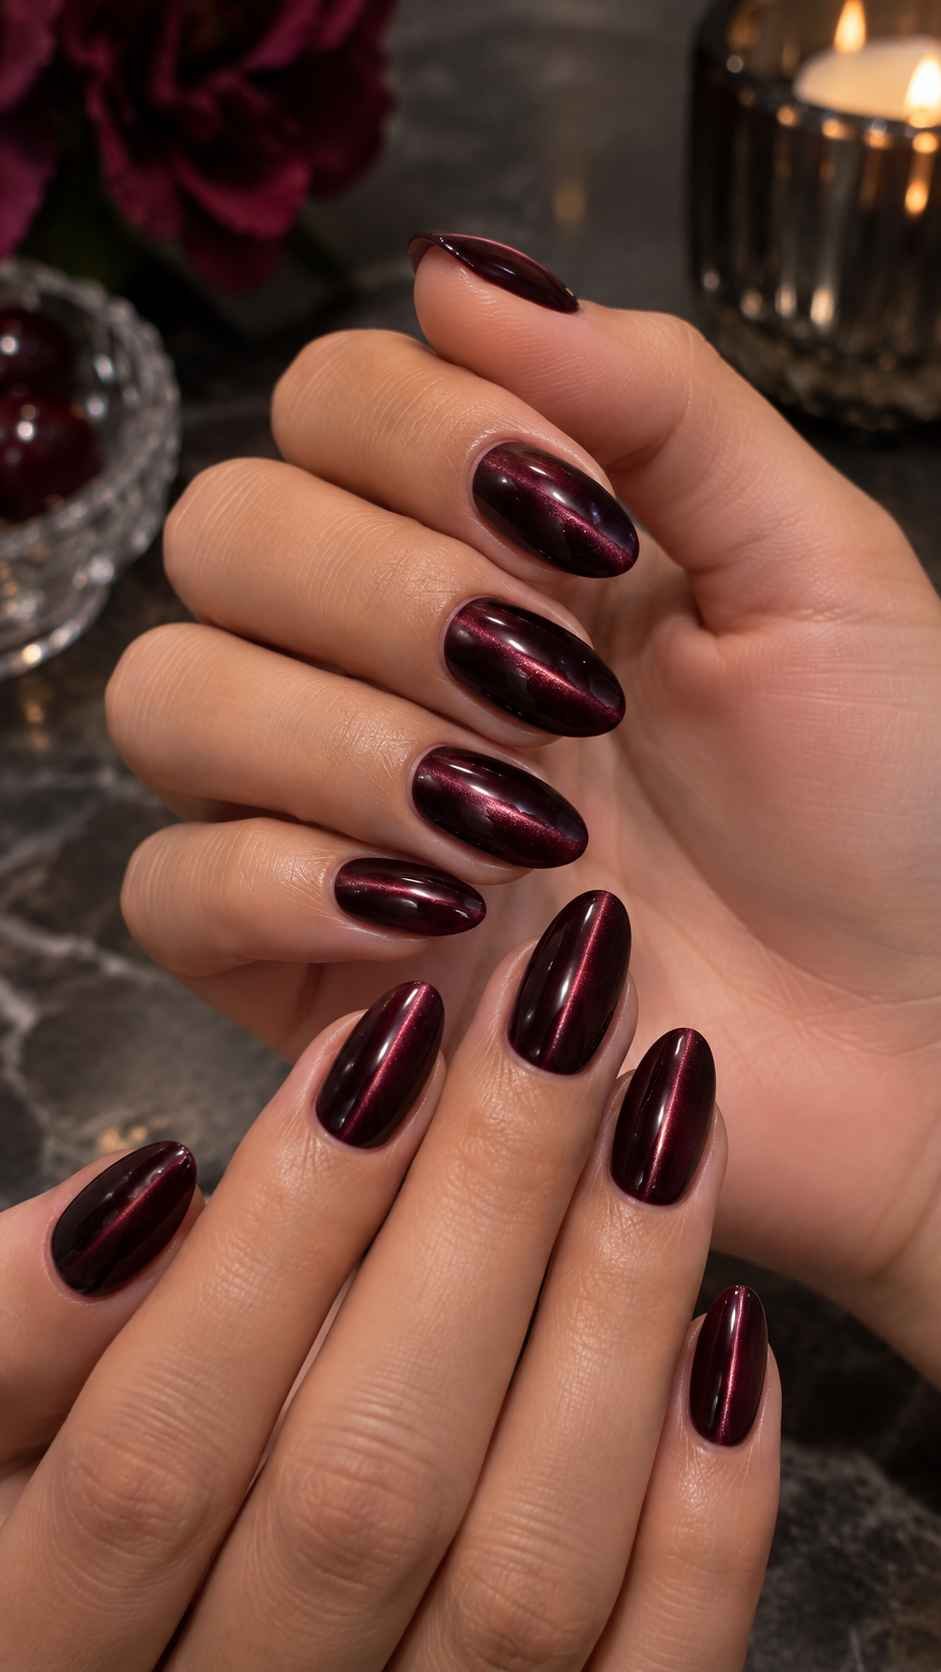
Pull the magnetic particles into a slim vertical line through the center of each nail. The beam visually lengthens the shape and shifts from dark cherry to glowing garnet as light changes. Use a high shine top coat to sharpen the movement and give the manicure a smooth salon finish.
Move the Glow Toward One Side
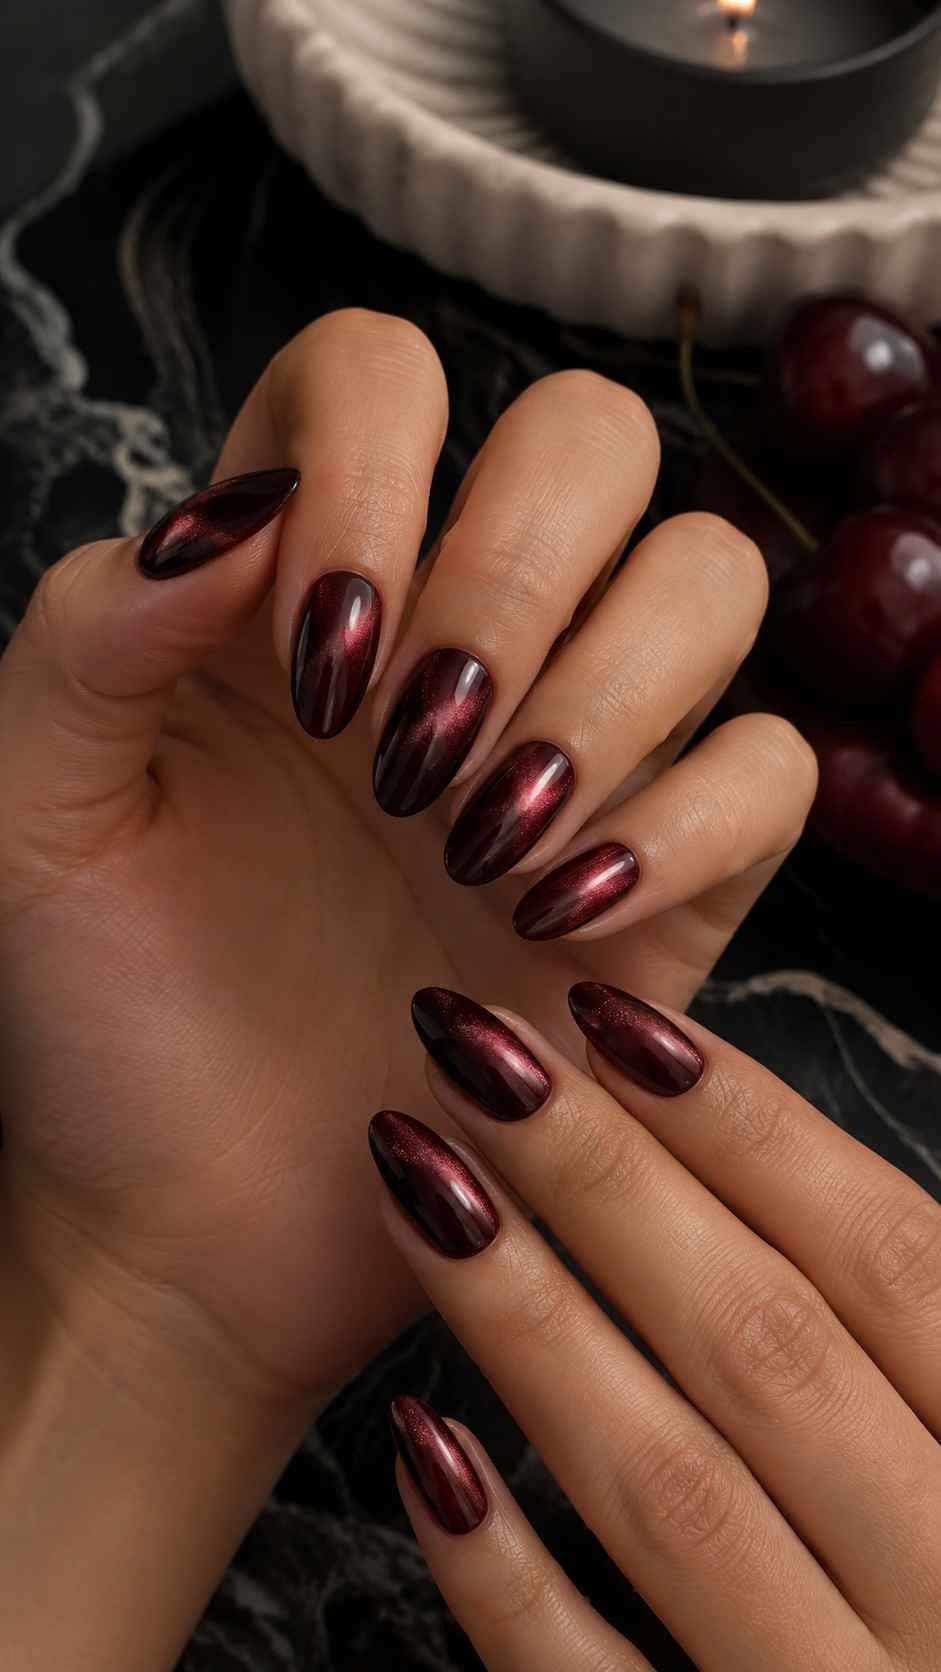
Place the magnetic highlight along one side of every nail for a softer, diagonal wash of light. Keep the direction consistent across the set. This placement works especially well on square and coffin nails because it adds fluid movement to their straight outline.
Contrast Satin Bases With Glossy Tips
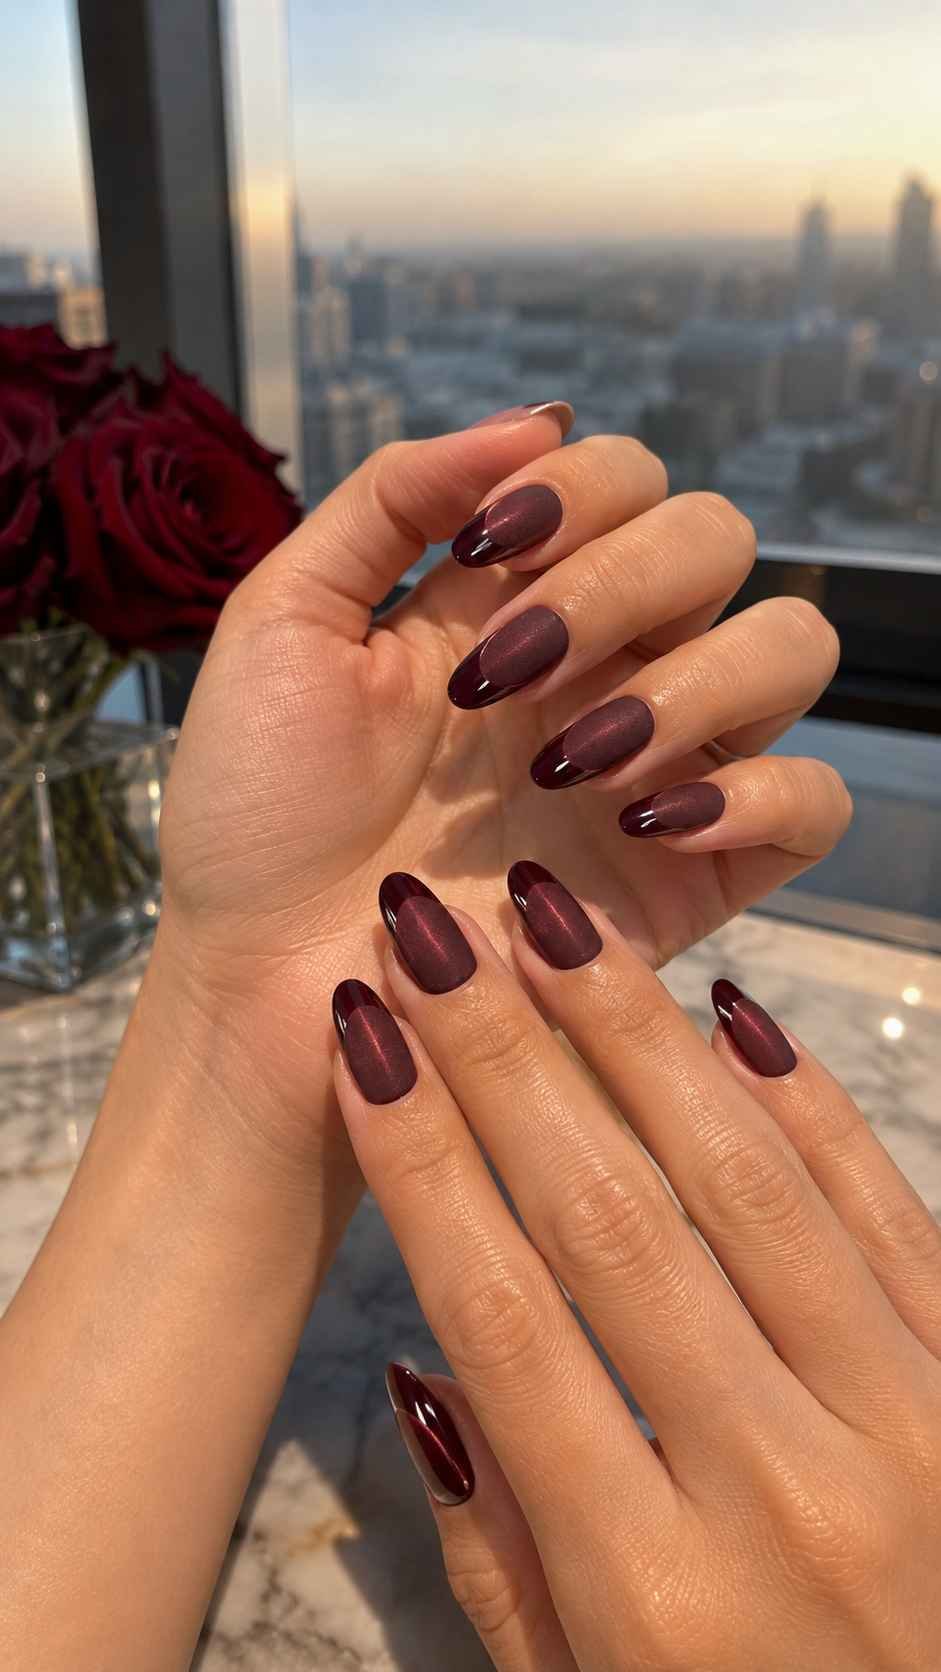
Cover the magnetic color with a satin top coat, then repaint only the tips with clear gloss. The change in reflection creates a subtle French effect without adding another shade. Keep the glossy section slim on short nails and slightly deeper on longer shapes.
Crimson Micro French Nails With Tailored Lines
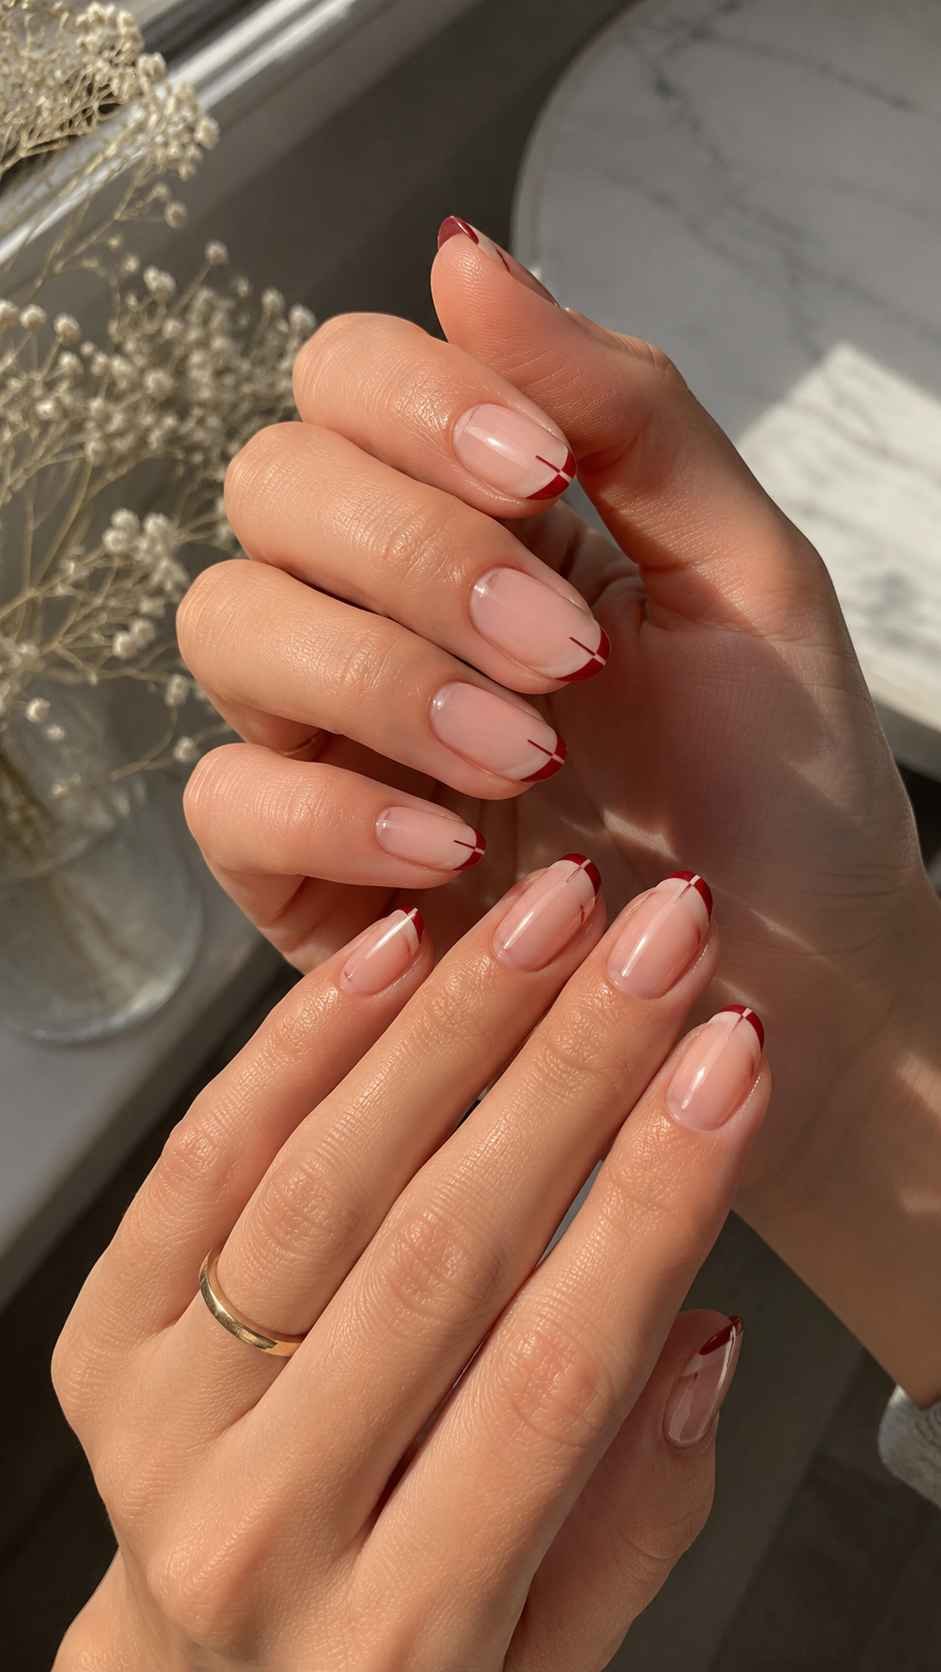
A crimson micro French manicure gives red polish a precise and wearable structure. A sheer nude base keeps the nails light, while the fine red edge creates a crisp frame. It is especially useful for short nails because the design needs very little space, but it also softens longer almond or oval shapes. Choose a balanced crimson between cherry and scarlet, then focus on consistent curves and clean spacing for a polished finish.
Draw a Double Fine Tip
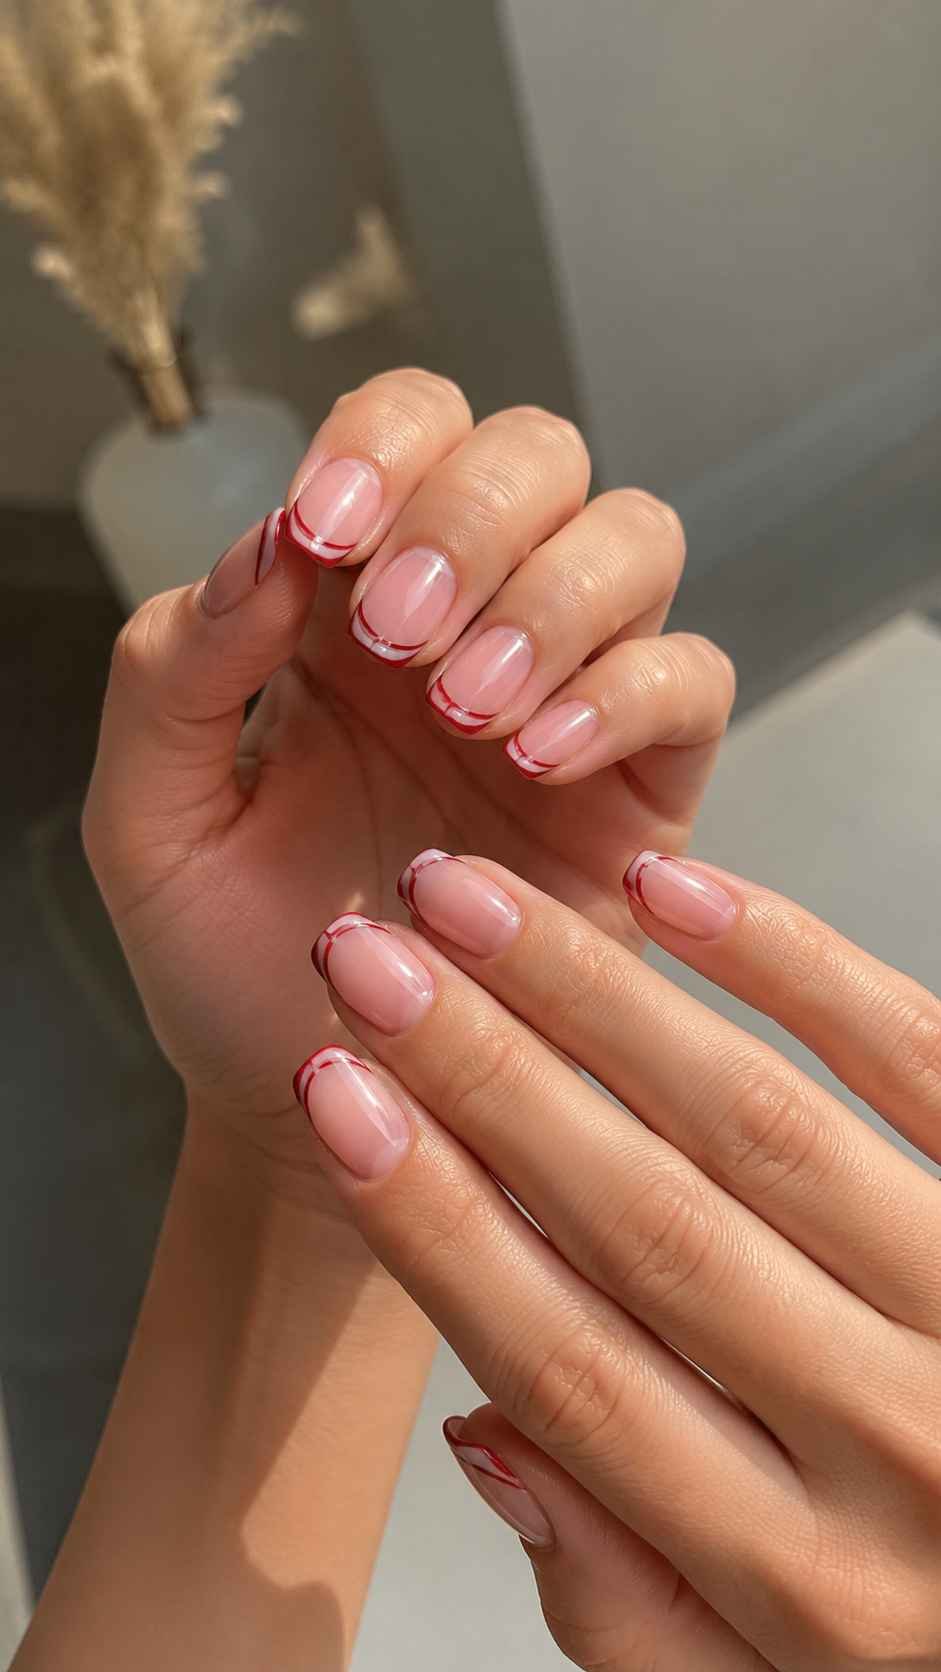
Paint one narrow crimson line along the free edge, then add a second line beneath it with a slim nude gap between them. The double outline updates the French shape while remaining delicate. Follow the natural curve of each nail for a balanced result.
Shift the Line to One Side
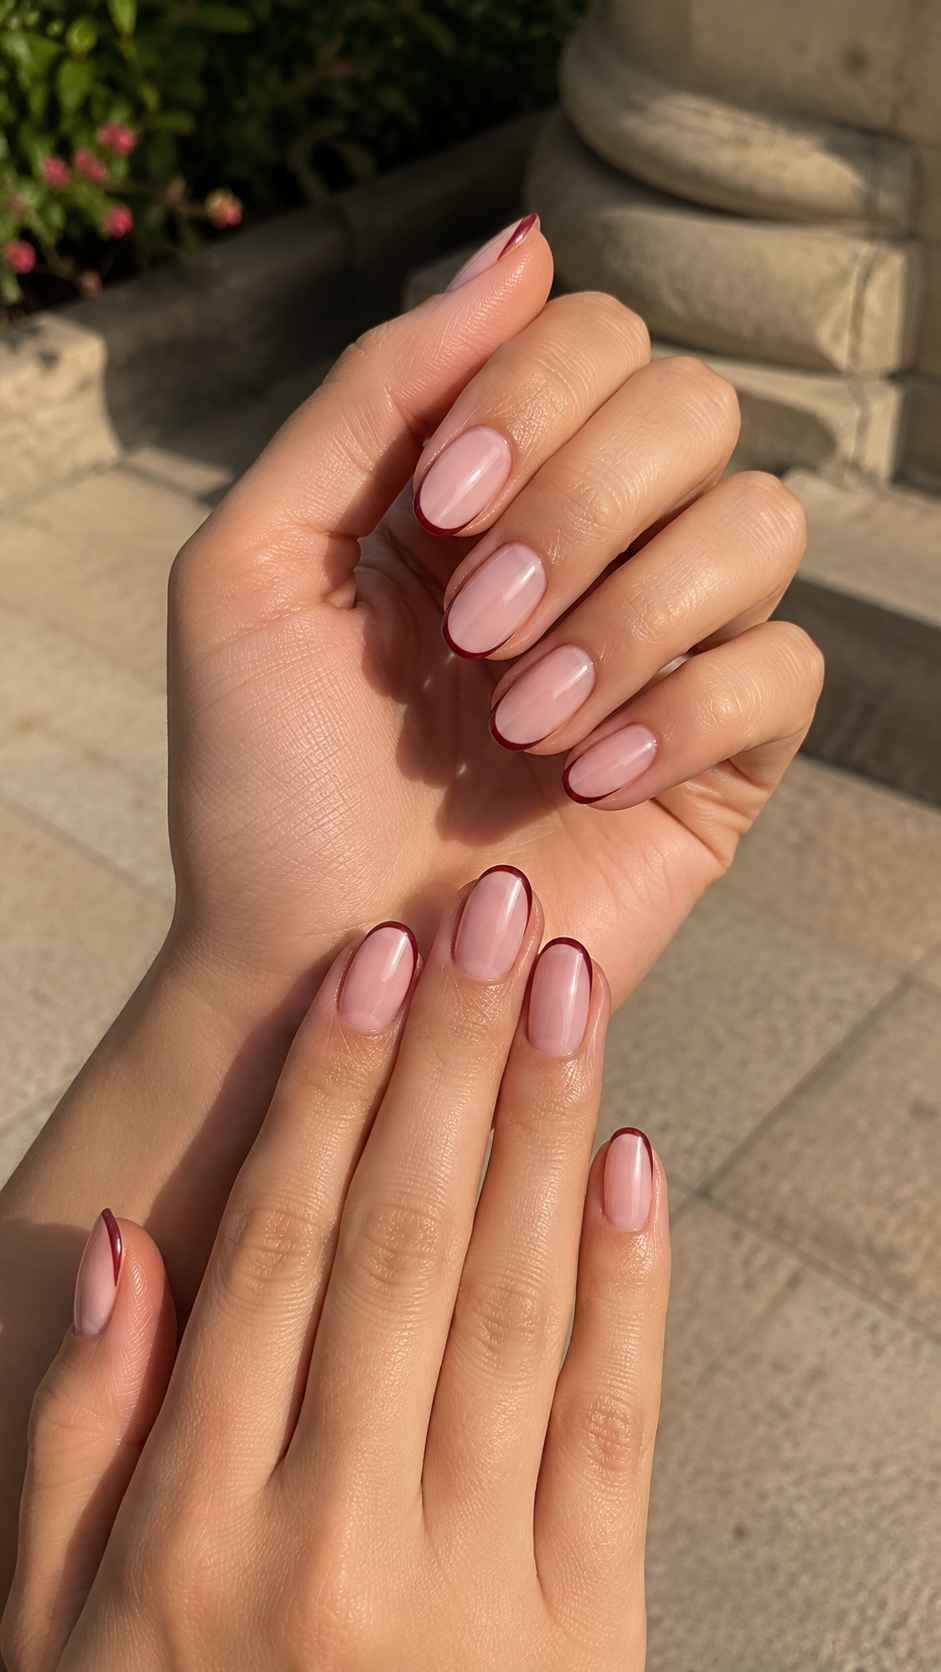
Create an angled side French by carrying crimson along one side wall and gently across the tip. This asymmetrical placement feels modern without becoming complicated. Keep the direction consistent on each hand so the set still looks intentional and connected.
Outline the Cuticle With Crimson
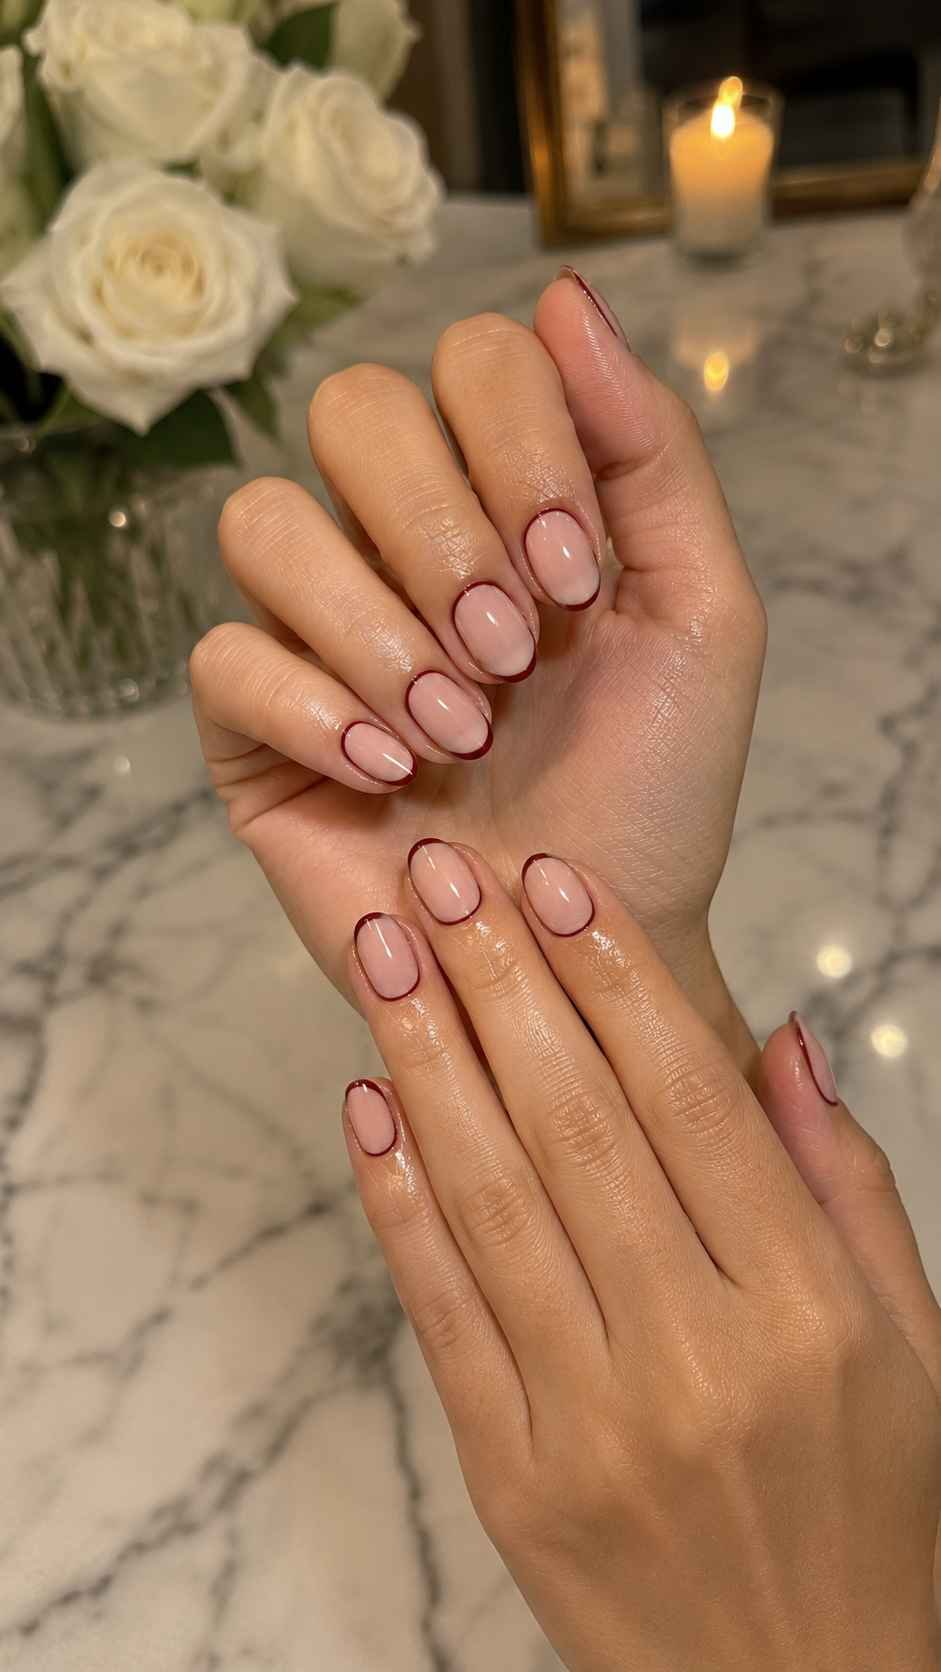
Trace a very fine crimson curve near the cuticle instead of decorating the tip. Leave a tiny gap between the line and skin for clarity. This unexpected placement frames the nude base and looks especially elegant on oval and almond nails.
Poppy Red Aura Nails With Diffused Heat
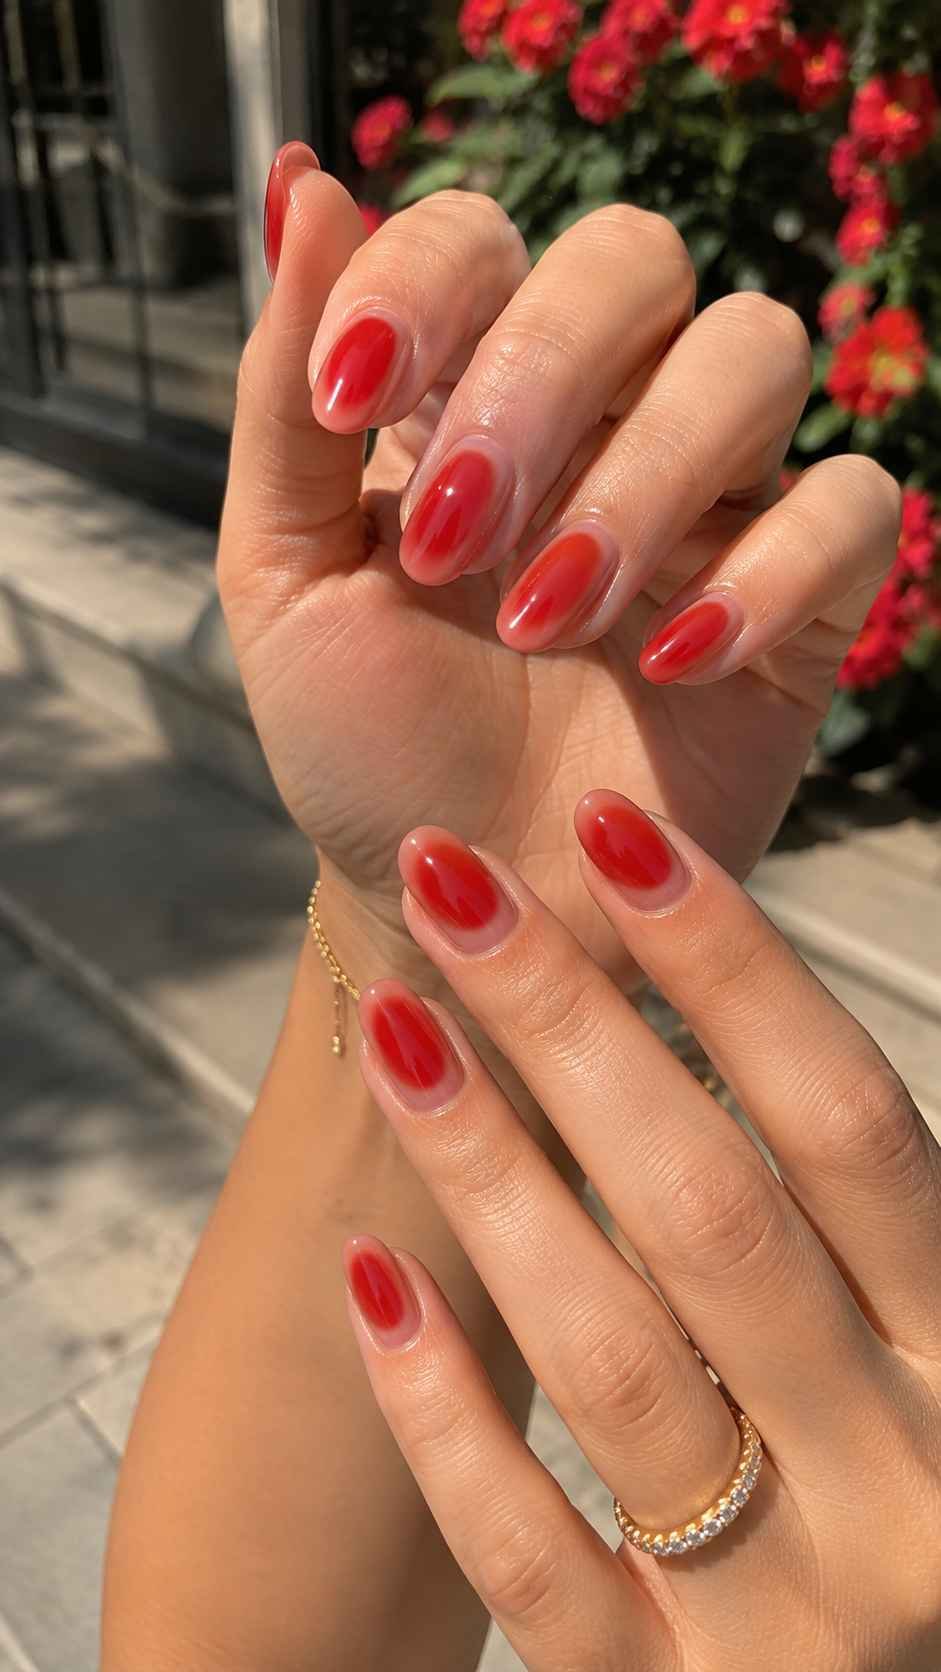
Poppy red balances red and orange, while an aura finish softens its brightness through a hazy blend. Place the color over nude, pale pink, or milky polish so it appears to glow from inside the nail. The look works beautifully on medium oval, almond, and rounded square shapes because the gradient has room to fade. It feels expressive without detailed illustrations and coordinates naturally with bright dresses, white outfits, warm makeup, and playful accessories.
Place the Brightest Red in the Center
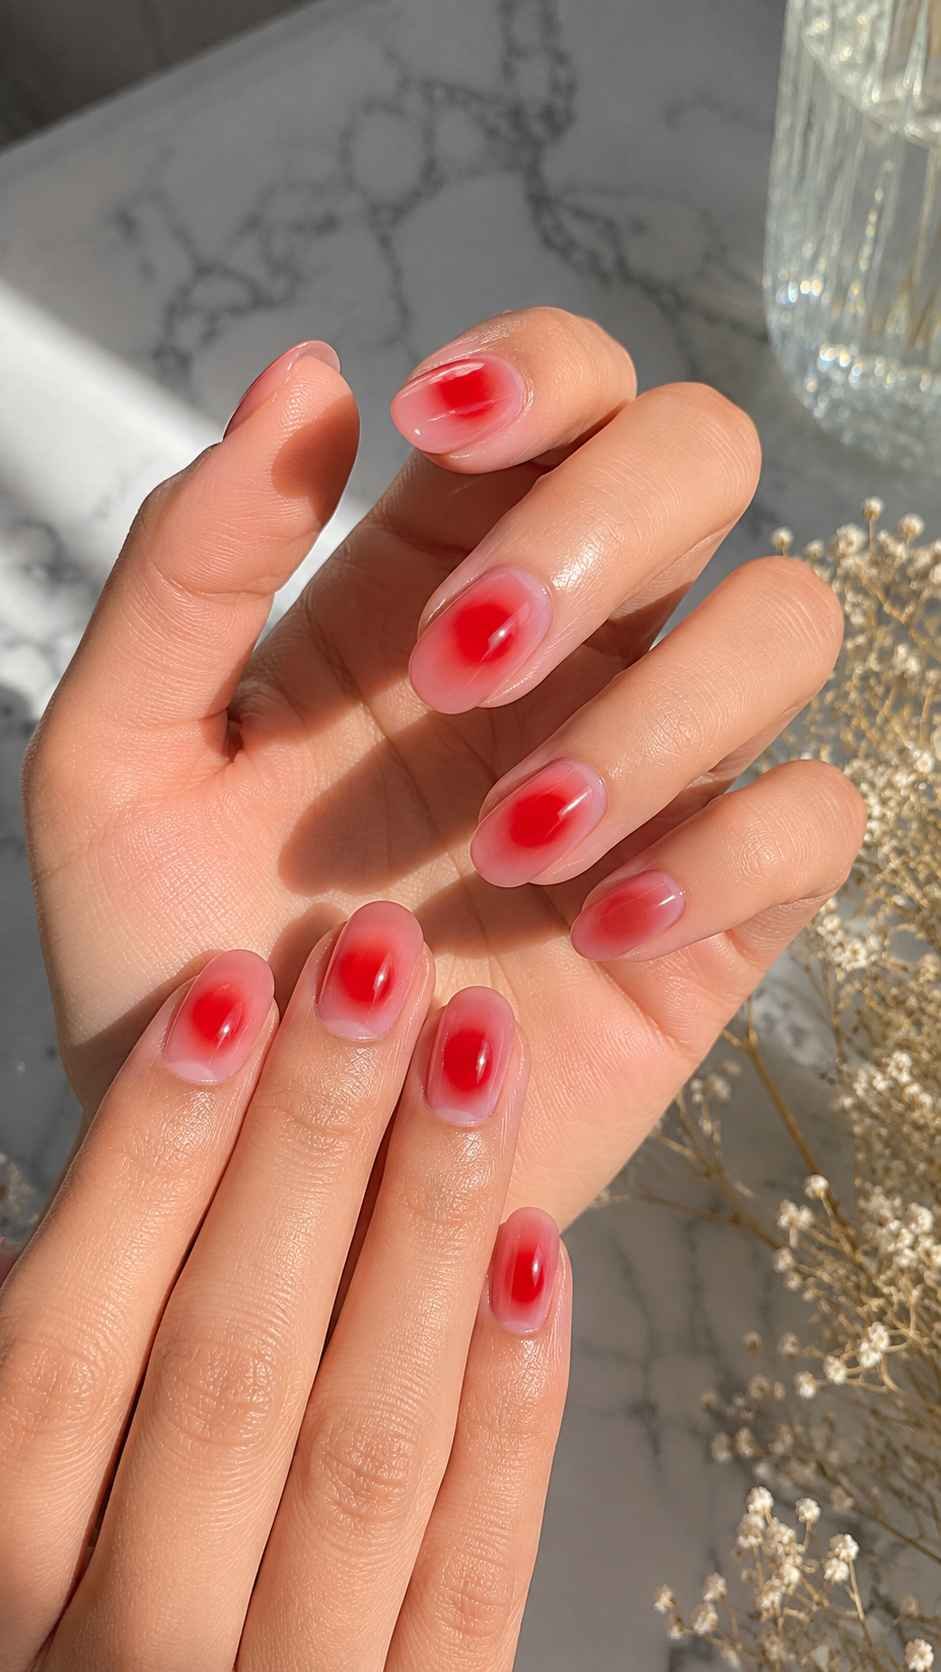
Blend poppy red into the center of each nail and allow the edges to fade into the neutral base. Keep the center vivid but the perimeter soft. Slight variations between nails will make the aura feel organic and hand finished rather than printed.
Blend Coral Into the Outer Halo
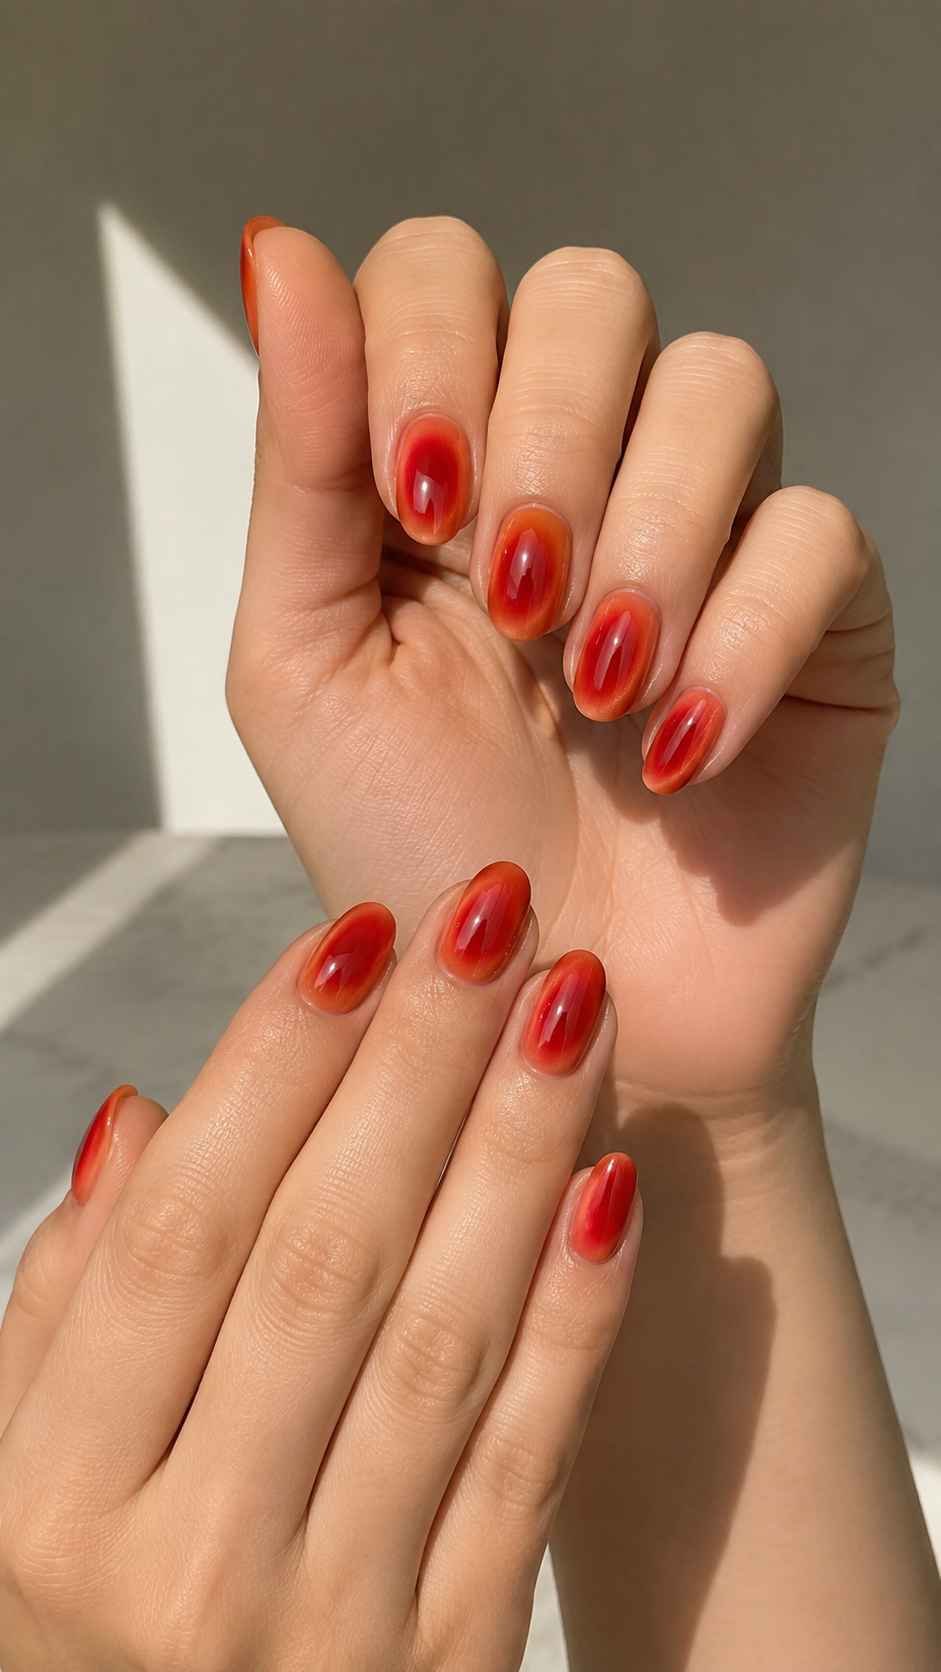
Add a narrow coral haze around the red center. The coral should act as a transition rather than covering the whole nail. This creates a warm sunset effect that looks especially graceful when it tapers toward the tip of an almond shape.
Glaze the Aura With Pearl Chrome
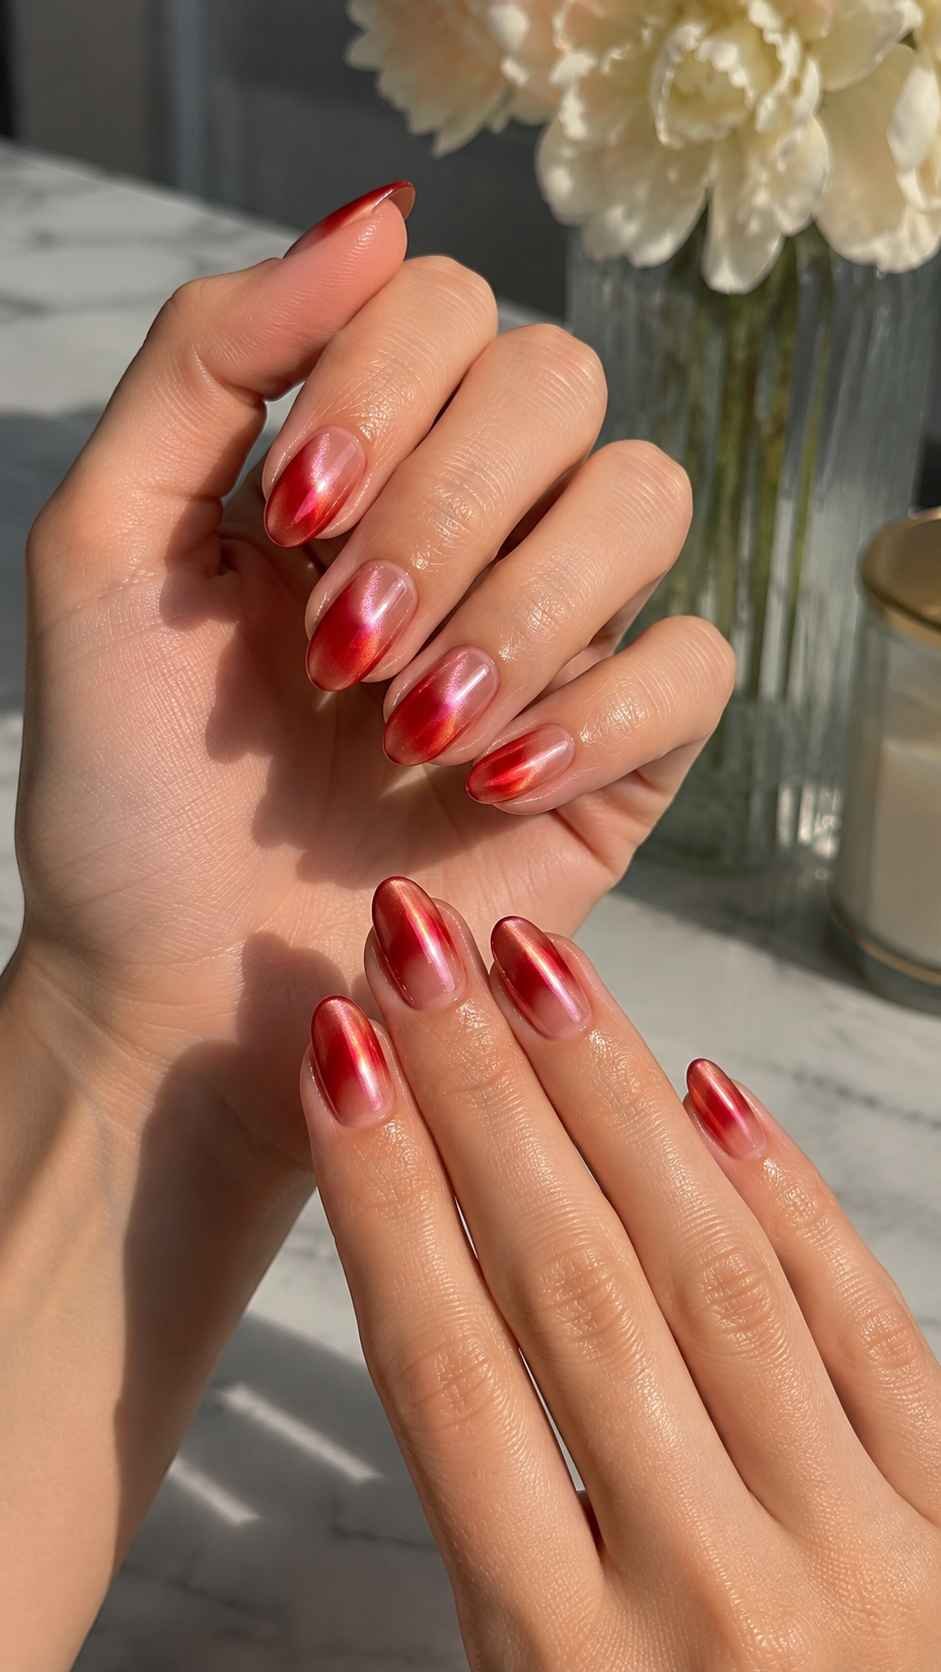
Dust a light pearl chrome over the completed gradient. The finish should create a soft veil instead of a metallic mirror. As the hands move, the nails will reveal subtle flashes of red, pink, coral, and pearl without losing the smooth aura underneath.
Garnet Clear Nails With Sculptural Texture
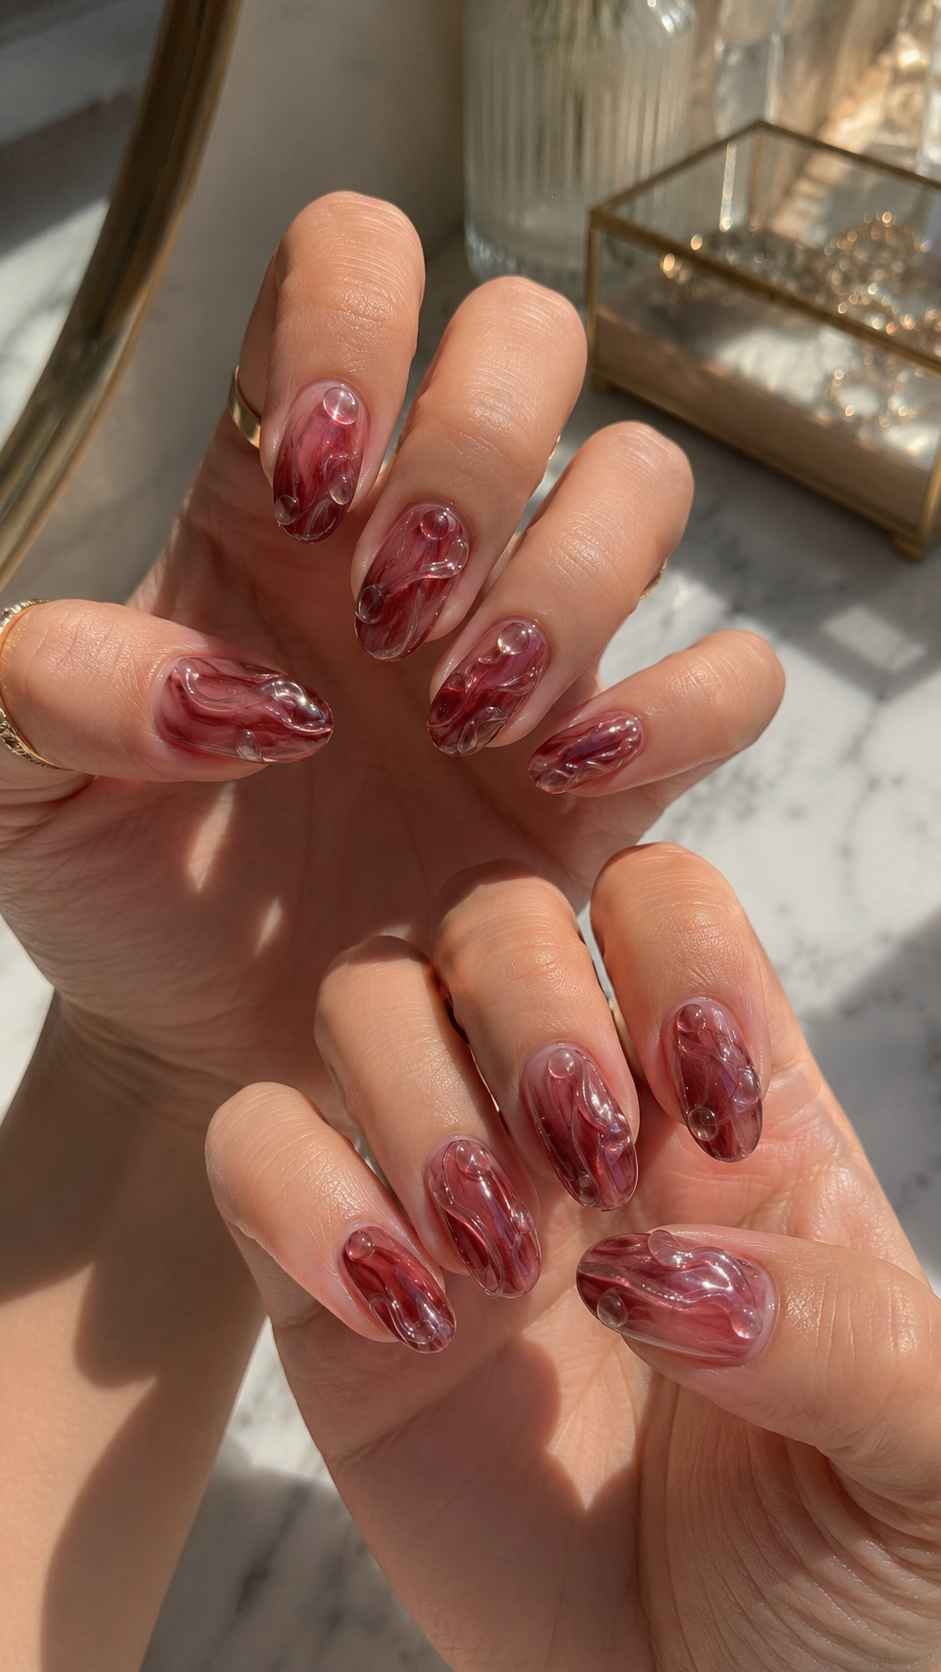
Garnet red becomes more experimental when combined with clear sections and raised transparent texture. Use the color beneath glasslike ridges, drops, or flowing lines rather than covering every nail in the same way. This gives the manicure dimension while keeping the palette controlled. Medium and long oval, almond, or tapered square nails provide enough space for the details, although one textured accent nail can bring the idea to a shorter set.
Form Clear Ridges Over Garnet
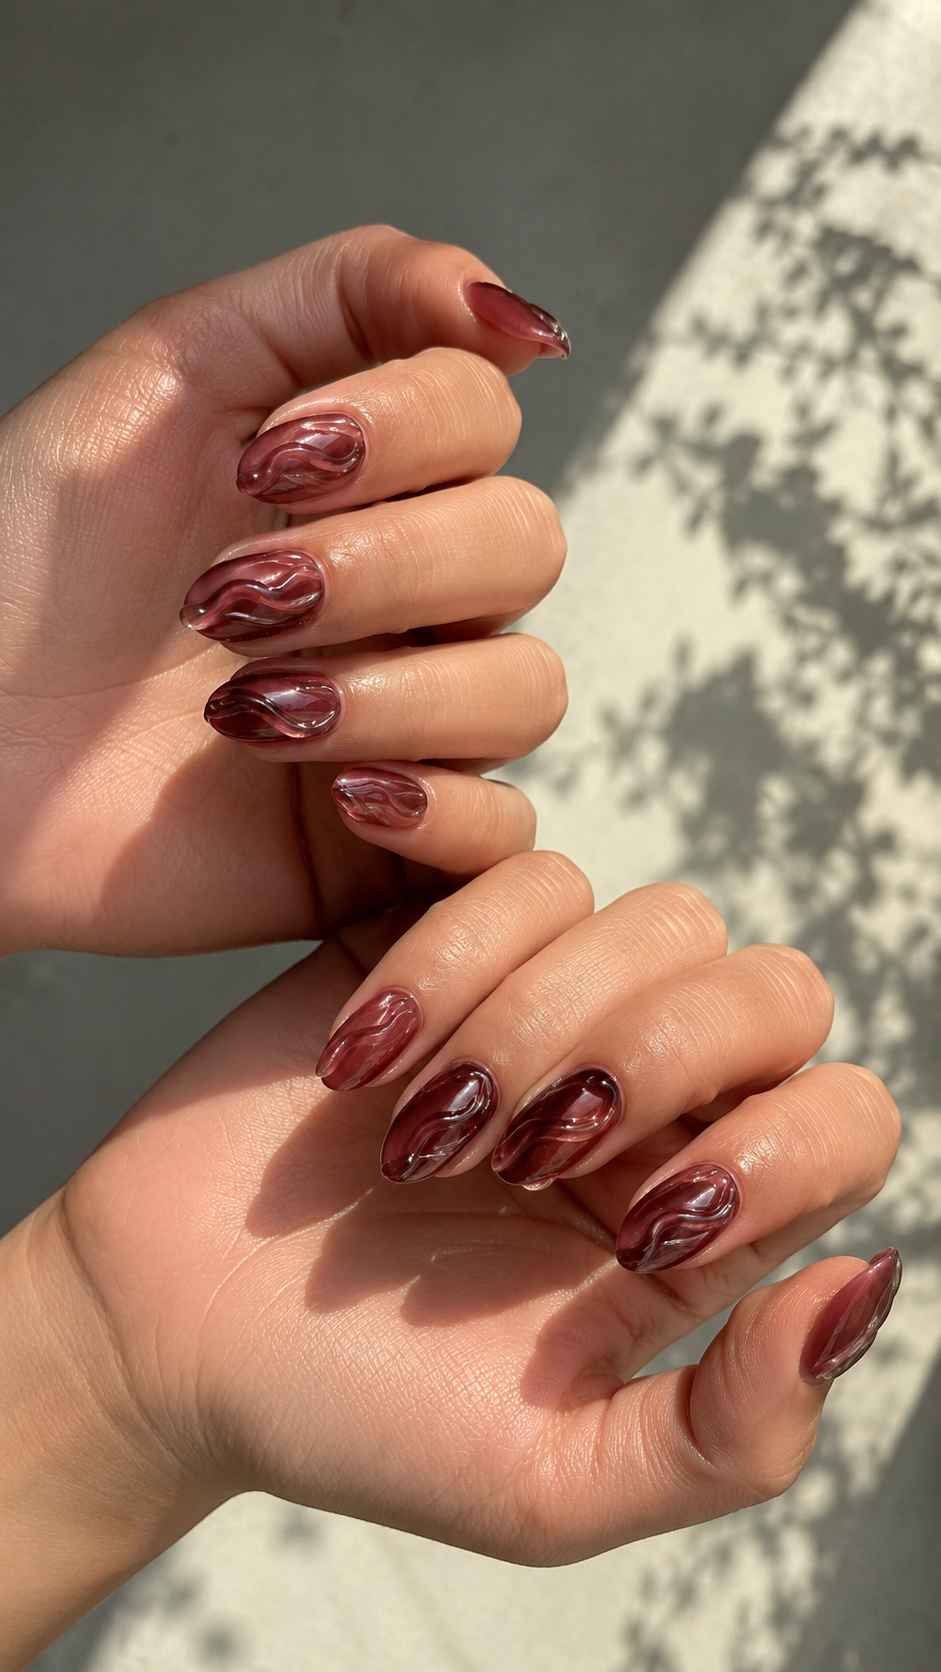
Paint a garnet base, then add several raised clear gel ridges from the cuticle toward the tip. Keep the lines smooth and slightly irregular so they resemble rippled glass. The transparent texture will catch light while the rich red remains visible underneath.
Add Polished Water Drops
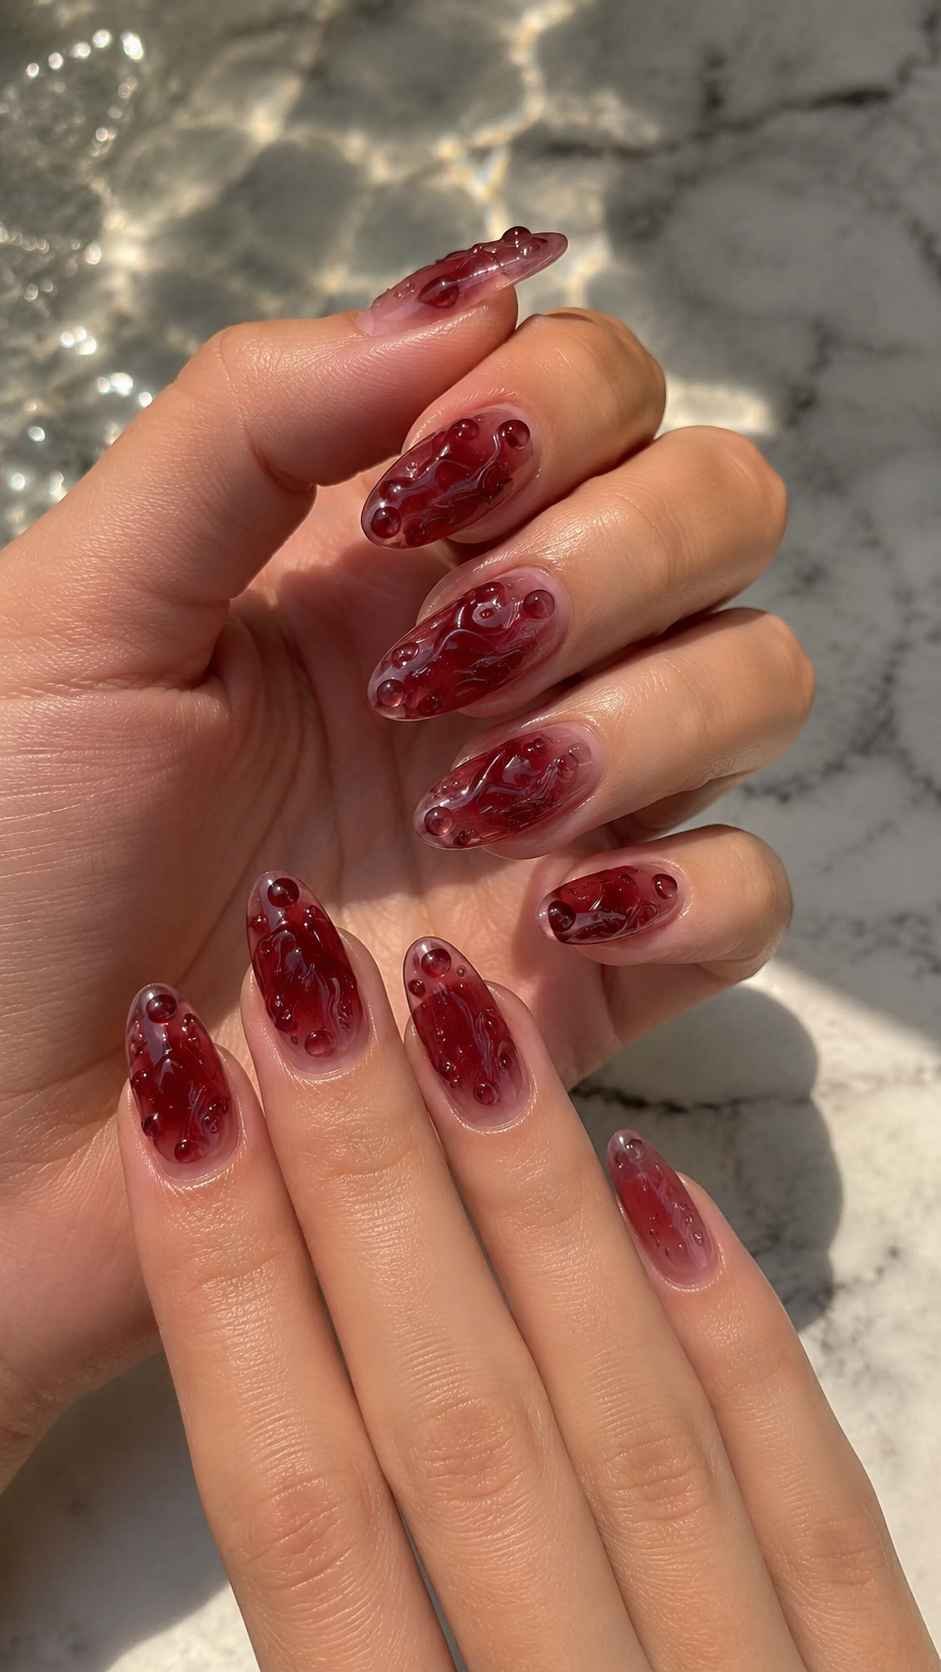
Place small clear domes over selected areas of the garnet polish. Vary their sizes and leave open space between them. Use this detail on only two or three nails per hand, then keep the others solid for visual balance and a cleaner overall appearance.
Trace Transparent Contour Lines
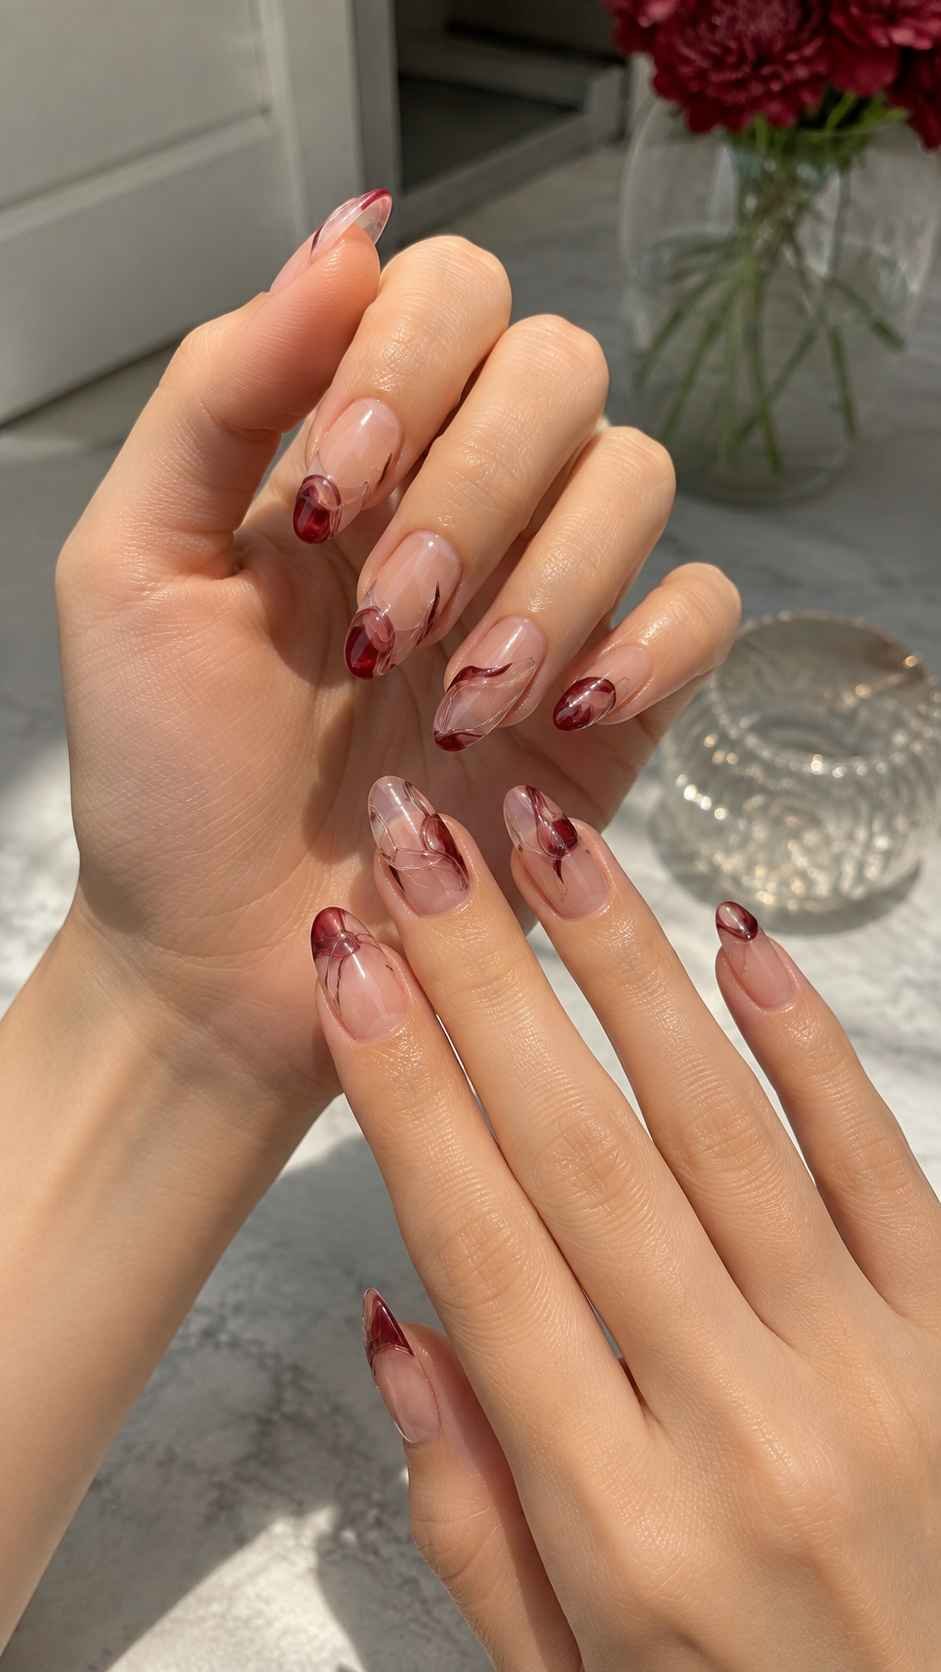
Create raised clear curves over a transparent extension, then fill only a few enclosed sections with garnet. Each nail can have a different arrangement while sharing the same line style. The open areas allow light to pass through and highlight the sculptural pattern.
Brick Red Graphic Nails With Quiet Artistic Detail
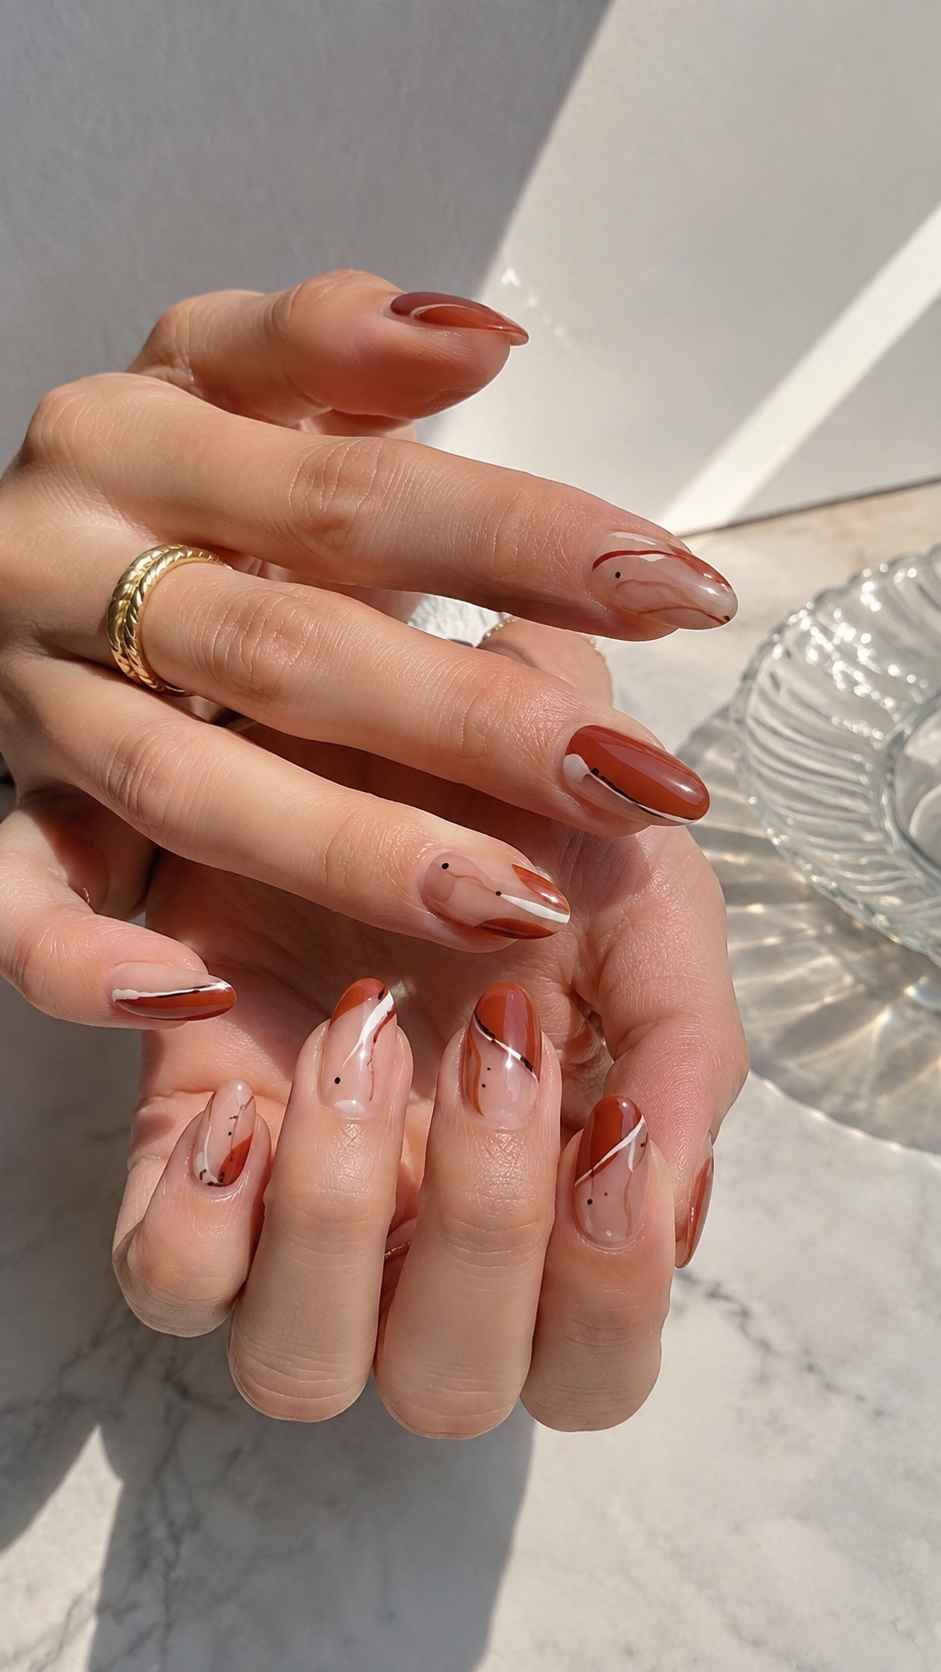
Brick red offers an earthy alternative to bright crimson and deep burgundy. Its muted warmth makes graphic patterns feel sophisticated rather than loud. Combine it with cream, beige, or transparent nude for a balanced palette that works across seasons. This idea suits short square, squoval, and medium oval nails. Instead of repeating one picture on every finger, connect the set through consistent line thickness, thoughtful spacing, and a limited color selection.
Scatter Tiny Dots With Purpose
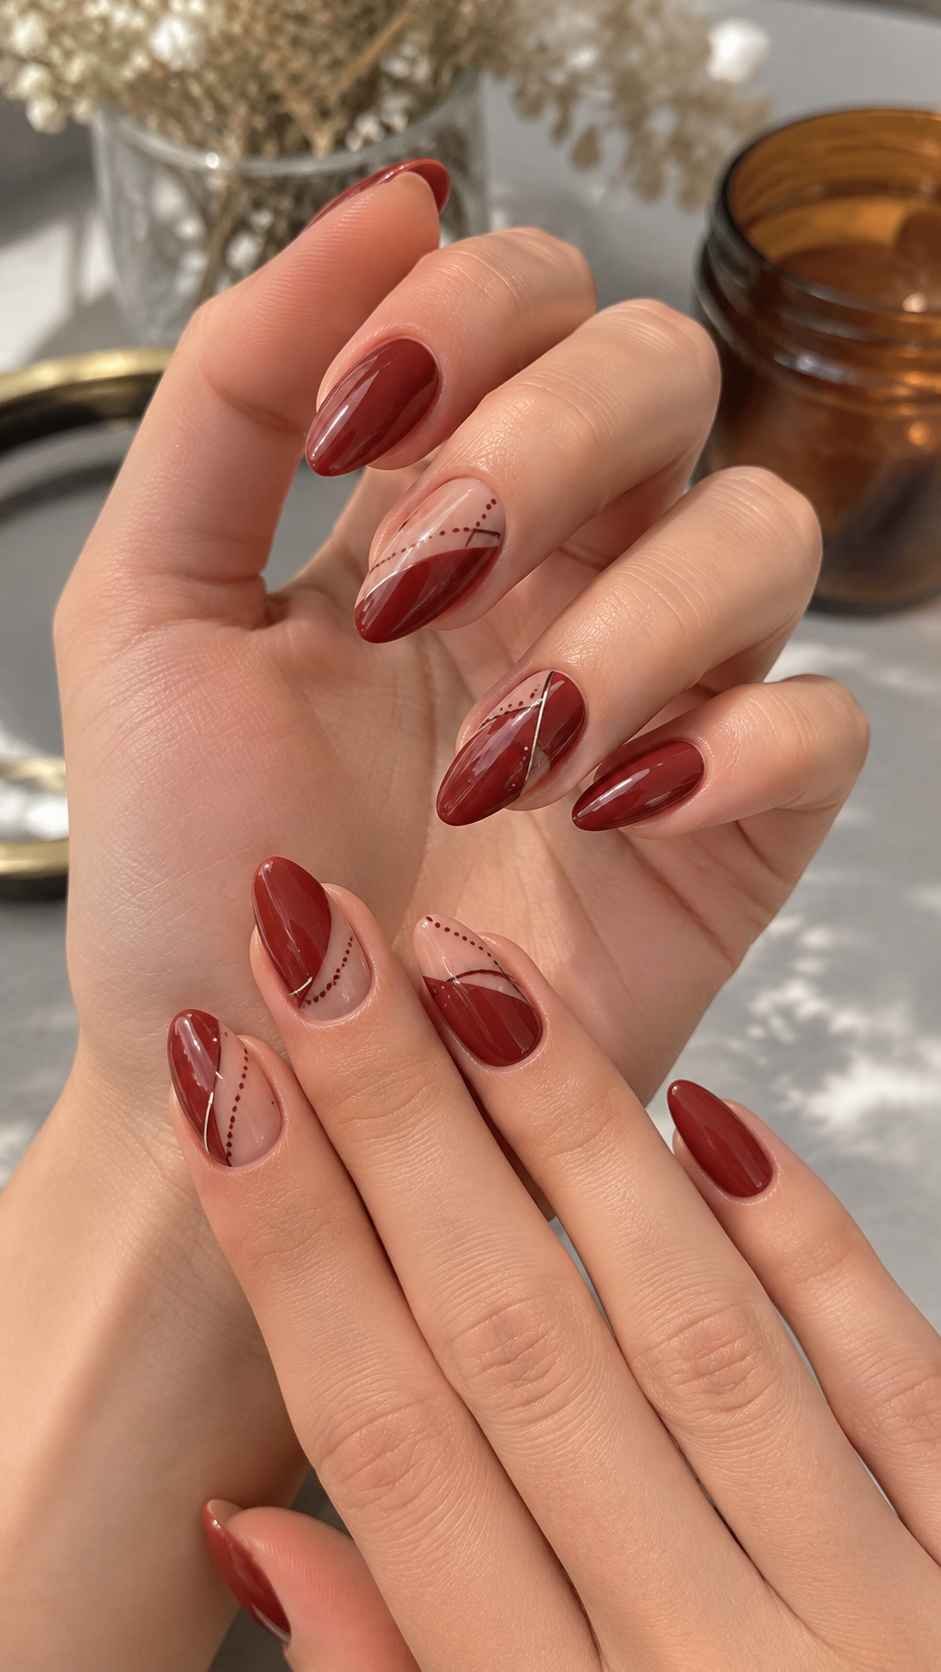
Cover two accent nails with very small brick red dots over a cream base. Keep the dots similar in size but vary their placement slightly. Paint the remaining nails solid brick red or sheer beige so the miniature pattern remains easy to notice.
Paint Narrow Architectural Stripes
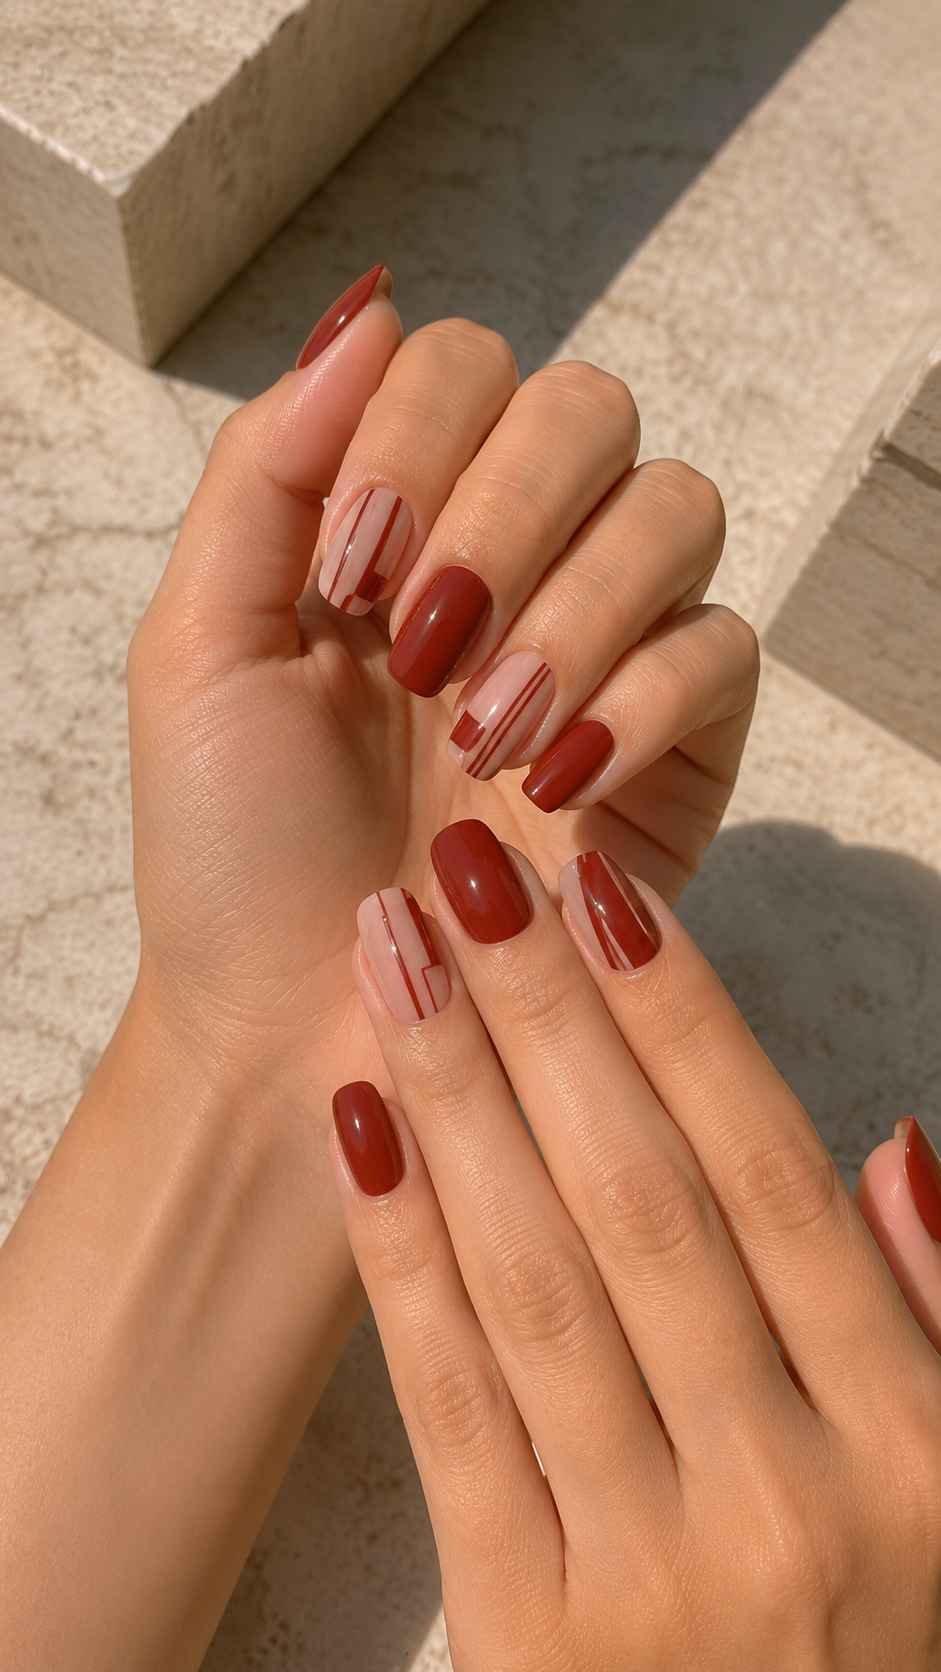
Use fine brick red lines to create separate vertical, horizontal, and corner details over nude polish. Avoid forming a full checkerboard. Changing the composition on each finger gives the set an editorial quality, while matching line thickness keeps it cohesive.
Leave an Angled Natural Window
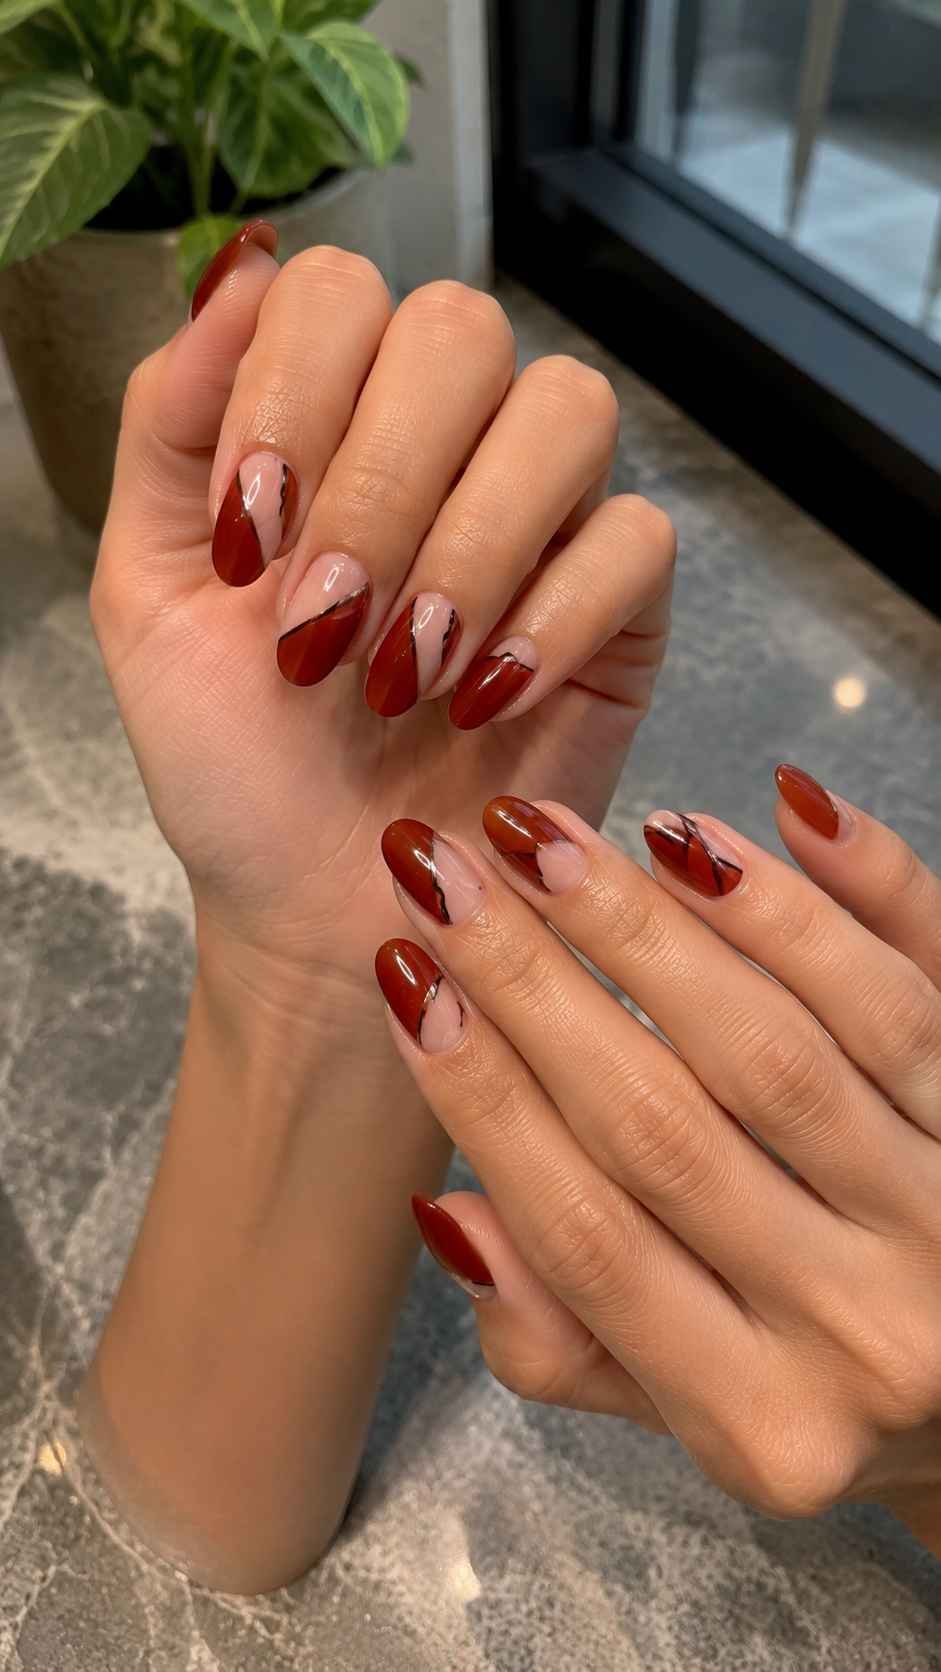
Paint most of the nail brick red but leave one clean diagonal section bare. Outline the open area with a thin cream line for sharper contrast. The natural space prevents the muted shade from looking heavy and complements straight square tips beautifully.
Complete Your Nails Red Design Moodboard With Confidence
The best red manicure is not always the one with the most decoration. It is the one where shade, shape, finish, and placement work together. Tomato glass feels bright and juicy, black cherry velvet creates depth, crimson micro lines add precision, poppy aura brings a soft glow, garnet texture introduces dimension, and brick red graphics offer structure. Save the ideas that suit your style, then adjust the length and details for your hands. Continue exploring related guides on nail shapes, nail polish designs, short nail ideas, manicure colors, and salon styling to plan every part of your next red set.
