
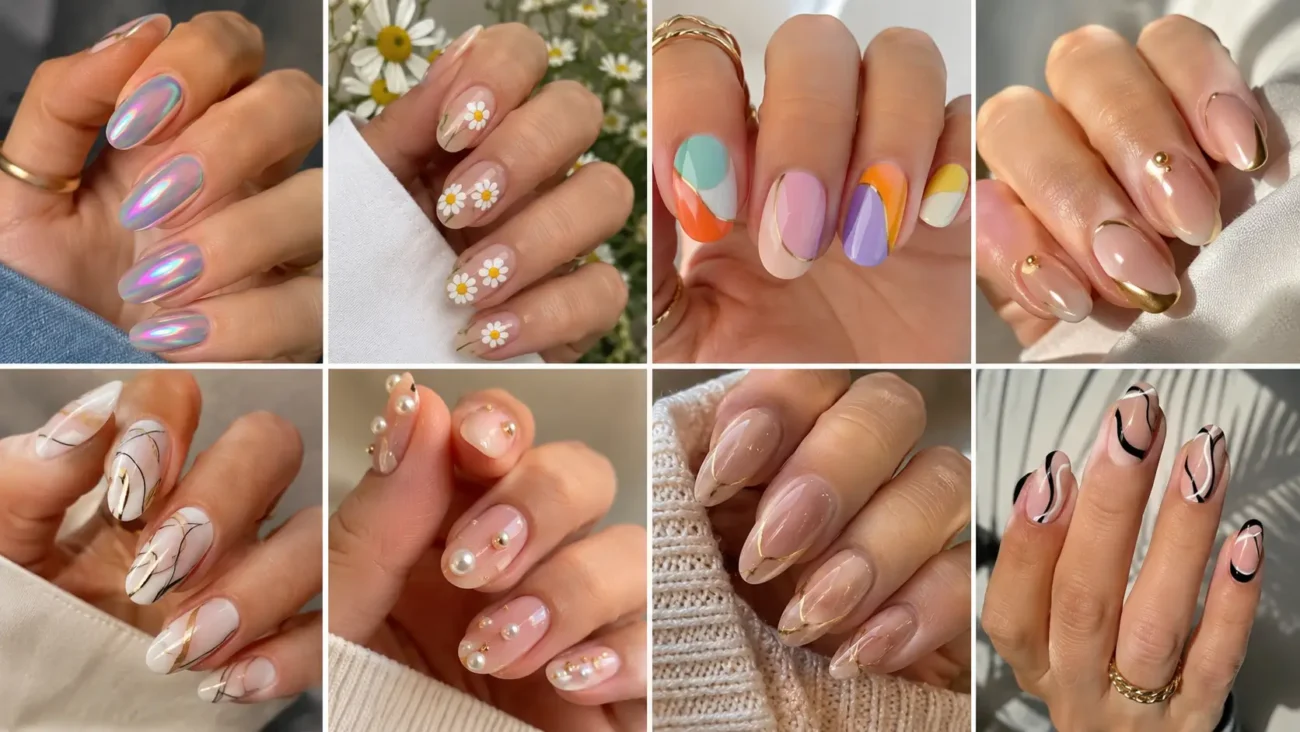
Nail art designs feel most exciting when they offer something fresh without becoming difficult to wear. A strong manicure does not need every nail to look iisual story. The newest creative direction is moving toward thoughtful pattern placement, translucent layers, playful dots, compact illustrations, and polished details that look beautiful on both short and longer shapes.
These ideas give you room to experiment while keeping the final result stylish enough for everyday outfits, events, holidays, and special plans. You can choose soft shades for a calm appearance or use brighter combinations when you want your nails to become the main feature.
The following concepts explore woven grids, jelly capsules, orbiting dots, map inspired lines, notebook details, and sorbet color studies. Each section offers three different ways to develop the main idea, helping you create a manicure that feels distinctive rather than copied from a familiar design.
Woven Windowpane Nail Art Designs
Woven windowpane patterns bring the tailored appearance of fabric to the nails without relying on a standard plaid layout. The design uses crossing bands, small open squares, and gentle color shifts to create the impression of threads passing over and under one another. A creamy base keeps the pattern clean, while shades such as tomato red, powder blue, pistachio, plum, or cocoa can define the woven structure.
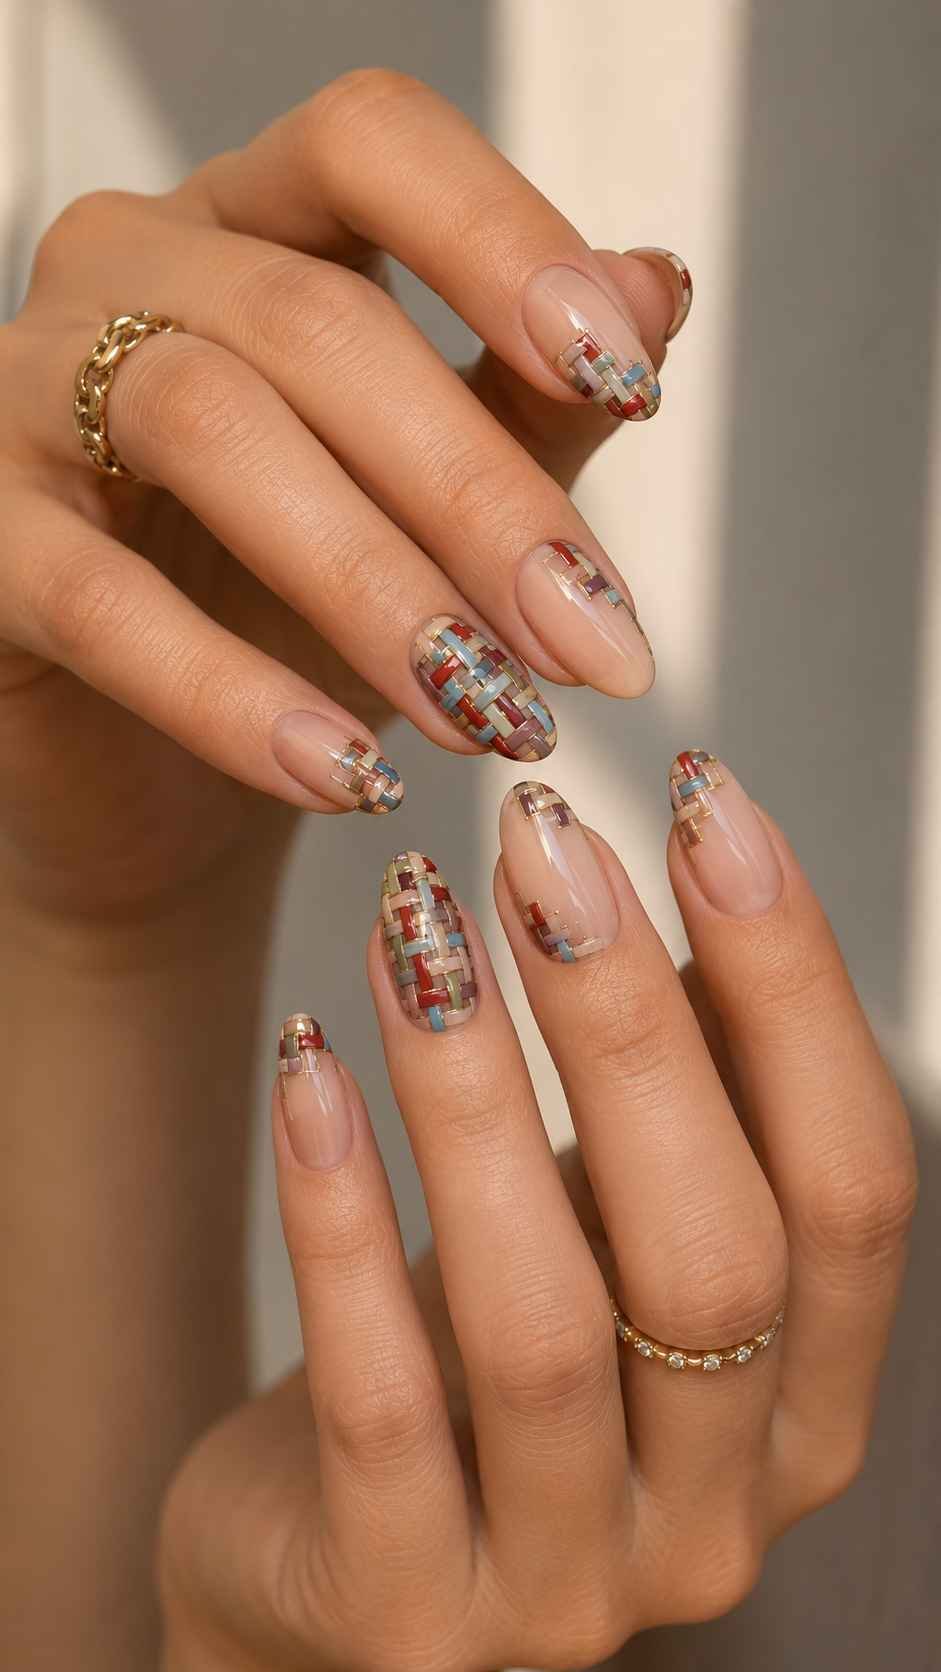
Keep the lines narrow enough to leave visible background between them. This makes the manicure feel detailed without becoming visually heavy. The pattern can cover one accent nail completely, then appear as smaller sections on the surrounding fingers for a balanced and coordinated result.
Create an Open Corner Weave
Begin the woven pattern in one corner instead of covering the whole nail. Paint two slim horizontal bands and two vertical bands so they cross near the edge, leaving the rest of the base visible. Add a slightly darker tone where the bands meet to suggest layered threads.
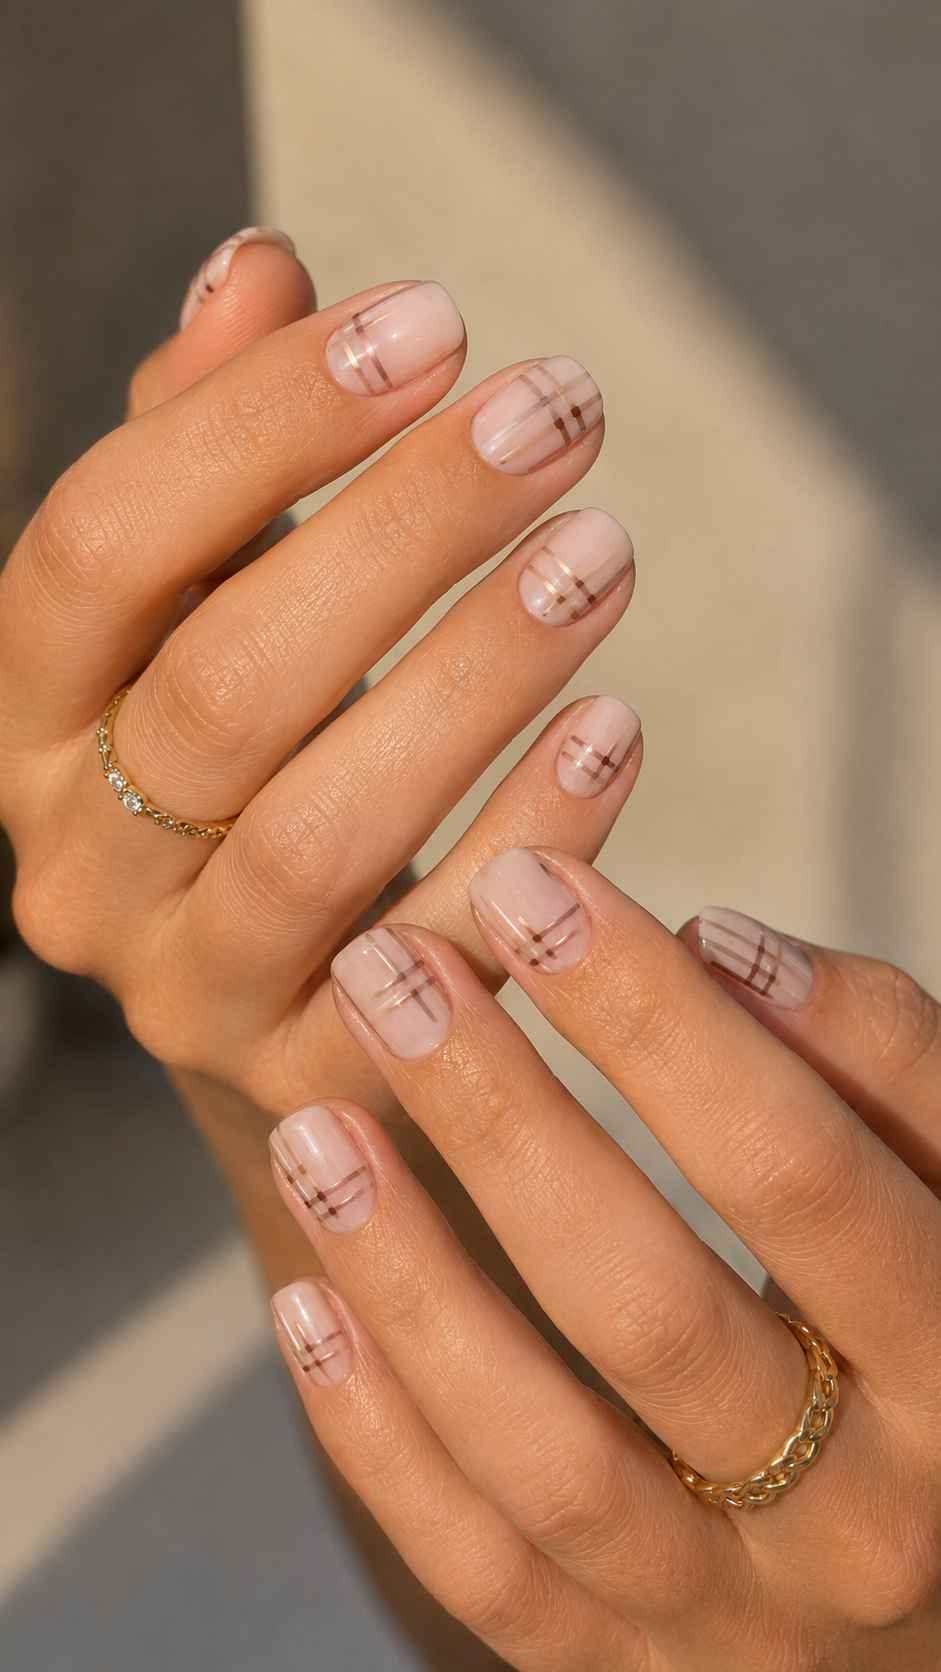
Move the woven corner to a different position on each nail so the design travels naturally across the hand. This arrangement works especially well on short square and oval shapes because the open area prevents the pattern from making the nail appear crowded.
Build a Soft Basket Grid
A basket grid uses gently curved lines rather than perfectly straight bands. Paint several narrow curves in one direction, then cross them with a second set that bends the opposite way. Alternate two related colors so the pattern gains depth while remaining cohesive.
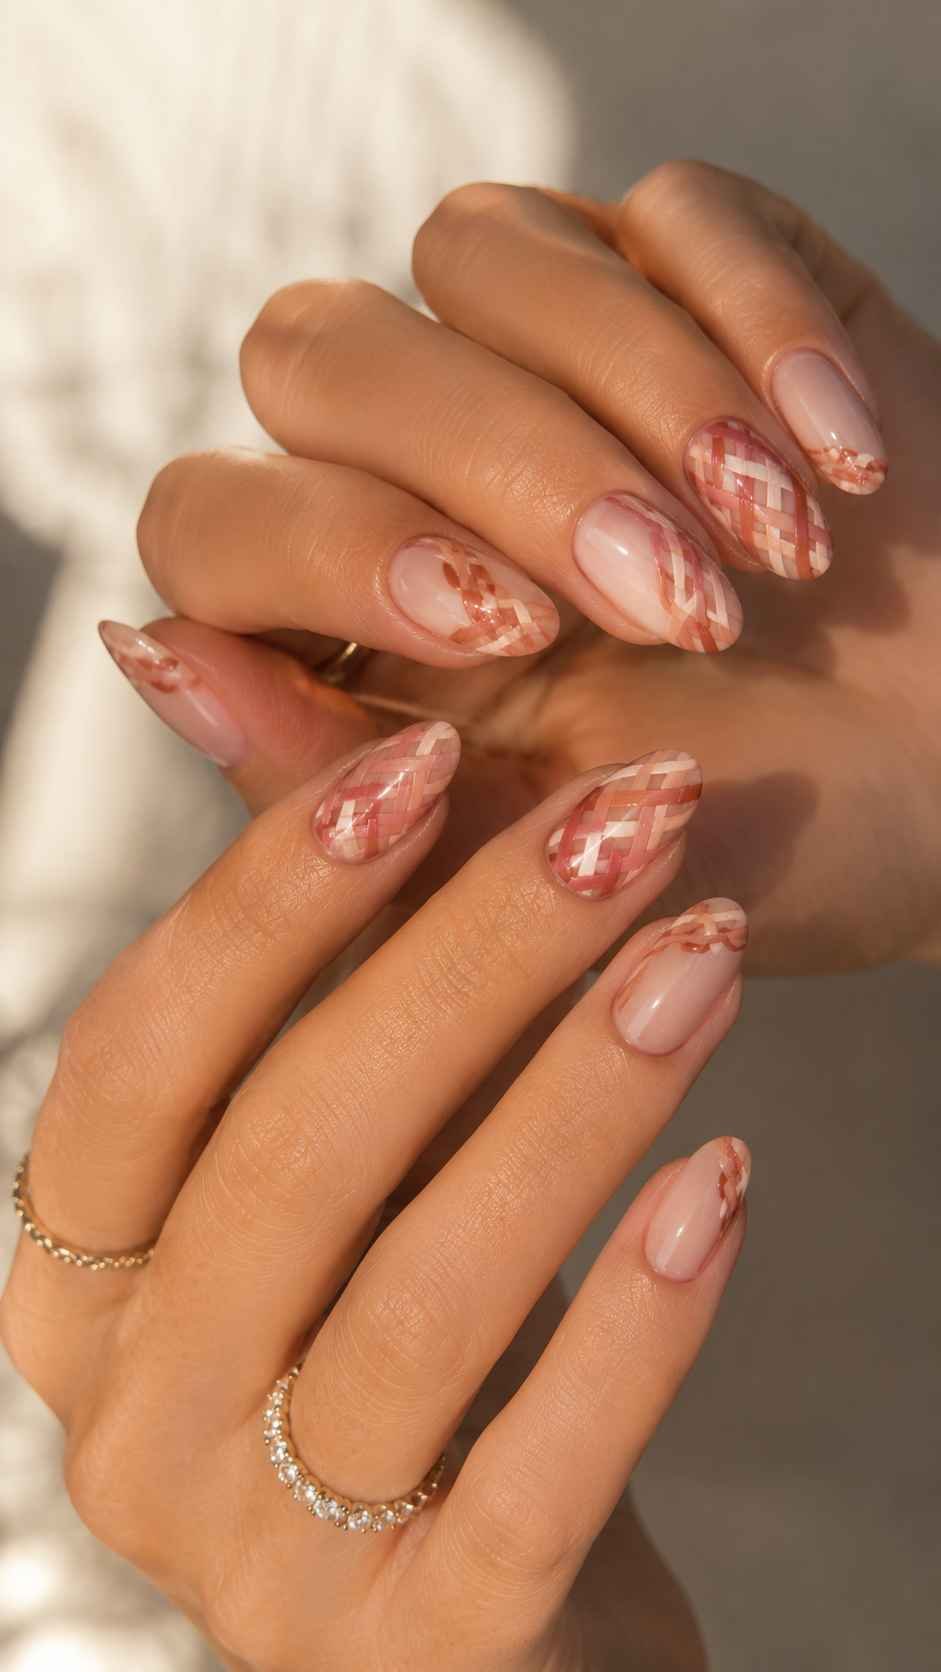
A pale peach base with coral and terracotta lines feels warm, while lavender with violet and grey creates a cooler mood. Leave one or two nails mostly plain and add only a small section of the grid near the side to give the complete manicure visual breathing room.
Add a Contrasting Thread Accent
Choose one bright shade that appears as a single thread passing through a quieter grid. Create the main windowpane pattern in neutral tones, then add one red, cobalt, lime, or orange line that crosses the nail at an unexpected point.
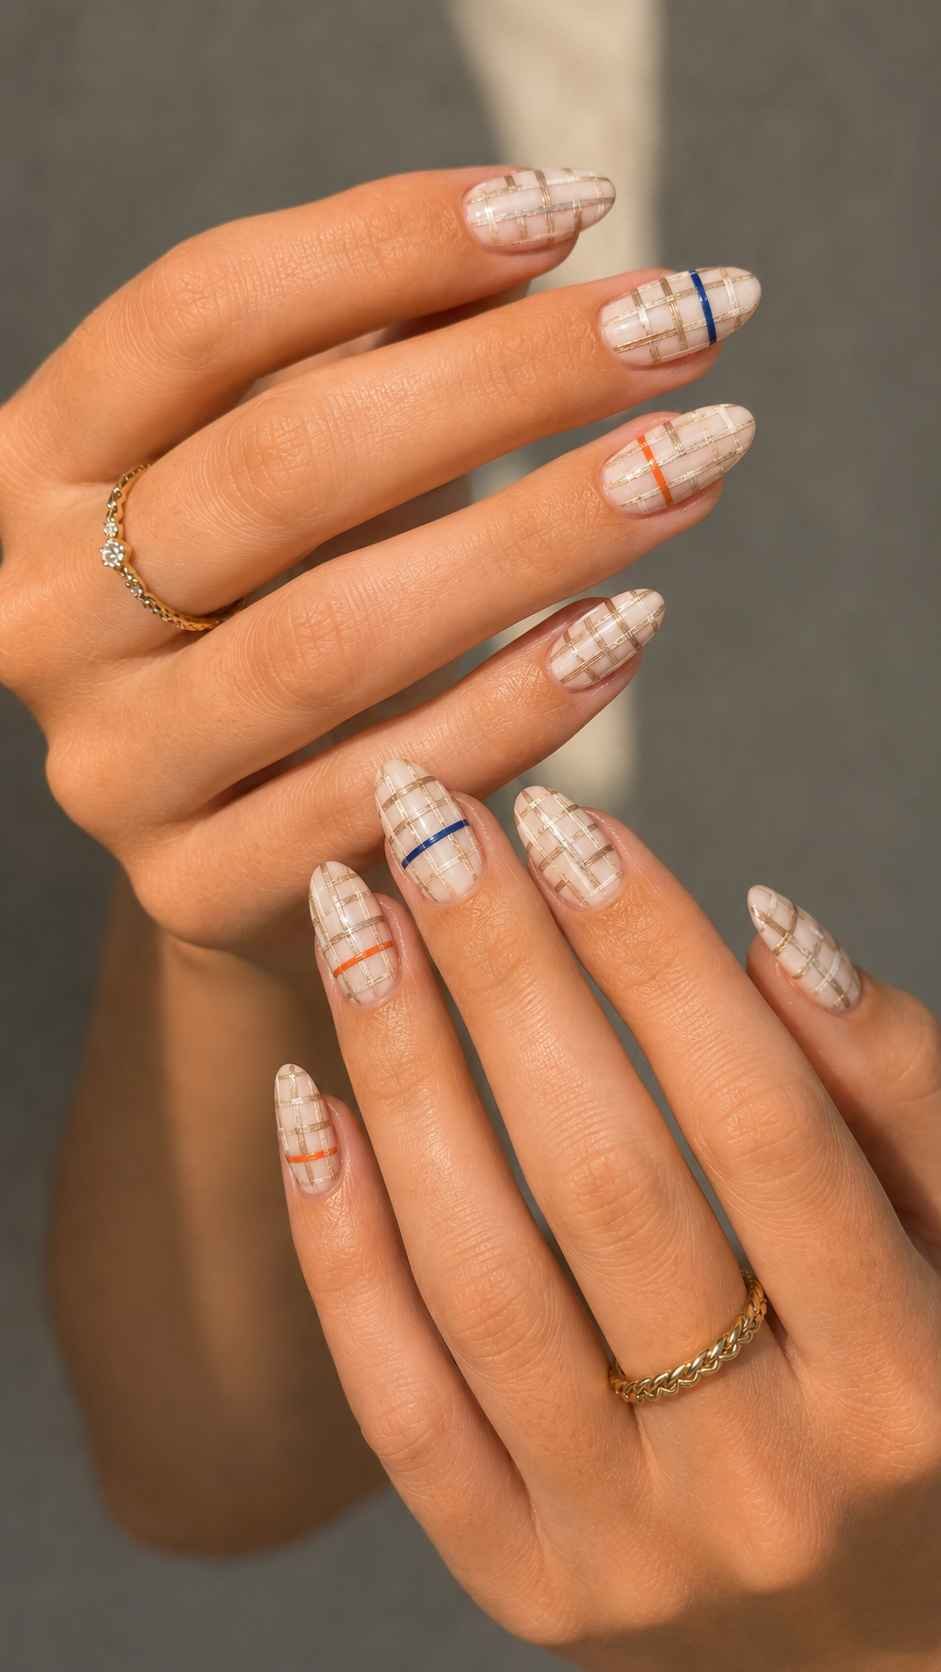
The accent should remain slim so it looks integrated rather than placed on top. Repeat that same color in a different direction on another finger. This small detail makes the design feel intentional and helps connect the manicure with colorful bags, shoes, jewelry, or clothing.
Jelly Capsule Nail Art Designs
Jelly capsule nail art combines translucent color with smooth rounded forms that appear suspended inside the manicure. Instead of coating every nail in one sheer shade, the color is divided into compact capsule shapes with clear or softly tinted space around them. The result feels playful, glossy, and light, making it especially attractive on shorter nails where oversized decorations can feel overwhelming.
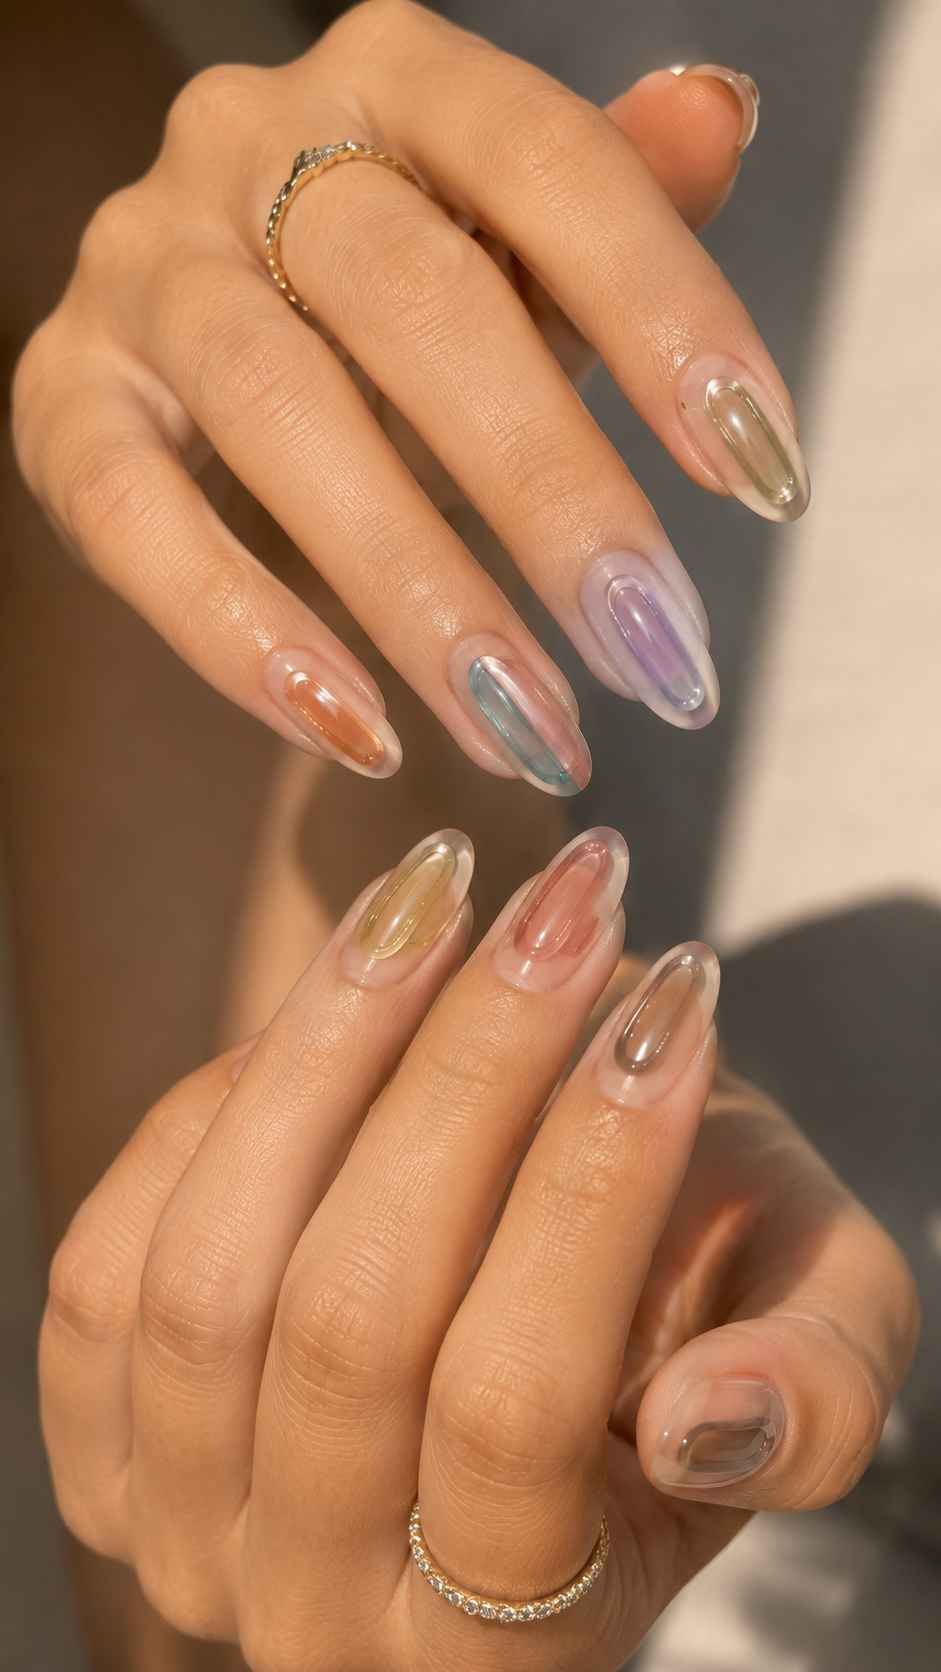
Choose two or three transparent shades that remain distinct when they overlap, such as cherry, tangerine, grape, aqua, or lime. A highly polished top layer helps the capsules look glassy and dimensional even though the surface stays comfortable and smooth.
Float One Capsule Through the Center
Paint one long rounded capsule through the center of each nail, leaving a clear margin around the shape. Change the color from finger to finger while keeping the size and placement similar. On one accent nail, divide the capsule into two translucent shades that meet in the middle.
The overlap creates a third color and gives the design more depth. This approach feels clean enough for everyday wear, but the bright transparent tones still make the manicure noticeable when the hands move through the light.
Split the Capsule Into Color Ends
Create a capsule with one color at the top and another at the bottom, allowing a narrow transparent section to remain between them. The rounded ends should mirror each other so the shape reads clearly. Use contrasting combinations such as pink with orange or blue with green, then repeat the pair in reversed positions on another nail.
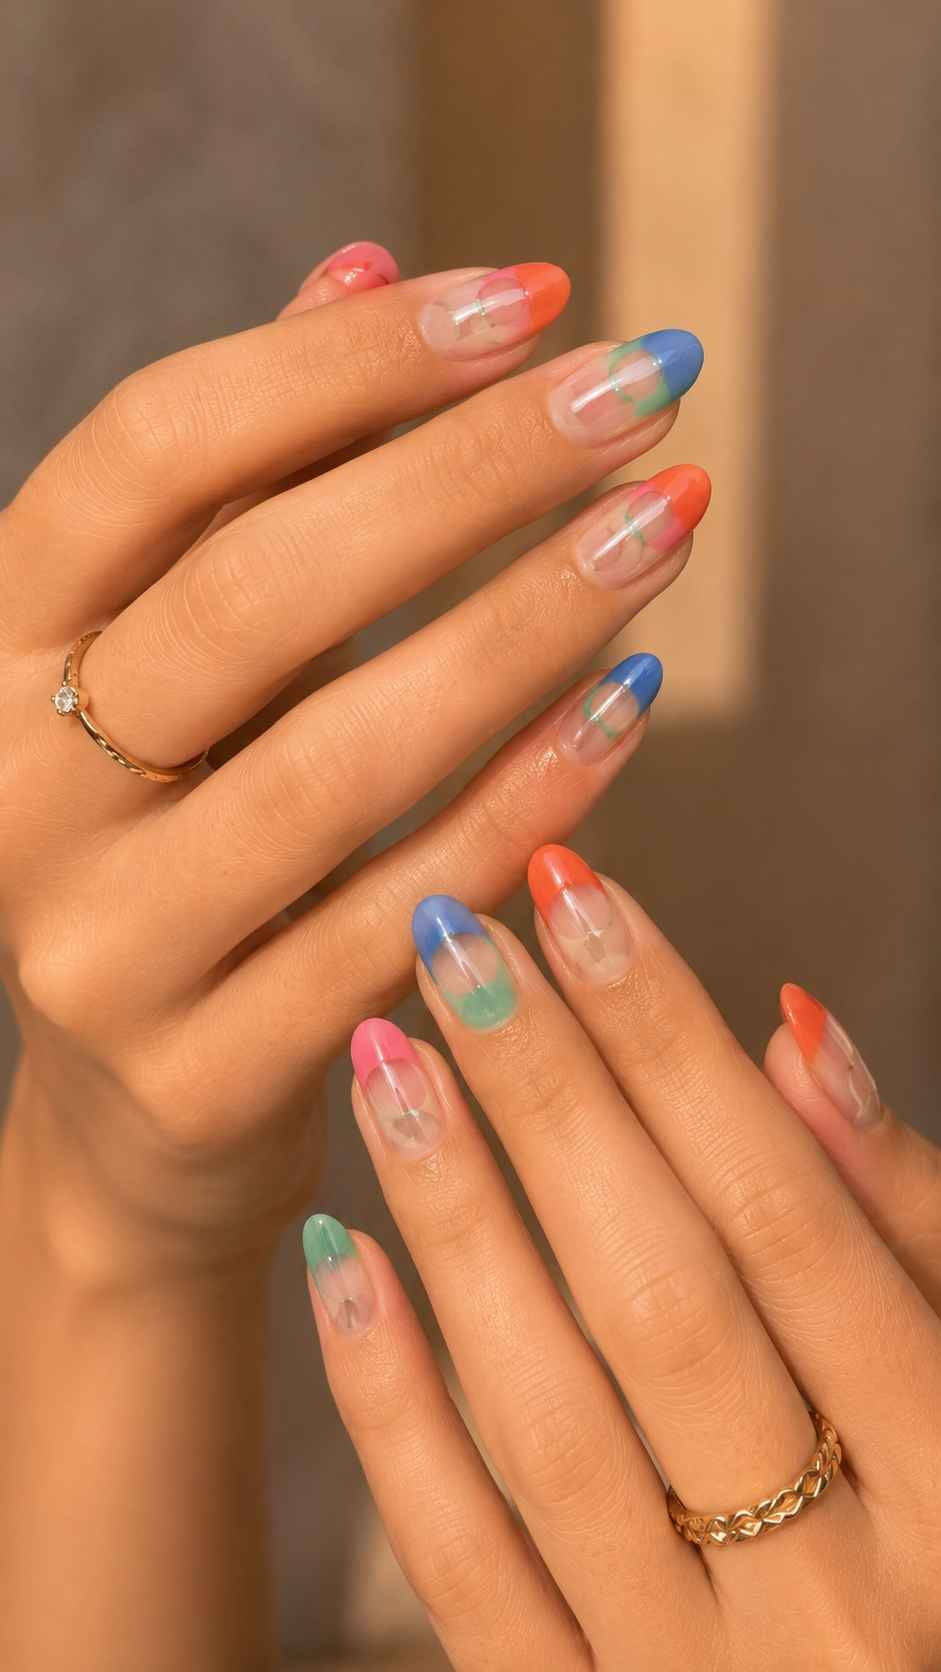
The empty center keeps the composition open and prevents the colors from blending into one solid block. This design looks especially attractive over a natural looking base with a soft glossy finish.
Scatter Mini Capsule Pieces
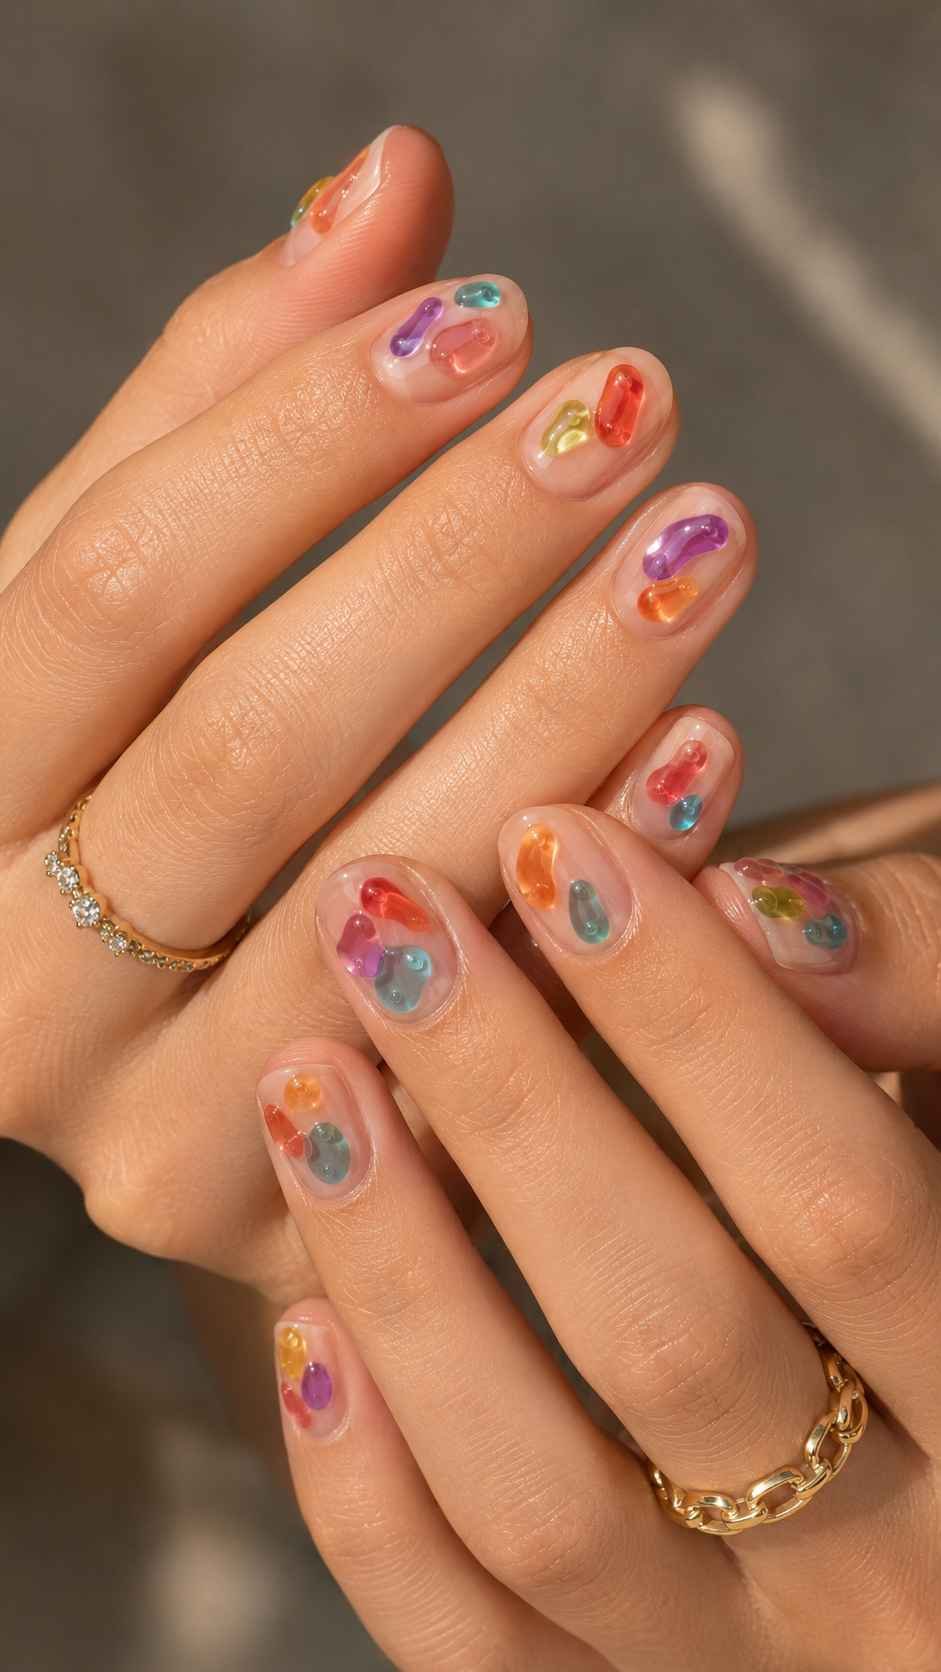
Instead of using one large shape, place two or three miniature capsules at different angles. Keep enough space between them so every piece remains easy to see. One nail can feature a pair near the cuticle, while another carries a single capsule close to the upper side.
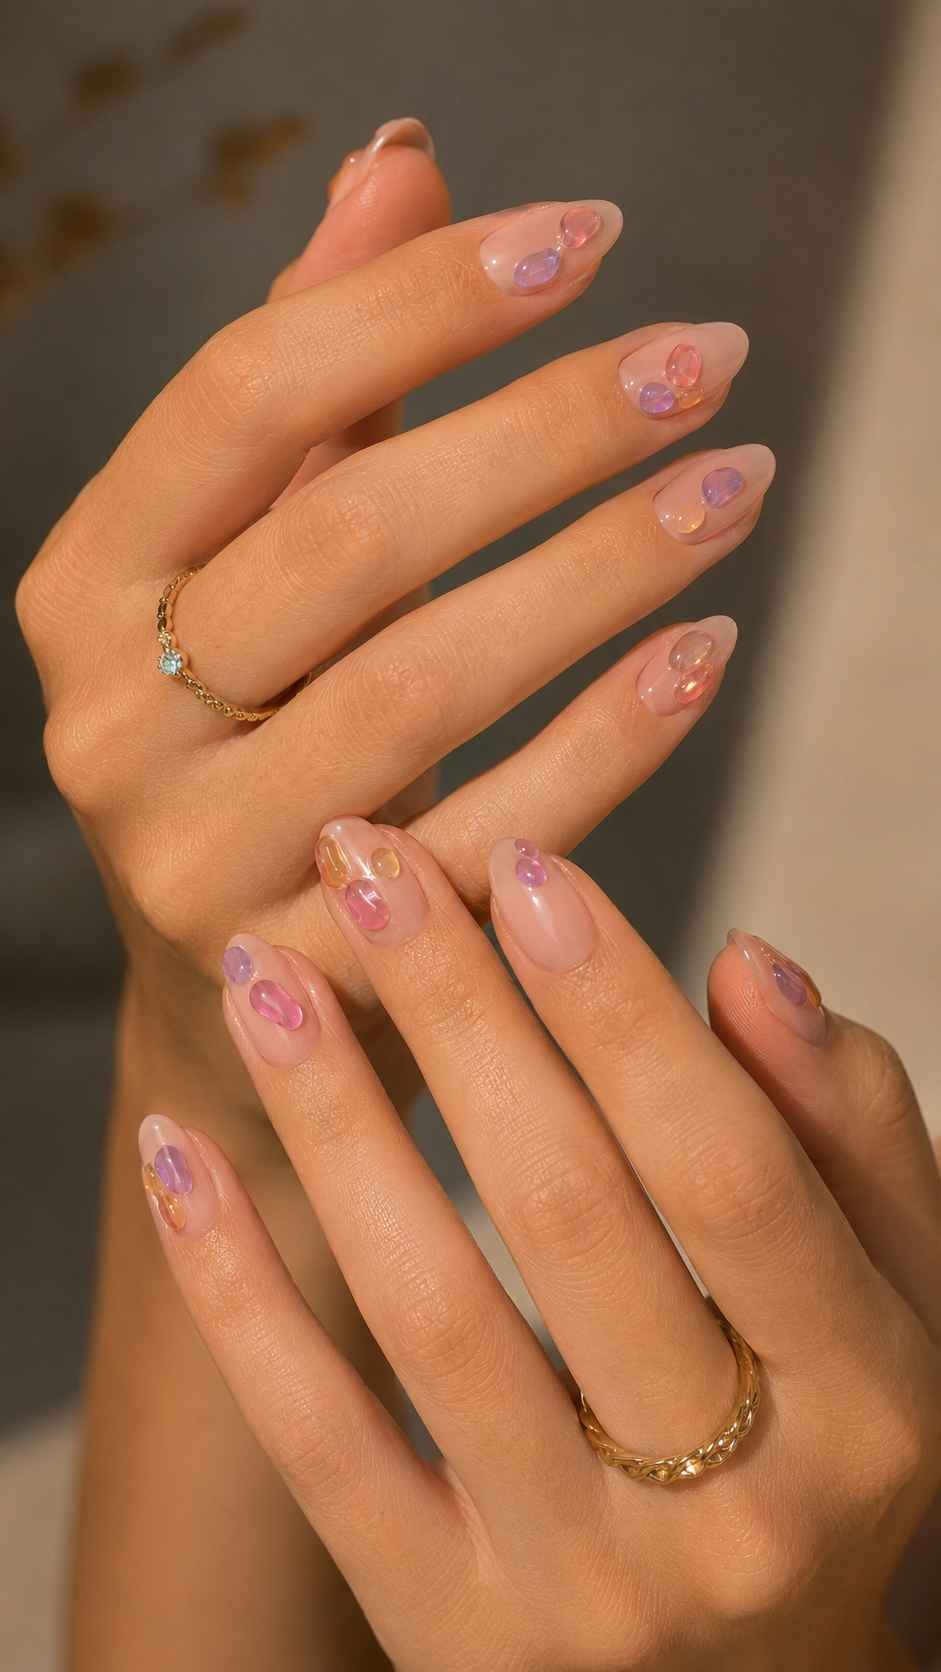
Use a limited palette to keep the scattered arrangement connected. A tiny clear highlight painted along one edge can make each piece appear rounded. The result feels lively but still controlled because the shapes share the same smooth construction.
Orbit Dot Nail Art Designs
Dots can look completely new when they are arranged with movement instead of placed in simple rows. Orbit dot nail art uses circles of different sizes to create curved paths, rotating clusters, and balanced focal points. The design can be minimal with only three dots on each nail or more expressive with several colors circling one central shape.
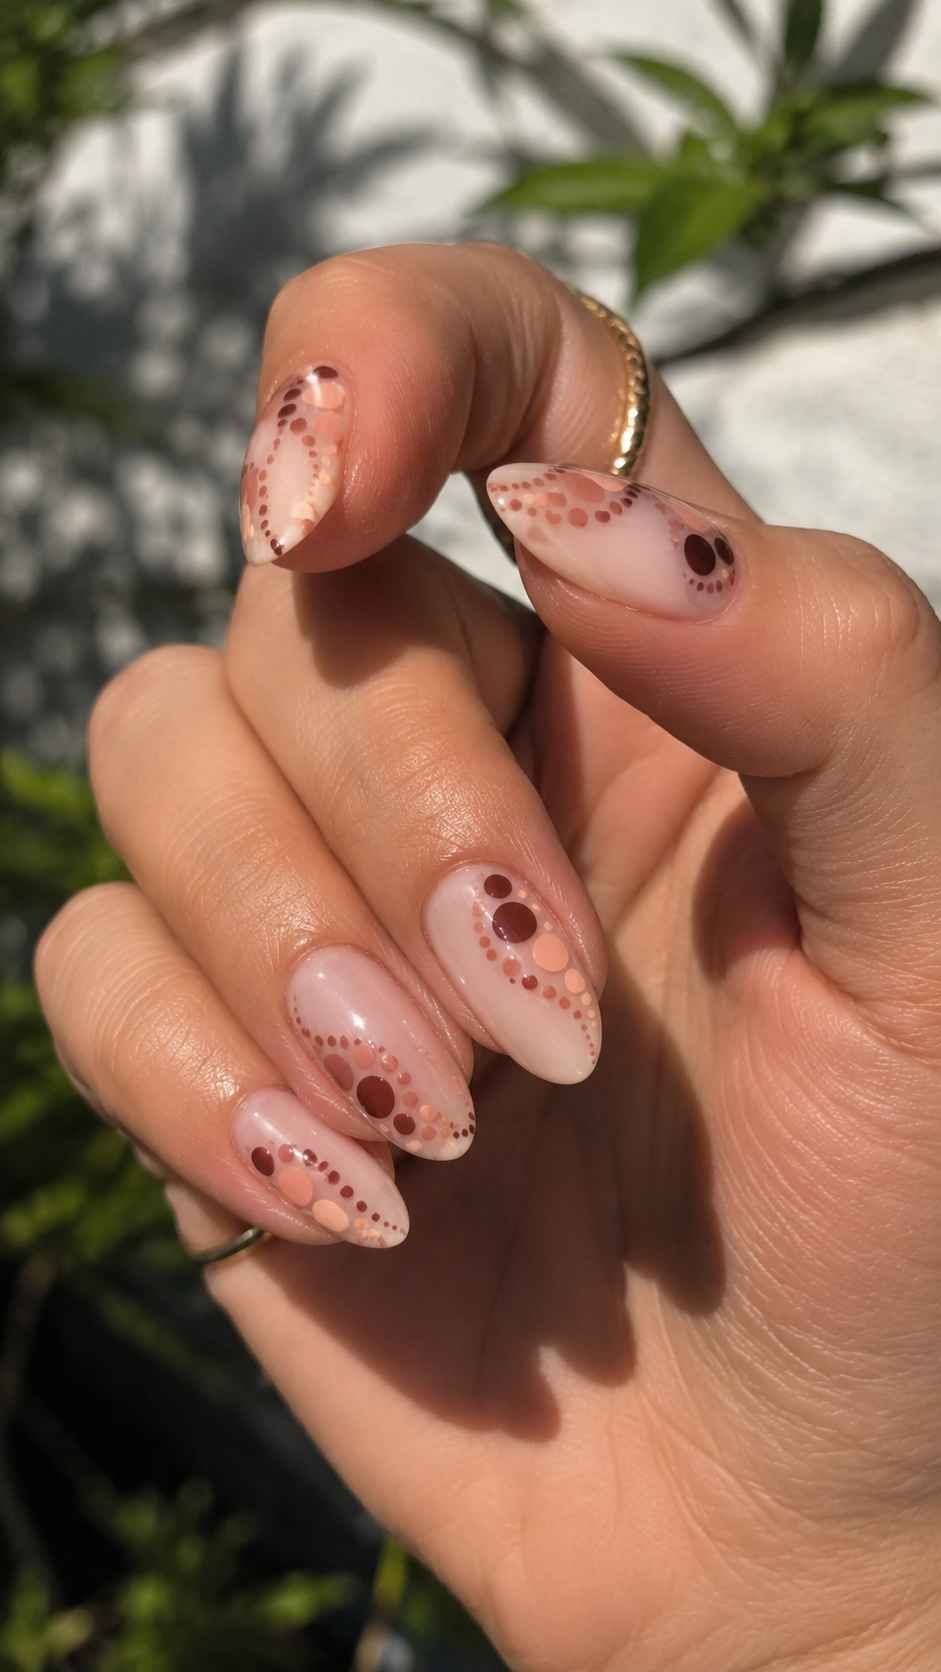
The key is leaving deliberate space between the dots so the pattern appears planned rather than random. Use opaque polish for crisp contrast, or combine solid and translucent dots to create more depth. This concept adapts easily to round, almond, square, and oval nails because the orbit can follow the natural curve of each shape.
Circle a Single Color Core
Place one medium dot slightly away from the center, then arrange three smaller dots around it in a loose circular path. The surrounding dots can use lighter and darker versions of the same color, creating a tonal design that feels polished.
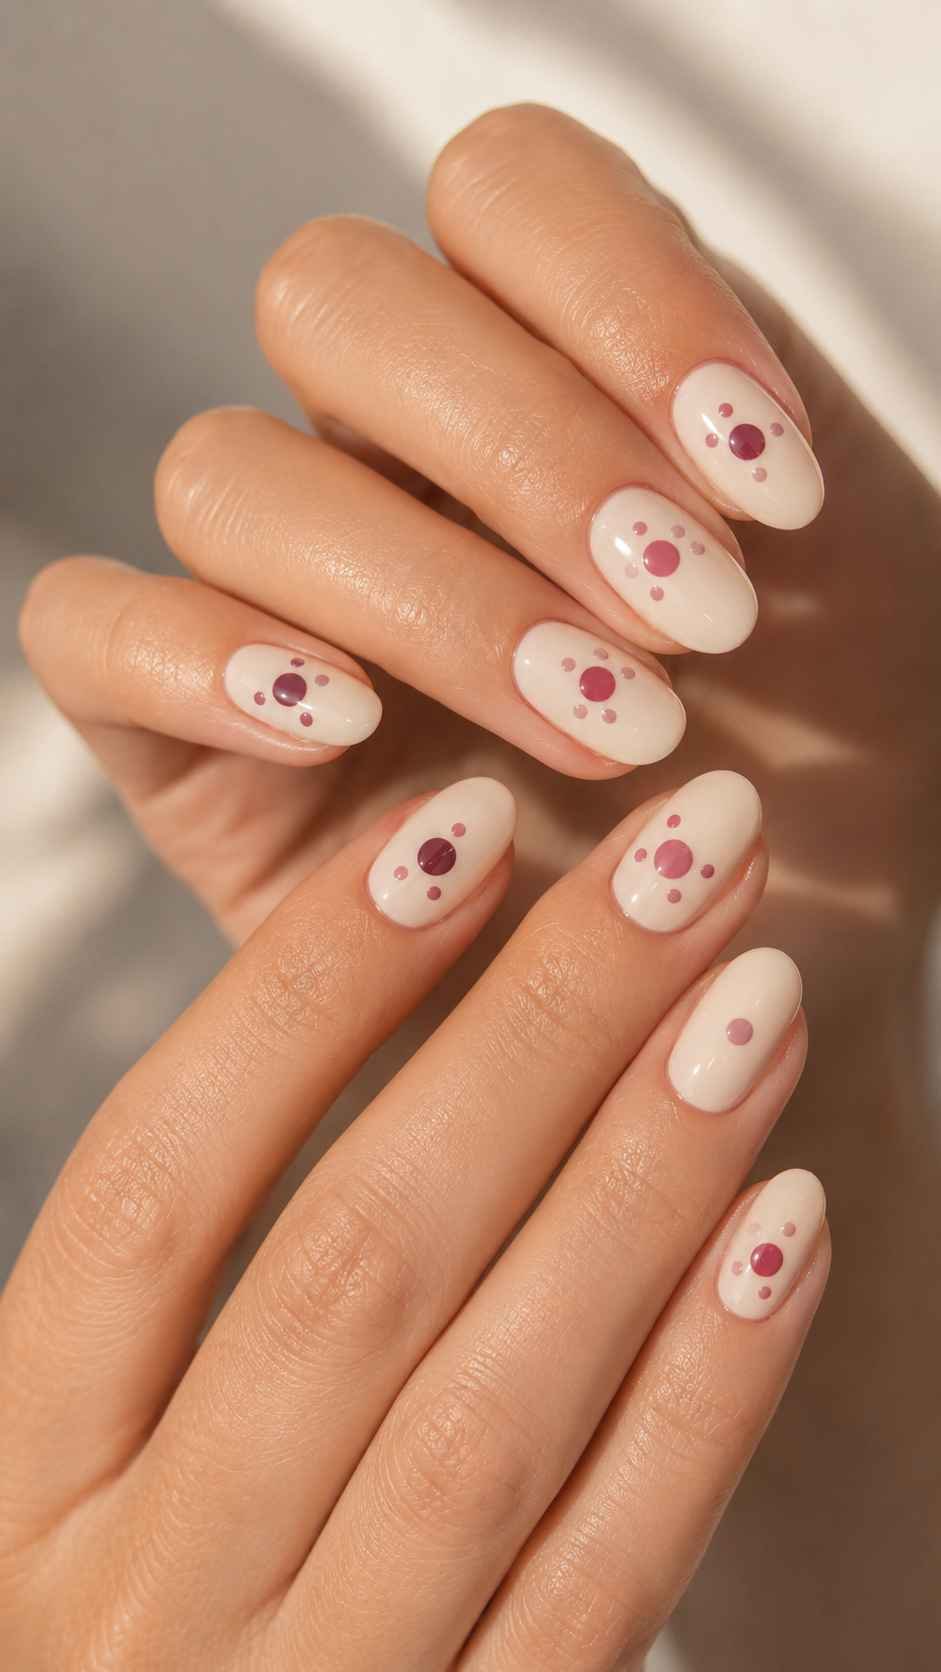
Shift the core position across the manicure so the orbits do not appear copied. A cream base with berry tones looks rich, while a soft grey base with blue shades feels clean and modern. Keep one nail especially simple with only the central dot to create a natural pause.
Trail Dots Along the Outer Curve
Create a dot trail that follows one outer edge of the nail from the lower side toward the top. Begin with the smallest circle and gradually increase the size before reducing it again. This size change gives the pattern a sense of motion.
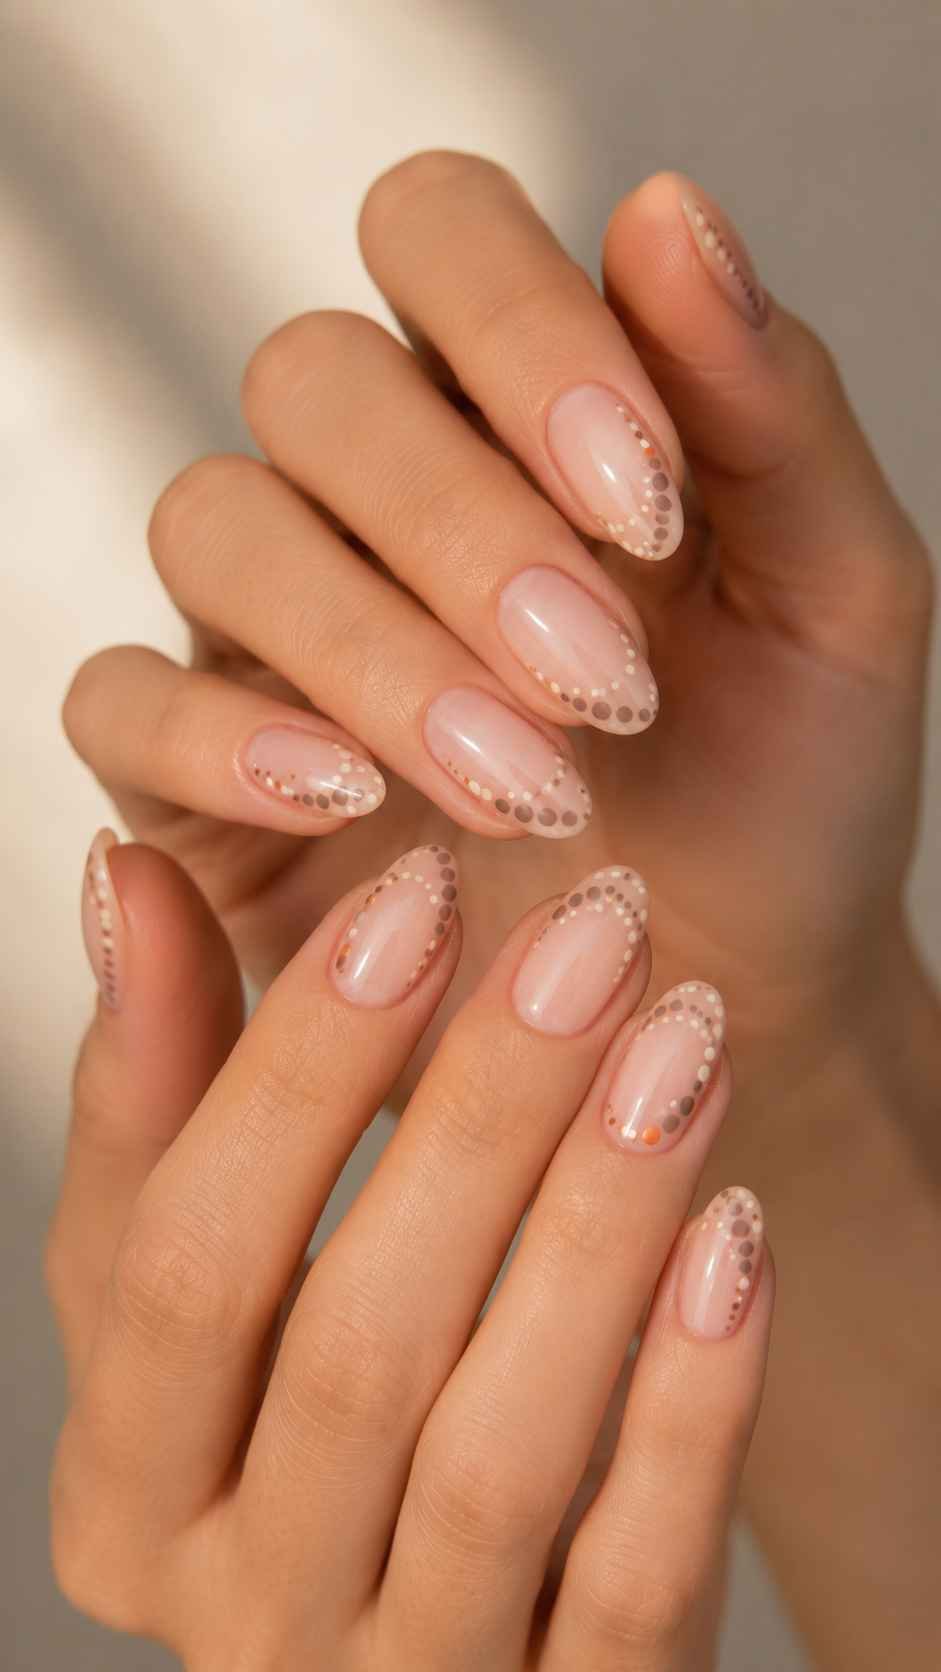
Use two colors in an alternating sequence, or allow one brighter dot to interrupt a neutral trail. Reverse the curve on the opposite hand for a mirrored effect. The design highlights the nail shape while leaving most of the base visible and uncluttered.
Overlap Solid and Sheer Dots
Paint several translucent dots first, then place smaller opaque circles partly over them. The layered areas will create additional tones without requiring a large palette. Keep the overlaps slightly different on every nail so the manicure feels organic.
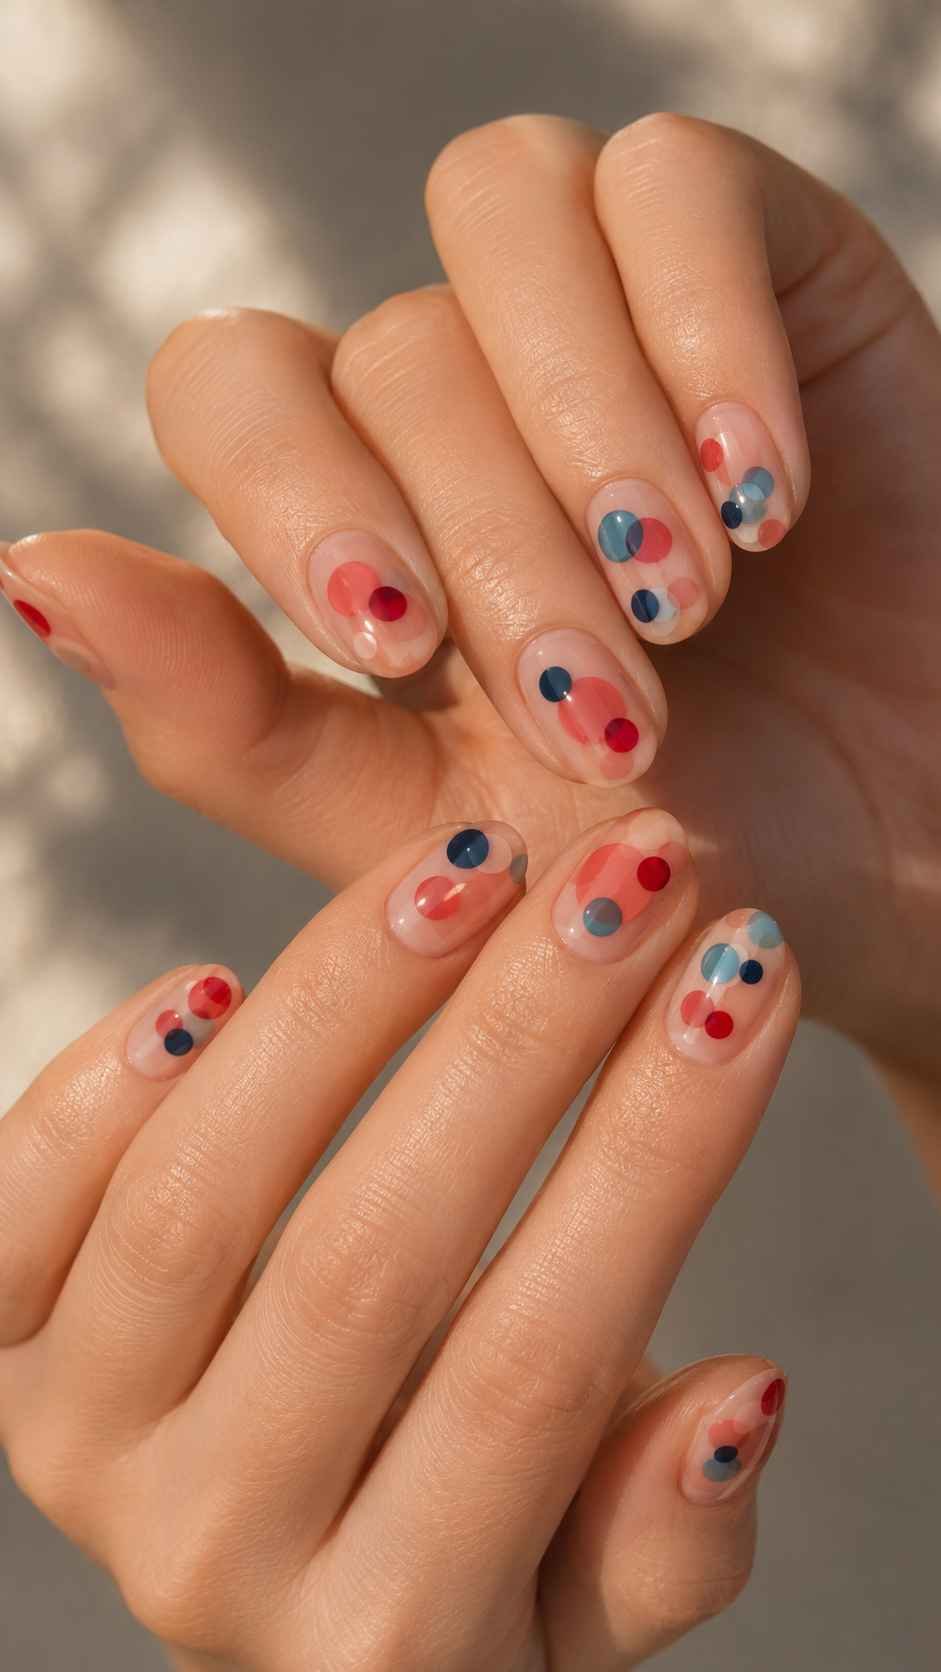
A sheer coral dot beneath an opaque red circle creates warmth, while transparent aqua paired with deep navy gives a cooler result. This method works best when the dot edges remain smooth and the final top layer is glossy enough to unify the different finishes.
Topographic Trail Nail Art Designs
Topographic trail nail art takes inspiration from the flowing lines found on landscape maps, but the finished manicure remains abstract and wearable. Curved paths, nested contours, and small location points create a sense of movement without forming a literal scene. The lines should remain fine and controlled, allowing the background color to stay visible.
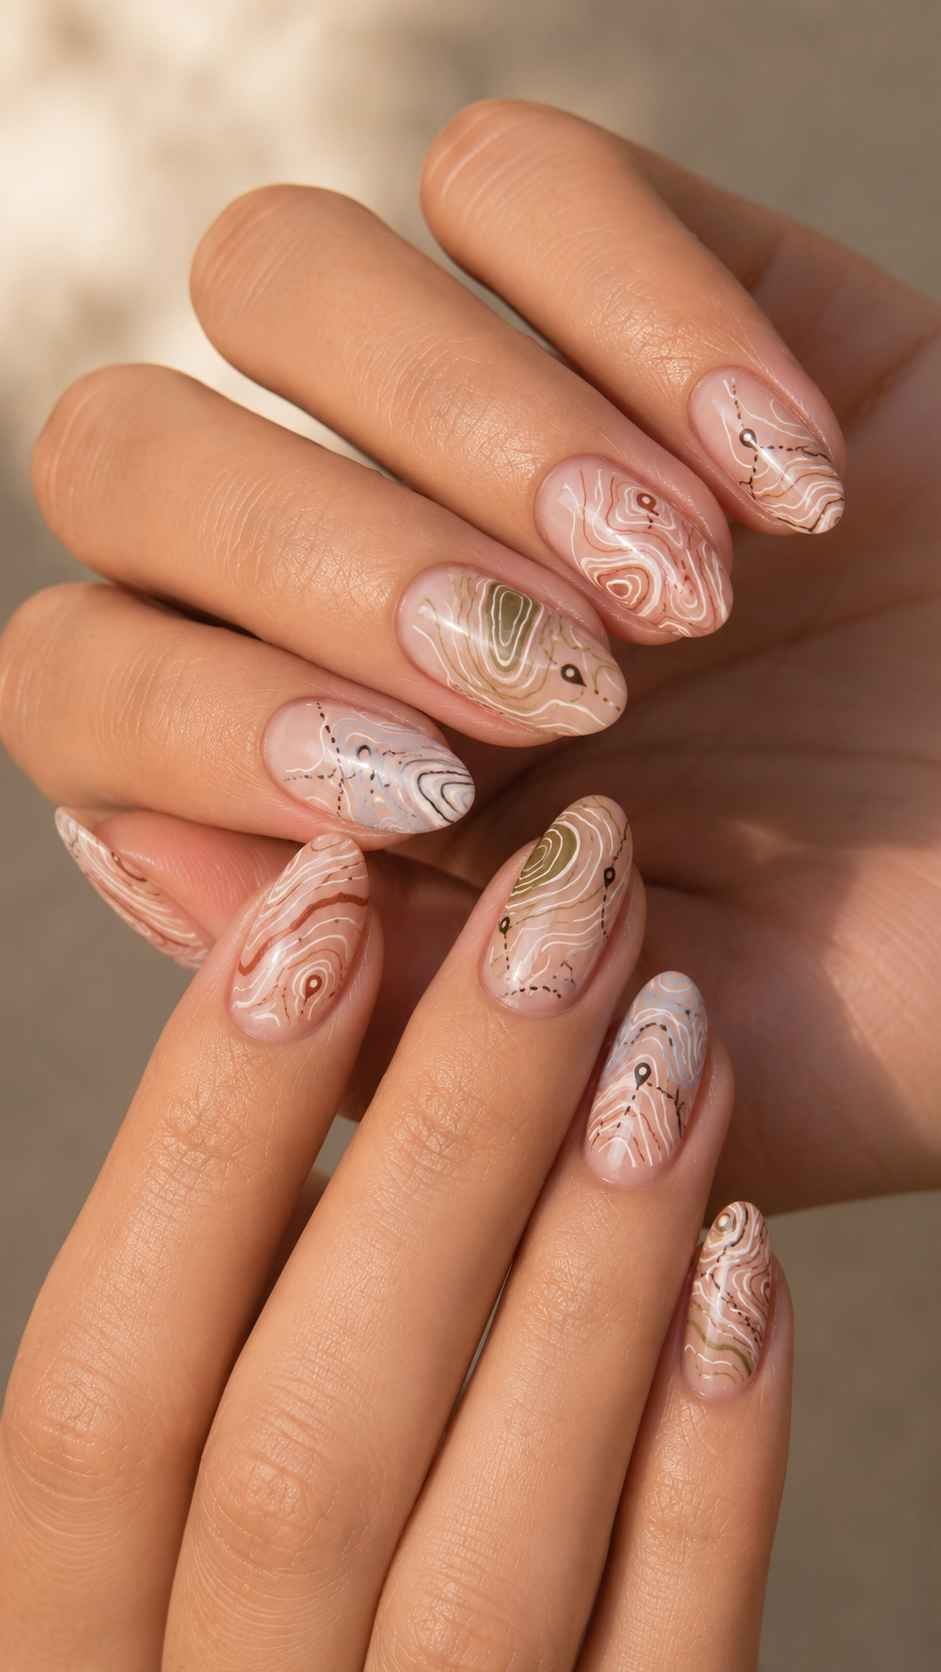
Earthy shades can make the design feel calm, while brighter combinations create a more graphic result. Try cream with moss, blush with burgundy, pale blue with navy, or soft yellow with brown. Each nail can show a different part of the imaginary landscape, which makes the full set feel connected without repeating one identical drawing.
Draw Nested Elevation Curves
Begin with one irregular closed curve, then add two or three larger lines around it. Keep the spacing uneven so the design resembles changing elevation rather than a perfect target. Position the smallest curve near a different area on each nail.
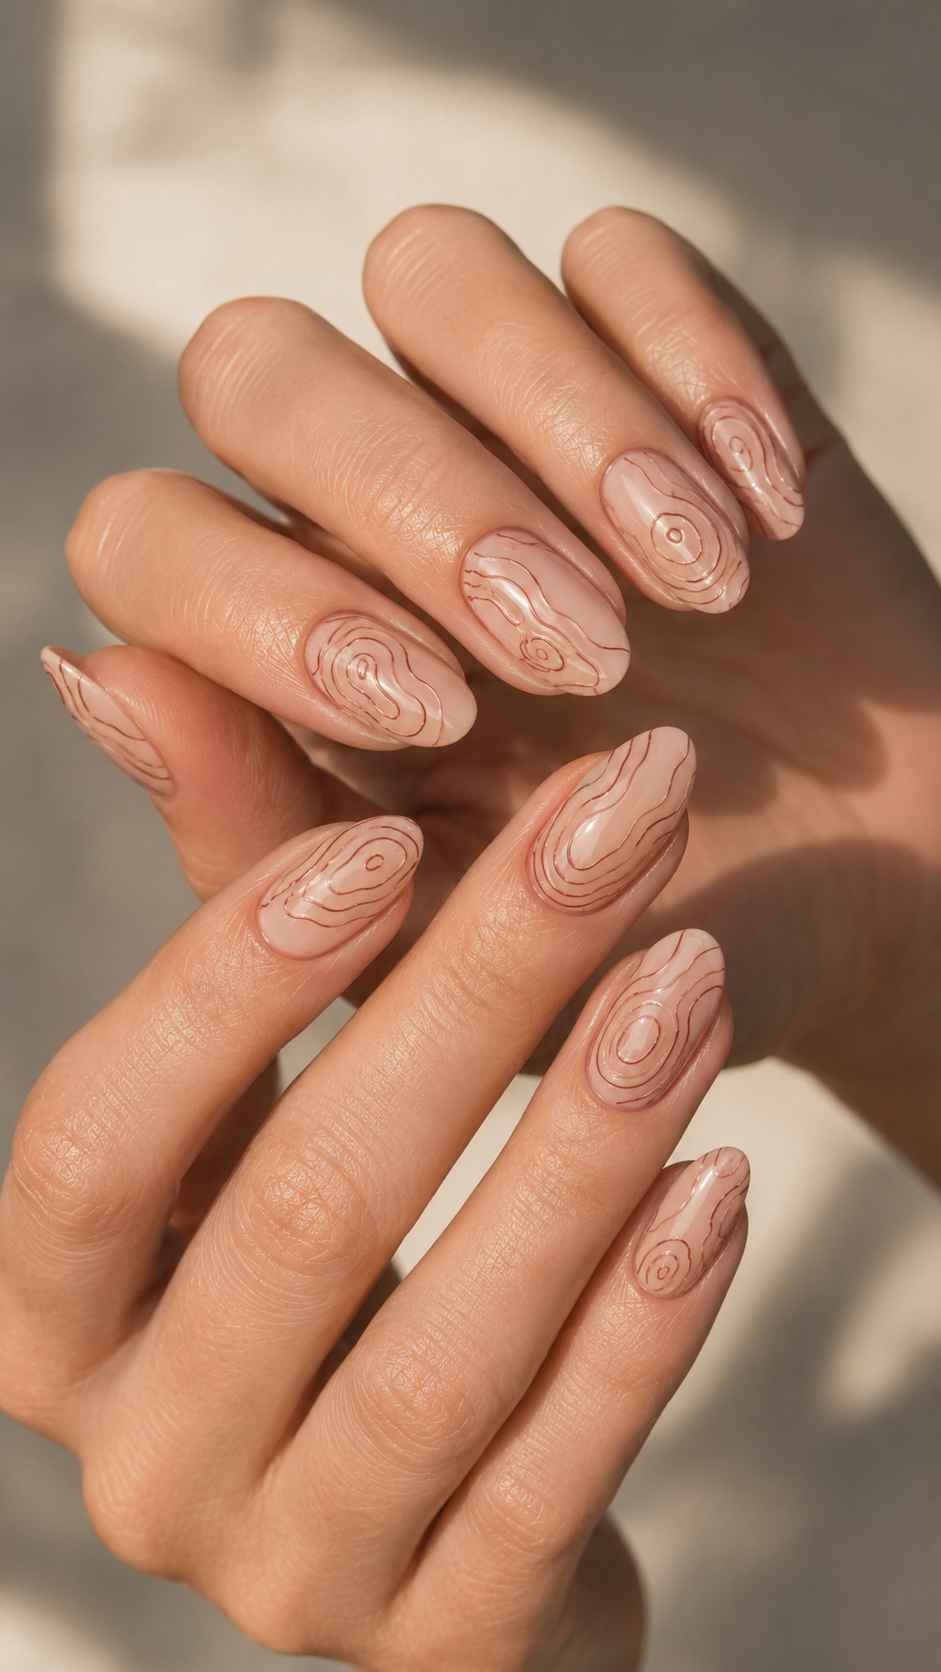
Use one color for all the lines or alternate two closely related shades. The nested construction creates visual depth while remaining completely flat. A matte base can help the fine contours appear sharper, although a glossy finish will give the manicure a smoother and more polished appearance.
Connect Two Map Points
Place two tiny dots on opposite areas of the nail and join them with one winding line. The route can bend around the center, travel close to an edge, or form one broad loop before reaching the second point. Add a small ring around one dot to mark it as the destination.
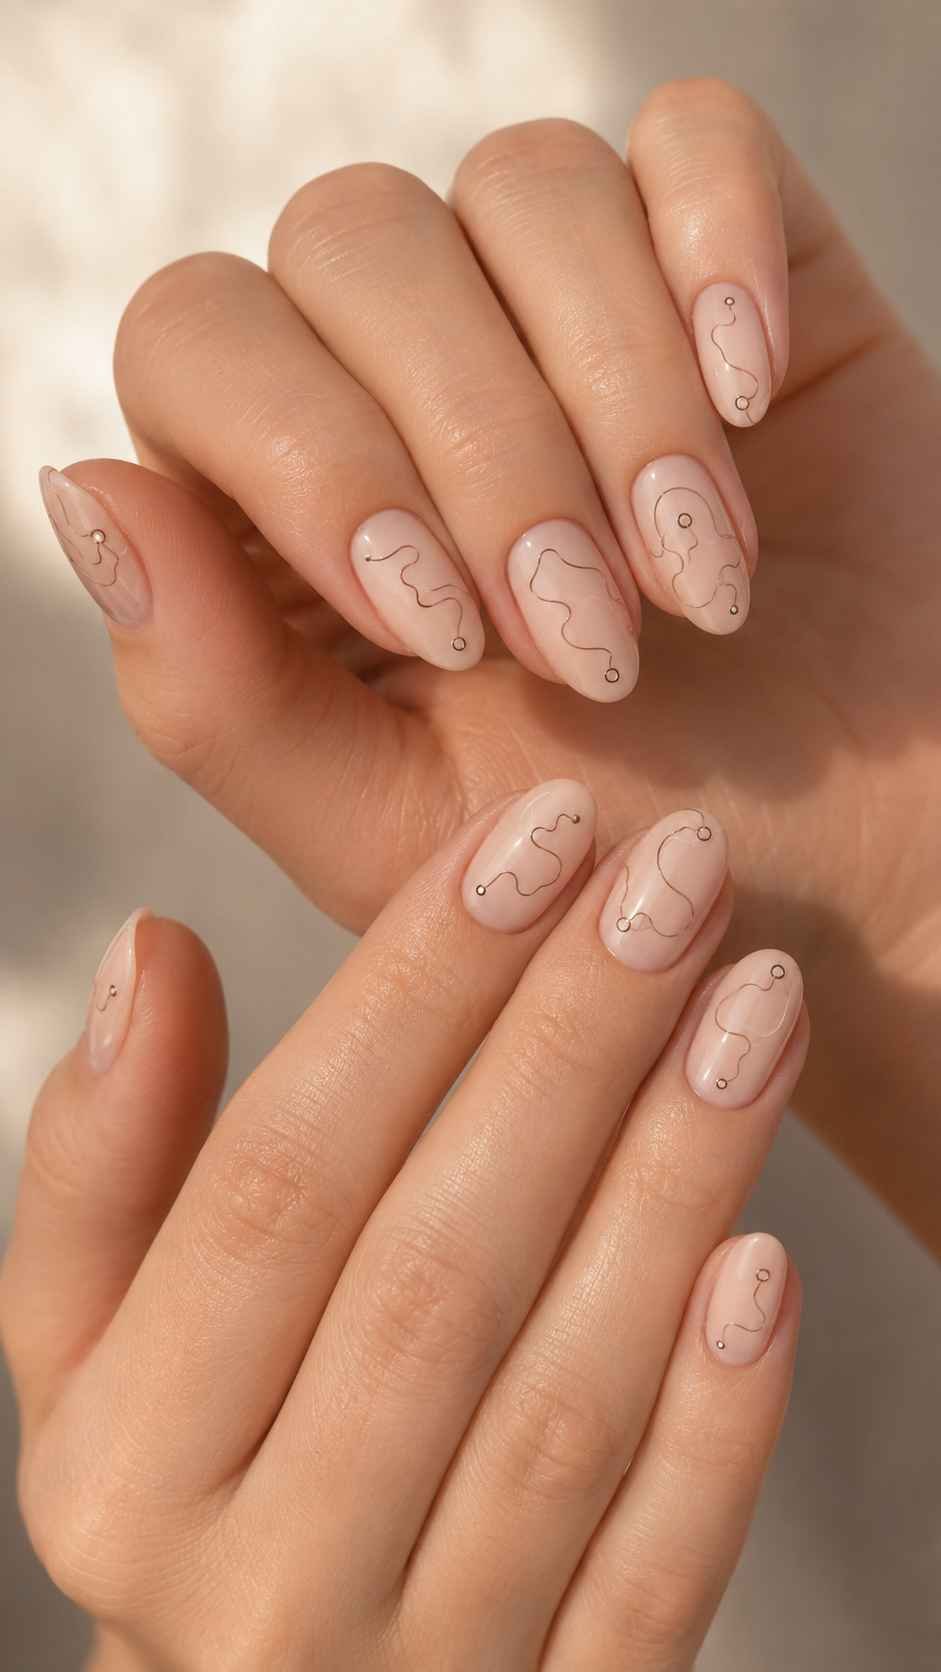
Change the route on every finger while keeping the line thickness consistent. This creates a quiet story across the manicure and gives the design a personal quality without using names, letters, or recognizable places.
Layer a Trail Over Color Terrain
Paint one soft irregular patch of color, then draw a fine trail across it after the base has dried. Allow the line to enter and leave the colored area so it looks as though it crosses different terrain.
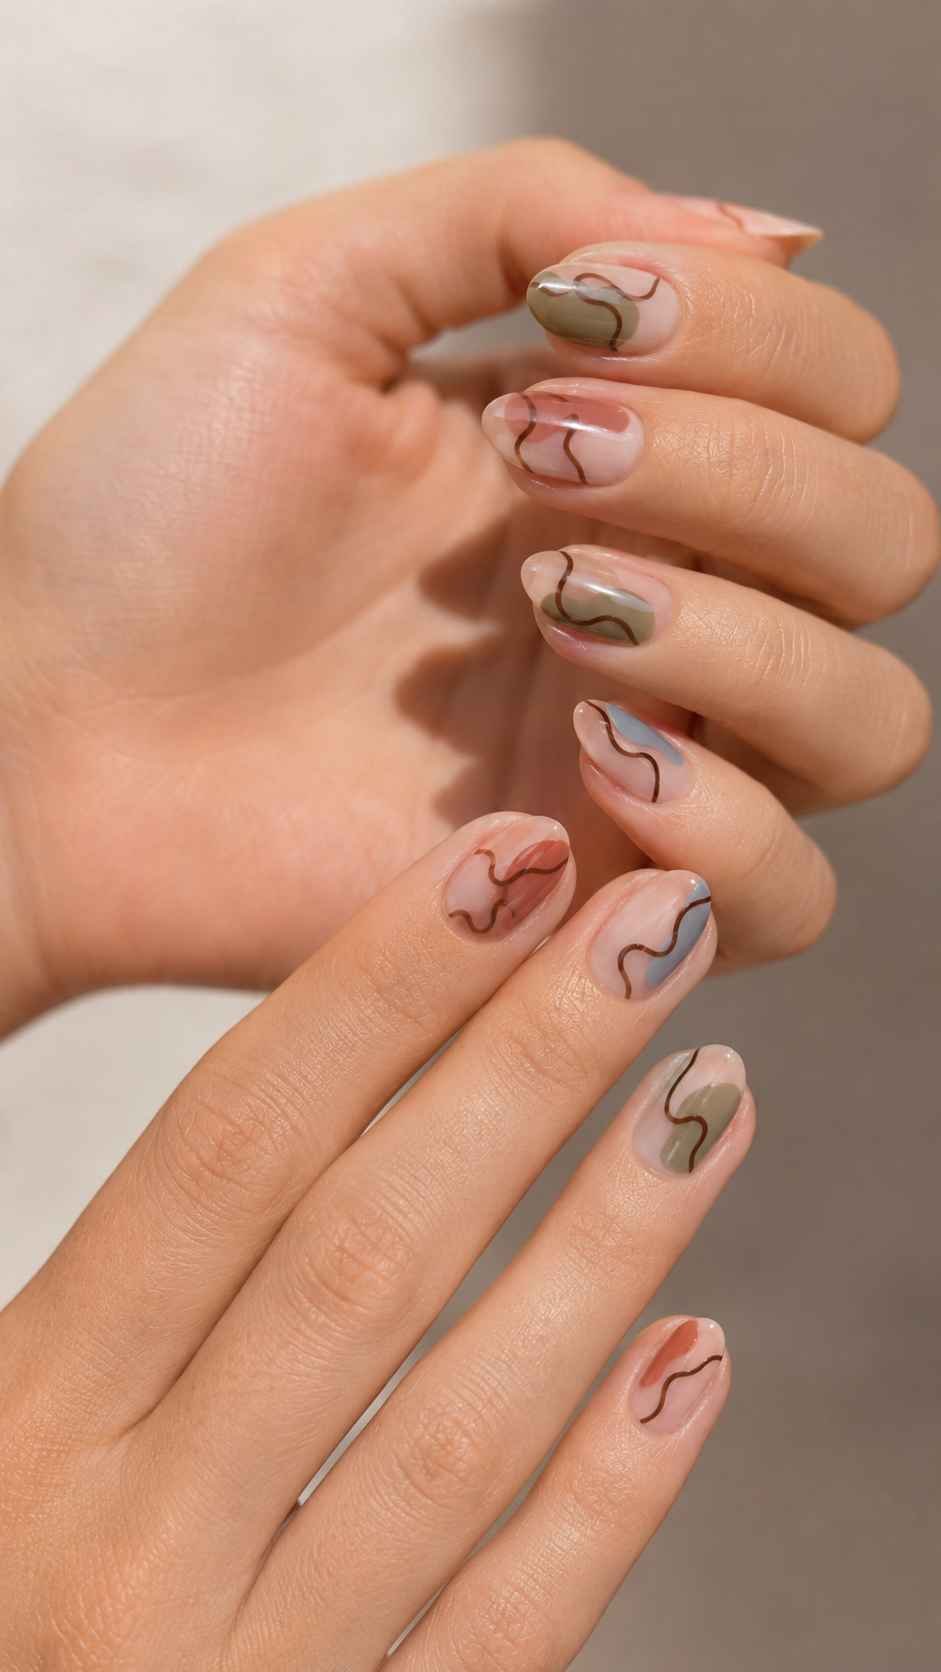
The patch can be muted green, warm clay, faded blue, or dusty rose, while the trail uses a darker contrasting shade. Keep the colored shapes broad and simple so they do not compete with the delicate route. This layered approach adds dimension while maintaining a clean and artistic finish.
Lace Shadow Nail Art Designs
Lace shadow nail art creates delicate pattern and depth without covering the nails in heavy decoration. Instead of copying traditional lace exactly, the design uses fine curves, translucent sections, tiny openings, and softly repeated shapes to suggest fabric resting over the manicure. Neutral bases such as creamy nude, pale pink, muted lavender, or soft grey keep the details refined, while black, burgundy, navy, or deep green can create a stronger contrast.
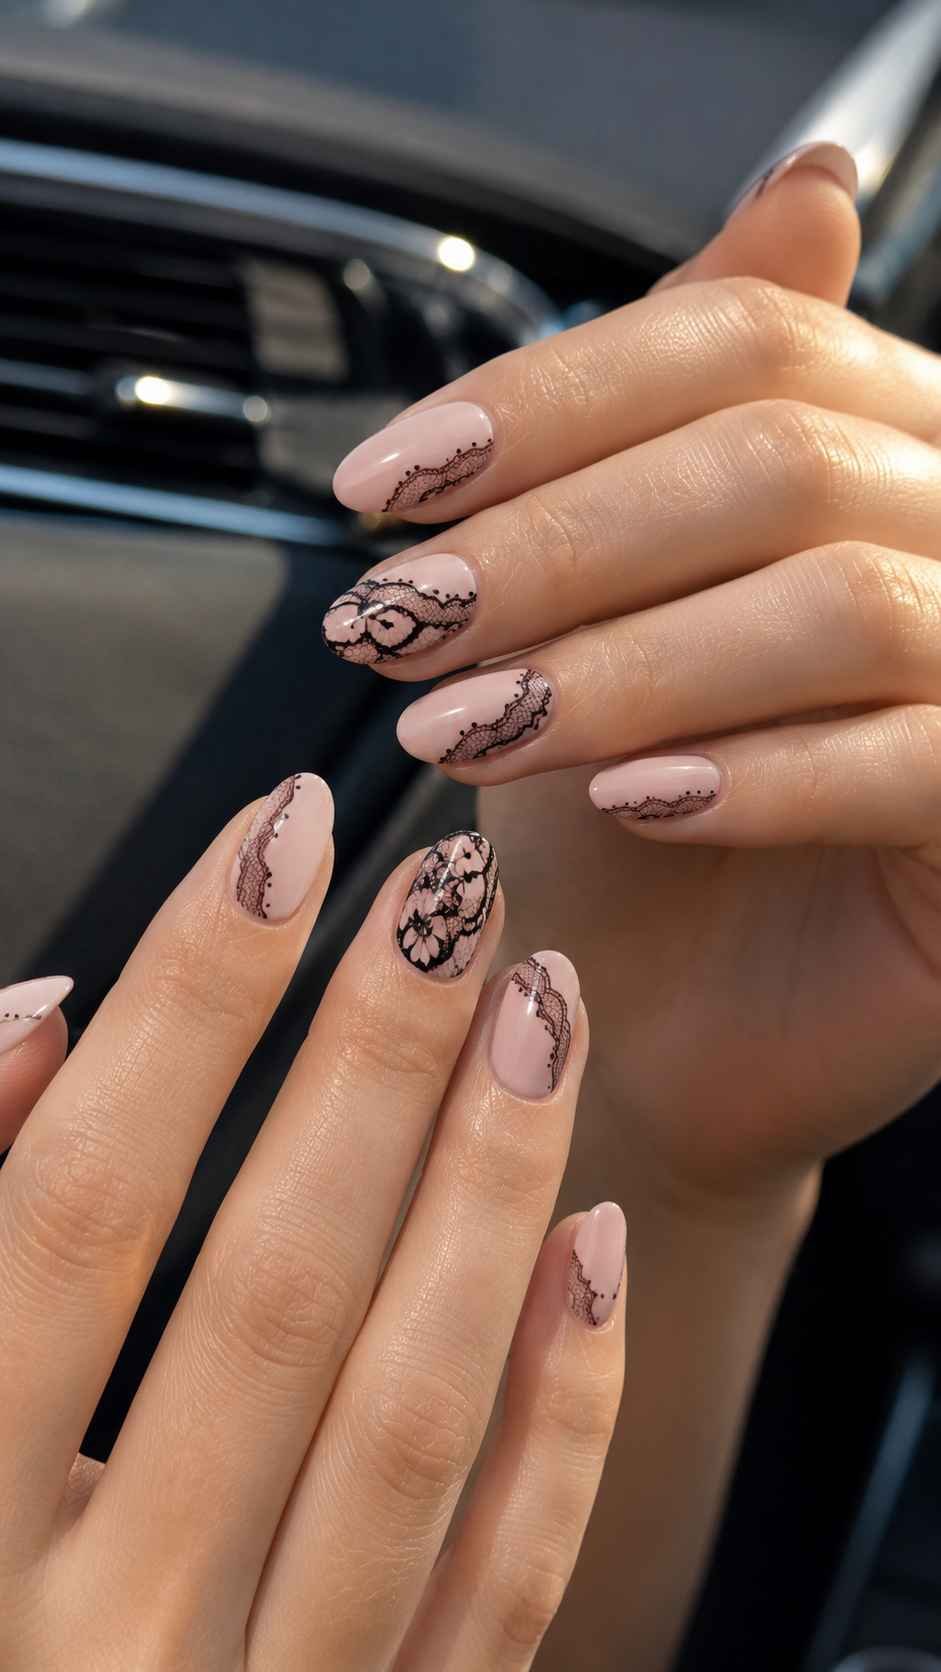
The pattern should remain light and carefully spaced so the natural base continues to show through. Applying fuller lace details to one or two accent nails and using smaller fragments on the remaining fingers helps the manicure look coordinated without becoming crowded.
Trace a Fine Lace Border
Paint a narrow lace inspired border along one side or around the upper edge of the nail. Begin with one slim curved line, then add tiny loops or rounded openings beside it. Leave part of the border unfinished so the pattern feels modern rather than formal.
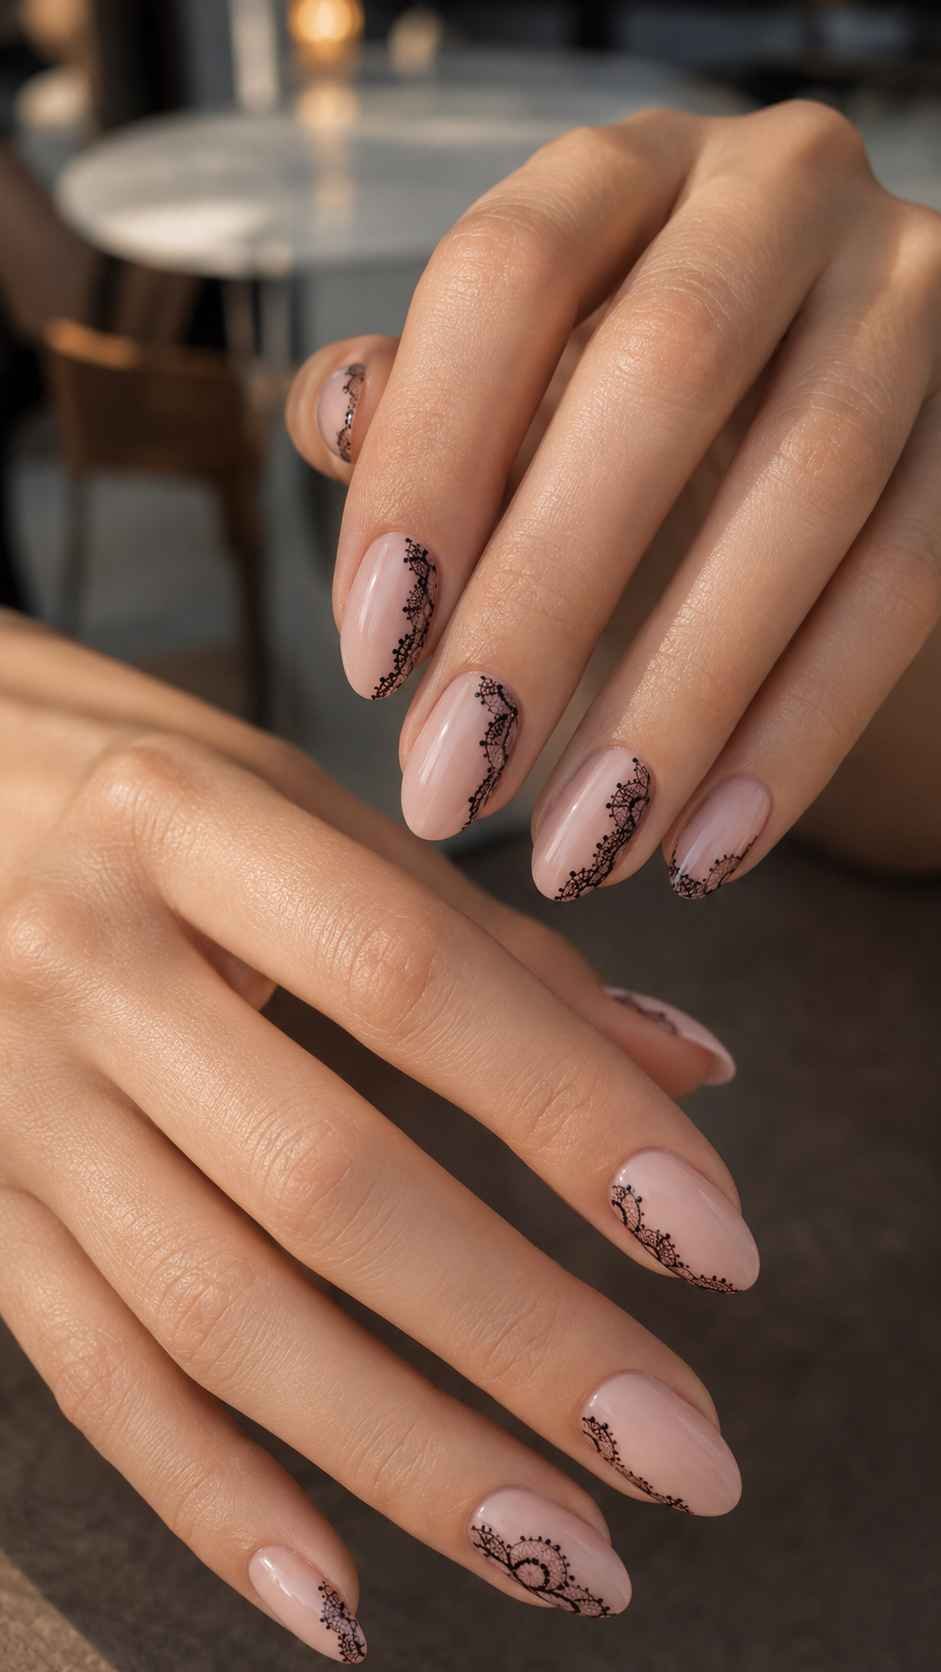
Change the placement across the manicure, tracing the left side on one nail and the tip on another. A soft nude base with black or deep berry details creates clear definition, while white or pale grey lines produce a quieter and more delicate result.
Layer a Sheer Pattern Panel
Create one translucent panel that covers only a selected portion of the nail, then paint fine curved details inside it. The panel can sit near the cuticle, travel diagonally across the center, or cover one outer corner. Use a slightly deeper version of the base color so the layer remains visible without appearing heavy.
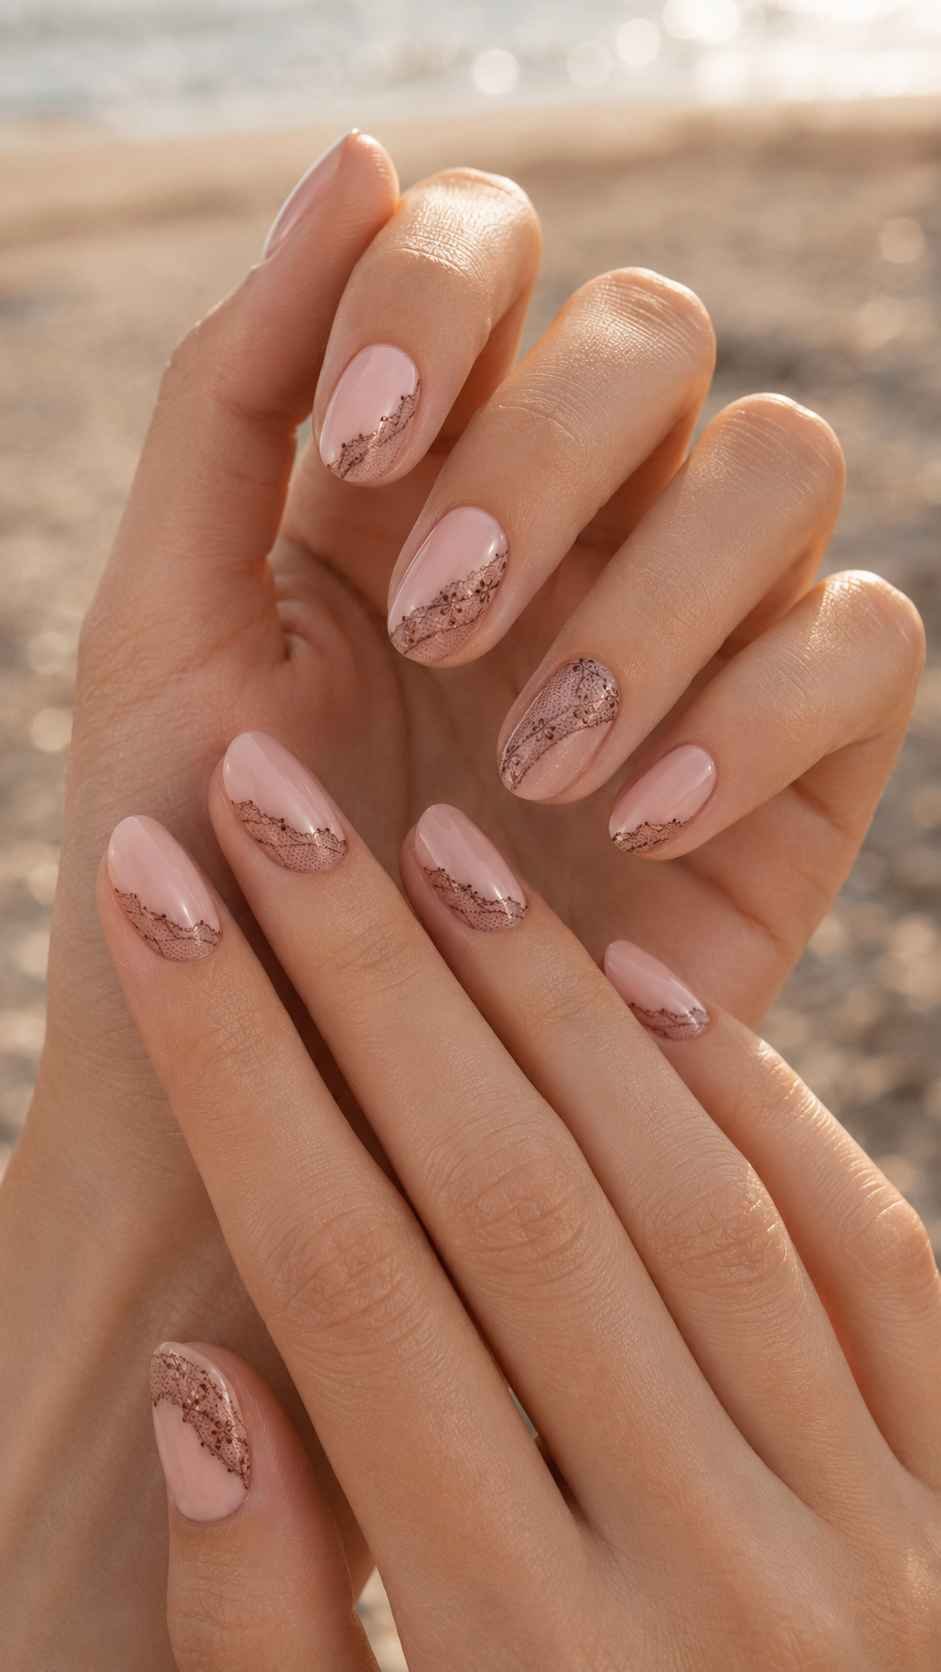
Add two or three small openings within the pattern to suggest woven lace. Keep the surrounding area clean so the transparent panel becomes the main focus and the complete manicure maintains an airy appearance.
Place Small Lace Fragments
Instead of painting one continuous pattern, add two or three compact lace fragments in separate areas of the nail. One fragment can appear near the lower corner, while another sits close to the opposite edge. Use small curved shapes, connected loops, and delicate lines while leaving enough open space between them.
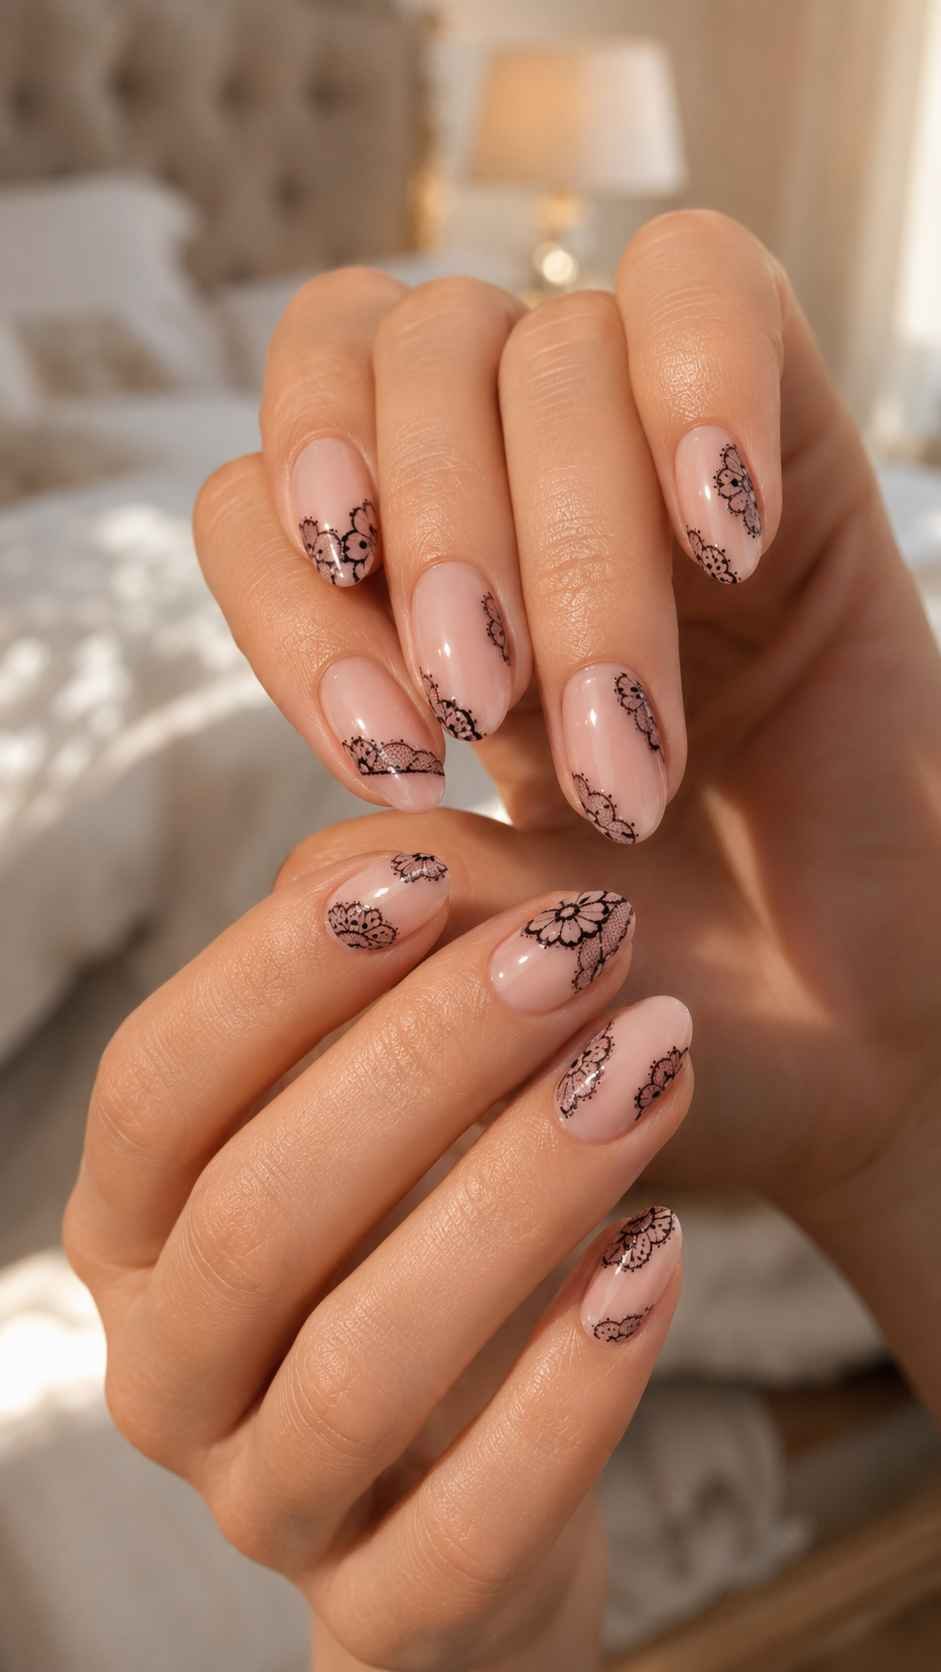
Repeat only one fragment on simpler nails to connect the set. This scattered placement gives the manicure an artistic quality and makes the details appear carefully collected rather than repeated in one predictable arrangement.
Sorbet Swatch Nail Art Designs
Sorbet swatch nail art celebrates bright color through carefully arranged samples rather than a traditional rainbow. Each nail carries a small collection of juicy shades that look as though they were selected from a creative color chart. Peach, raspberry, lemon, melon, grape, and cool mint can be combined with creamy neutrals to keep the palette fresh rather than overwhelming.
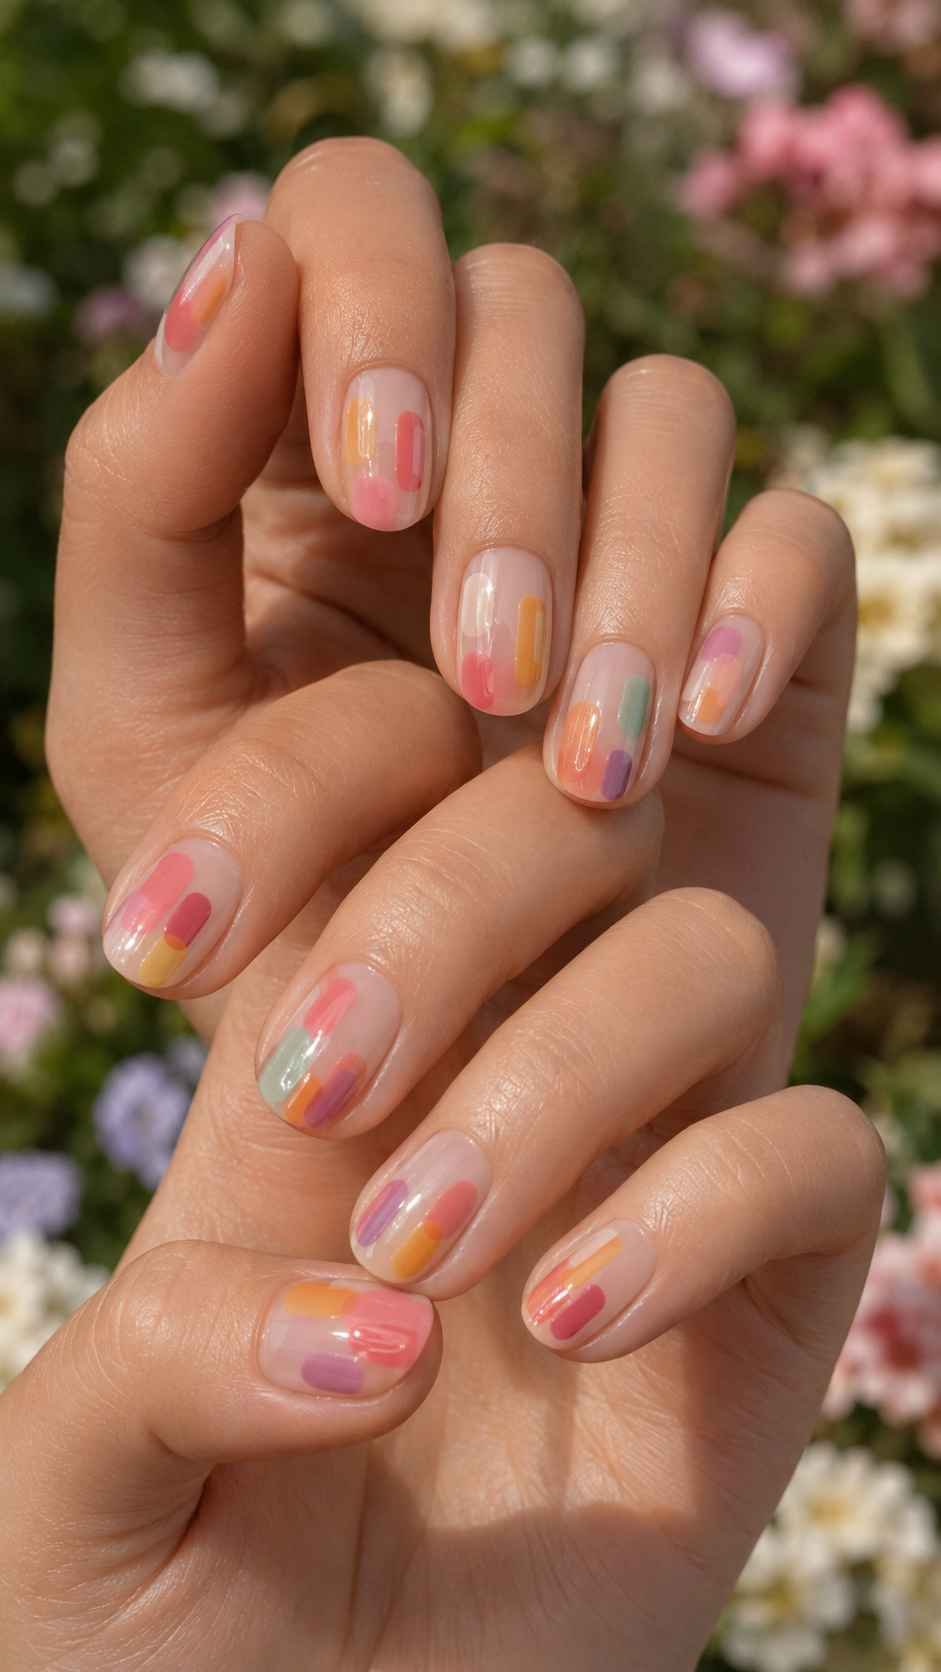
The swatches may appear as rounded blocks, narrow paint samples, or overlapping translucent tests. Their placement should change across the manicure, but the same colors need to return often enough to create unity. This idea is especially useful when you want a cheerful design that still feels thoughtfully edited.
Stack Rounded Color Samples
Paint two or three rounded rectangles in a vertical stack, leaving a narrow gap between each one. Change the order of the shades on every nail so the manicure feels varied. One finger might move from lemon to peach to raspberry, while another begins with mint and ends with grape.
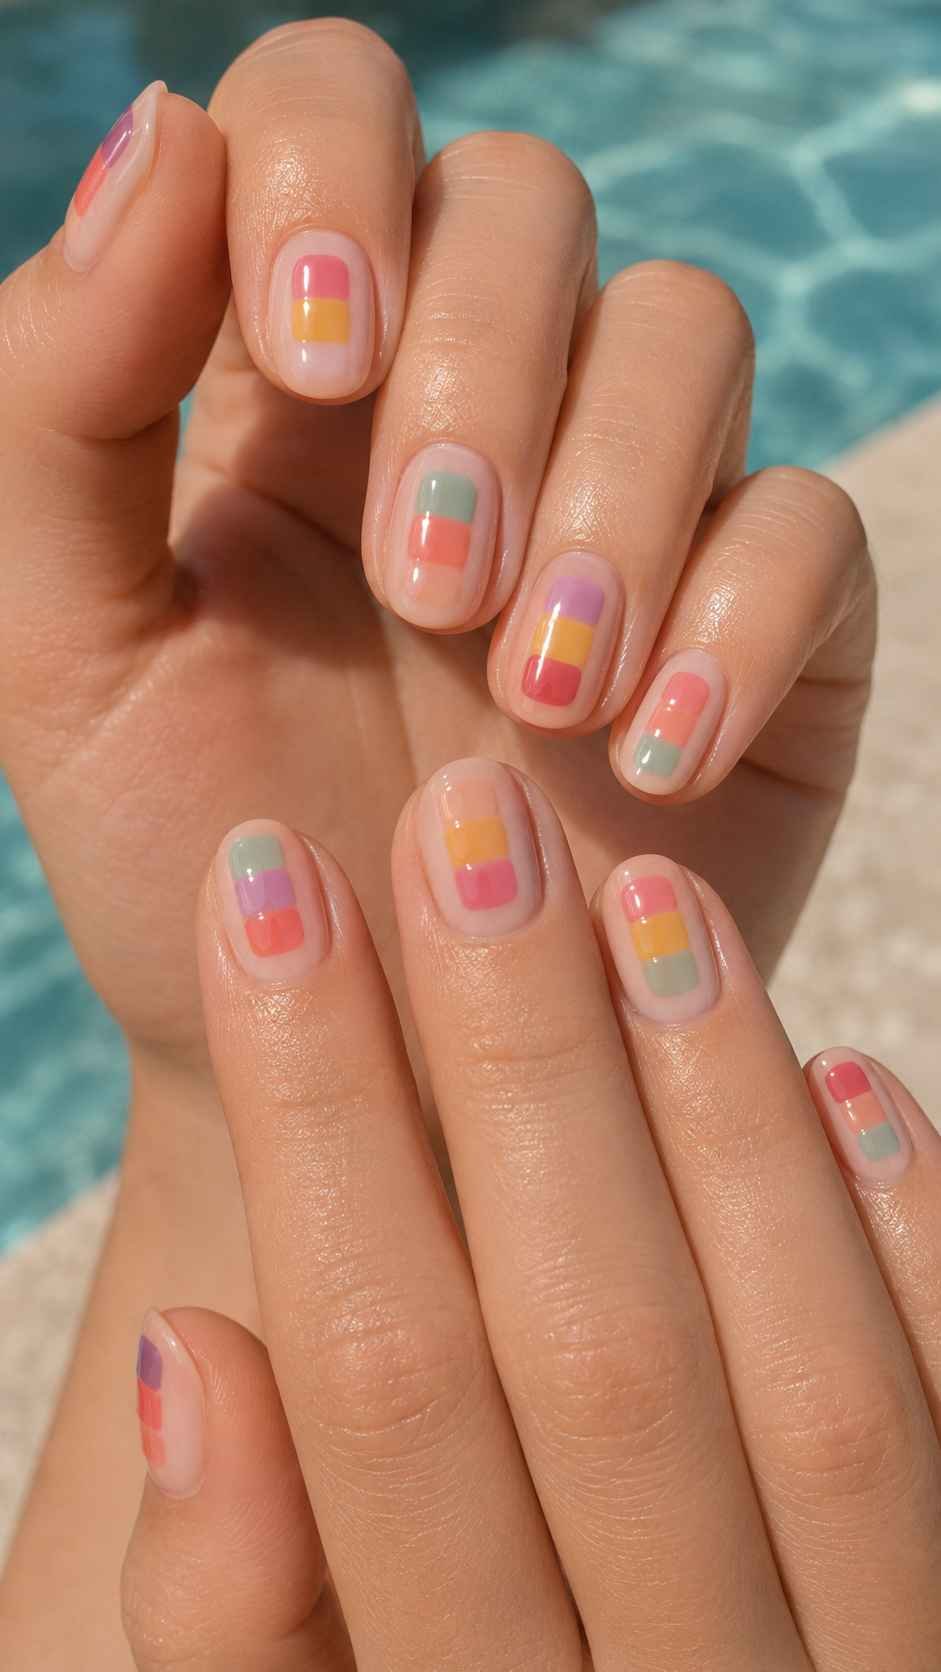
Keep the blocks compact and allow the base color to frame them. A glossy top layer makes the shades look juicy, while a soft cream background prevents the bright palette from becoming too intense.
Overlap Transparent Swatch Cards
Create two translucent color blocks that overlap near the center of the nail. The intersection will form a new shade, adding visual interest without introducing another polish. Use different pairings across the set, but repeat at least one color on every finger to maintain consistency.
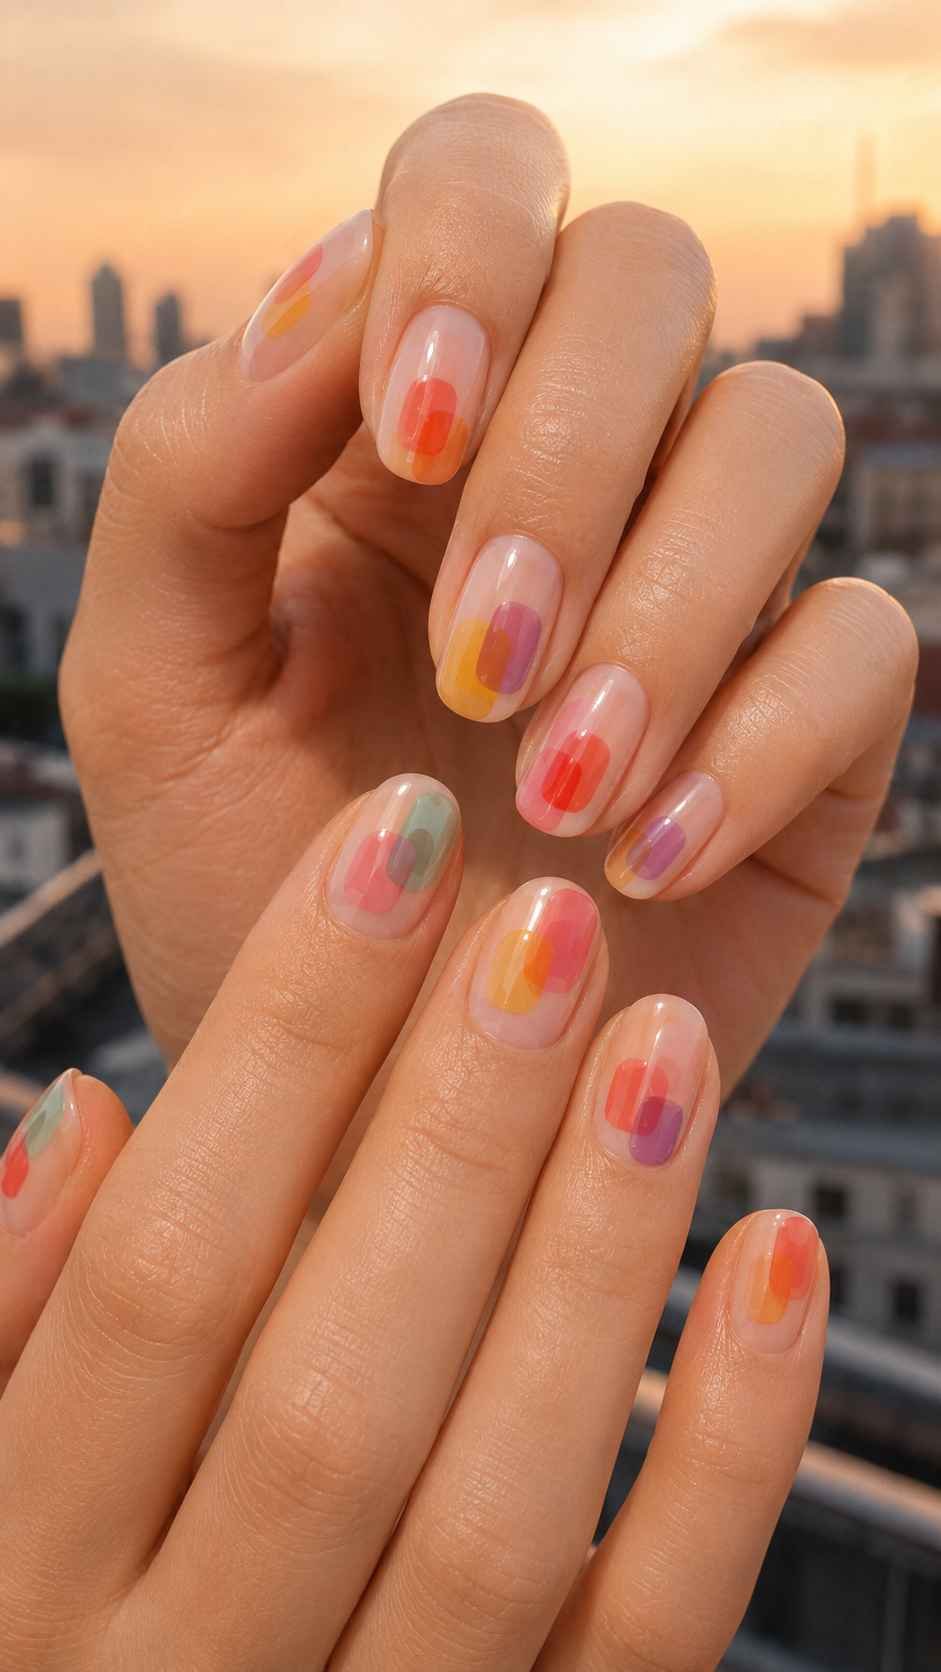
Round the corners slightly so the shapes feel softer than standard rectangles. This design looks especially beautiful when the clear base allows light to pass through the layers, making the manicure appear fresh and luminous.
Create a Single Hero Swatch
Choose one bold color sample as the main feature of each nail. Paint it as a broad rounded block placed in a different position on every finger, then add one tiny contrasting mark near its edge.
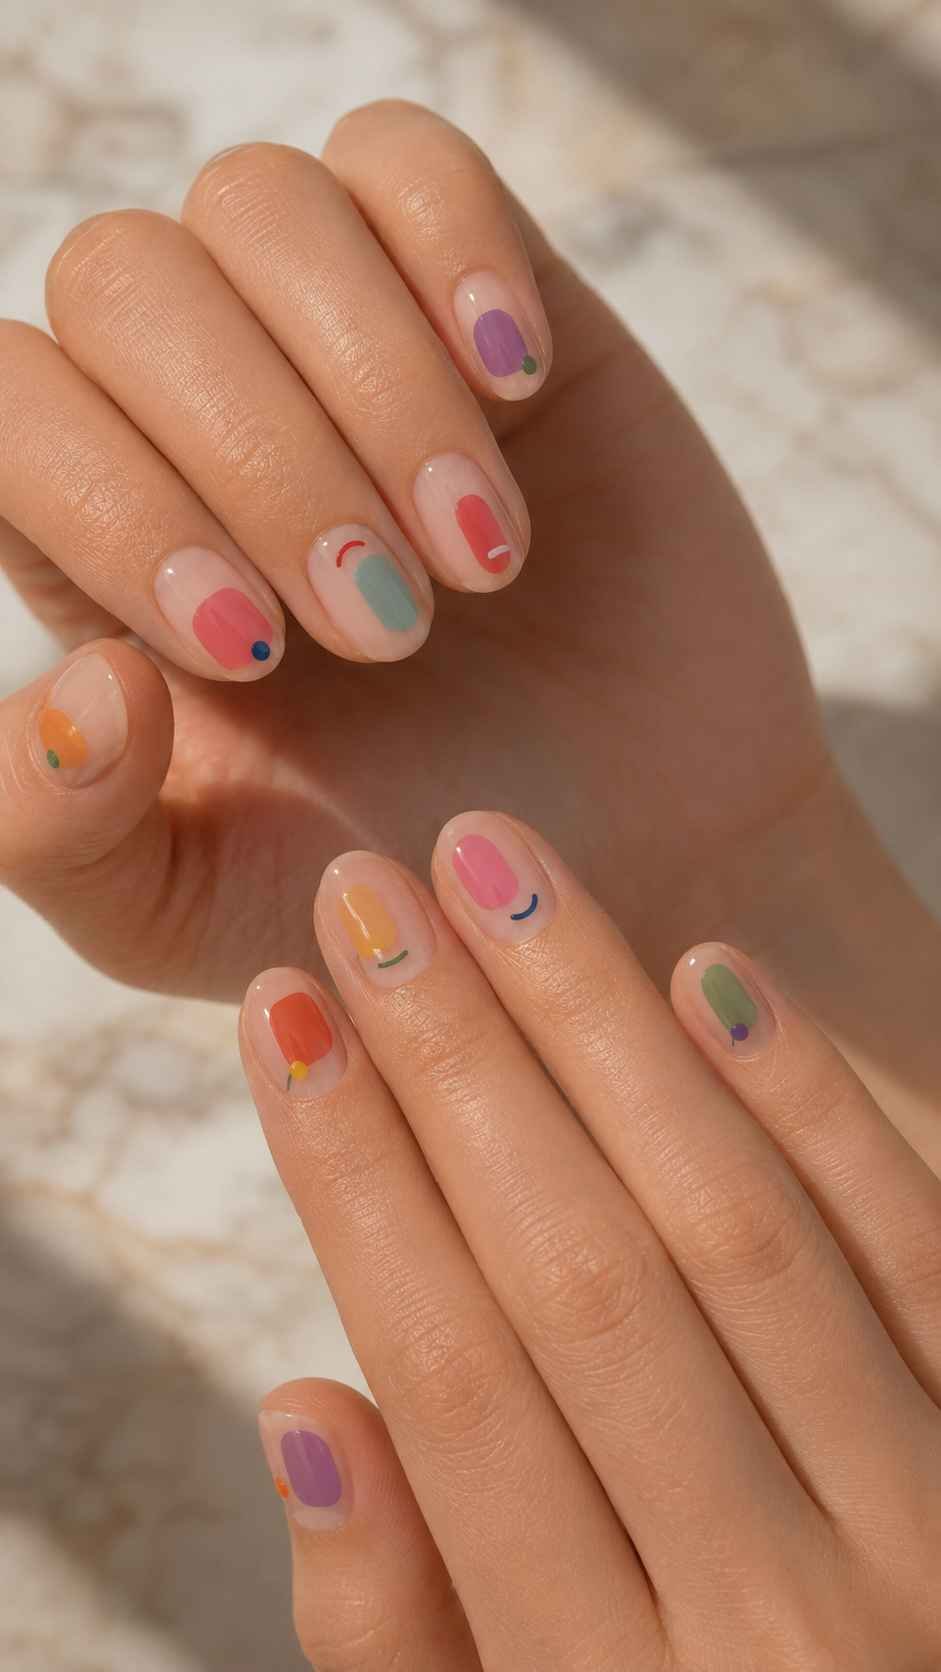
The mark can be a dot, short curve, or narrow line that makes the swatch feel intentionally selected. Use a connected palette rather than unrelated colors. Warm sorbet shades create an energetic look, while cooler fruit tones produce a calmer but equally colorful result.
Make Your Next Nail Art Design Feel Completely Your Own
The most memorable nail art designs begin with one clear concept and develop it through thoughtful variations. Woven grids can bring a tailored mood, jelly capsules add translucent color, orbit dots create movement, and topographic trails introduce delicate structure. Notebook details offer a playful graphic direction, while sorbet swatches make bright shades feel carefully curated. You do not need to copy every detail exactly. Adjust the color palette, spacing, size, and number of accents until the manicure suits your nail shape and personal style. For more inspiration, continue exploring related articles about nail colors, manicure shapes, seasonal styling, outfit coordination, and nail care. Combining those ideas will help you plan a complete look that feels polished, expressive, and original from the first glance.
