
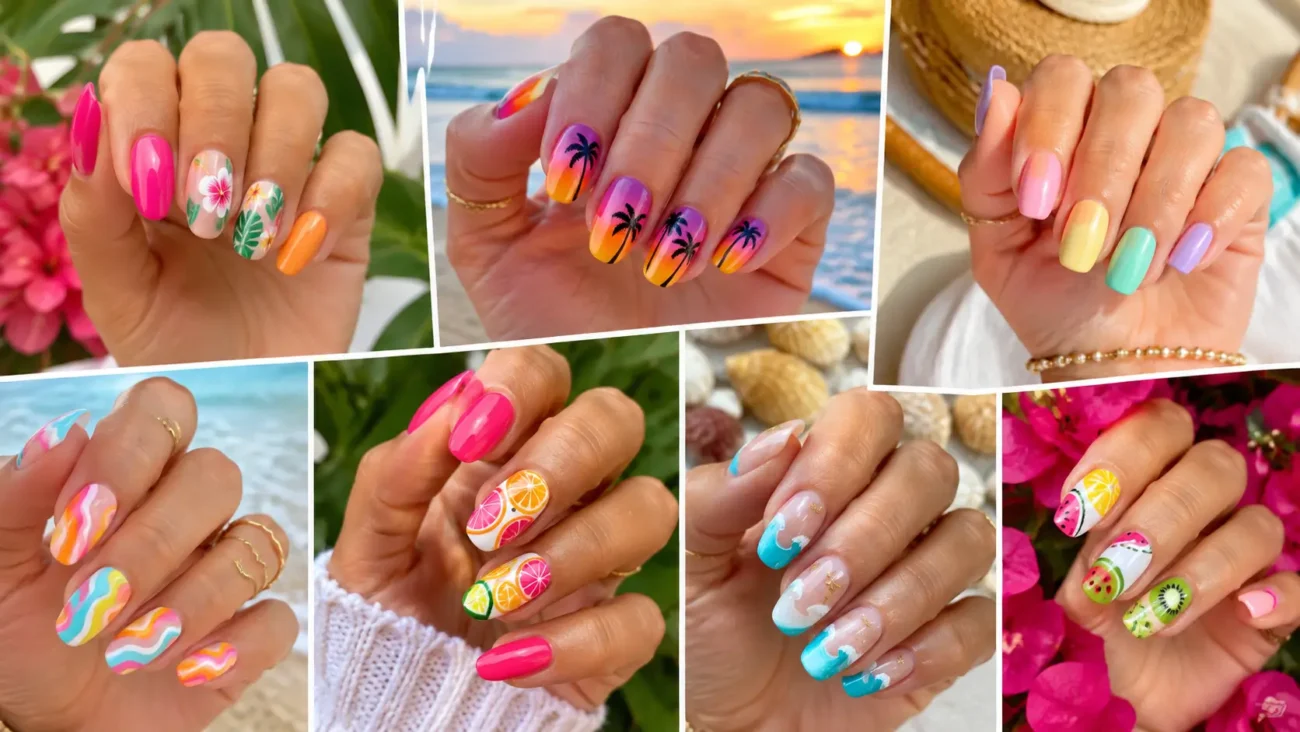
Summer colorful nails can make even the simplest outfit feel brighter, more expressive, and ready for warm days. The most interesting manicures do not depend on random shades placed together without a plan. They use color with purpose, allowing every curve, section, and finish to contribute to one clear mood.
Vivid tones can appear polished when their placement is controlled, while softer brights can create a relaxed result that still catches attention. Short nails can carry compact graphic details, and longer shapes can provide more room for layered color stories. The following ideas explore frozen treats, reflected pool light, cabana edges, sun printed shapes, inflatable forms, and carnival movement.
Every concept includes three distinct approaches, making it easier to choose a version that suits your nail length, wardrobe, and comfort level without repeating the same visual formula across the manicure.
Popsicle Cross Section Summer Colorful Nails
Popsicle cross section nails take the cheerful color of frozen treats and translate it into clean graphic layers. Instead of painting a literal popsicle on every finger, the manicure focuses on the bands, centers, and uneven edges visible when a frozen dessert is sliced or bitten. Coral, blueberry, lime, mango, and creamy coconut shades can be combined in compact sections that feel bright without becoming childish.
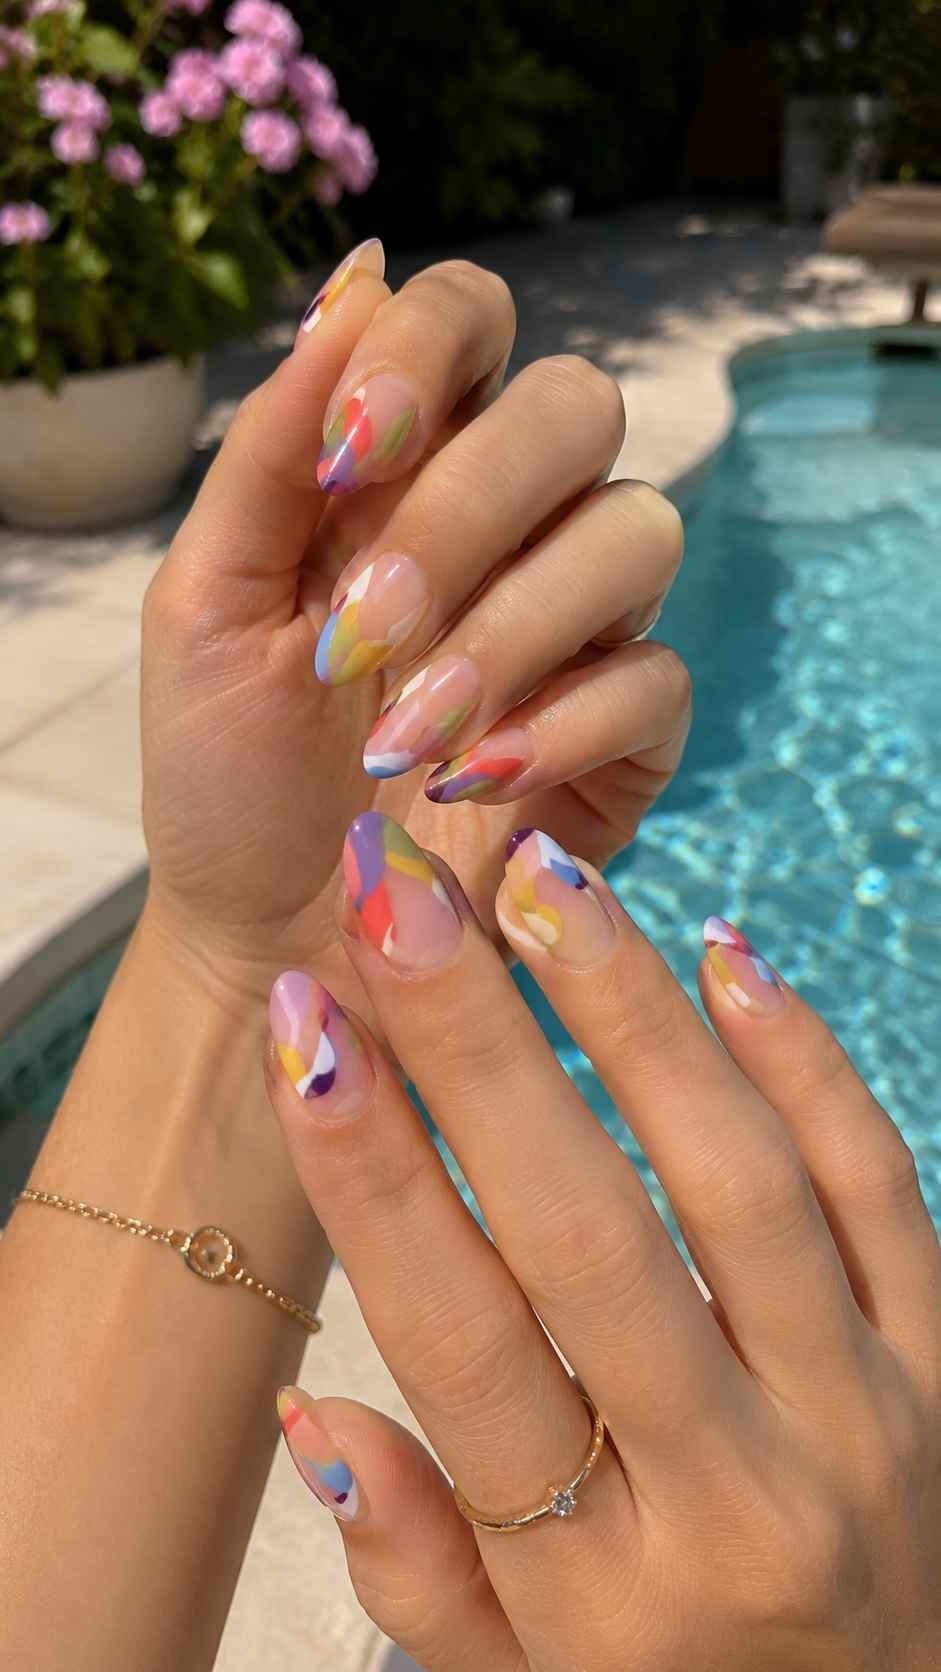
The shapes should remain smooth and slightly rounded so the design keeps its soft frozen character. Use two or three colors on each nail, then repeat selected shades across the hand to create unity. A glossy surface makes the palette look juicy, while a satin finish gives the layers a softer and more modern appearance.
Stack Three Frozen Flavor Bands
Divide each nail into three broad sections that follow the width of the nail rather than its length. Give every band a slightly curved edge so the layers look pressed together instead of measured with a ruler.
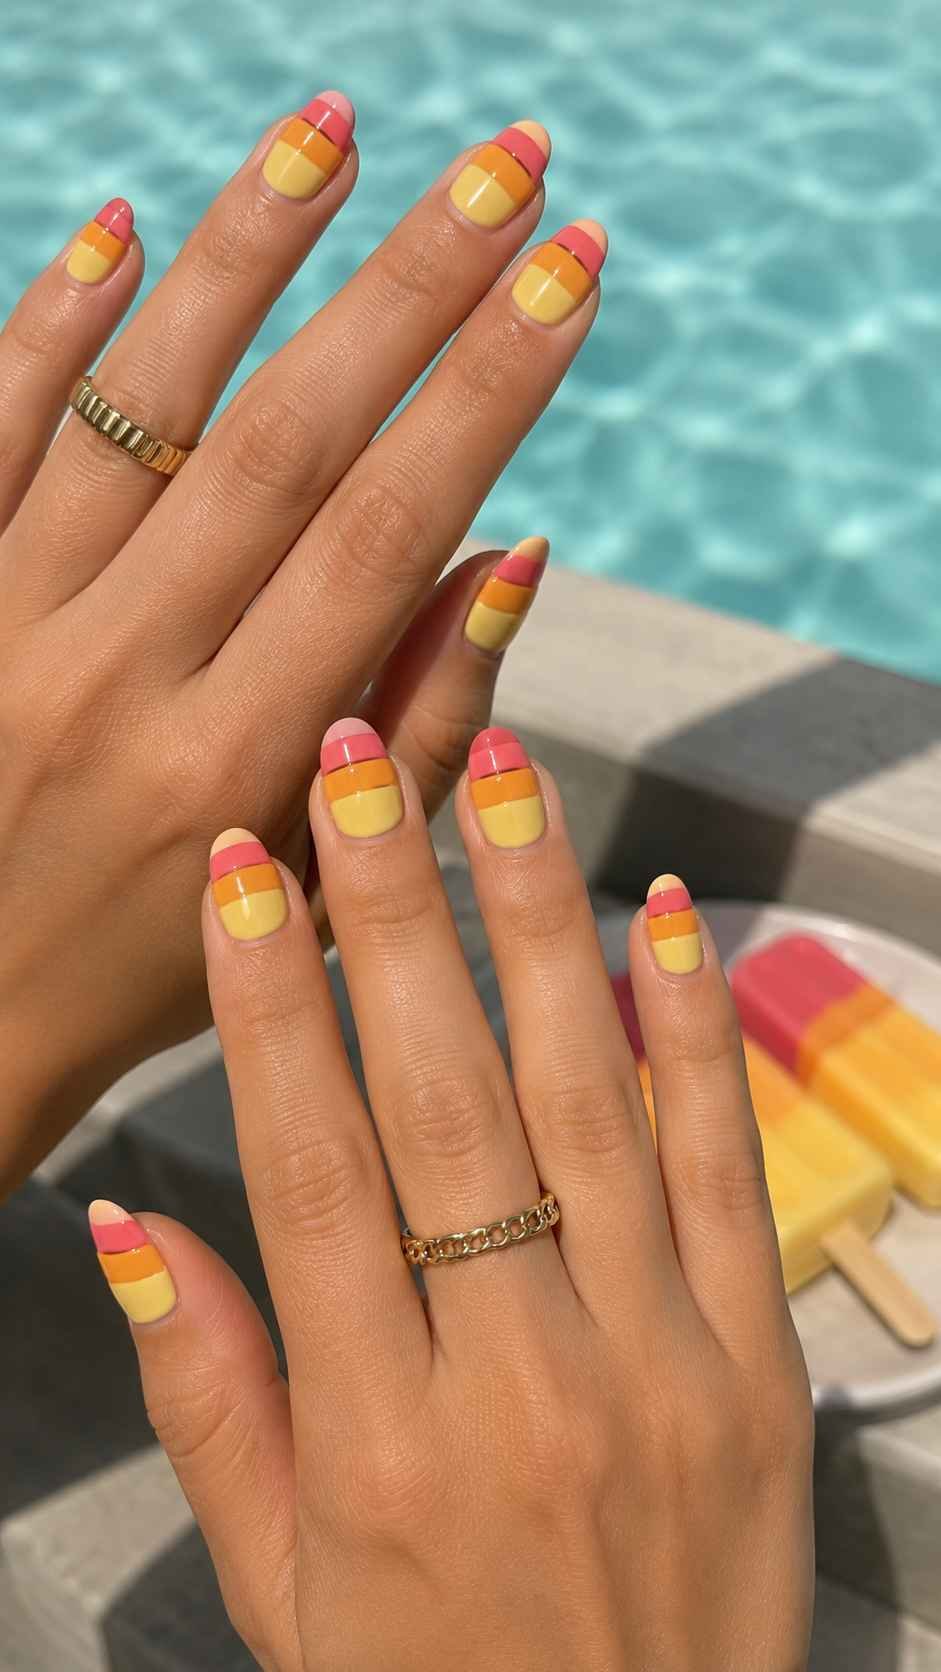
Try coral, pale lemon, and blueberry on one nail, then rearrange the same shades on the next. A thin cream section between two stronger colors can keep the combination from feeling heavy. Leave one or two nails with only two bands to create variety and give the brighter three color designs more impact.
Add a Soft Bite Shape at One Edge
Paint most of the nail in one bright shade, then remove a rounded section from one side using the base color. Add two smaller curves beside it so the edge resembles a gentle bite without turning into a detailed illustration.
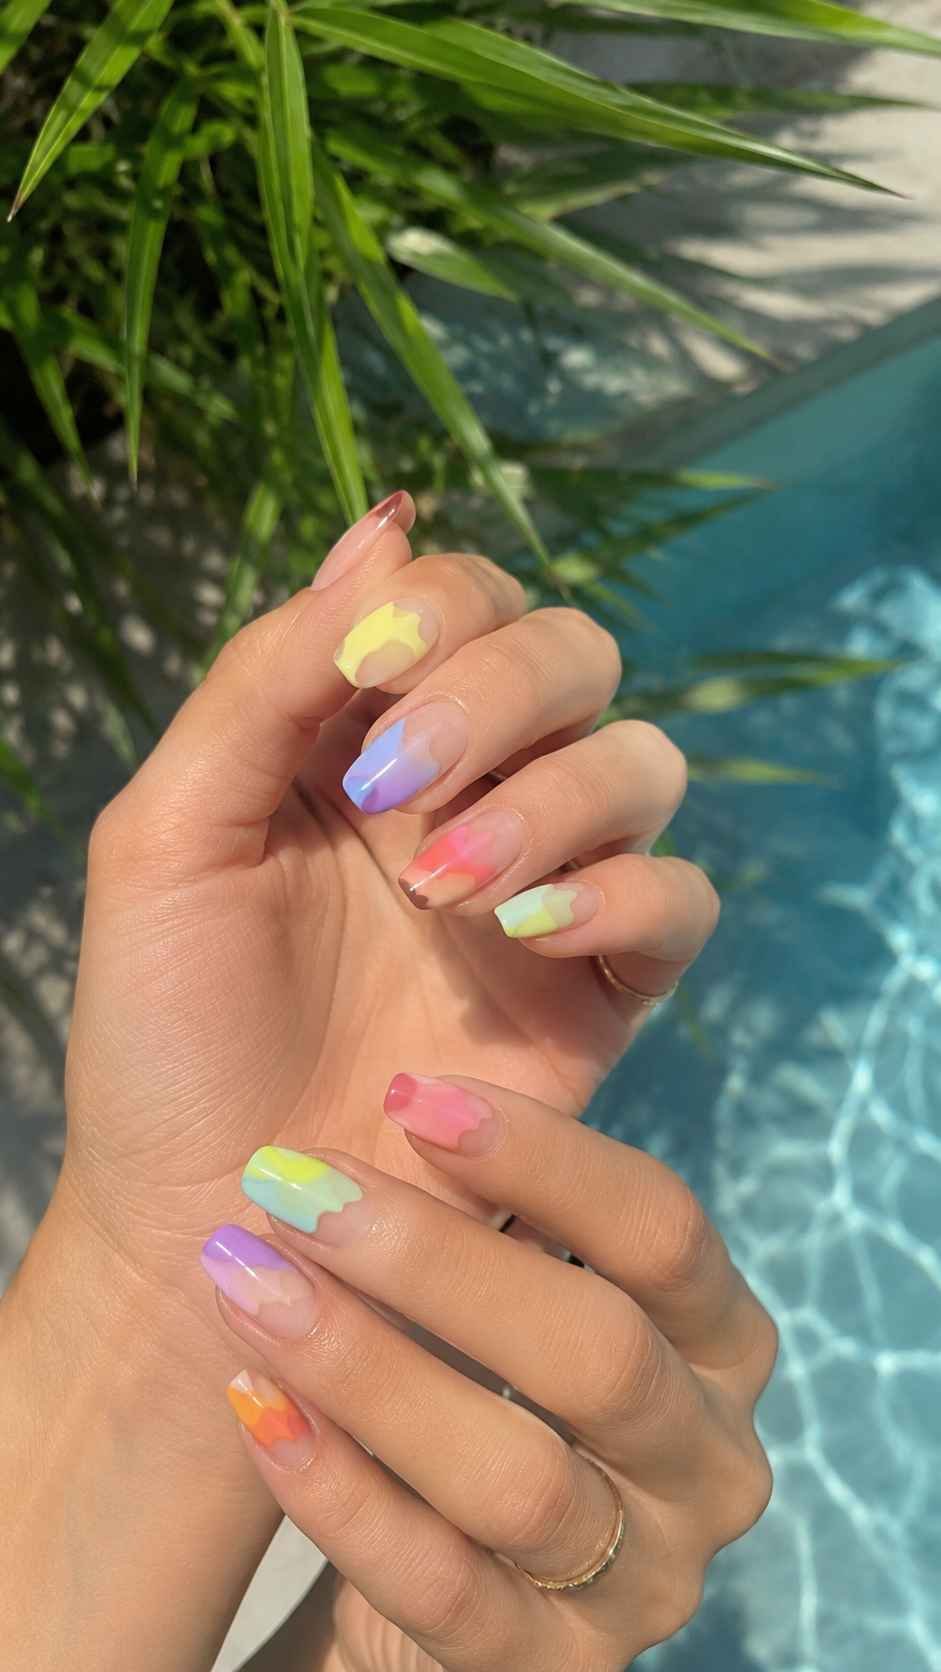
Fill the exposed area with a contrasting frozen shade such as aqua against raspberry or lavender against tangerine. Move the bite detail from the upper edge to the side on different nails. This creates movement across the manicure and allows the playful idea to remain stylish rather than overly themed.
Reveal a Contrasting Frozen Core
Create a large rounded outer shape in one color, then place a narrower center section inside it using a different shade. The inner core can run through the middle or sit slightly to one side for a less predictable result.
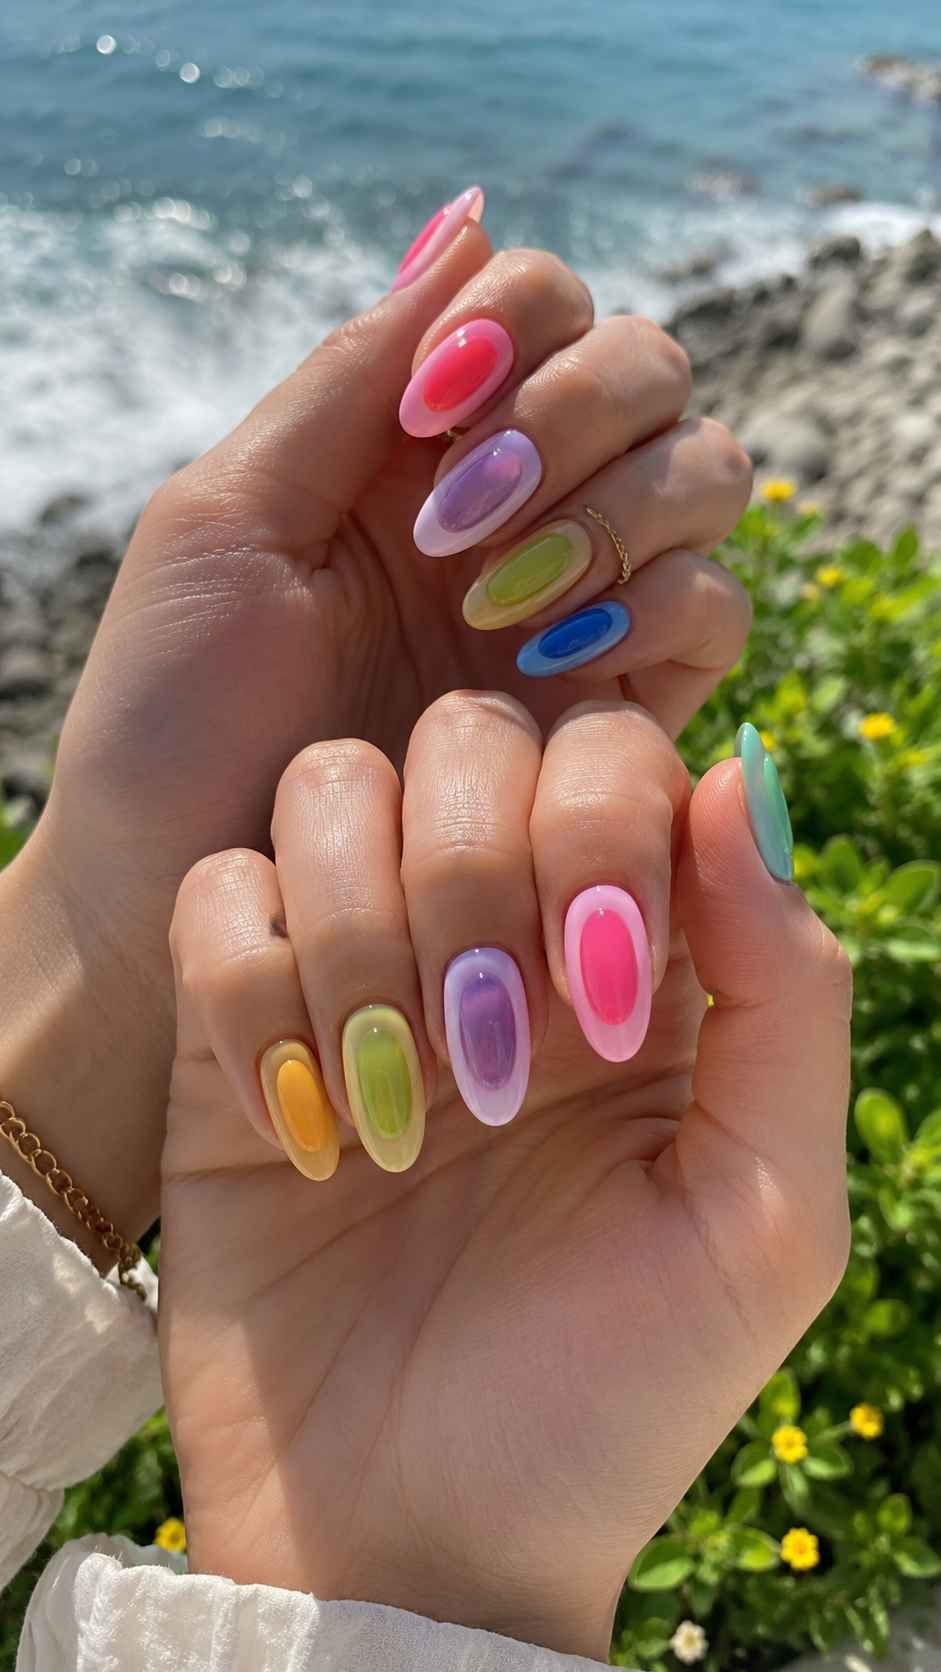
Pair mango with berry, sea blue with lime, or cherry with pale pink. Keep a narrow margin of the outer color visible around the core so both shades remain easy to see. On accent nails, divide the center into two smaller colors to make the frozen layers feel more detailed.
Pool Light Refraction Summer Colorful Nails
Pool light refraction nails capture the shifting color that appears when sunlight moves through water. The design uses broken paths, angled reflections, and overlapping blue based tones rather than literal waves. Aqua, turquoise, white, violet, coral, and electric green can appear in small reflected sections that seem to bend across the nail.
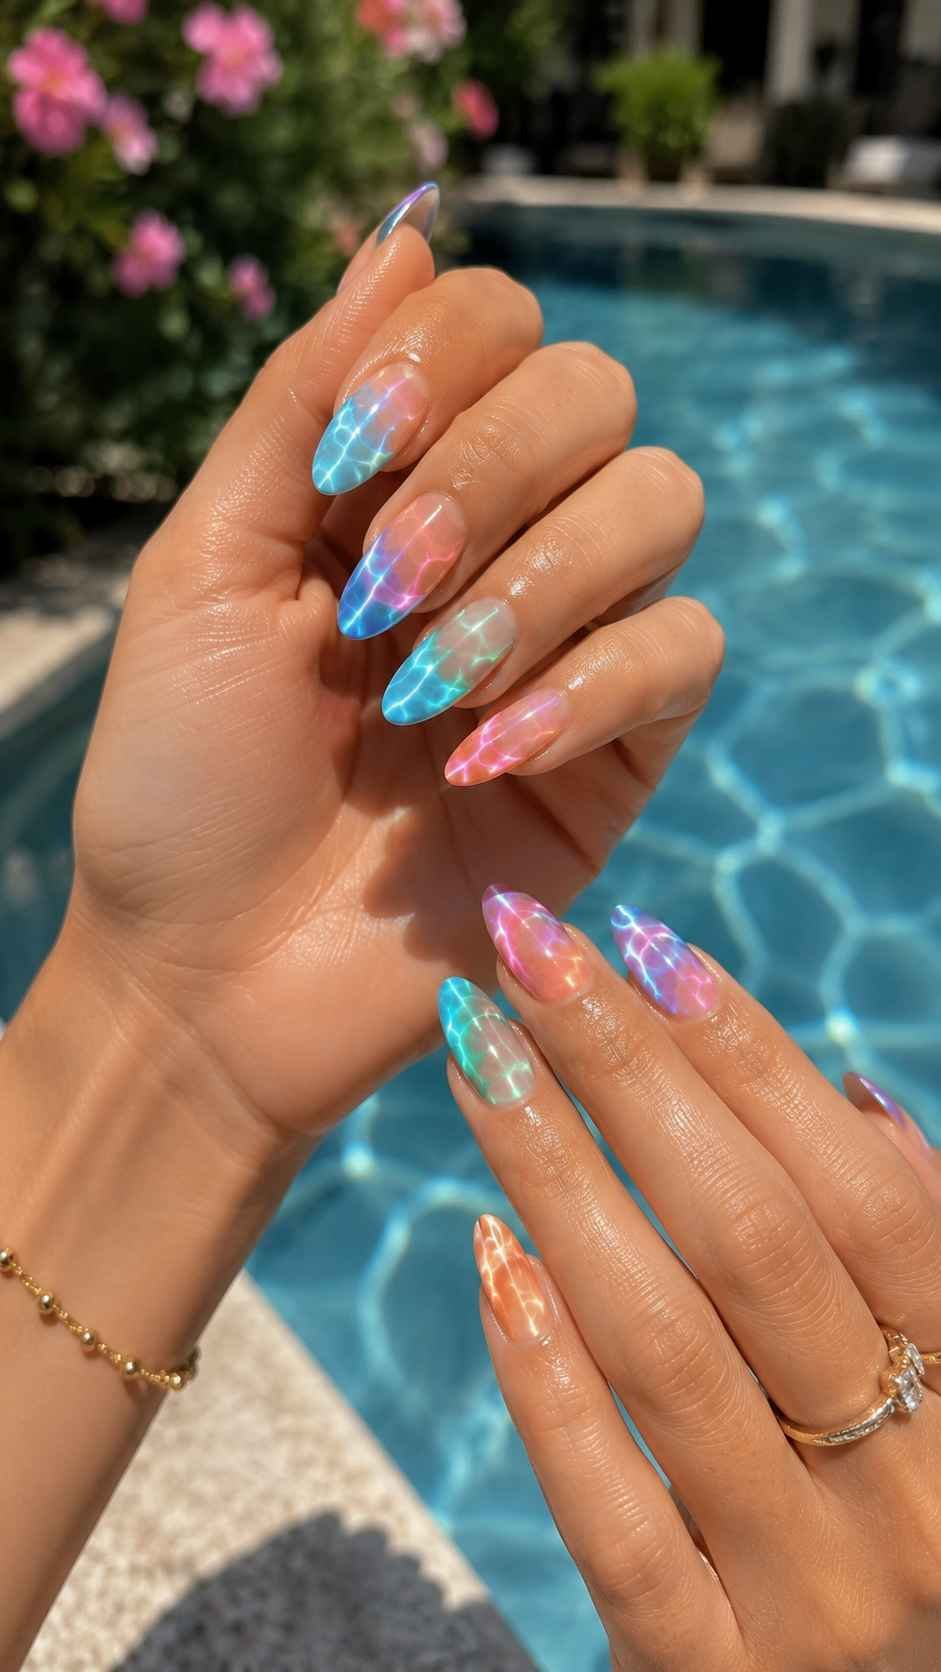
The background should remain calm enough for the brighter reflections to stay readable. A pale blue or clear base works well, although a deeper blue can create a more dramatic evening version. Keep the edges slightly softened, since perfectly rigid shapes can weaken the sense of moving water. A high gloss finish will help the light based idea feel especially convincing.
Bend Bright Light Paths Across Blue
Begin with a smooth blue base, then paint two or three narrow light paths that change direction as they cross the nail. Instead of creating continuous stripes, break each path into short angled sections with small gaps between them.
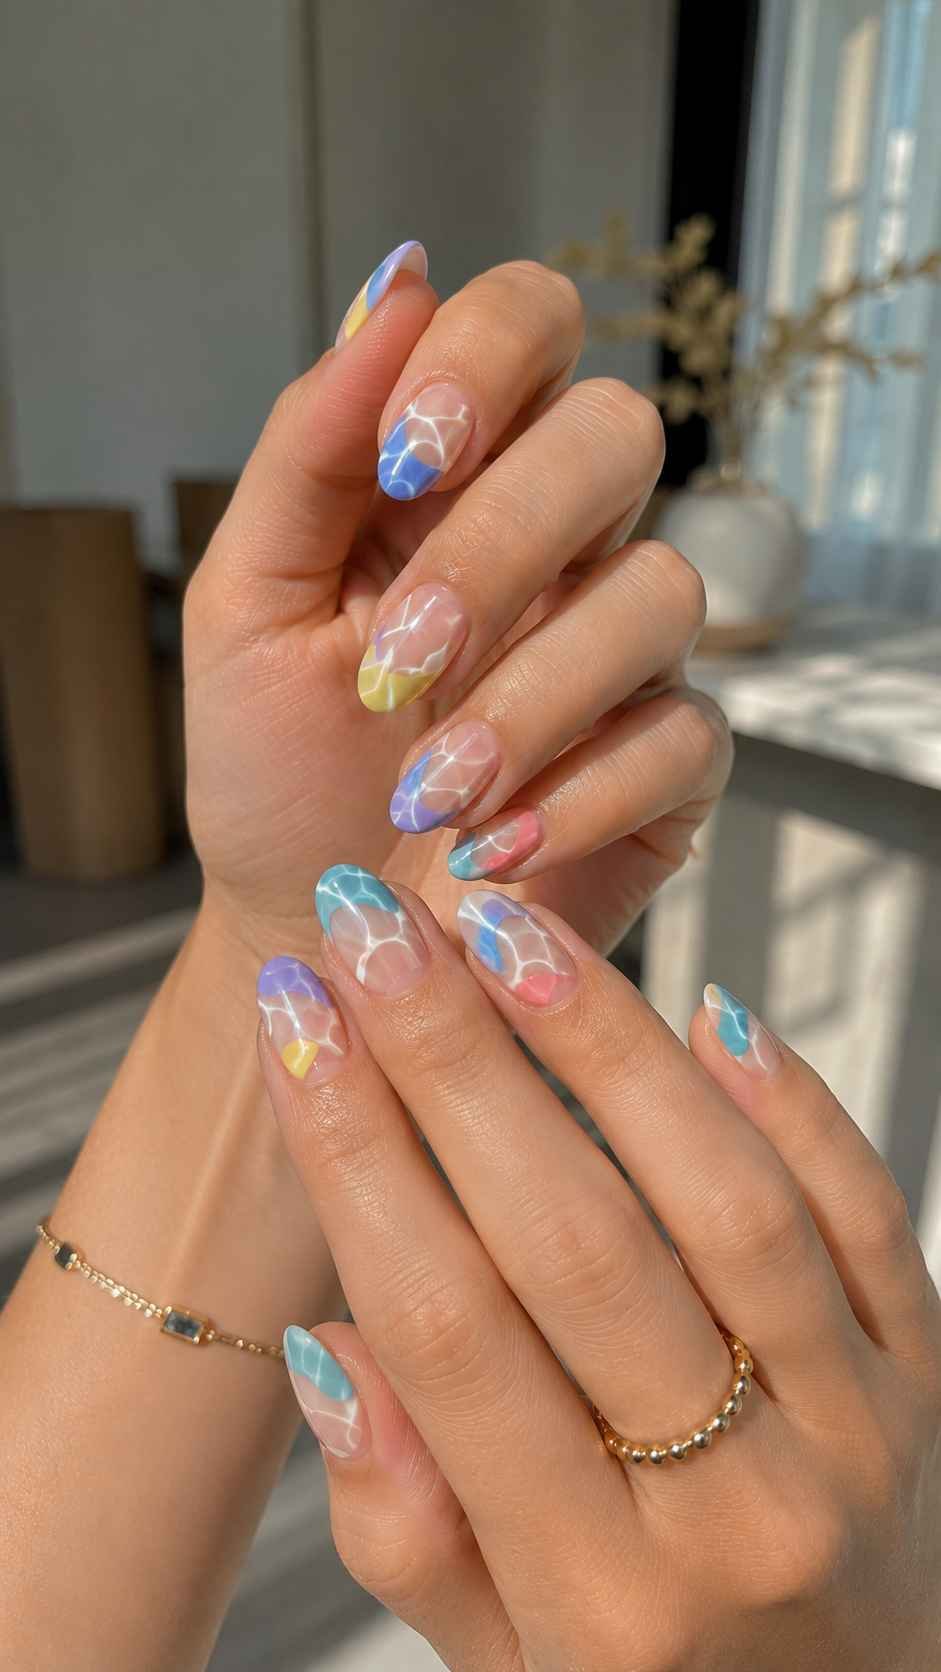
Use white, pale aqua, and one unexpected accent such as coral or lime. The broken placement makes the lines look refracted rather than simply painted on top. Change the direction of the light paths on every finger so the manicure appears to move naturally when the hands are placed together.
Layer Color Reflection Windows
Paint several small translucent looking windows across the nail using closely related blue and green shades. Each shape should have a soft rectangular or irregular outline, and one corner can overlap another to create extra depth.
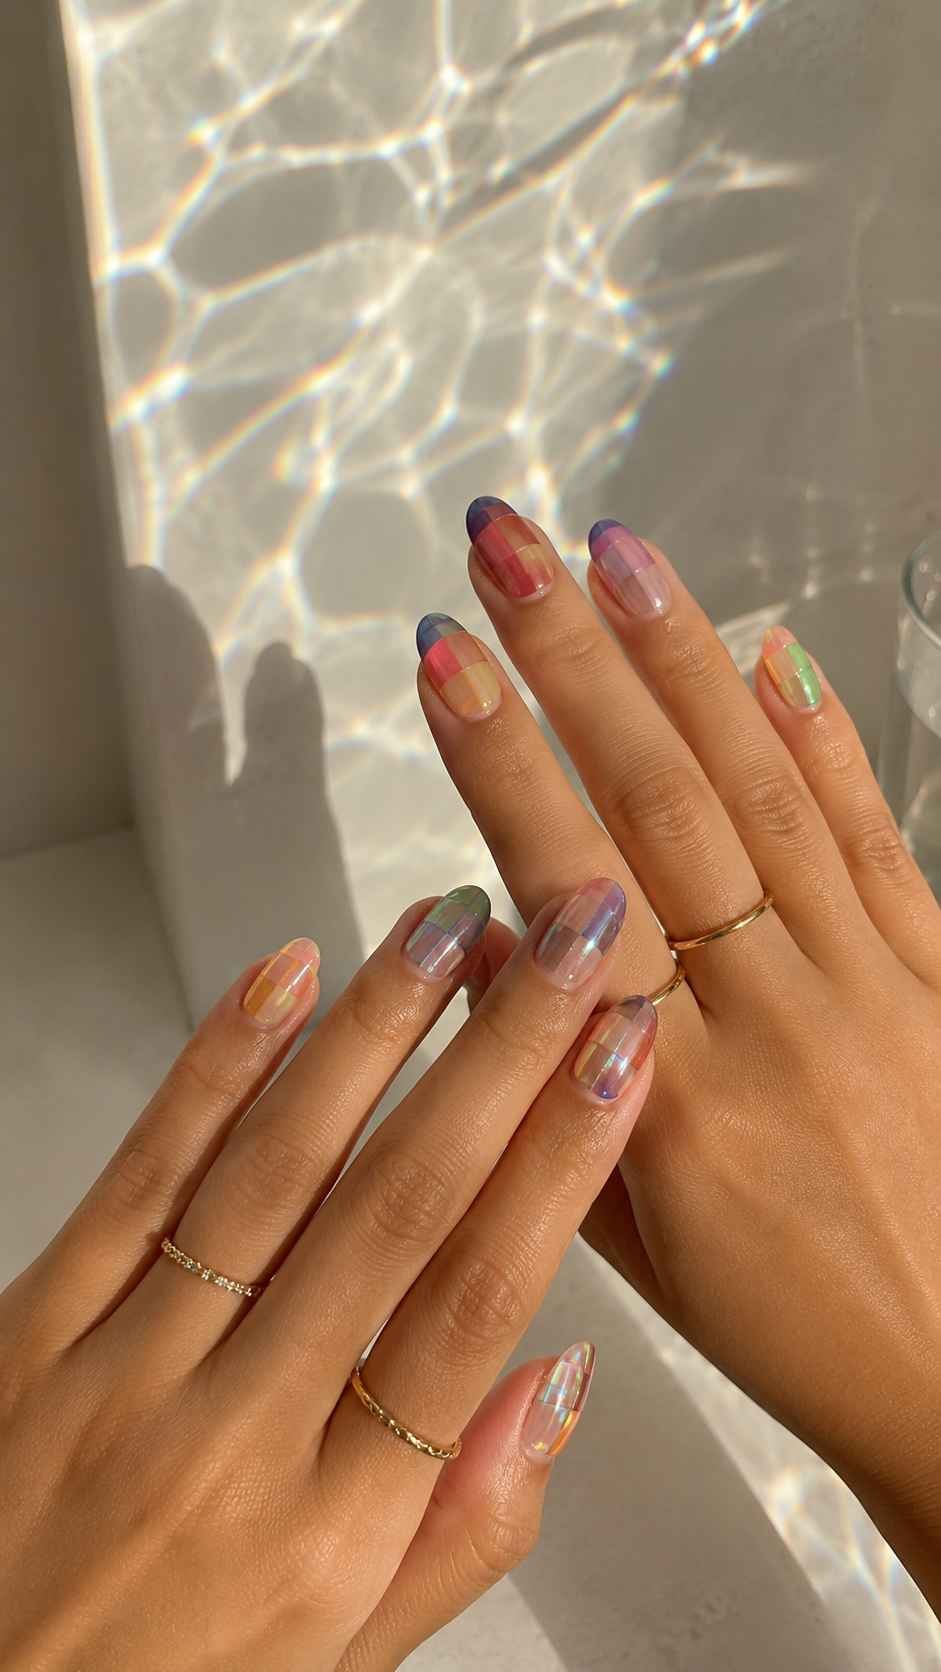
Add a tiny section of warm color inside one or two windows, suggesting the reflection of a bright towel or swimsuit beside the water. Keep some nails simpler with only one large window. This controlled variation prevents the set from becoming crowded and allows the reflected color story to remain clear.
Place a Ripple Lens in One Corner
Create one rounded ripple lens near a corner of the nail using three curved sections that sit closely together. The smallest section can be almost white, the middle aqua, and the outer curve a stronger turquoise or violet.
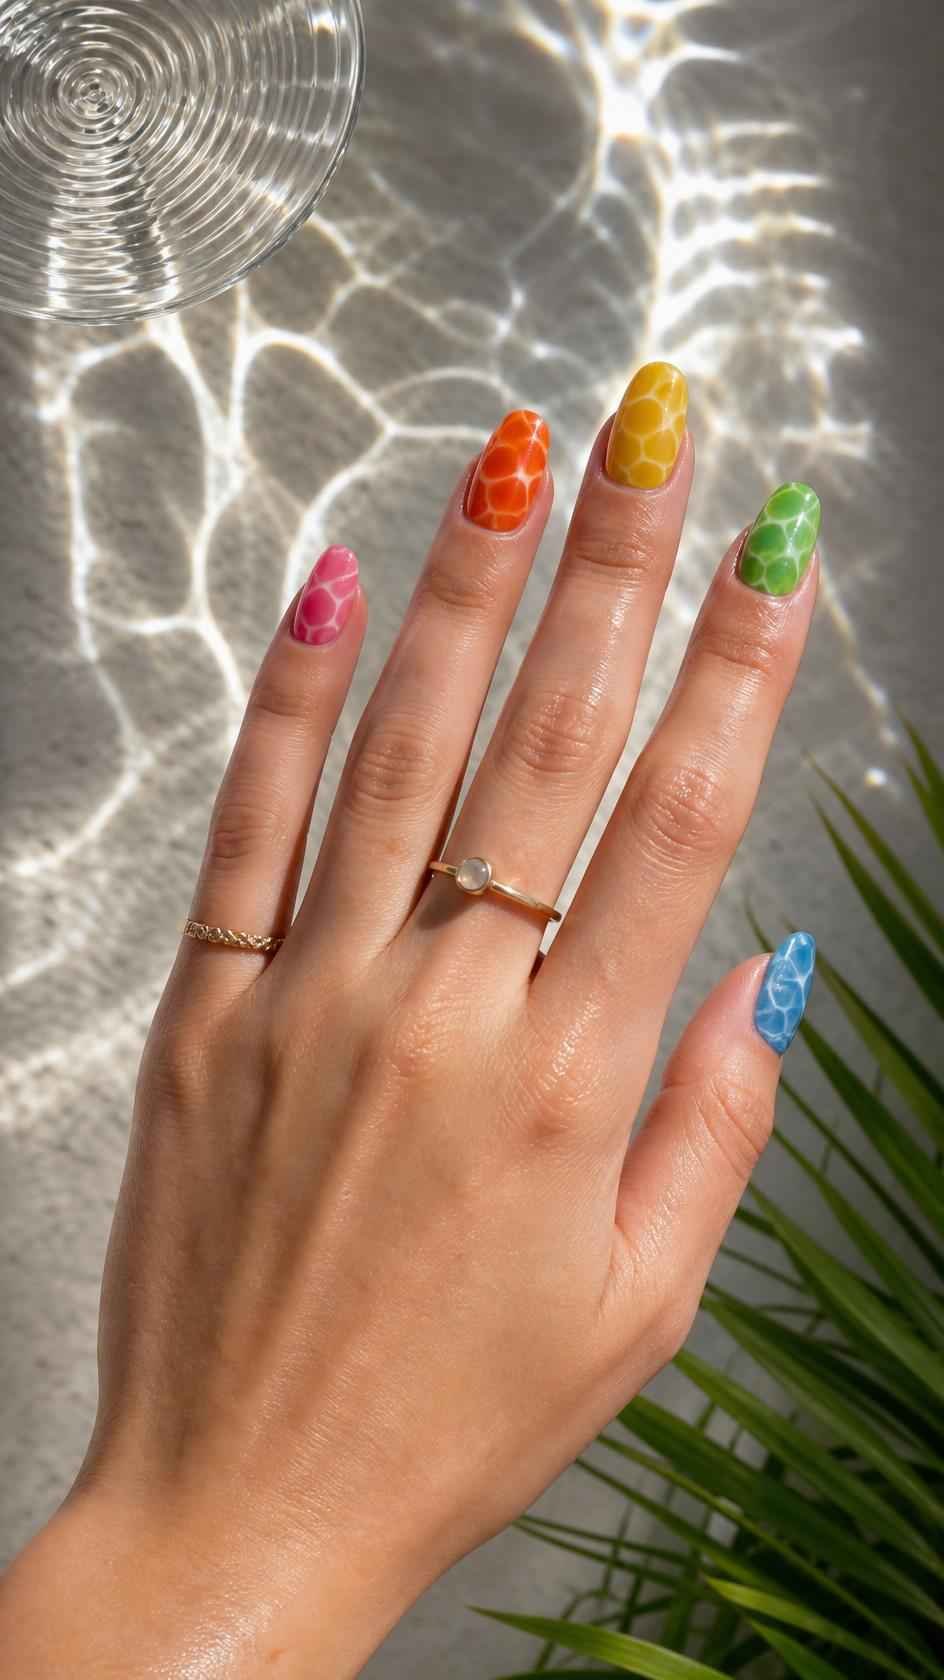
Leave the rest of the nail in a contrasting shade such as soft coral, pale lemon, or clear gloss. Shift the lens position from finger to finger so the reflected detail travels around the manicure. The compact placement makes this idea suitable for short nails while still offering enough color to feel lively.
Cabana Scallop Summer Colorful Nails
Cabana scallop nails bring the cheerful edges of striped awnings and fabric canopies into a softer painted pattern. The design uses rounded drops and repeating curved edges rather than straight textile bands, which gives the manicure a distinctive rhythm. Choose combinations such as tomato pink with cream, ocean blue with melon, or citron with violet.
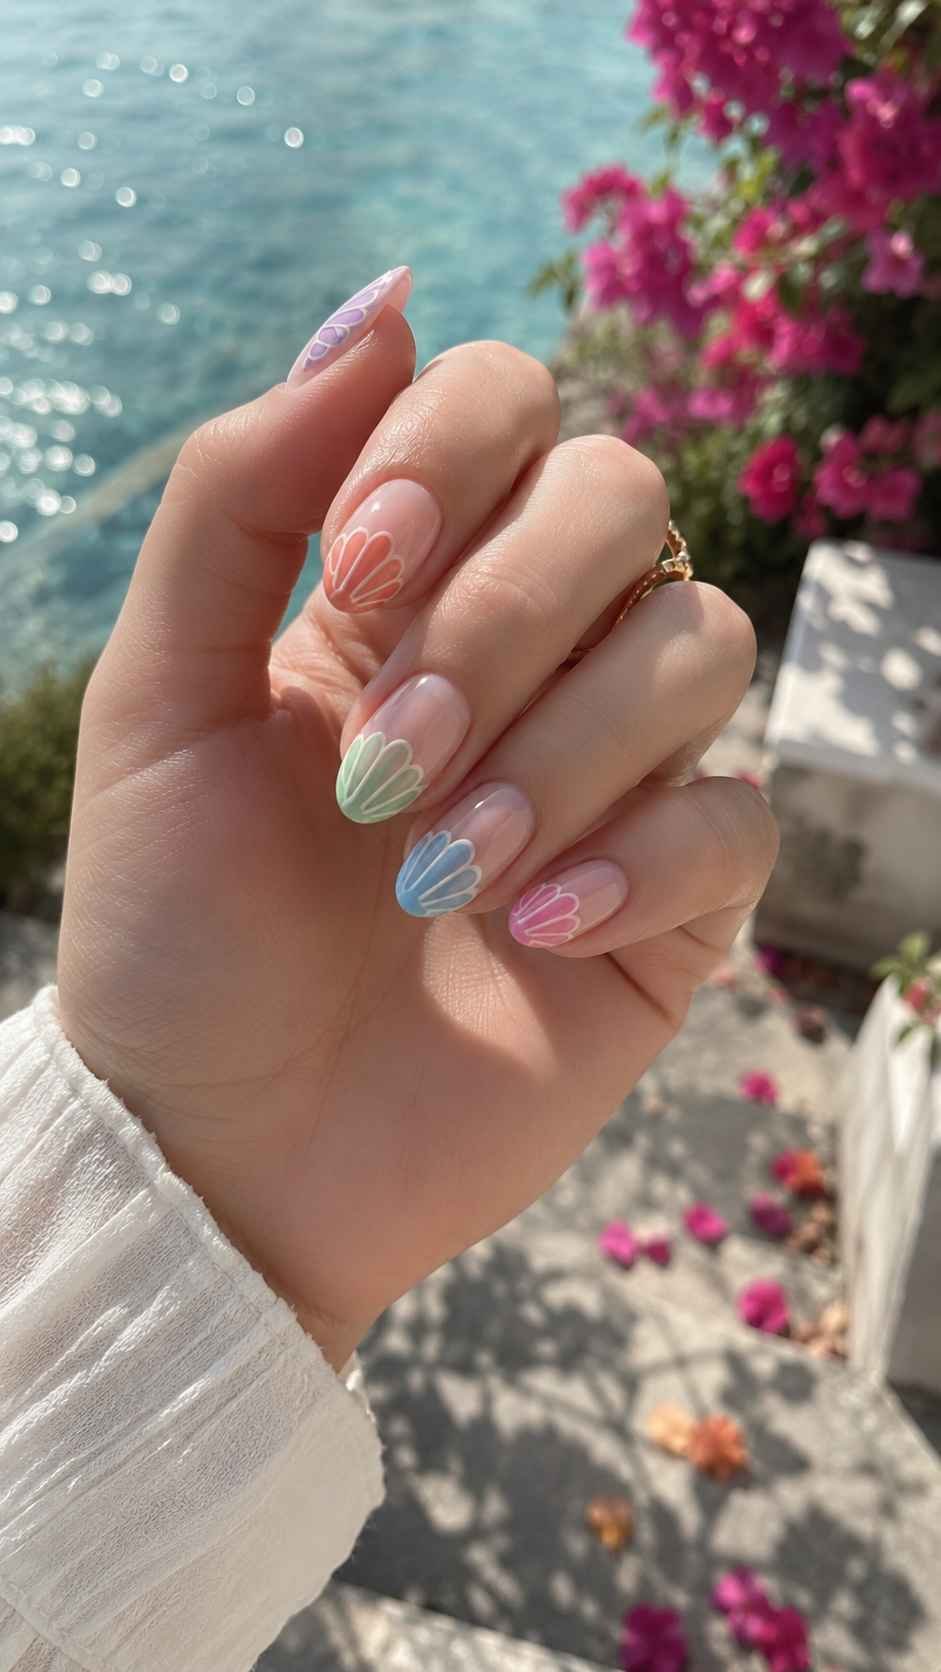
The scallops can sit near the cuticle, travel along one side, or cover a larger part of the nail in overlapping rows. Their rounded construction keeps strong colors approachable and works especially well on oval, almond, and softly squared nails. Use consistent spacing within each nail, but change the scale across the set so the design remains visually interesting.
Frame the Cuticle With Colorful Scallops
Paint a row of three or four rounded scallops along the lower edge of the nail, allowing the base color to remain visible above them. Alternate two bright shades or use one strong color beside a softer cream.
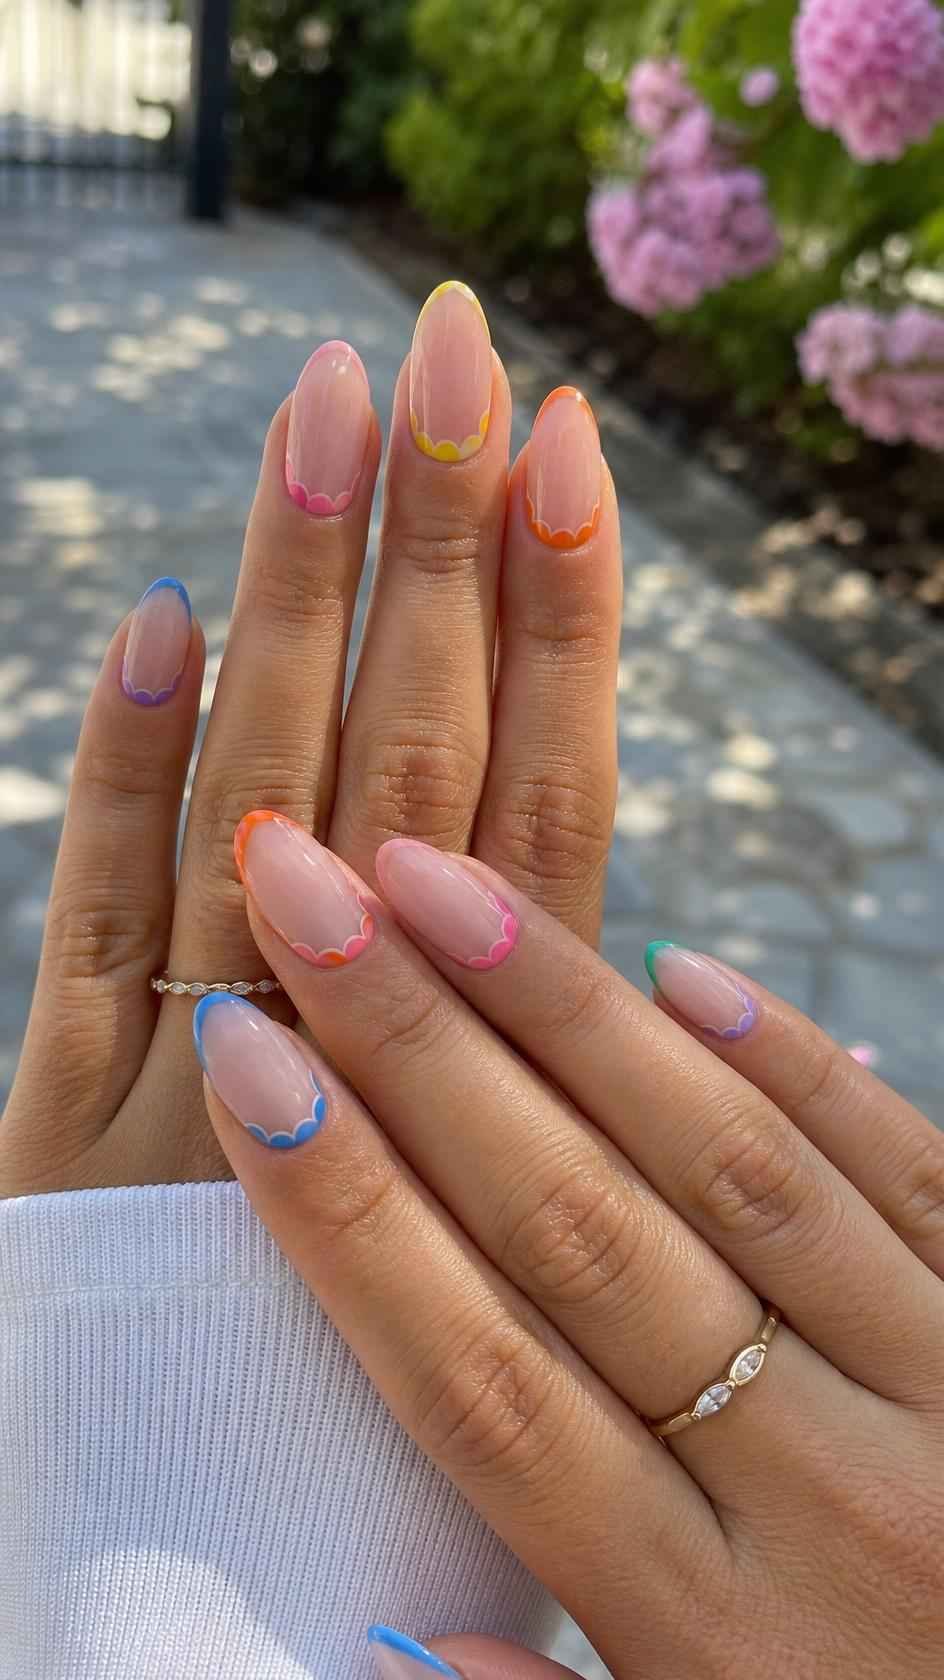
The row should follow the natural curve of the cuticle without touching the surrounding skin. On one accent nail, add a second smaller row above the first. This creates a fuller canopy effect while the remaining nails keep the design light and easy to wear.
Run an Awning Edge Down One Side
Place a vertical series of connected scallops along one side of the nail. Use a bright background, then paint the curved edge in a contrasting color so it appears to fold over the surface. Add a slim shadow line beside the scallops to give the painted form a little depth.
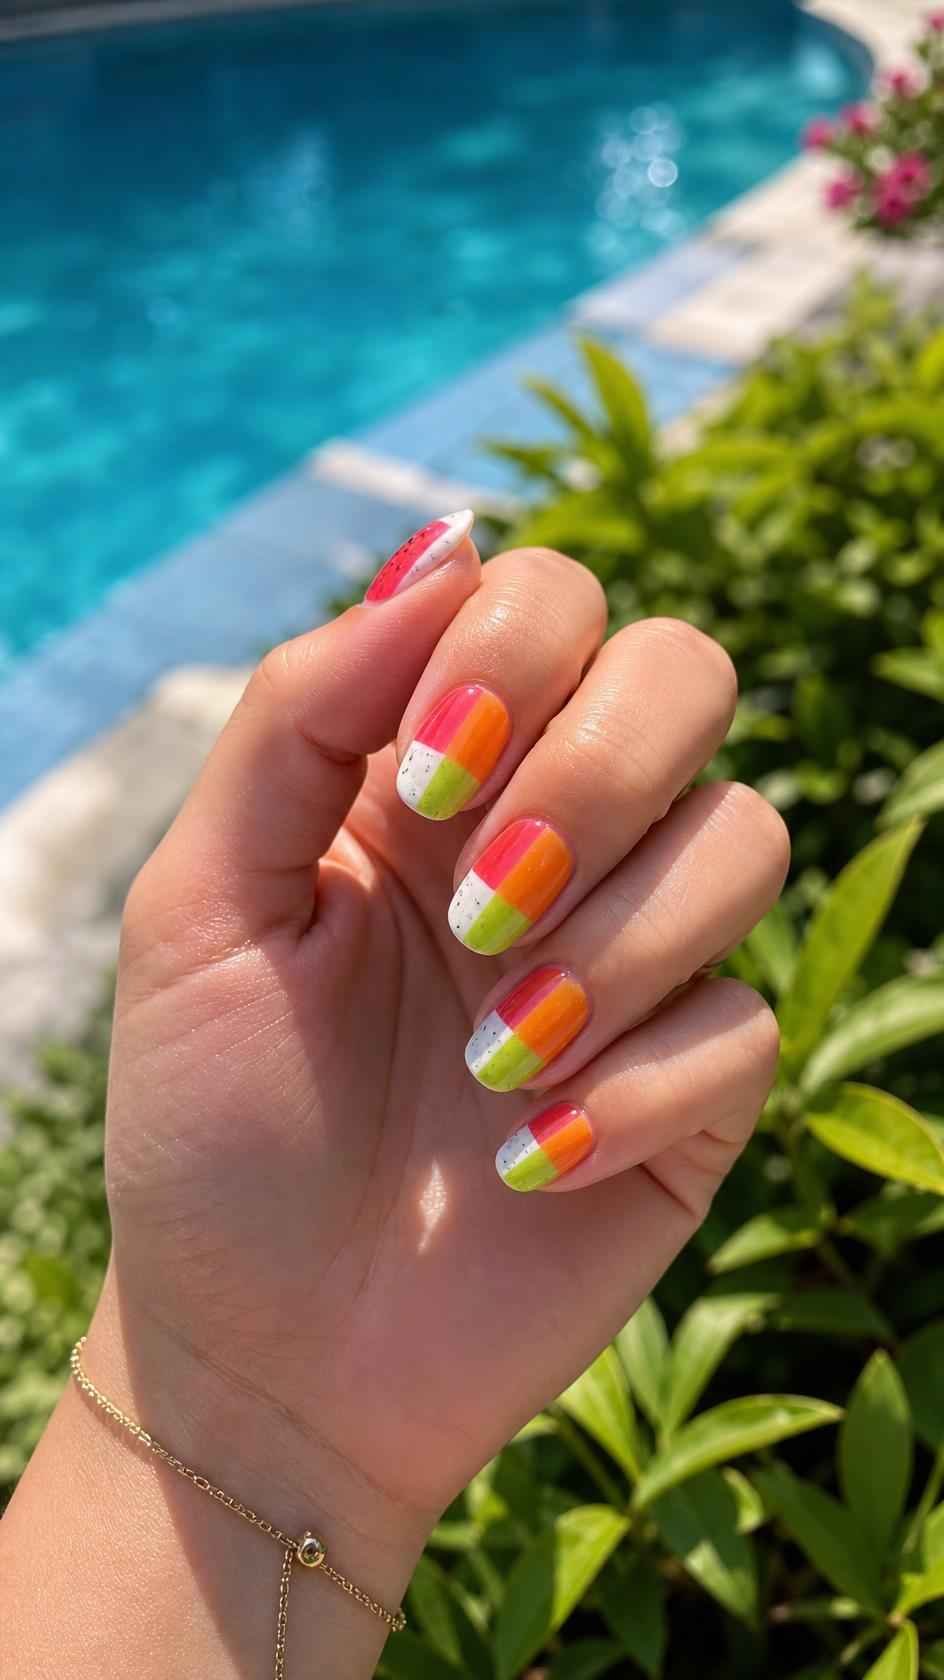
Reverse the side on alternating fingers and change the color pairing without changing the shape. The repeated edge creates consistency, while the shifting direction prevents the manicure from looking copied from nail to nail.
Enlarge One Scallop Into a Bold Panel
Use one oversized scallop that enters the nail from the top or side and covers nearly half the surface. Fill it with a saturated shade, then add a smaller scallop inside using a lighter related color.
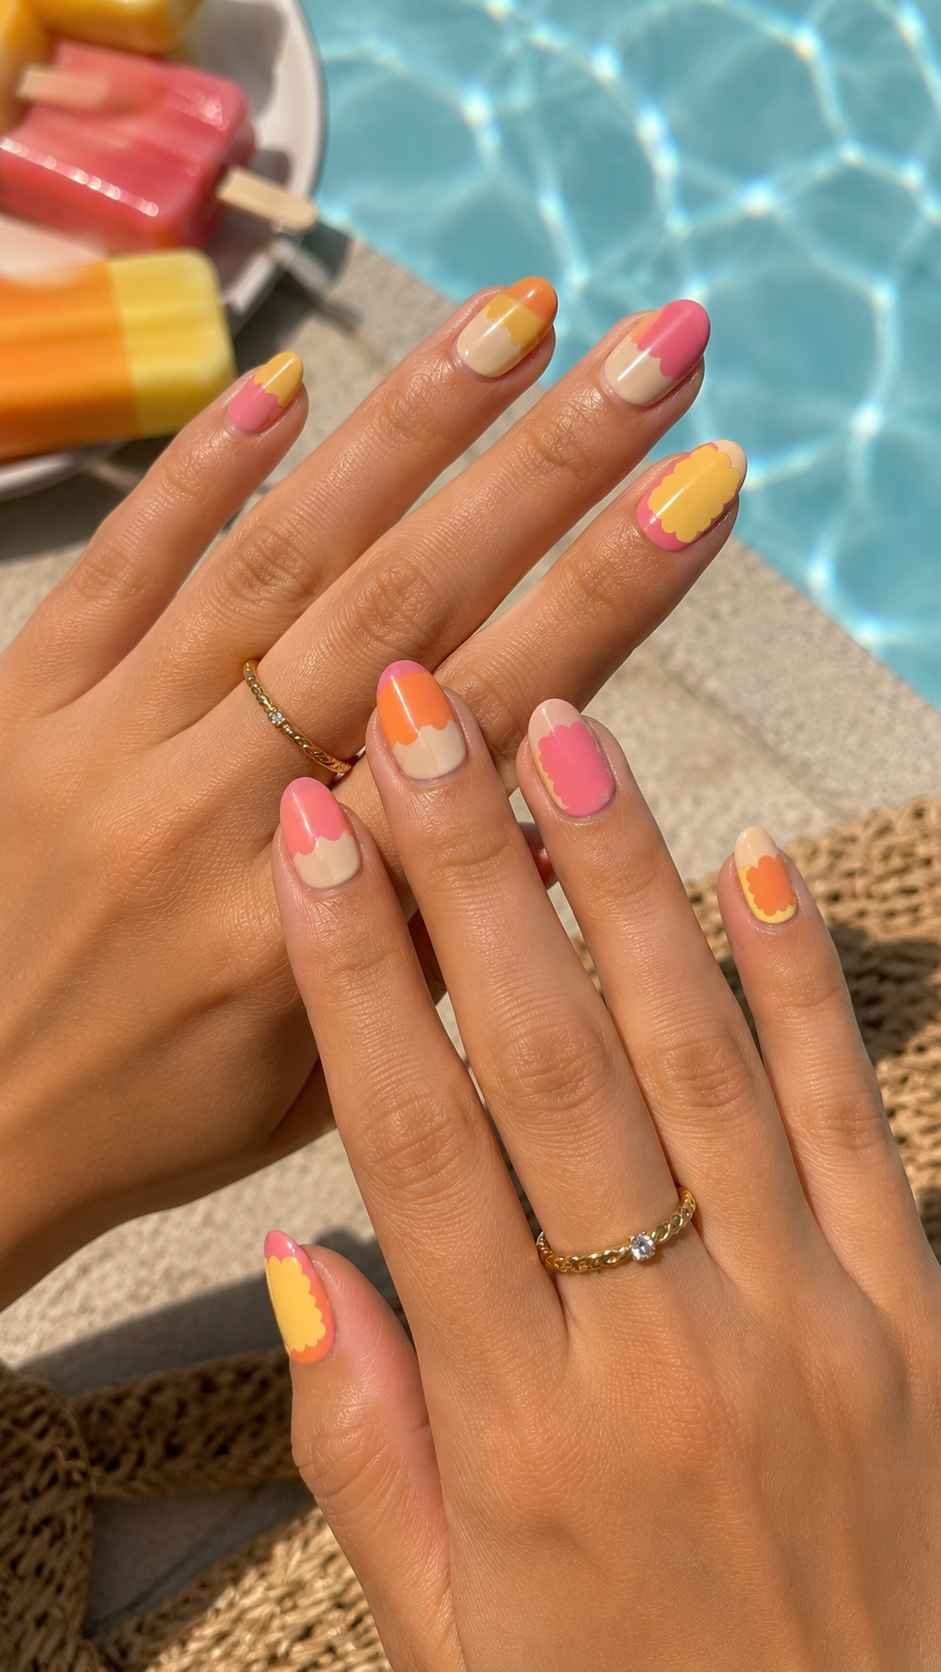
Keep the remaining area plain or softly tinted so the large curved panel becomes the focus. Try papaya with coral, ultramarine with sky blue, or orchid with berry. This version feels more graphic and works well when you want fewer details but stronger color impact.
Sunprint Silhouette Summer Colorful Nails
Sunprint silhouette nails combine bright backgrounds with crisp pale shapes that look as though sunlight protected selected areas from color. The effect is graphic but still airy because each nail includes a clear contrast between saturated polish and a lighter silhouette. Rather than repeating standard flowers or stars, use abstract summer objects and simple outlines that are easy to recognize from a distance.
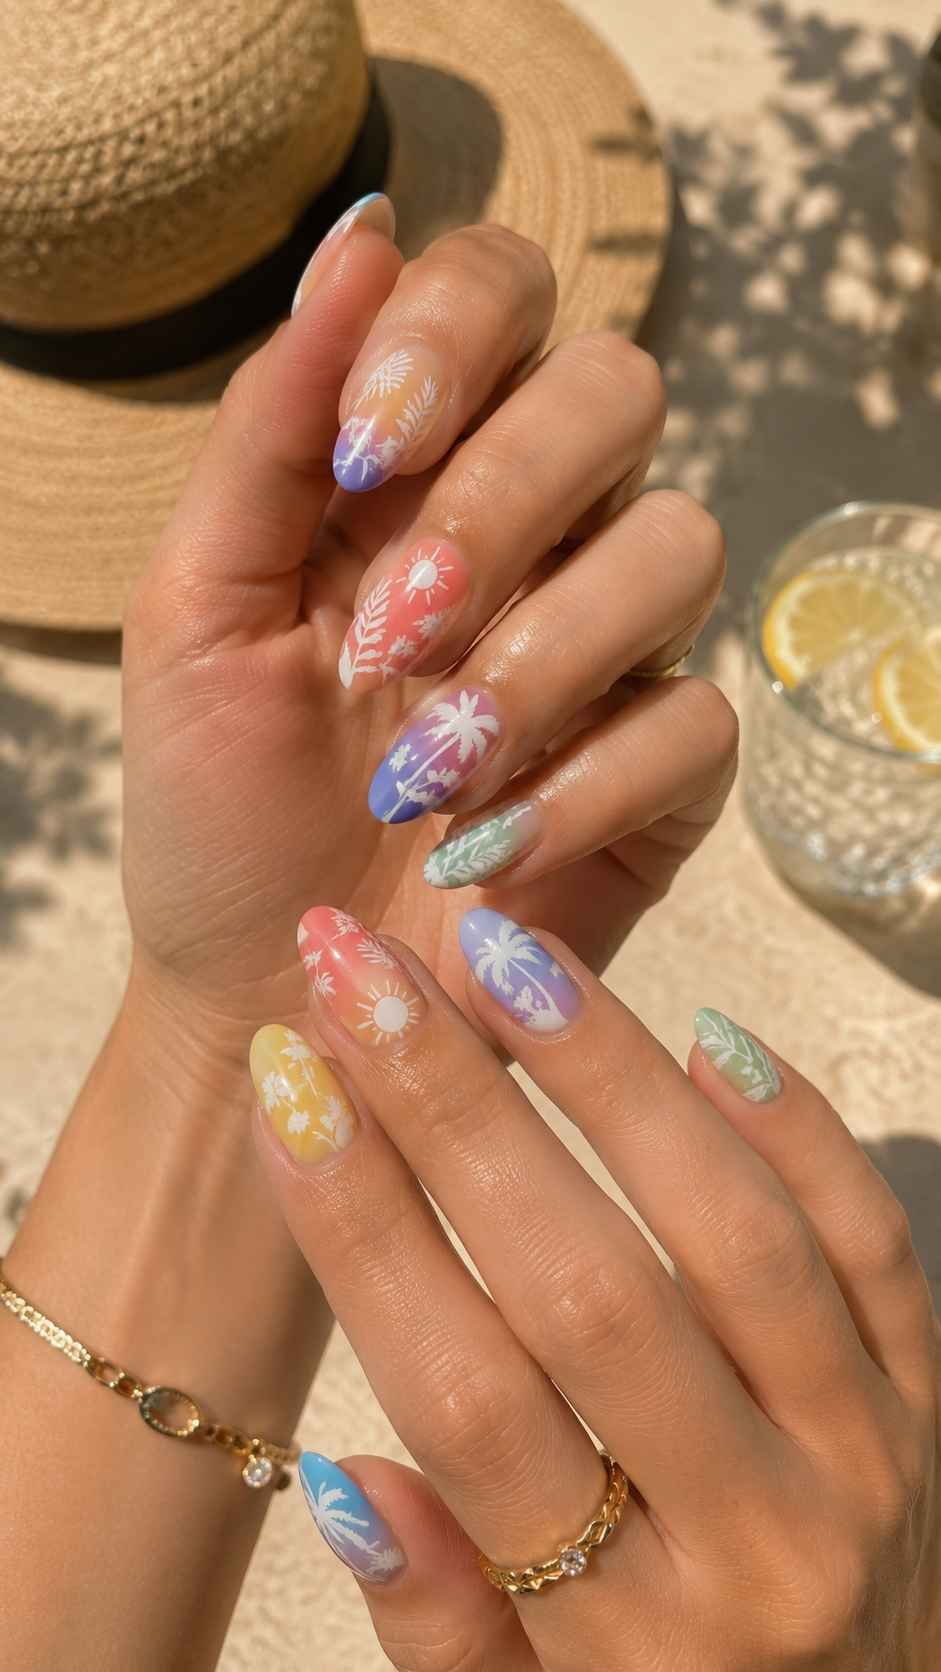
Sunglasses curves, folded hats, drink stirrers, mesh patterns, and fan shapes can all inspire compact silhouettes. Keep the shapes broad enough to remain clean, especially on shorter nails. A smooth opaque background helps the pale detail stand out, while a satin top layer can make the printed effect feel softer and more tactile.
Use a Cropped Sunglasses Curve
Paint the nail in a strong summer shade such as citrus orange, vivid blue, or hot pink. Add part of a pale sunglasses outline entering from one edge, showing only one rounded lens and a small section of the bridge.
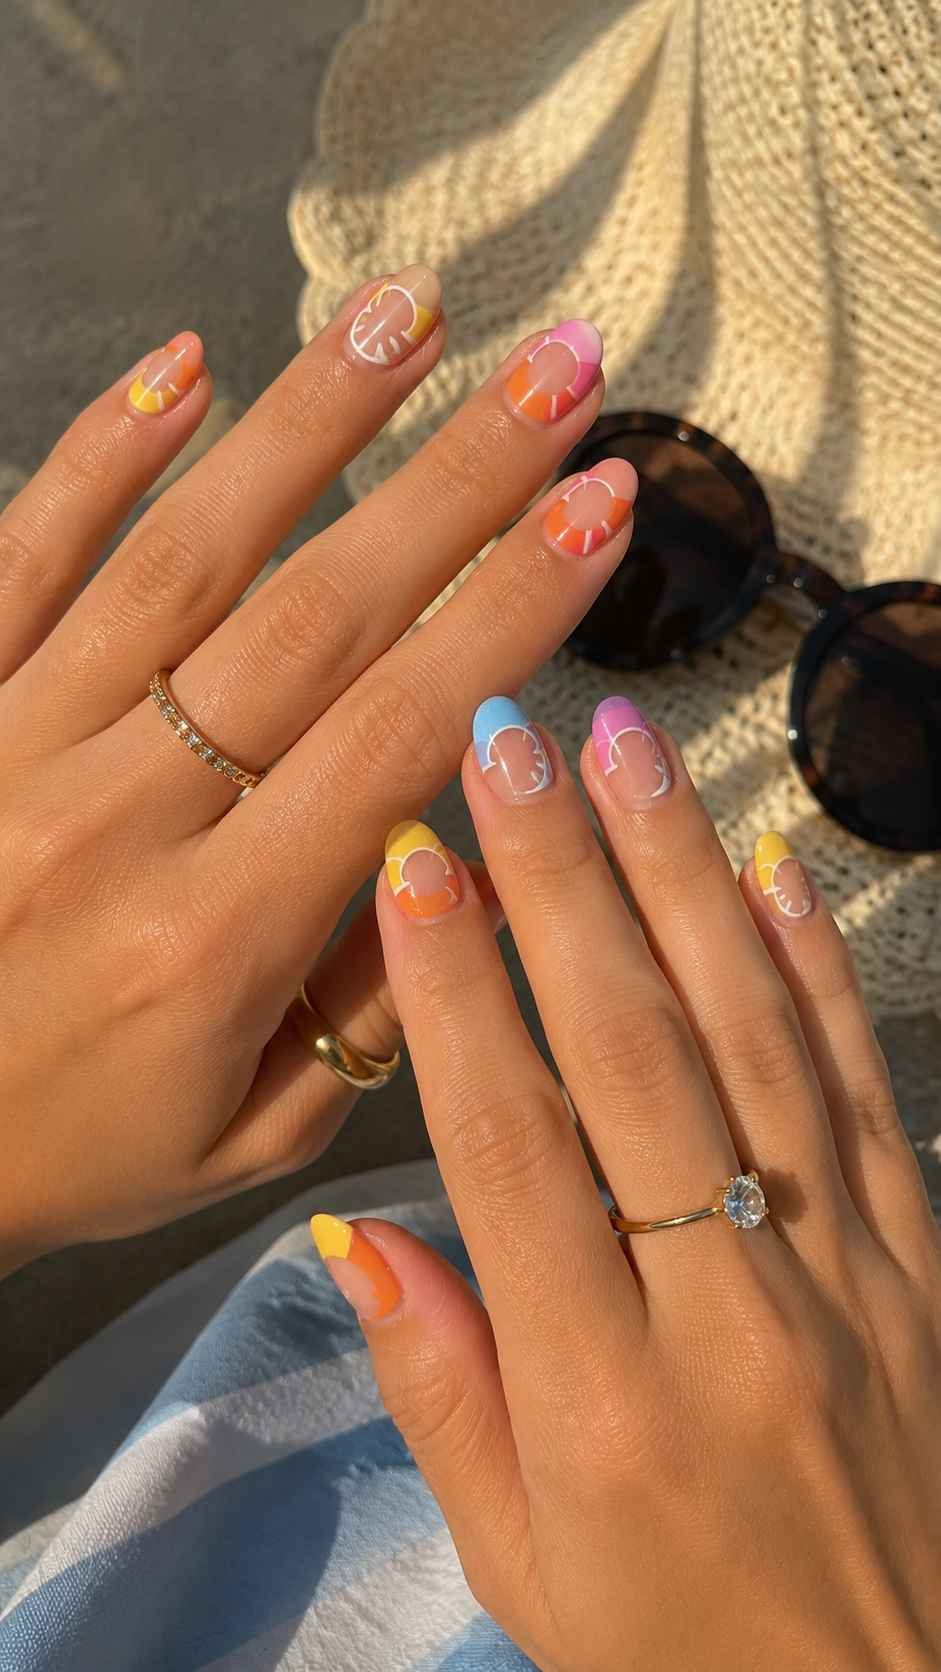
Cropping the object keeps the design modern and prevents it from becoming a tiny literal illustration. Change the curve and placement on every nail, then leave some fingers in solid color. The result feels playful while still keeping the main focus on the colorful background.
Press a Woven Bag Shadow Across Color
Create a pale mesh silhouette over a saturated base by painting several wide crossing marks with generous open spaces. Keep the pattern limited to one side or one corner so the nail does not resemble a standard grid.
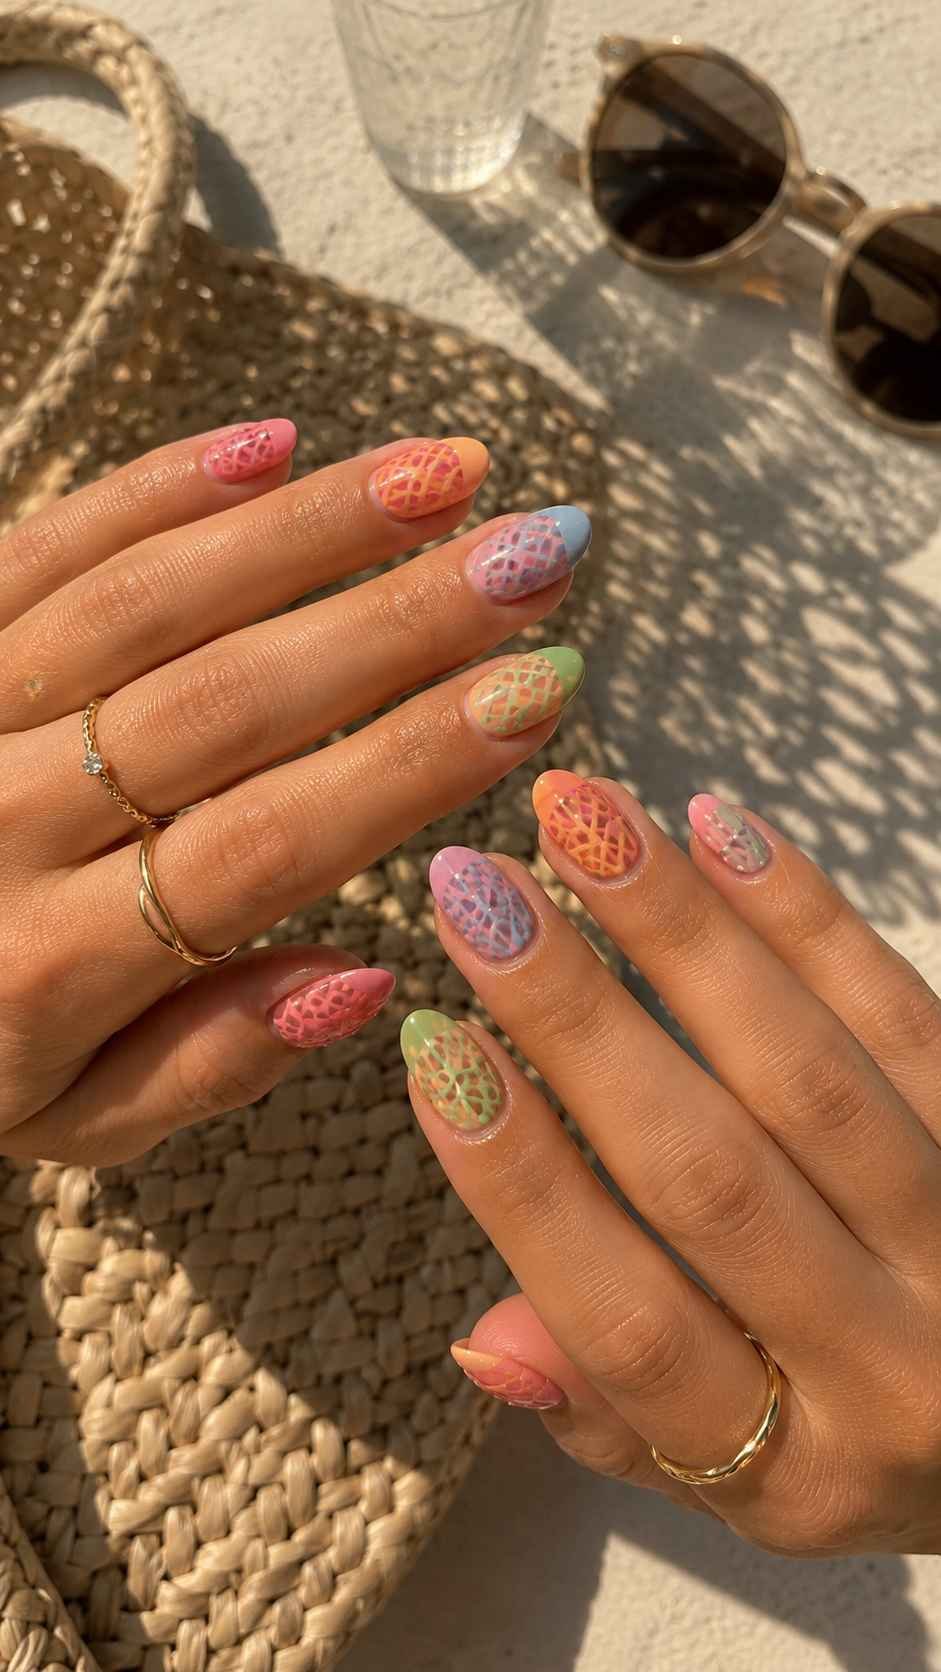
Use a different bright base on each finger while repeating the same creamy silhouette shade. The open pattern suggests the shadow of a woven summer bag without requiring realistic detail. A slightly irregular placement makes the printed effect feel natural and gives each nail its own identity.
Add a Folded Sun Hat Shape
Paint a broad curved silhouette that resembles the cropped brim of a folded sun hat. Let the shape enter from the lower side and sweep toward the center, leaving most of the colorful base visible.
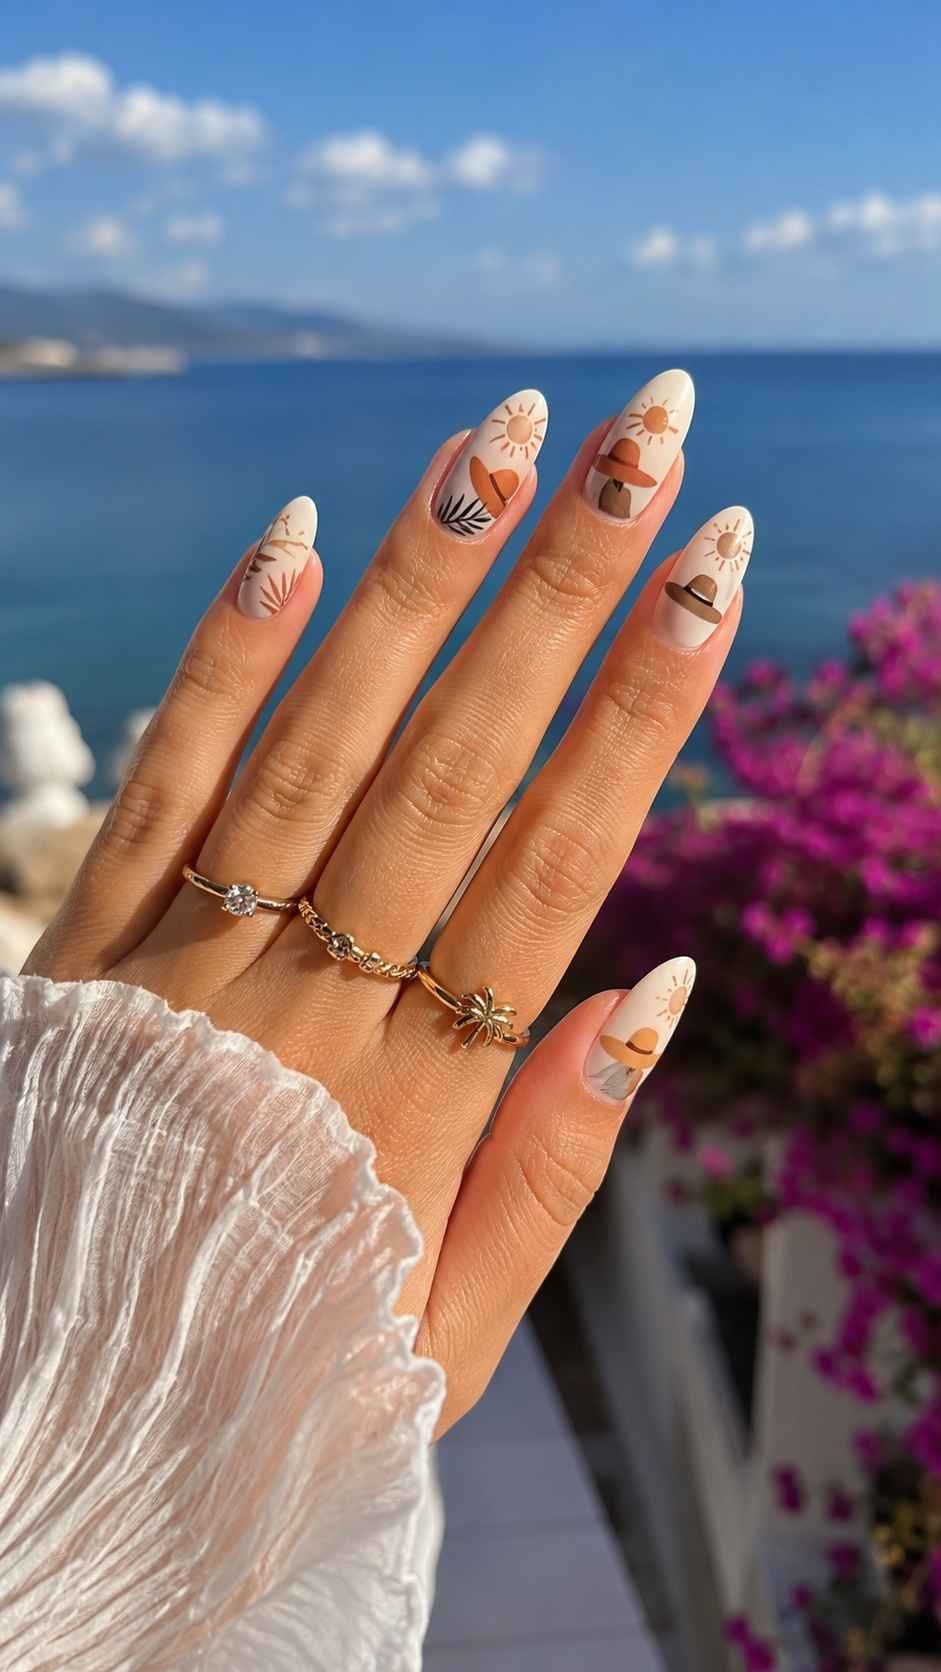
Add one narrow inner curve to suggest the fold. Use pale cream over turquoise, soft yellow over raspberry, or light peach over cobalt. The simple shape works well as an accent and can be repeated in different positions without looking identical across the hand.
Inflatable Color Form Summer Colorful Nails
Inflatable color form nails use rounded outlines, soft seams, and padded looking shapes inspired by pool floats and air filled accessories. The design remains painted and smooth, but thoughtful highlights make each form appear gently raised. Bright orange, aqua, pink, purple, lemon, and green are ideal for this idea because inflatable objects are often designed to be noticed. Avoid covering every nail with the same ring or curve.
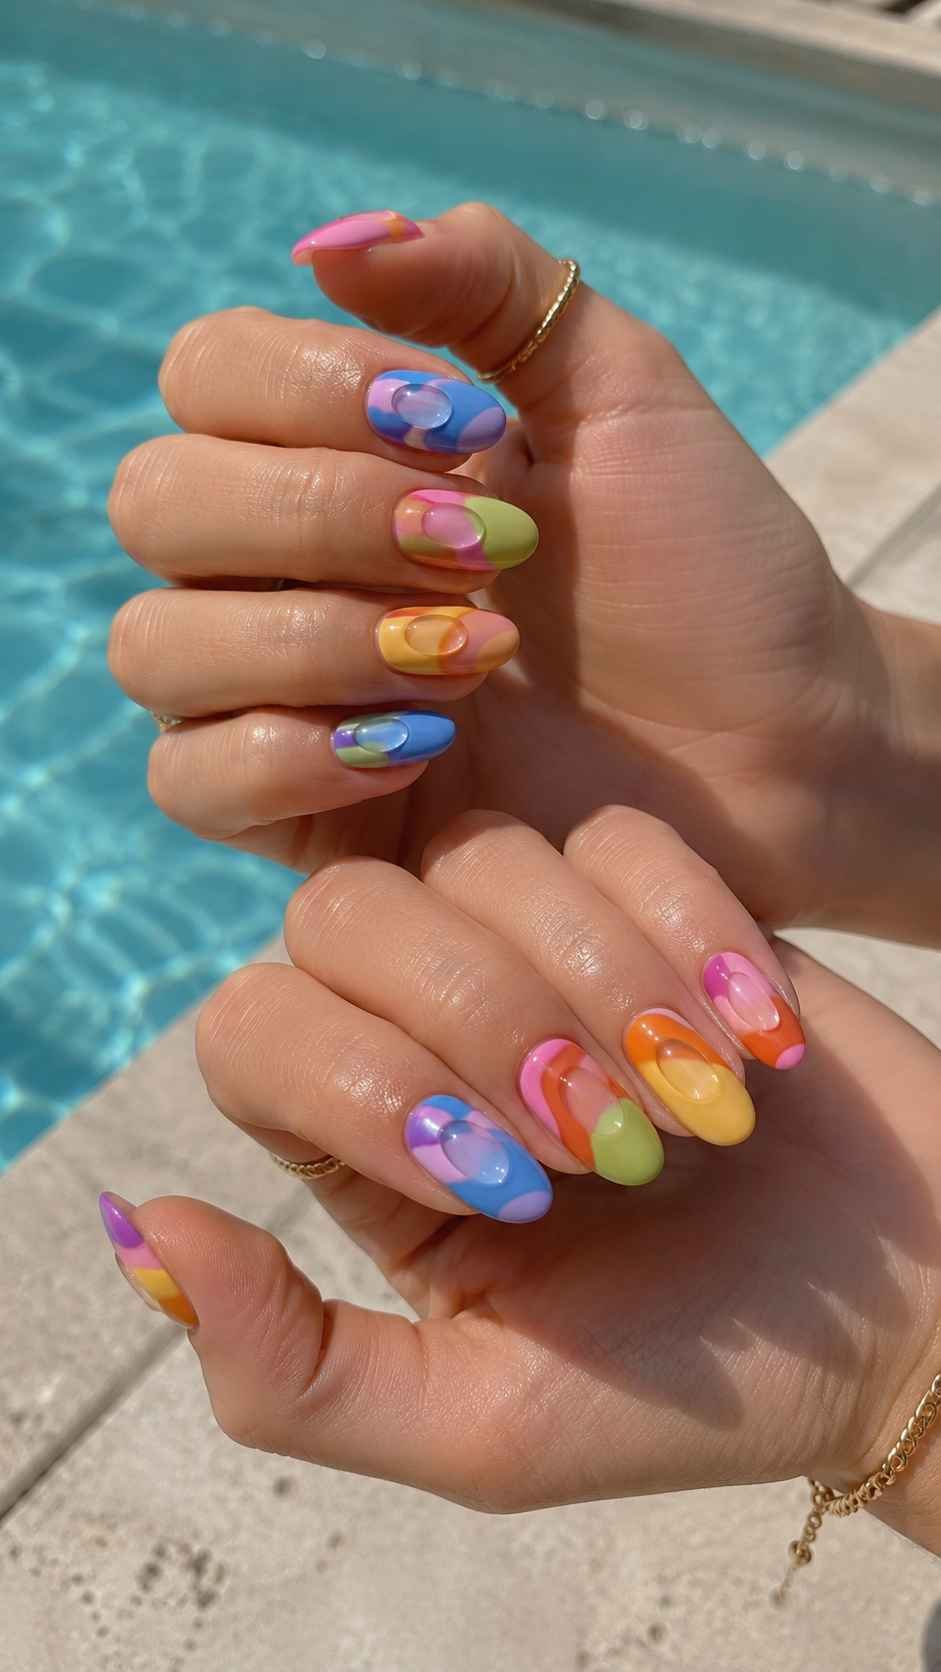
Instead, create partial forms that enter from different edges and vary their scale. A slim white highlight and a slightly deeper shadow shade will give the colorful shapes dimension without requiring bulky decoration.
Paint a Cropped Inflatable Ring
Create a thick rounded ring that enters from one side of the nail, allowing part of the shape to disappear beyond the edge. Use one bright color for the ring and a darker related shade along the lower curve. Add a short white highlight near the top.
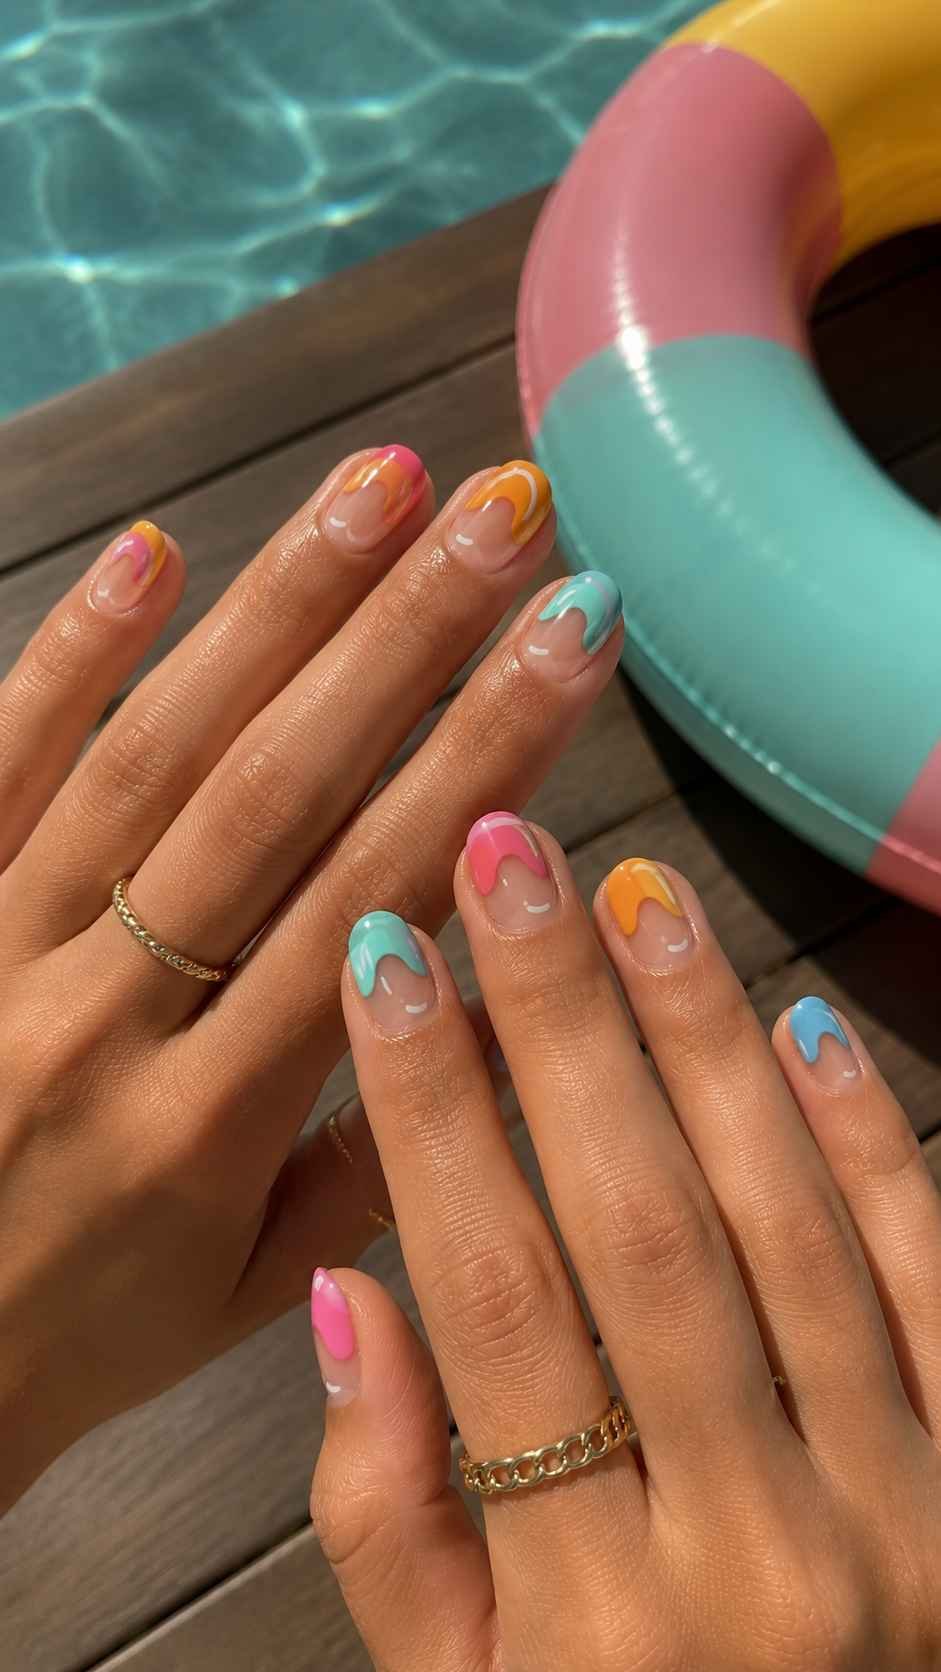
The center opening can reveal the base color or a contrasting shade. Move the ring around the manicure so one appears near the cuticle, another near the tip, and another along the side. This keeps the concept connected but varied.
Shape a Puffy Color Handle
Paint a wide curved handle that begins and ends near the same edge, forming an open arch across part of the nail. Use a saturated color and add a small painted seam where the shape appears attached.
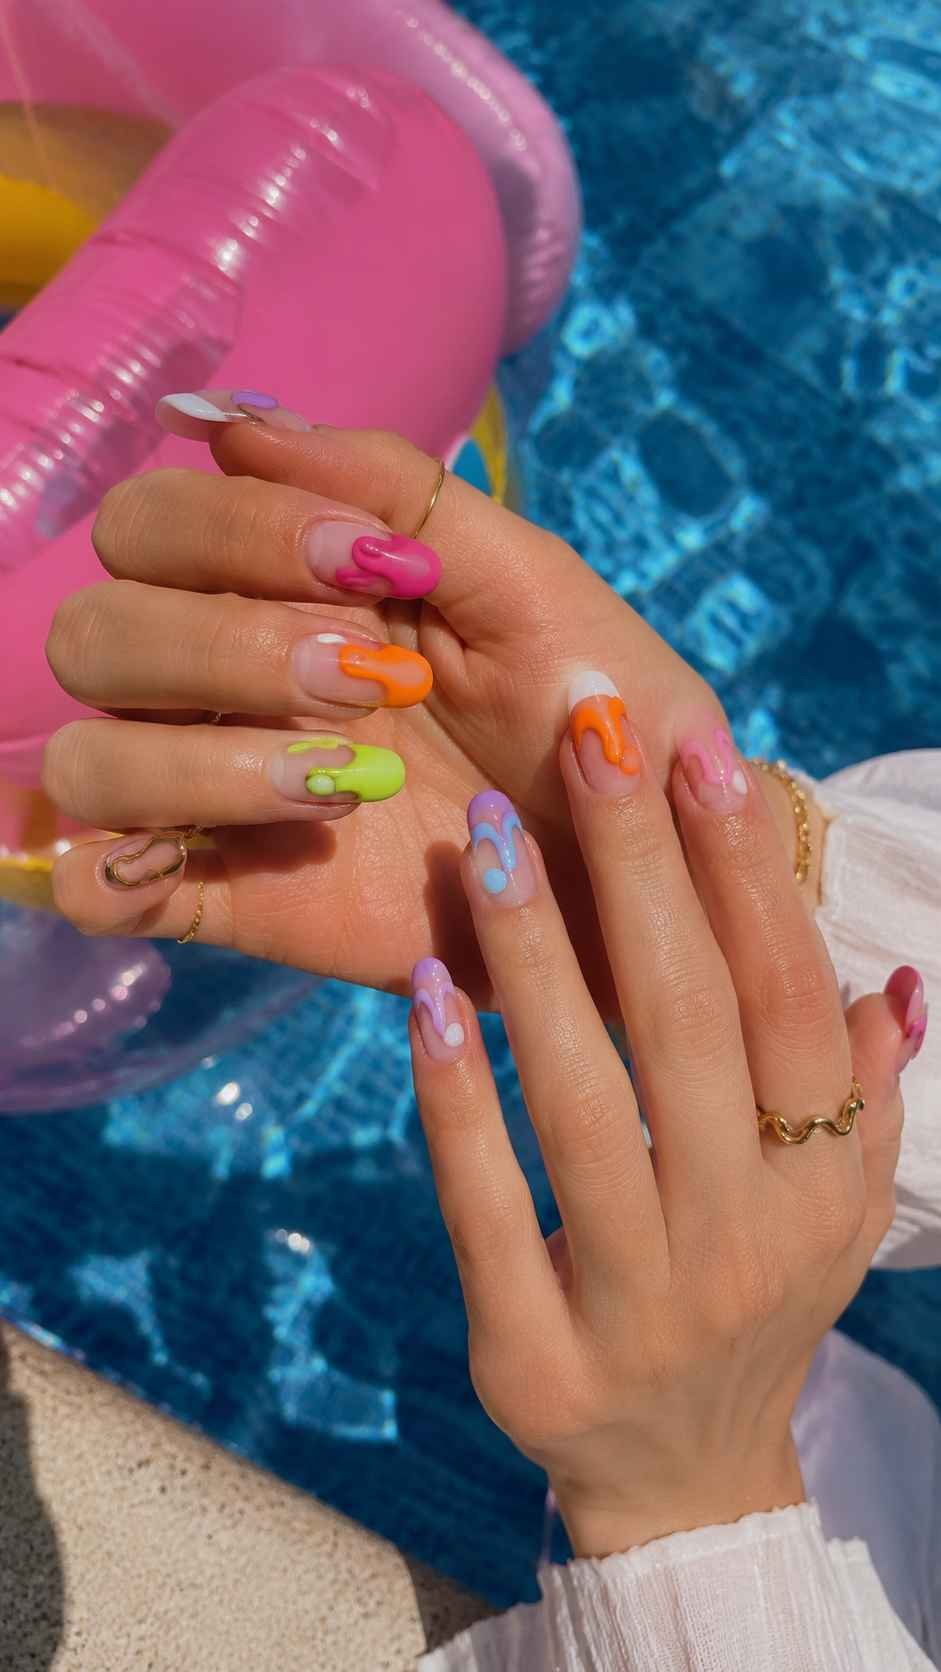
The empty area inside the handle allows the background to remain visible, which keeps the design from feeling too heavy. Pair violet handles with yellow bases, coral handles with aqua, or lime handles with pink. Use the full form on accent nails and smaller cropped curves elsewhere.
Build Two Connected Air Chambers
Create two rounded color sections that touch at one narrow point, resembling connected inflatable chambers. Paint each section in a different shade, then add a tiny seam line at the meeting point.
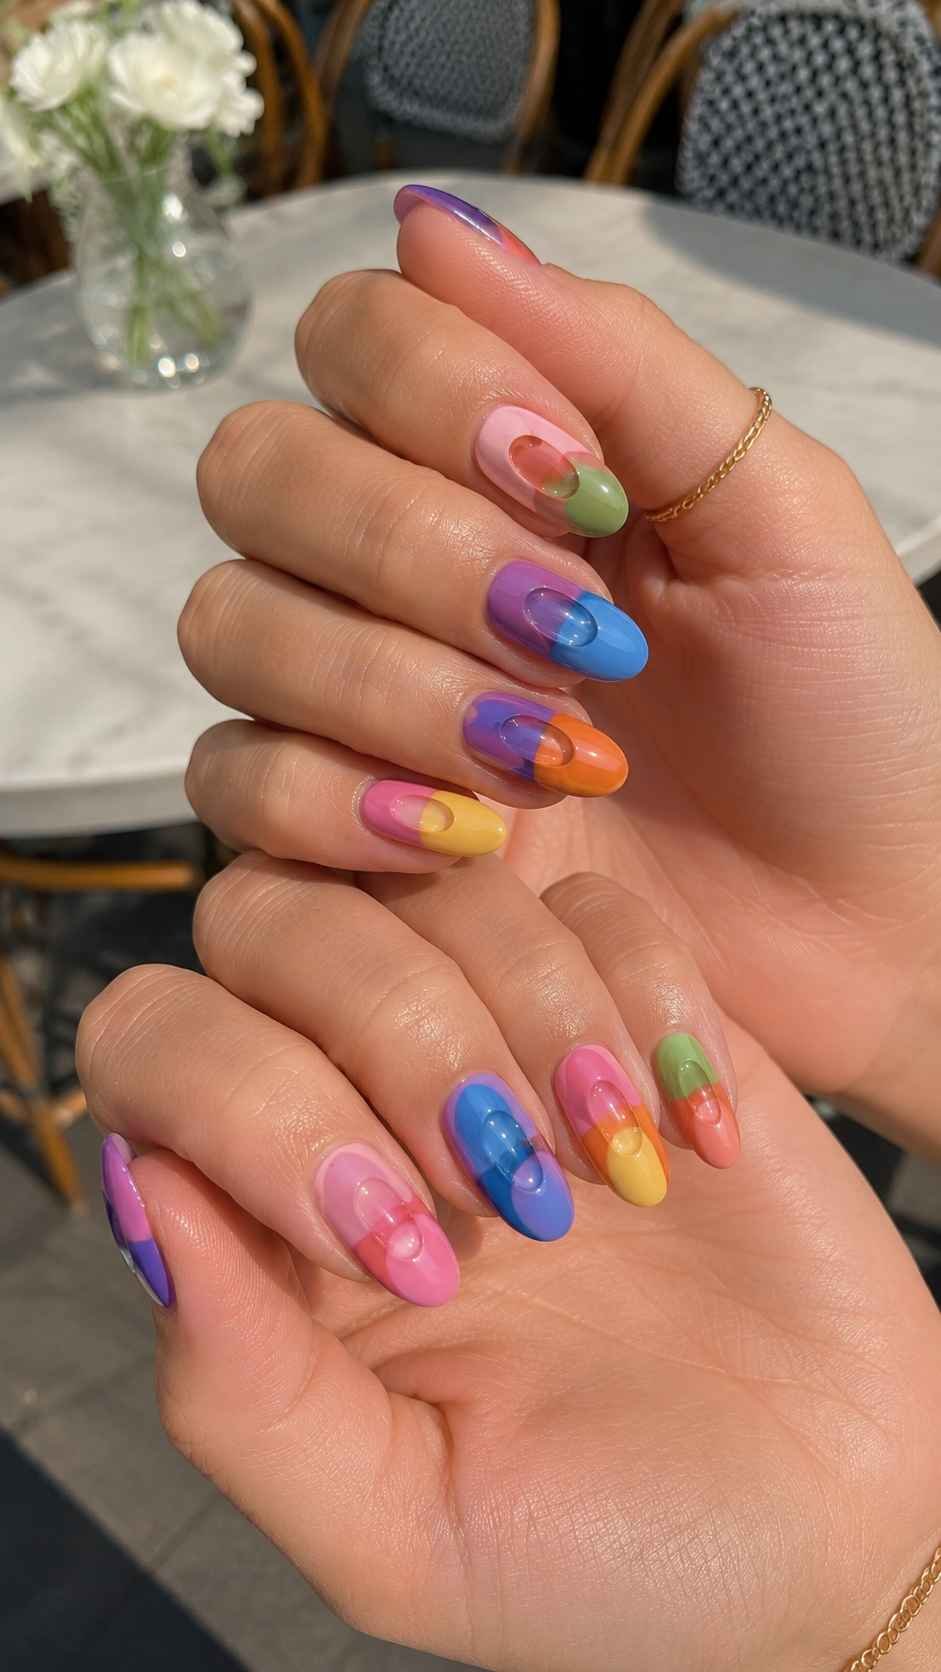
The pair can sit diagonally, horizontally, or close to one corner. Choose high contrast combinations for a bold result or use neighboring shades for a smoother transition. Keeping the forms compact makes the manicure wearable, while the unusual connected shape gives the set a fresh and playful identity.
Carnival Glow Trail Summer Colorful Nails
Carnival glow trail nails capture the appearance of moving lights after sunset through curved marks, repeated color flashes, and tiny glowing accents. The idea works with dark or bright backgrounds, depending on whether you want an evening mood or a daytime festival feeling. Electric pink, bright blue, orange, green, purple, and yellow can appear in short curved trails that seem to move across the surface. Avoid creating perfect parallel lines.
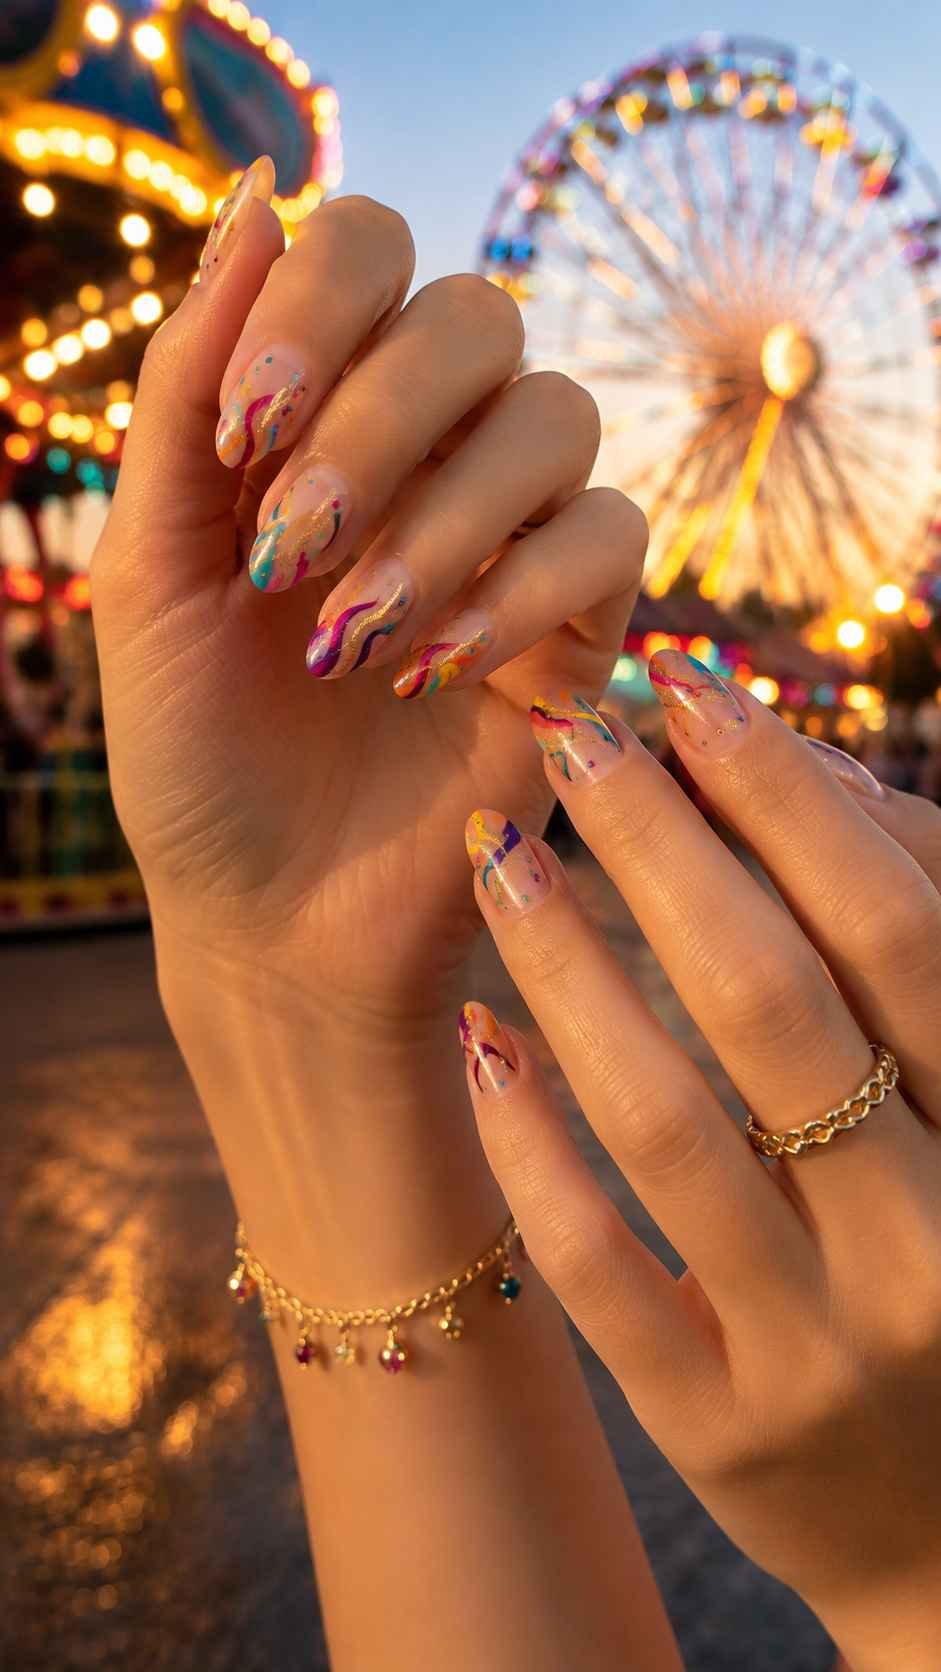
The paths should widen, narrow, and disappear naturally. A glossy top layer will strengthen the luminous effect, while small pale highlights can make selected colors appear especially bright.
Sweep a Broken Light Trail Across the Nail
Paint one curved trail made from several short color sections rather than one continuous line. Allow the shades to change as the path moves, such as pink into orange and then yellow. Leave small gaps between the sections so the trail appears to flash.
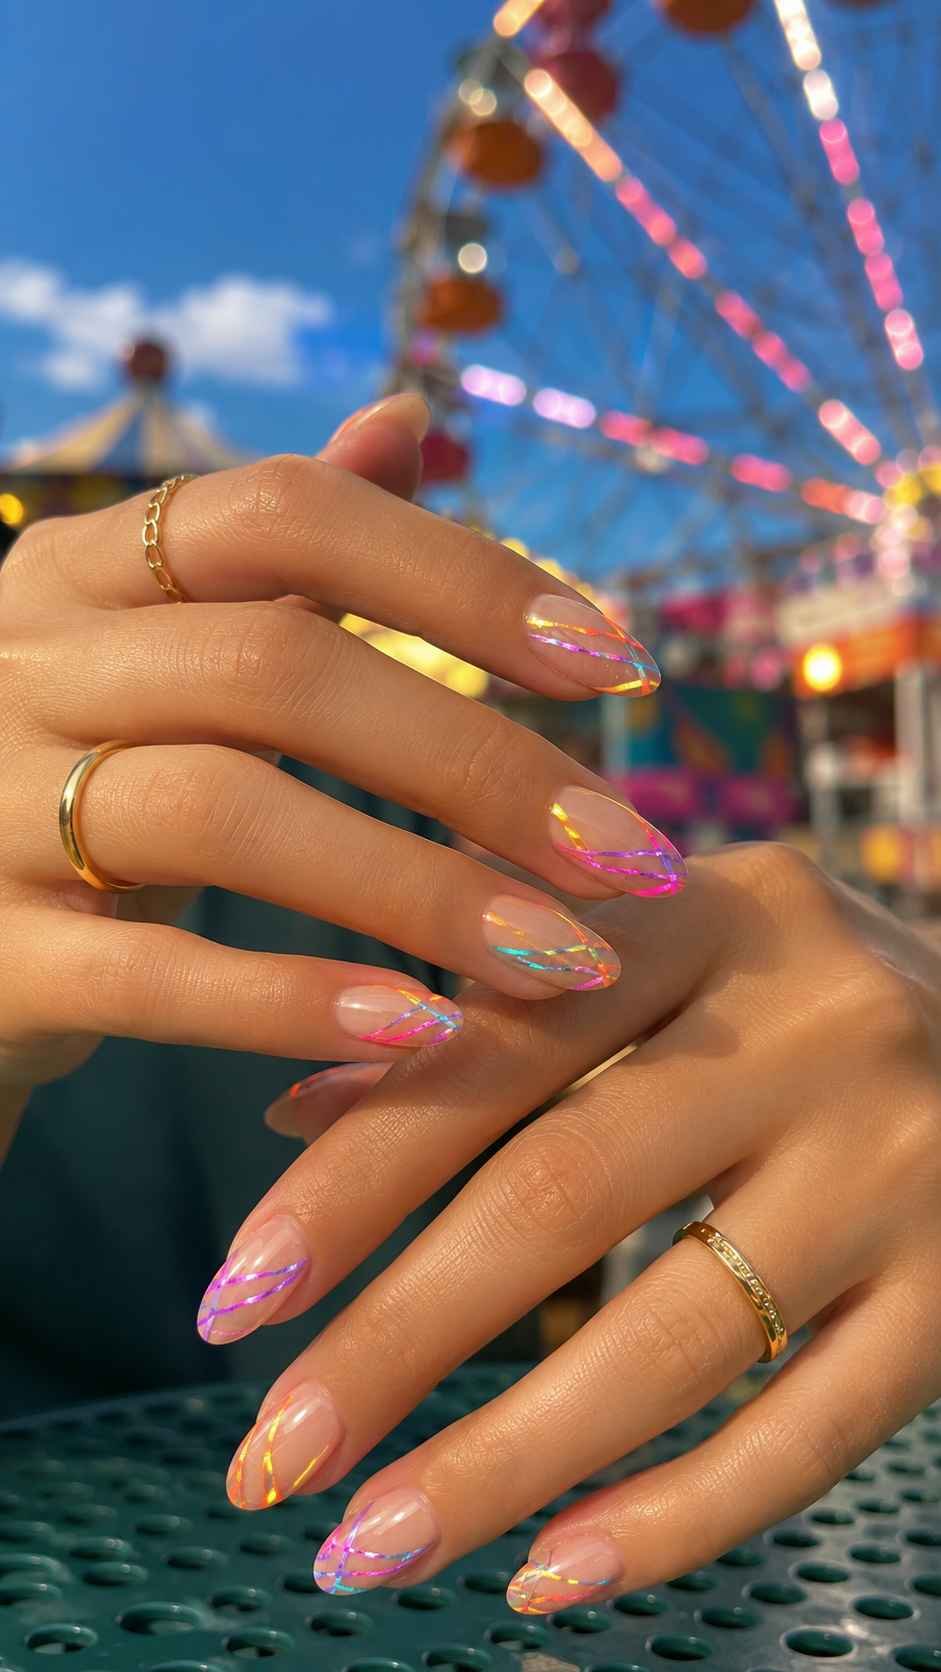
Start the curve near a different edge on every nail and vary its height across the surface. A deep navy or plum base makes the colors glow strongly, while a pale background creates a lighter daytime version.
Cluster Tiny Glow Marks Near One Corner
Place several compact dashes and rounded marks near one corner, then gradually reduce their number as they spread toward the center. Use three or four bright colors and add a tiny pale highlight beside selected marks.
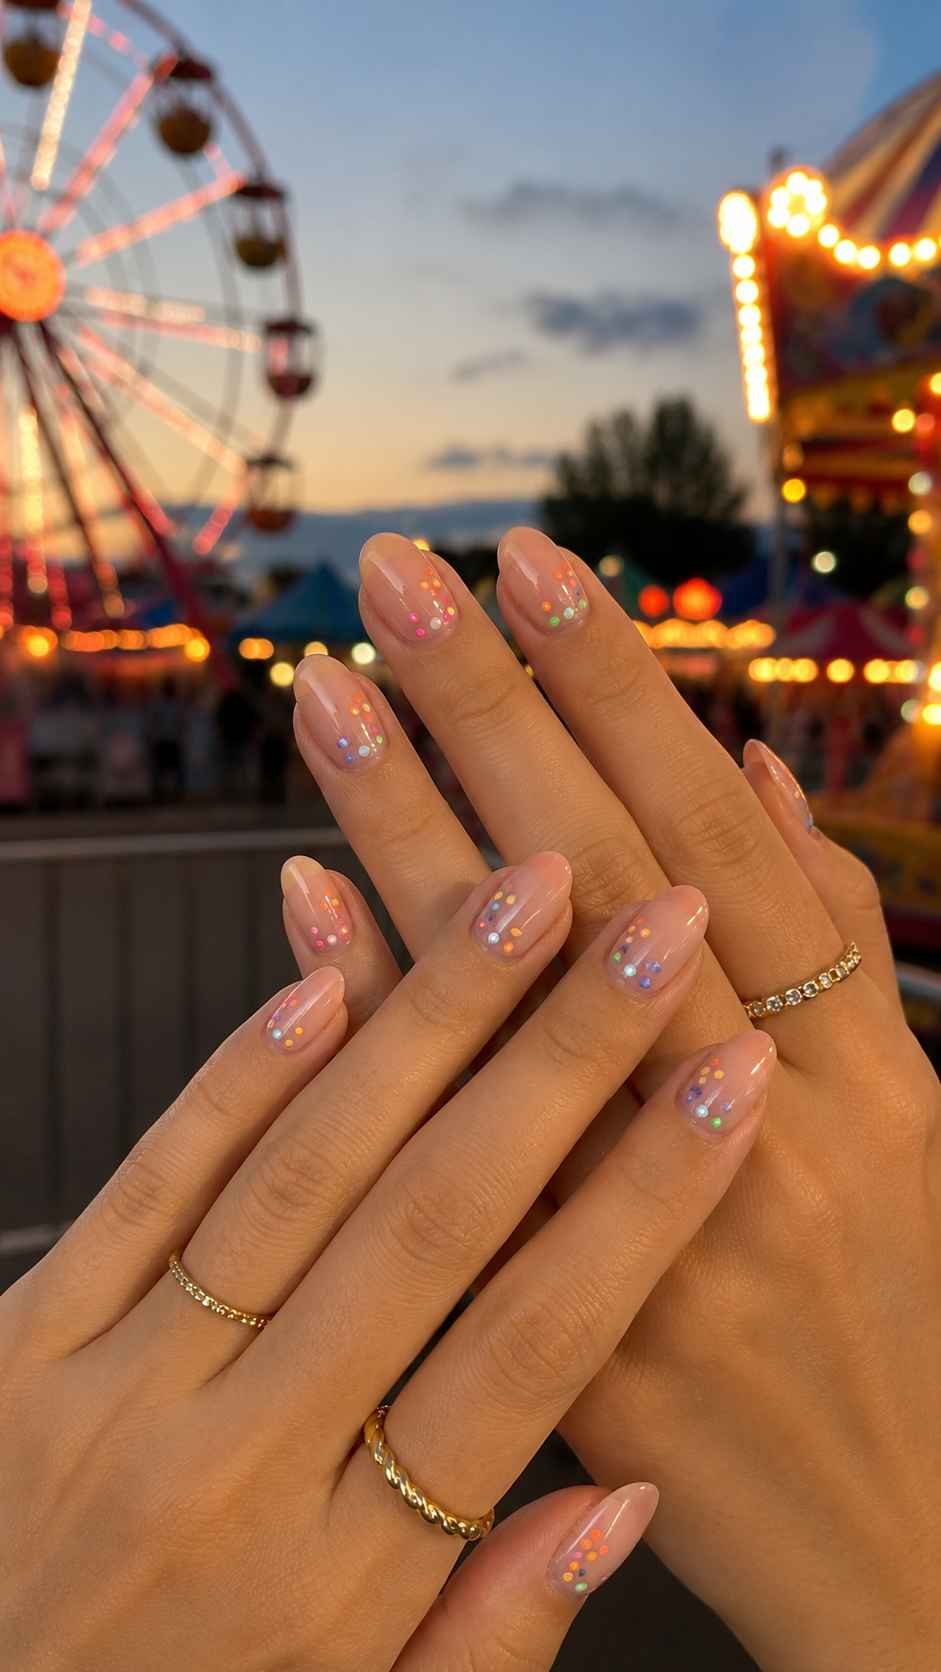
The cluster should feel energetic but contained, leaving most of the nail visible. Move the bright corner around the set so the glow seems to travel from finger to finger. This version is practical for shorter nails because the details remain concentrated in a small area.
Create a Spinning Color Arc
Paint three curved arcs that share one starting point but spread in different directions. Give each arc its own color and vary the width slightly to create the impression of spinning light. Keep the arcs open rather than forming a complete circle.
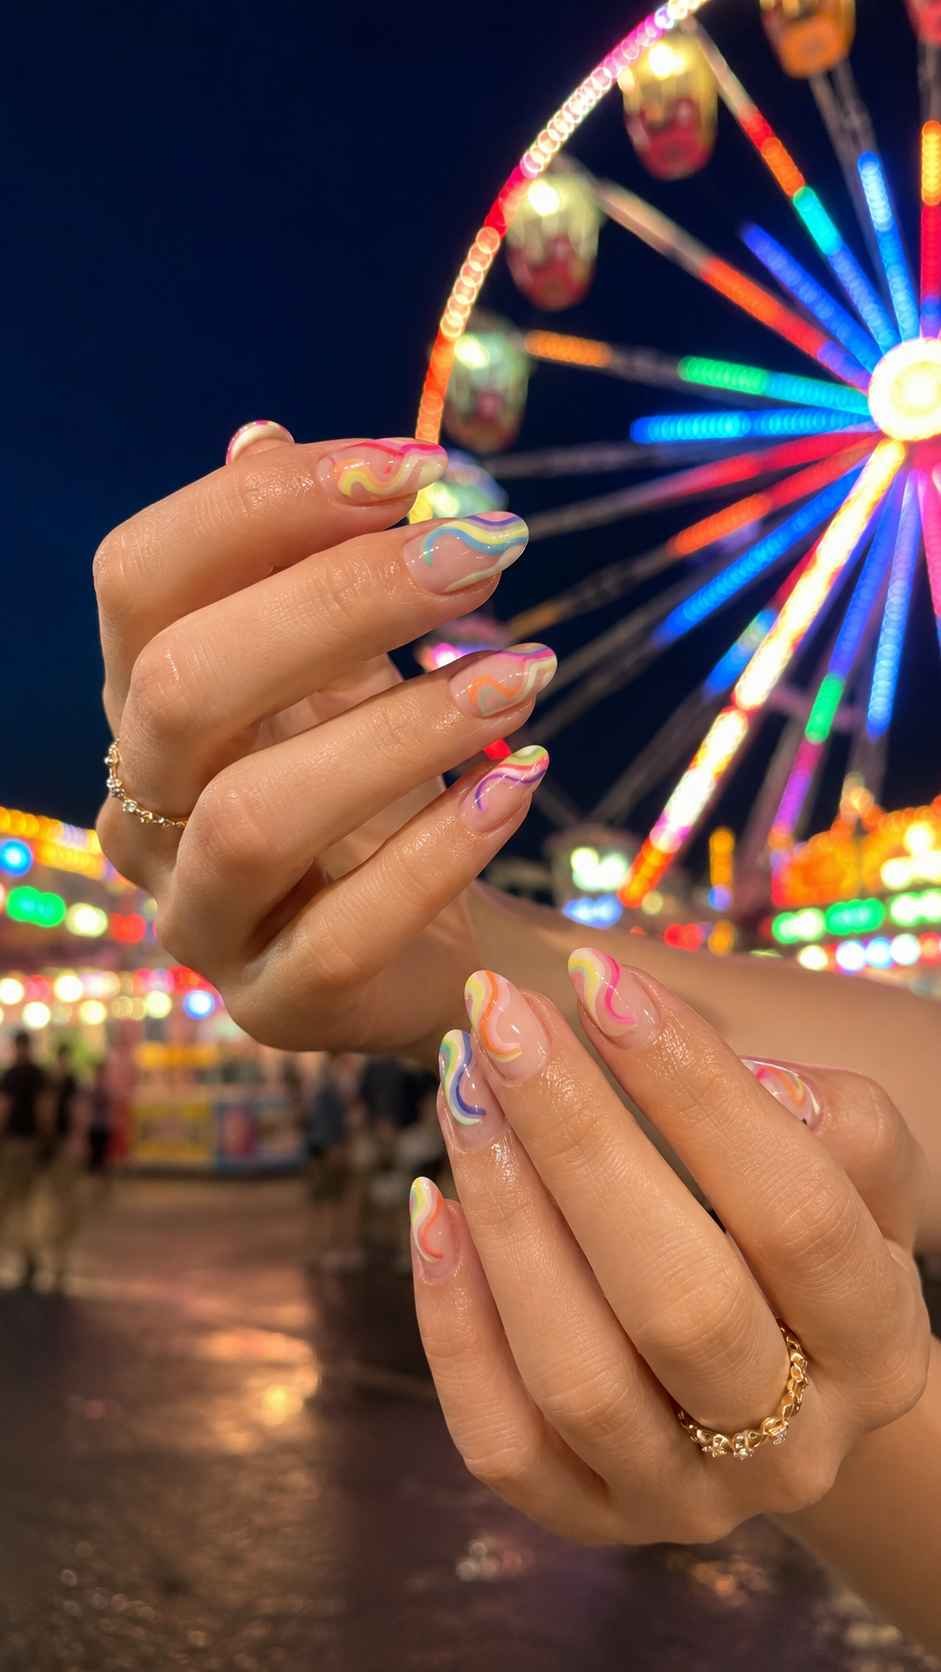
Place the shared starting point near the side or cuticle instead of directly in the center. A smooth glossy finish will help the colors look vivid, while the open construction keeps the energetic pattern from becoming too crowded.
Carry the Bright Mood Beyond Your Manicure
Summer colorful nails feel most successful when their shades connect naturally with the way you already like to dress and express yourself. Popsicle sections bring a playful graphic mood, while pool light reflections create a cooler sense of movement. Cabana scallops introduce cheerful curves, sunprint silhouettes add crisp contrast, and inflatable forms create rounded visual dimension. Carnival glow trails complete the collection with lively color and the appearance of moving light. Choose one concept as the main direction, then adjust the palette, placement, and amount of detail until the manicure feels comfortable and personal.
Short nails may suit compact accents and open backgrounds, while longer shapes can carry larger panels and layered compositions. You can coordinate one shade with a bag, sandal, swimsuit, hair accessory, or piece of jewelry without matching every part of the outfit exactly. Continue exploring related articles about summer nail colors, manicure shapes, outfit combinations, nail care, polish finishes, and warm weather beauty ideas to create a complete style story that remains bright from your fingertips to the rest of your look.
