
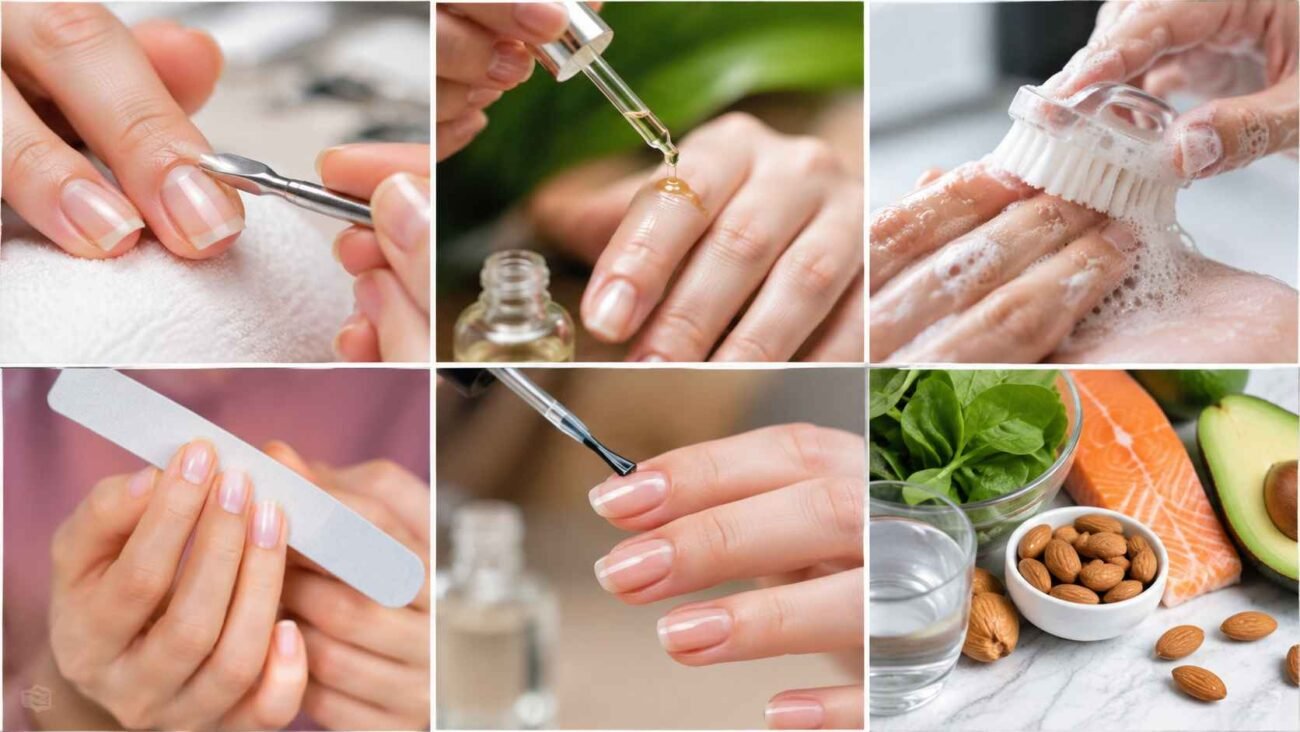
Good nail tips are not limited to choosing a pretty color. A polished manicure depends on preparation, flattering proportions, balanced placement, and details that suit the available length. Clean short shapes, translucent color, watercolor effects, and controlled texture can make a set feel current without appearing overloaded.
These ideas work on natural nails, gel overlays, acrylic extensions, and press on tips. Whether your style is subtle or expressive, these nail tips will help you create a manicure that feels neat, modern, practical, and thoughtfully designed.
Plan Every Design Around the Natural Nail Map
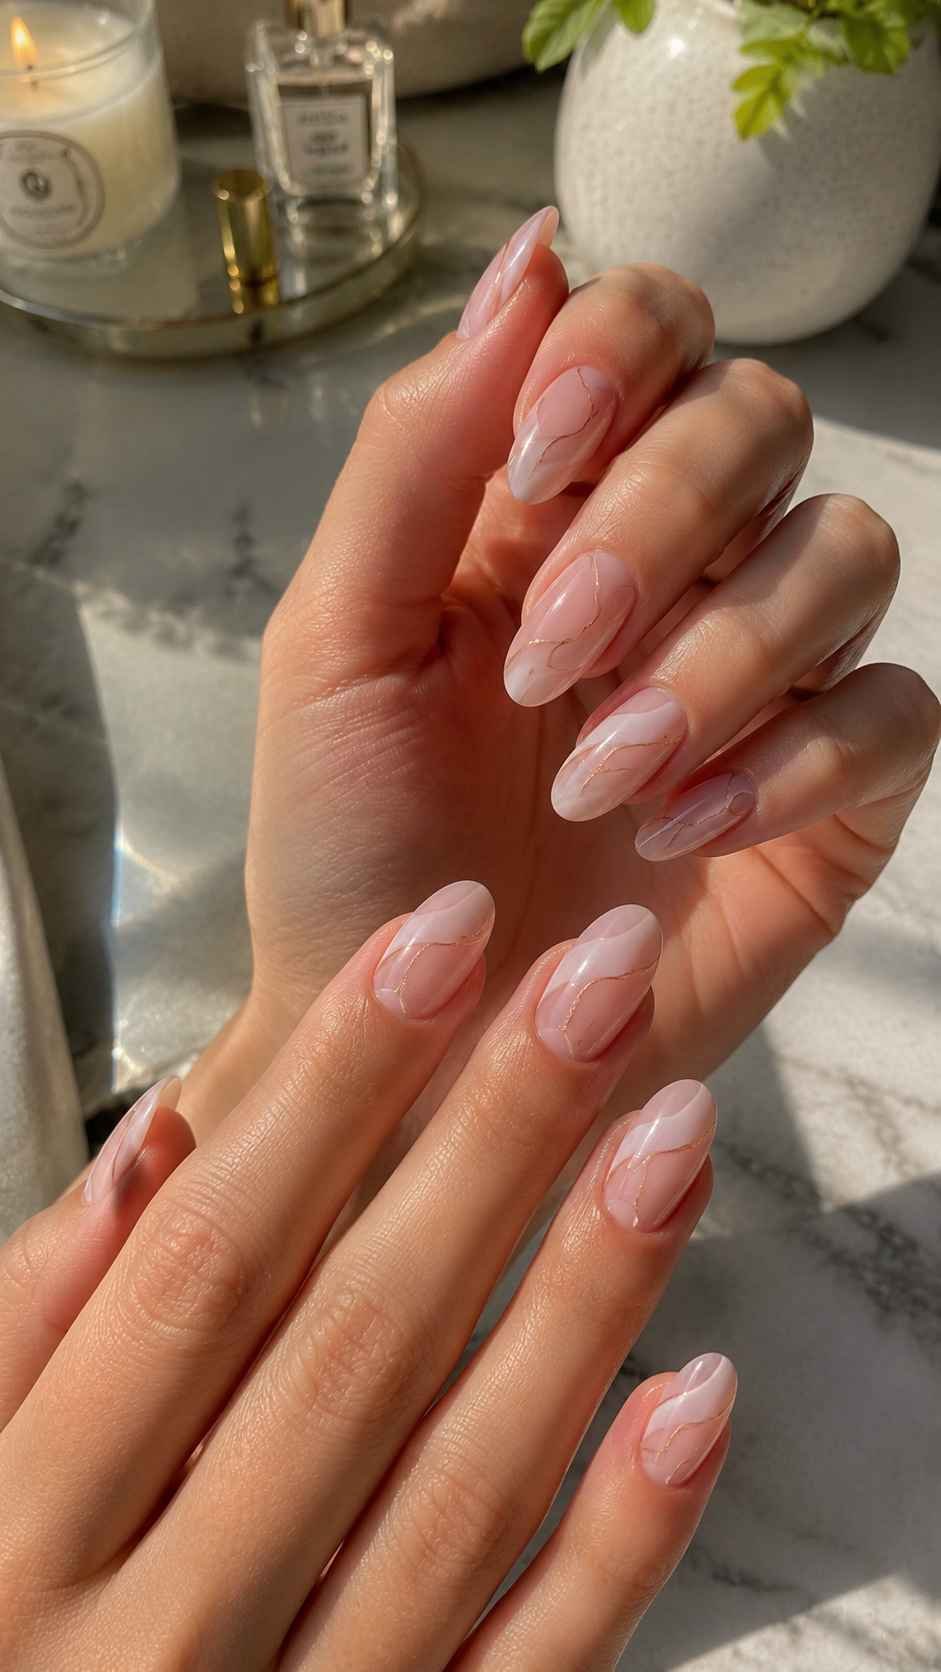
Before selecting art, study the nail bed width, cuticle curve, and visible free edge. Wider nails suit centered details or clear side spacing, while narrow nails can carry broader color sections. A low accent creates a longer visual line, whereas a defined tip emphasizes shape. Planning these proportions keeps the set coordinated and prevents random details from competing.
Match the Shape to the Side Walls
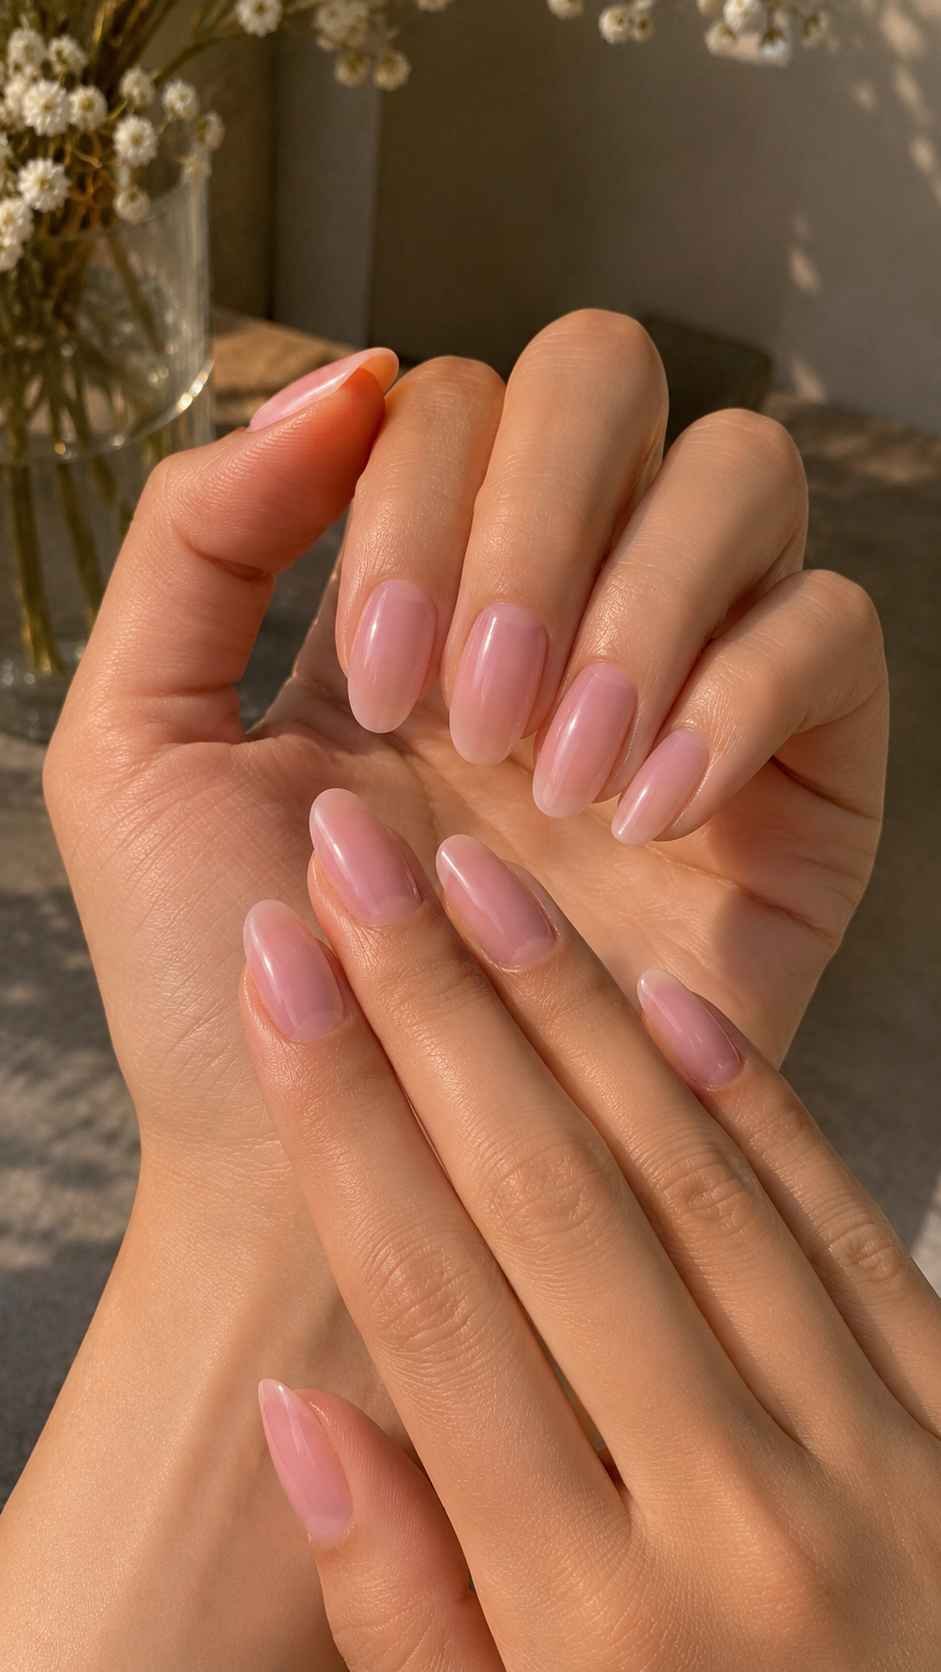
Straight side walls suit square, rounded square, or squoval tips because these shapes preserve strength. Nails that naturally narrow can transition smoothly into oval or almond shapes. Short coffin tips need enough length for a visible taper before the flat edge. Avoid removing too much width to copy a shape, since weakened sides may catch or break.
Choose One Visual Center
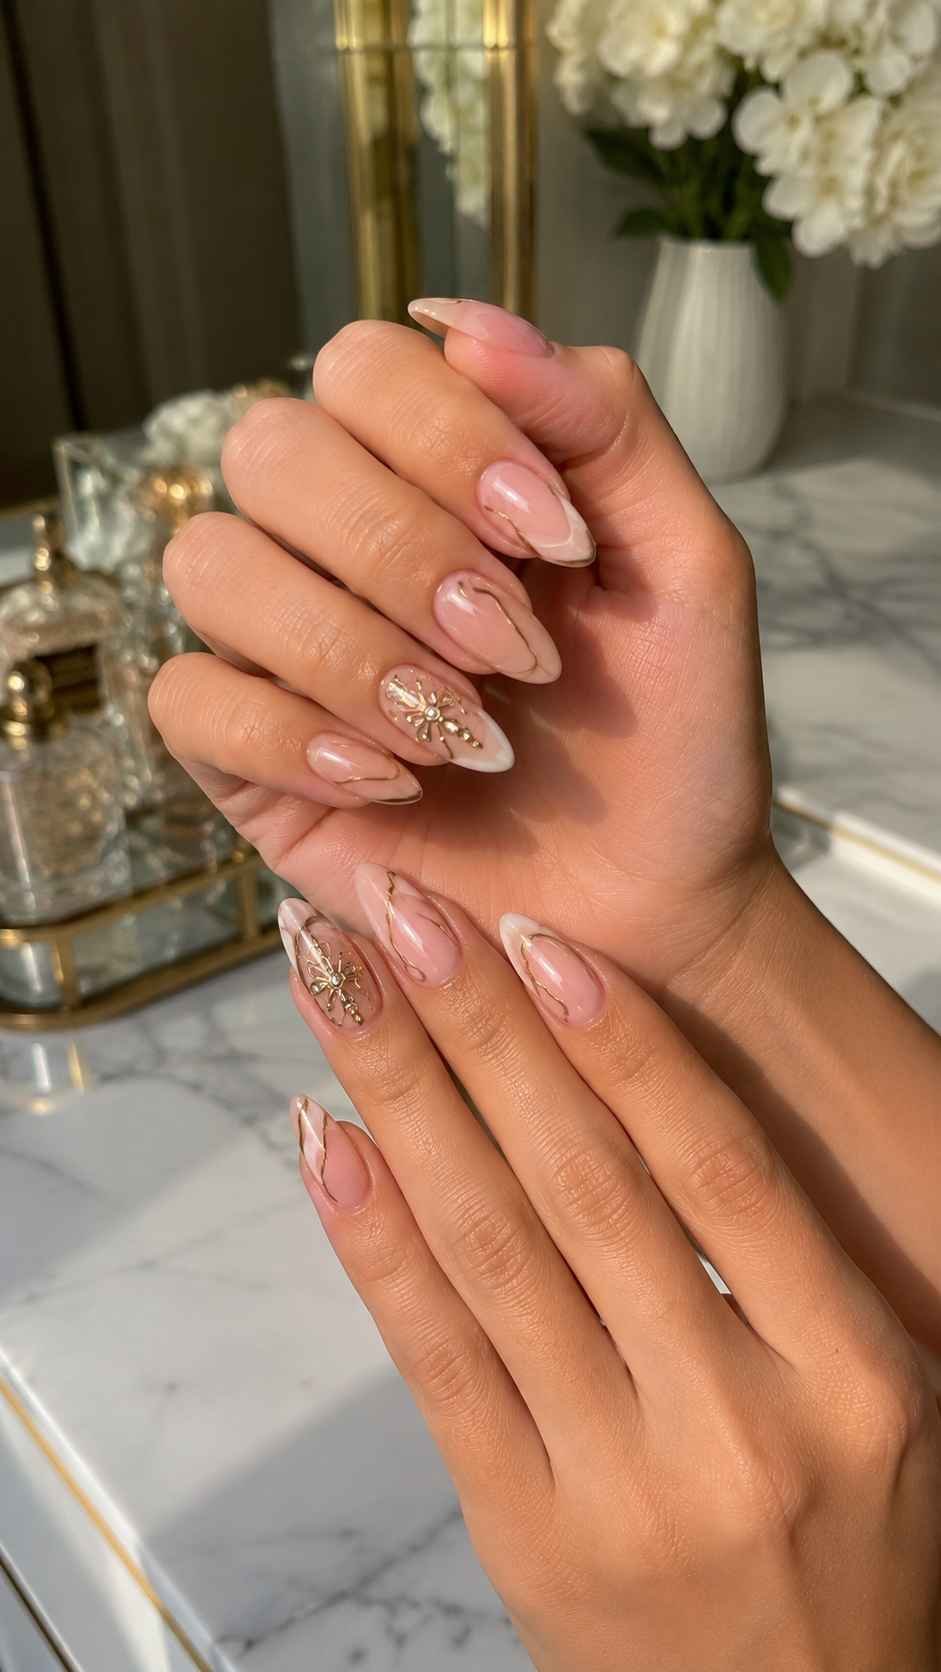
Give each nail one main point of interest, such as a fine tip line, a small cuticle accent, a translucent patch, or a curved side detail. Keep secondary decoration quiet so the design remains easy to read. This hierarchy preserves open space and helps the manicure look planned instead of crowded.
Repeat Details With Small Changes
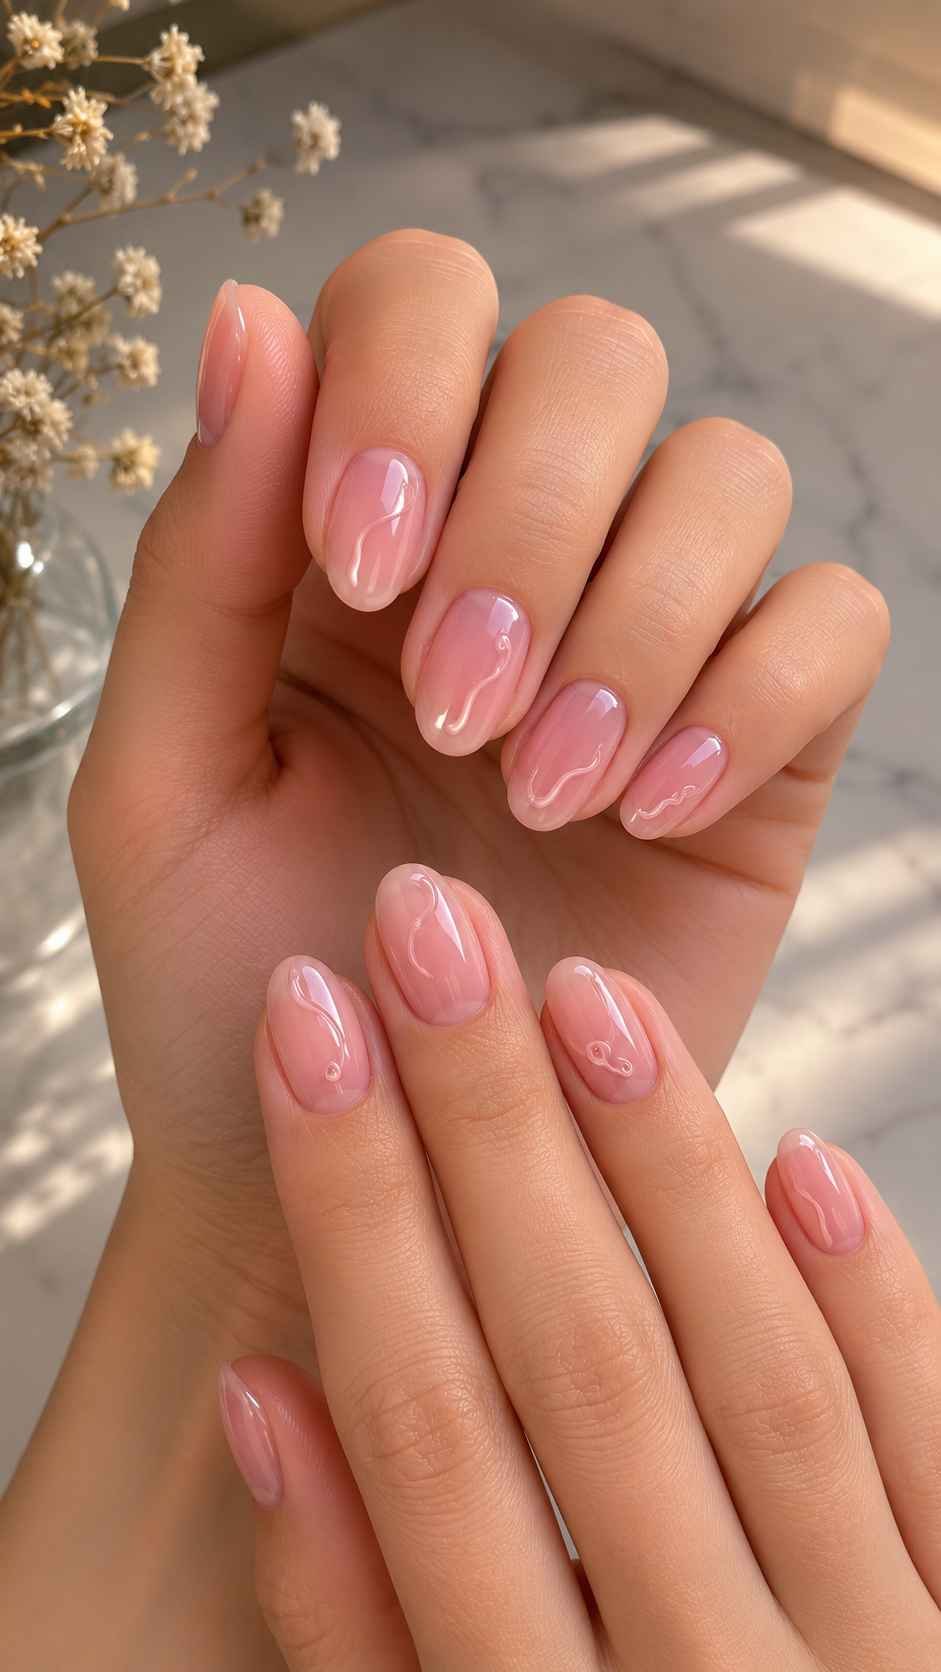
Create unity by repeating one element in different positions. A thin curve might appear at the tip on one nail, near the cuticle on another, and along the side on a third. Dots, petals, shimmer, and translucent patches can be varied in the same way. Consistent colors or finishes connect the changes without making every nail identical.
Keep Short Nail Tips Precise With Micro Details
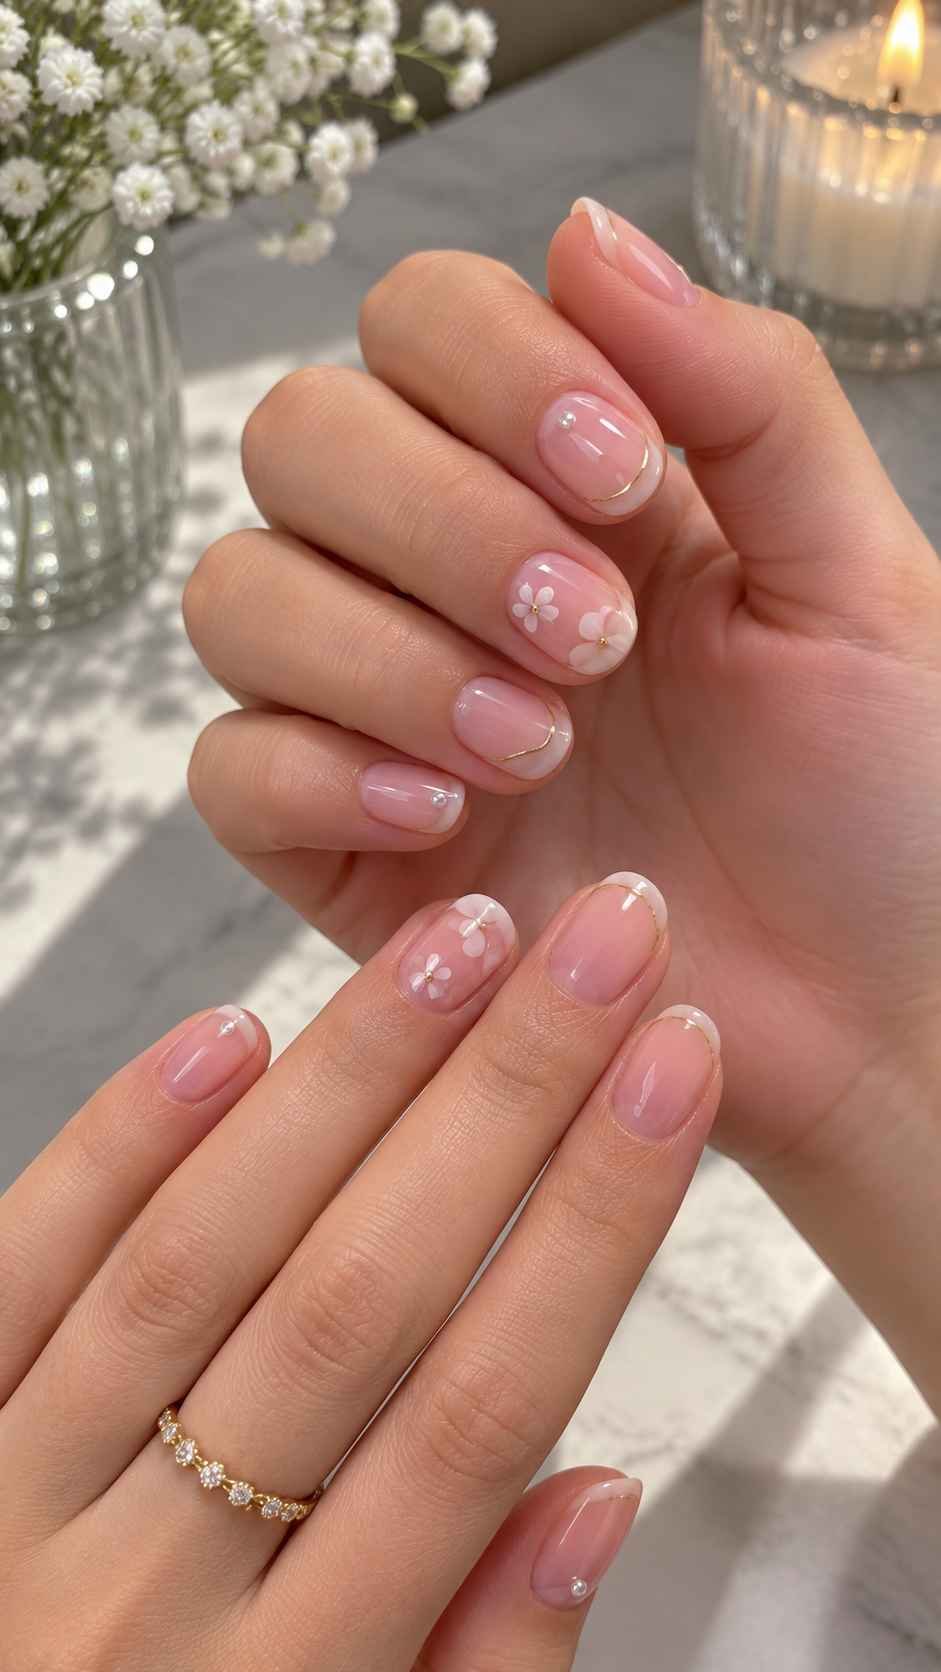
Short nails can carry impressive art when every element is reduced to the correct scale. A narrow border, miniature motif, or tiny pattern adds character while preserving the clean outline. Rounded square, squoval, oval, and softly rounded tips are practical. Use the available space deliberately and let the natural shape remain visible.
Draw an Ultra Slim Tip Line
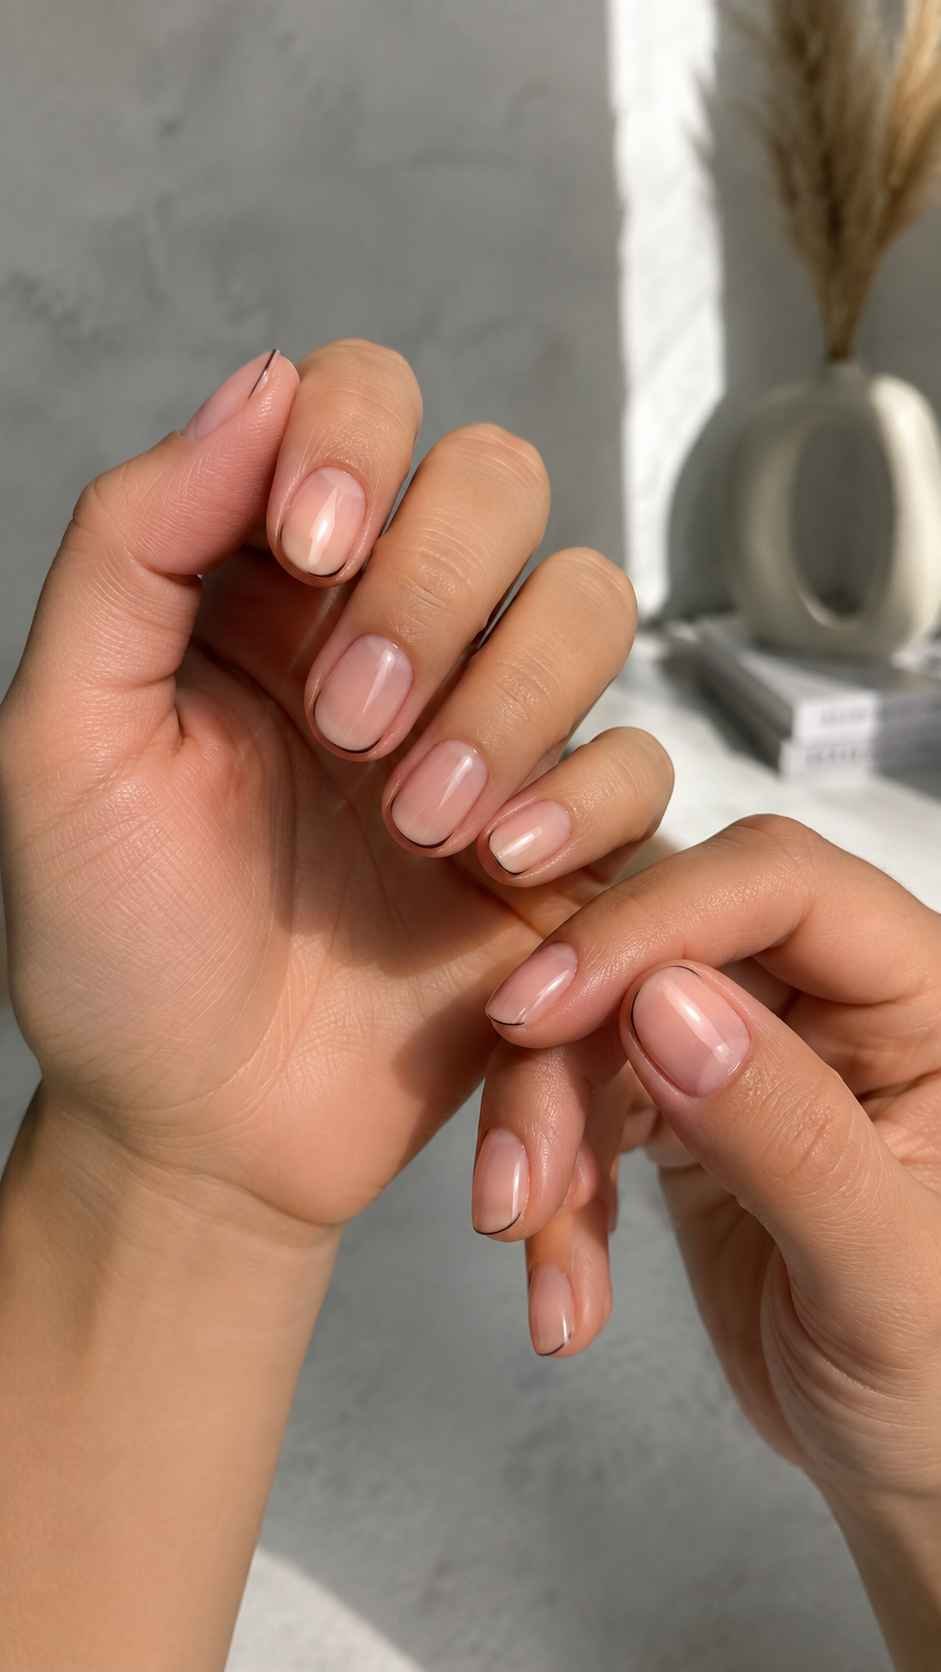
A very fine line defines short tips without making the nails look smaller. Try cloud white for softness, black for contrast, or watery blue for a light finish. Follow the free edge and keep the thickness consistent. A detailing brush gives better control, especially around square corners or an oval curve.
Place Micro Dots With Breathing Room
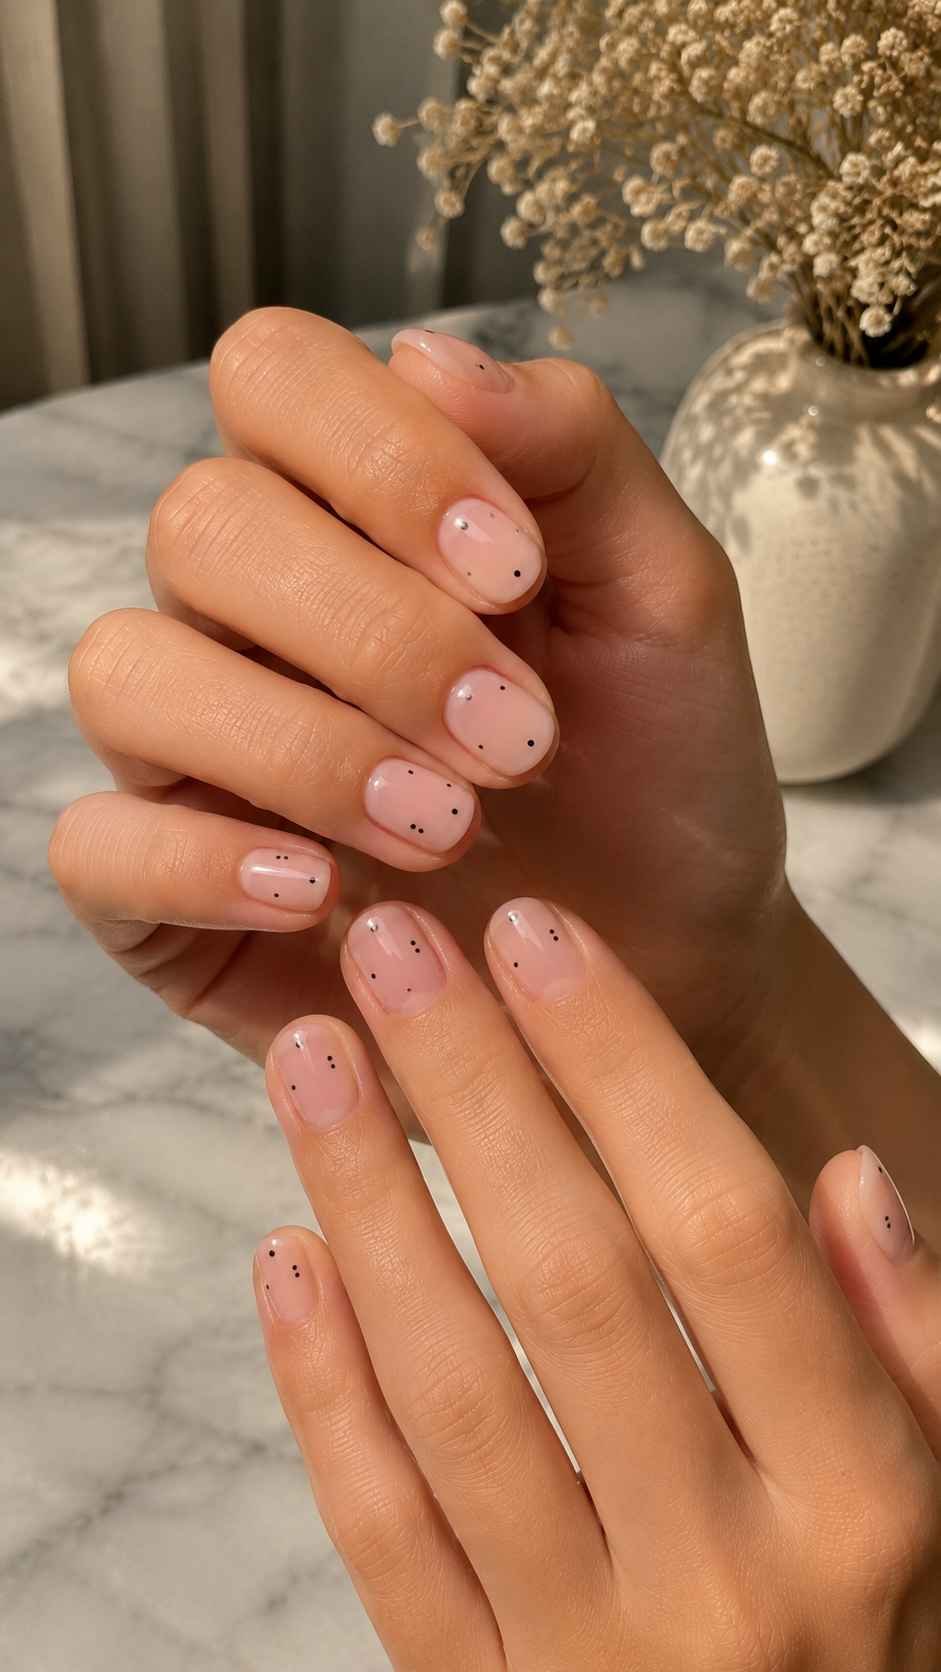
Apply tiny dots over a sheer pink, beige nude, or clear base, leaving enough background visible. Arrange them in a neat grid, loose trail, or one concentrated corner. Keep a clean border beside the side walls so the shape remains clear. One shade feels calm, while two related colors add gentle variation.
Anchor Art Near the Cuticle
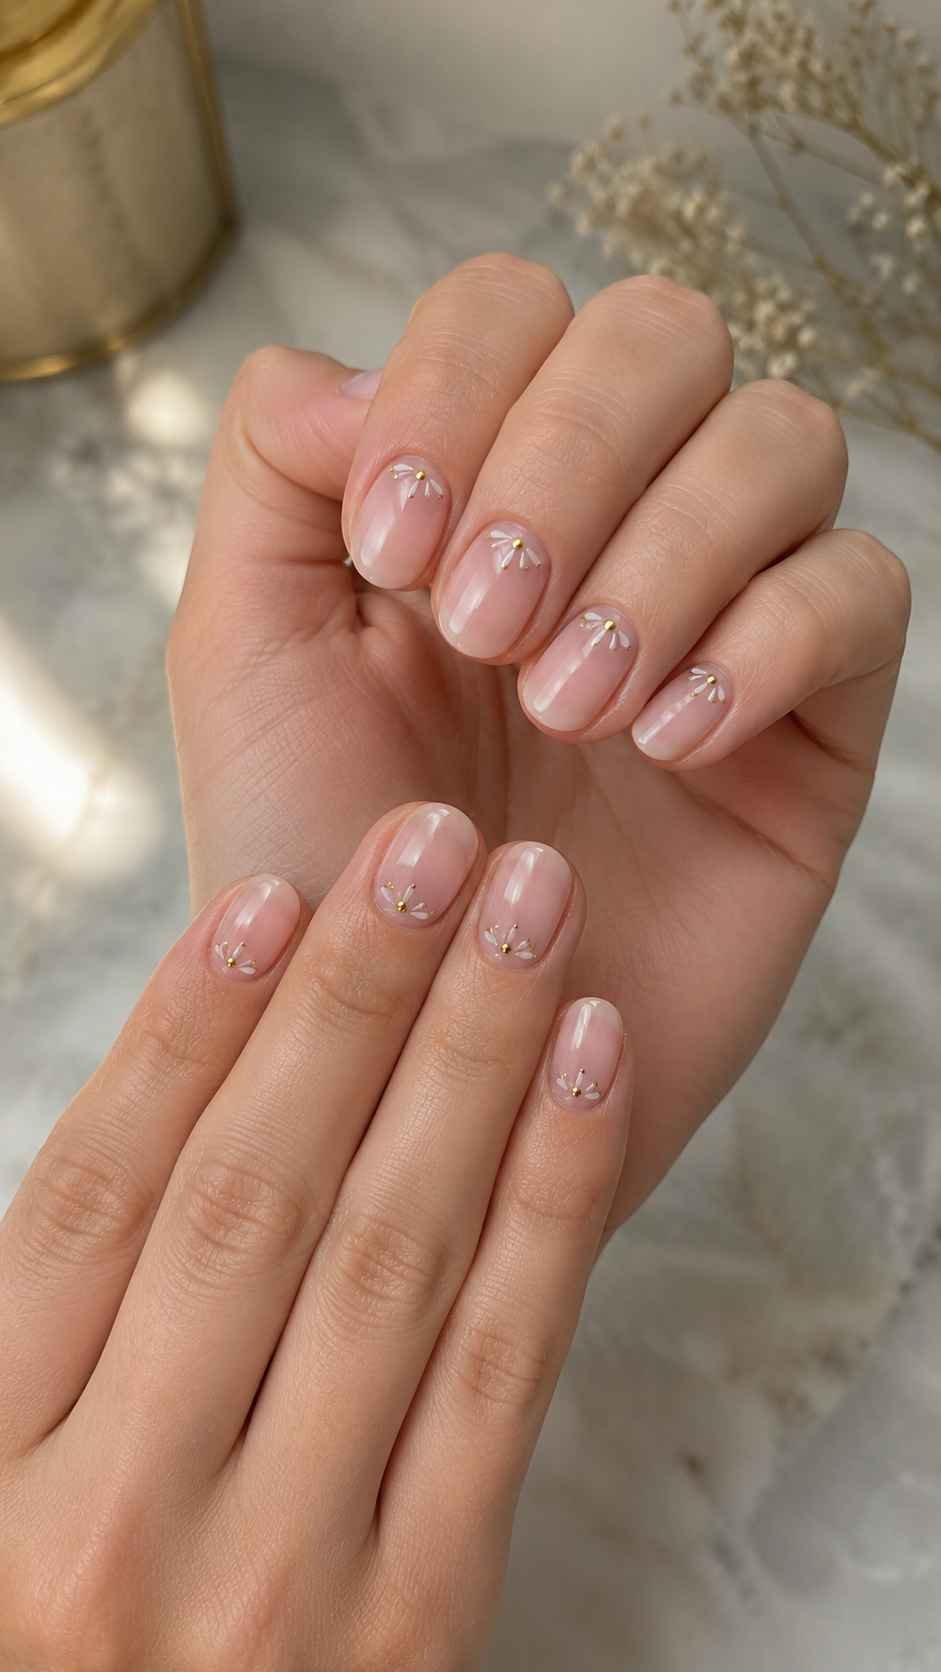
A miniature pearl, curved outline, tiny flower center, or shimmer crescent placed above the cuticle can make the remaining surface appear longer. Leave a safe gap from the skin and keep the accent small on most fingers. One larger version on the ring finger adds balance without losing the clean short shape.
Soften French Tips With Clouded Contrast
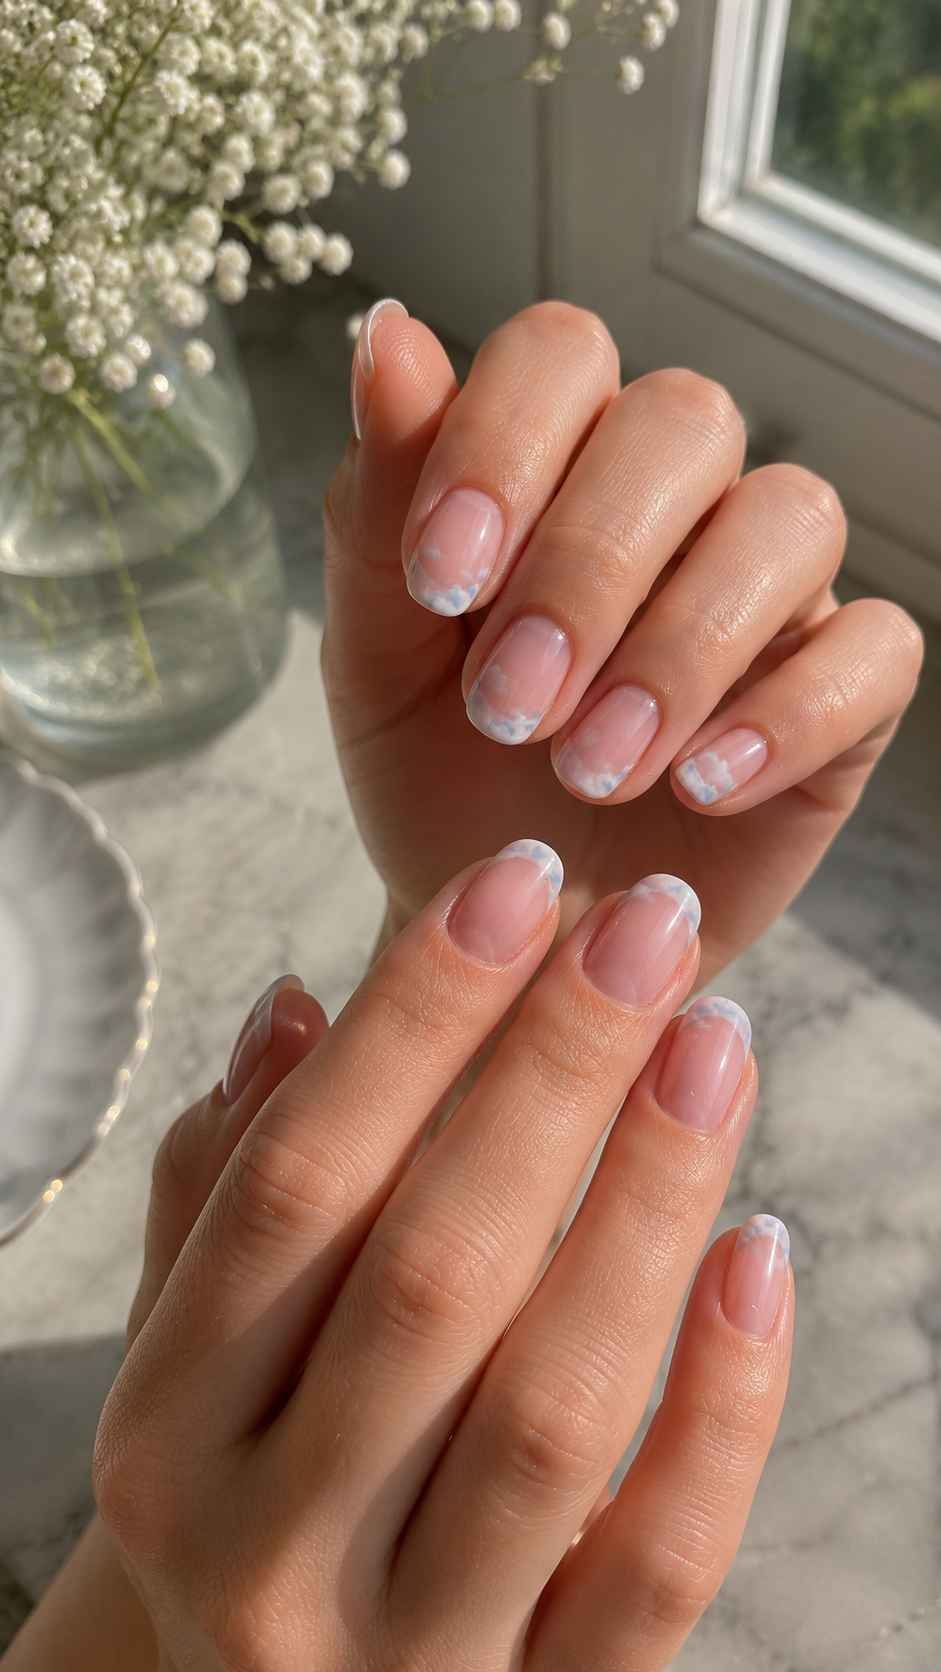
A cloudy French manicure replaces the sharp division between base and tip with a softer transition. Use translucent pink, sheer beige, or a nearly clear base with an airy white edge that appears gently blended. This approach enhances natural nails and can also soften extensions. It feels polished for special outfits yet quiet enough for everyday styling.
Blur the Border With Sheer Polish
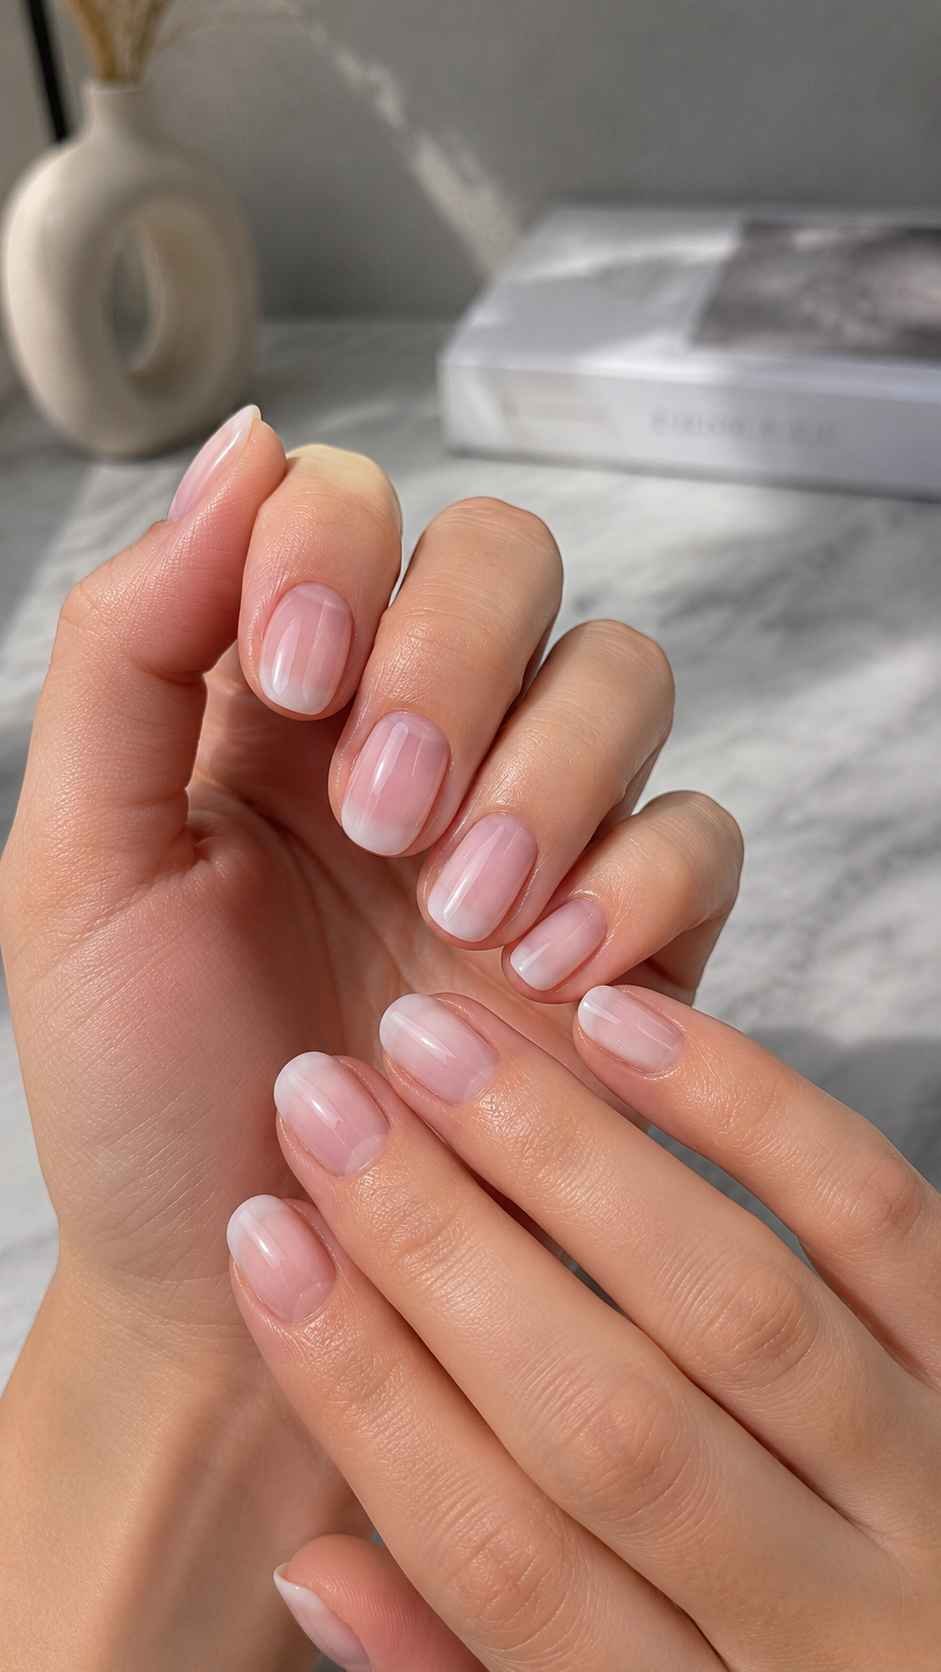
Paint the pale edge first, then apply one thin layer of translucent pink or nude across the nail. This veil softens the border while allowing the tip to remain visible. Test one finger because sheer formulas can become milkier after drying or curing. Finish with a glossy top coat so both layers appear smooth and naturally connected.
Replace White With Muted Color
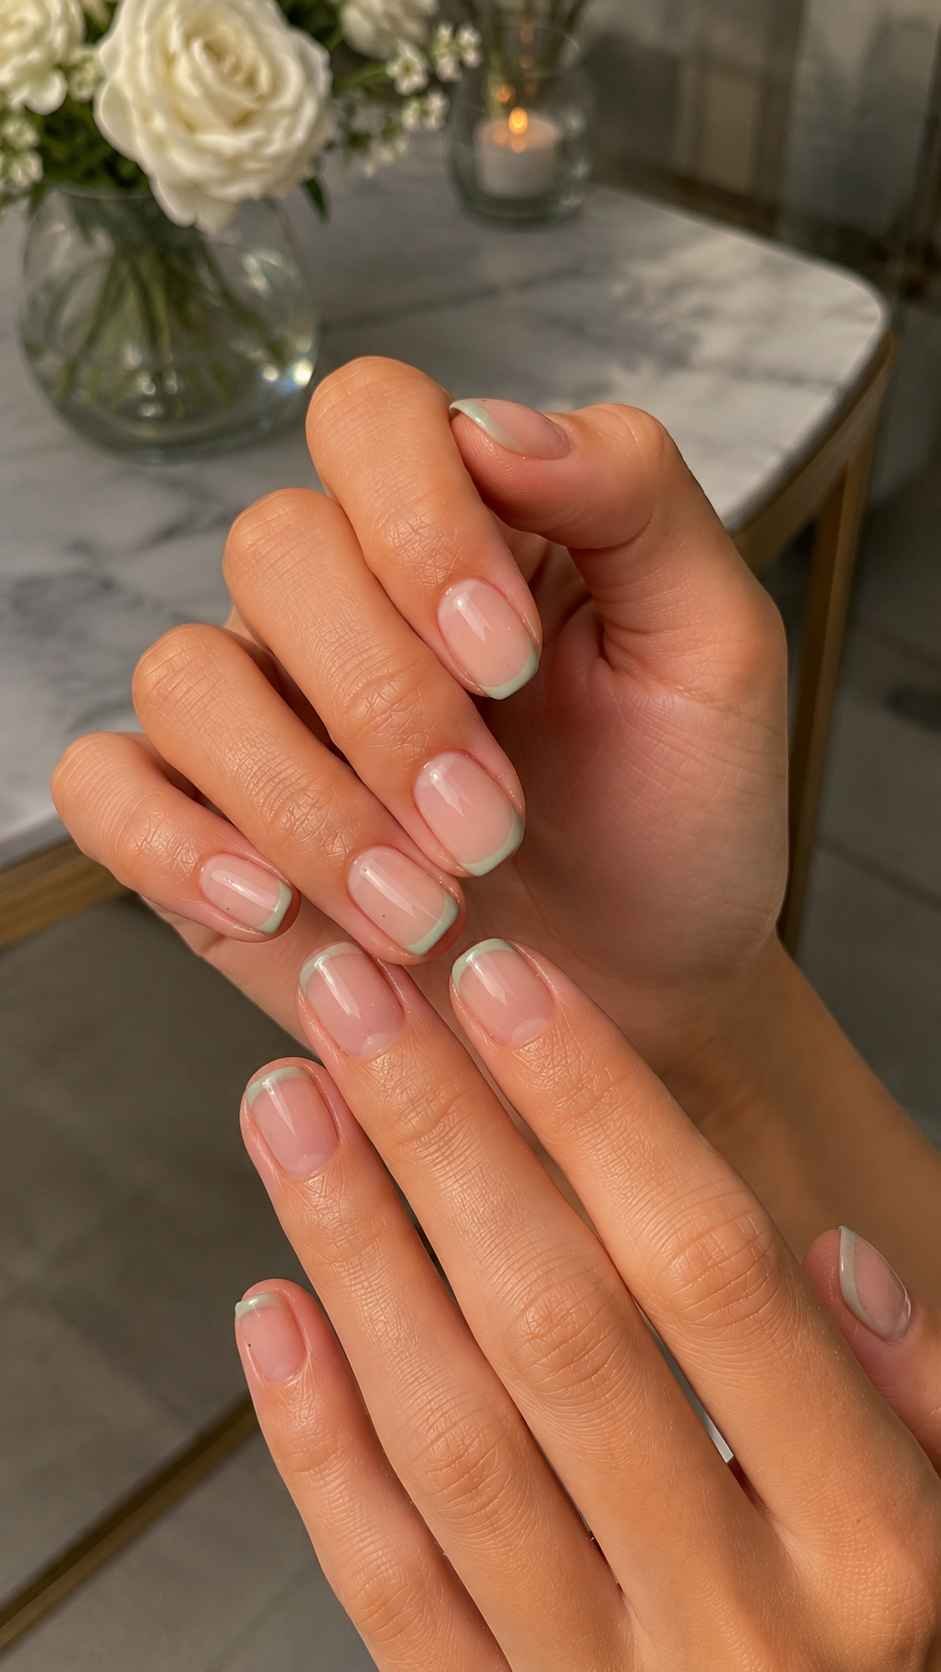
Use pistachio green, butter yellow, lavender, pale coral, or powder blue instead of white. These shades define the edge while remaining easy to coordinate with clothing. Keep the line narrow on short nails and slightly deeper on almond or oval tips. Add one related accent color to two fingers for controlled variation.
Add a Whisper Thin Second Contour
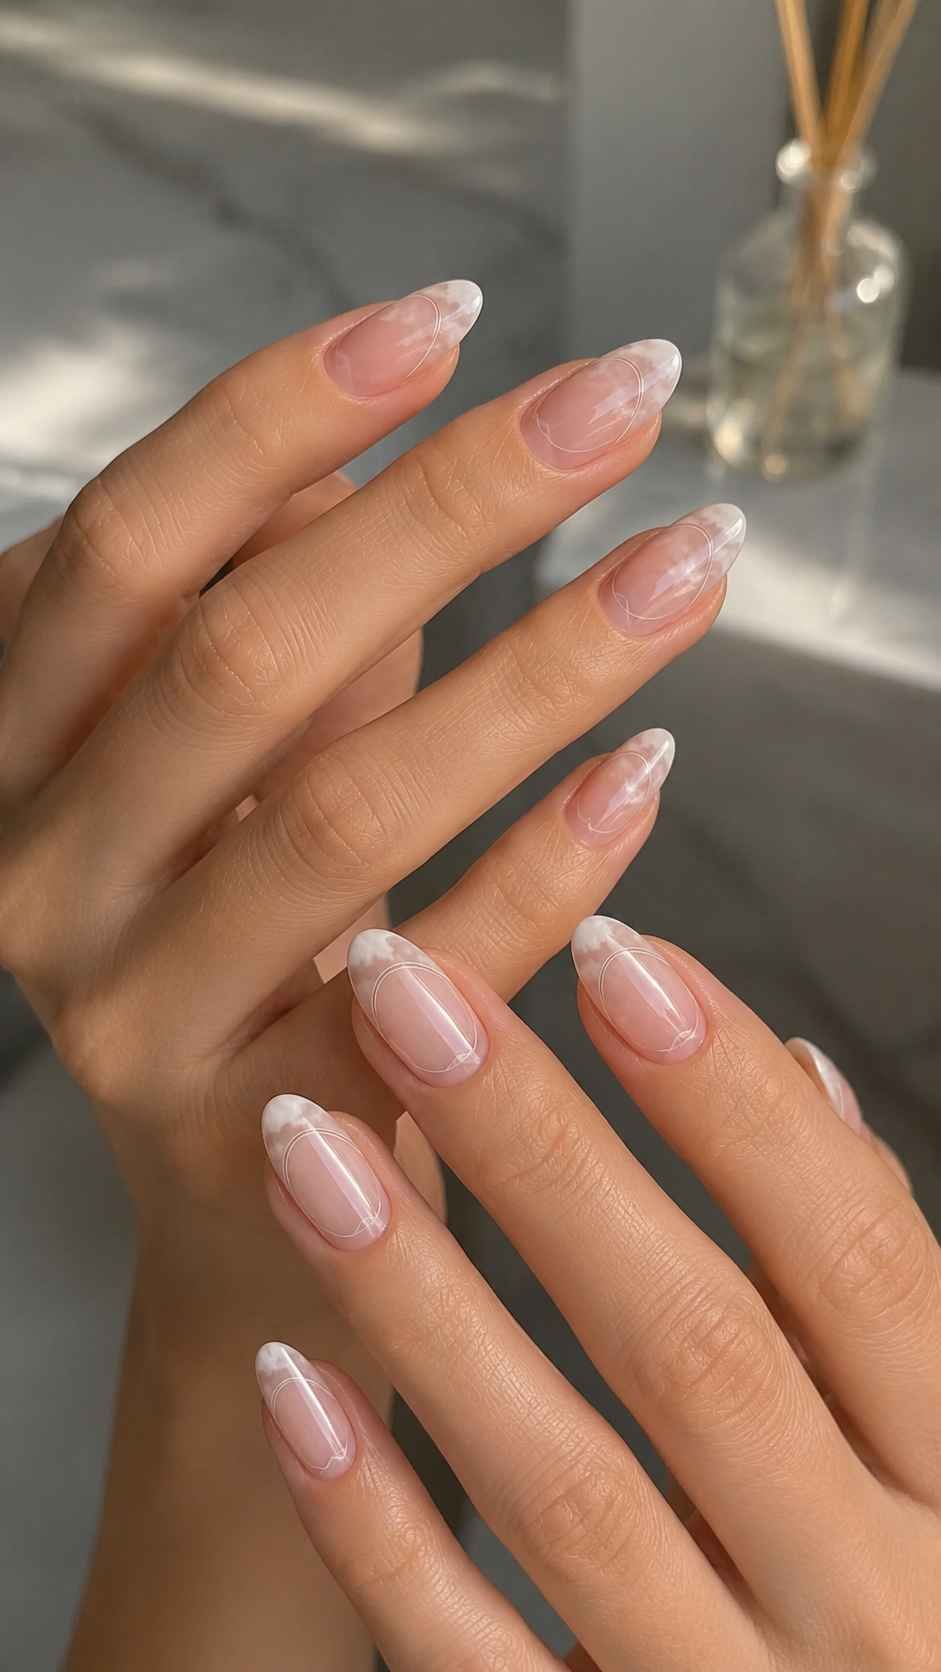
Draw another fine line just below the main French edge, leaving a slim strip of the base visible between both curves. The lower contour can match the tip or add a metallic accent. Keep it lighter than the outer edge so it acts as an echo rather than a competing border. This detail suits oval, almond, and short coffin shapes.
Build Glass Like Depth With Transparent Layers
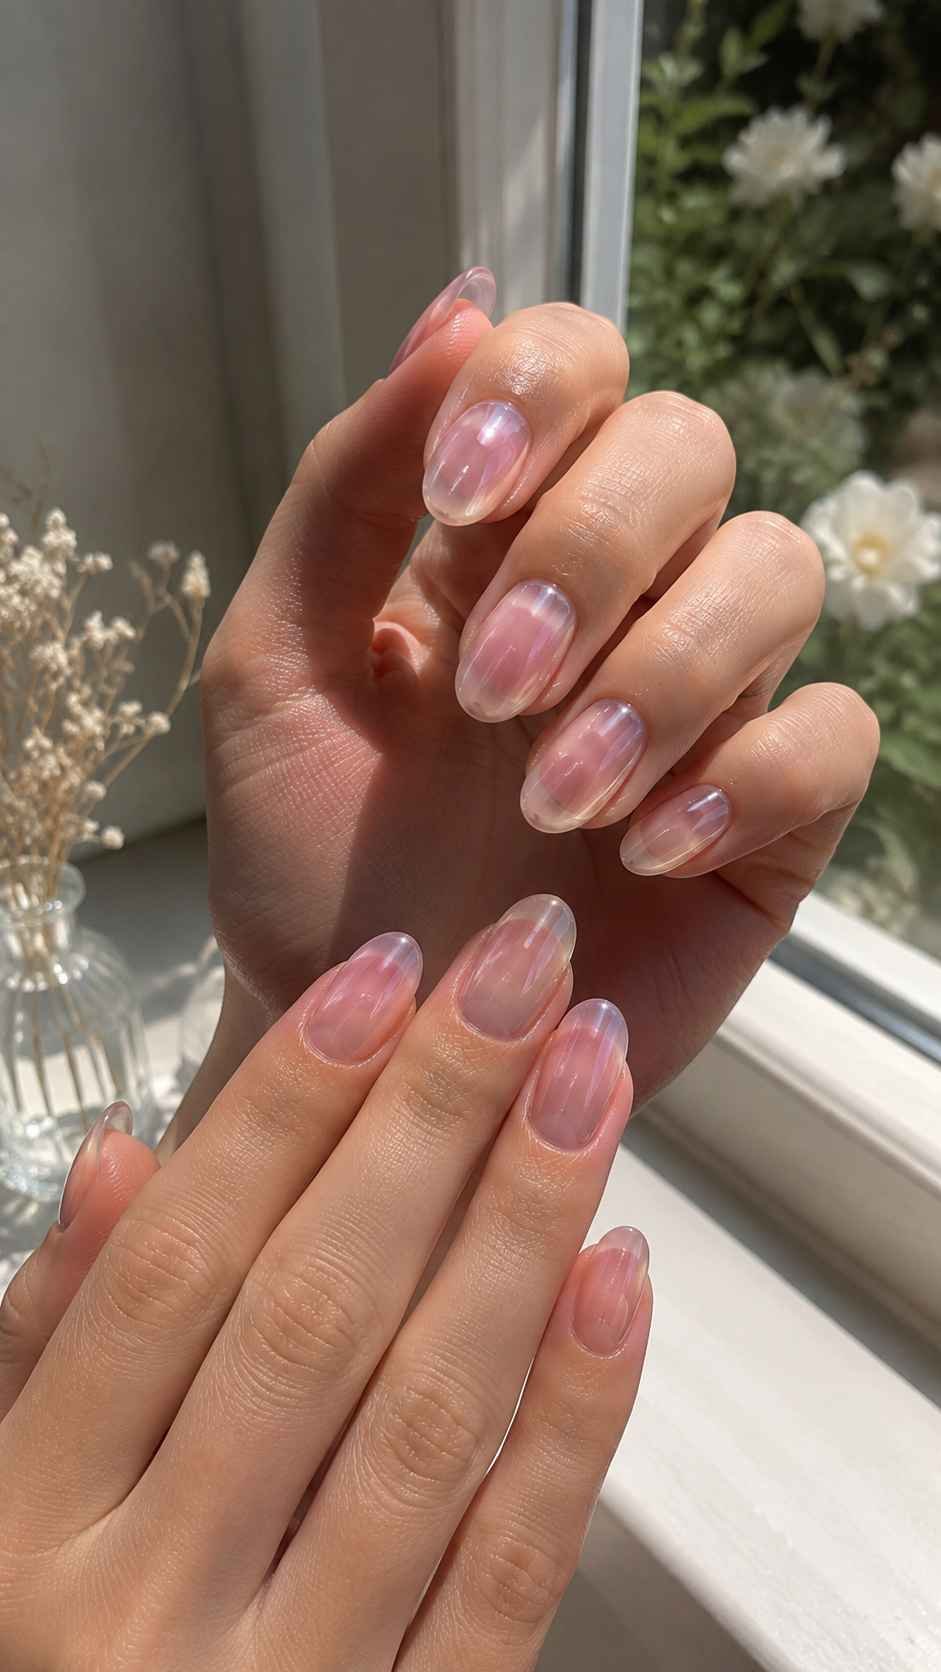
Transparent color creates depth without complicated drawing. Jelly pink, watery blue, soft peach, clear red, and translucent pistachio can be layered until the desired intensity appears. The finish shifts in different light and can make details look suspended. Apply thin coats because excess polish may collect near the cuticle and create an uneven surface.
Layer Two Related Sheer Shades
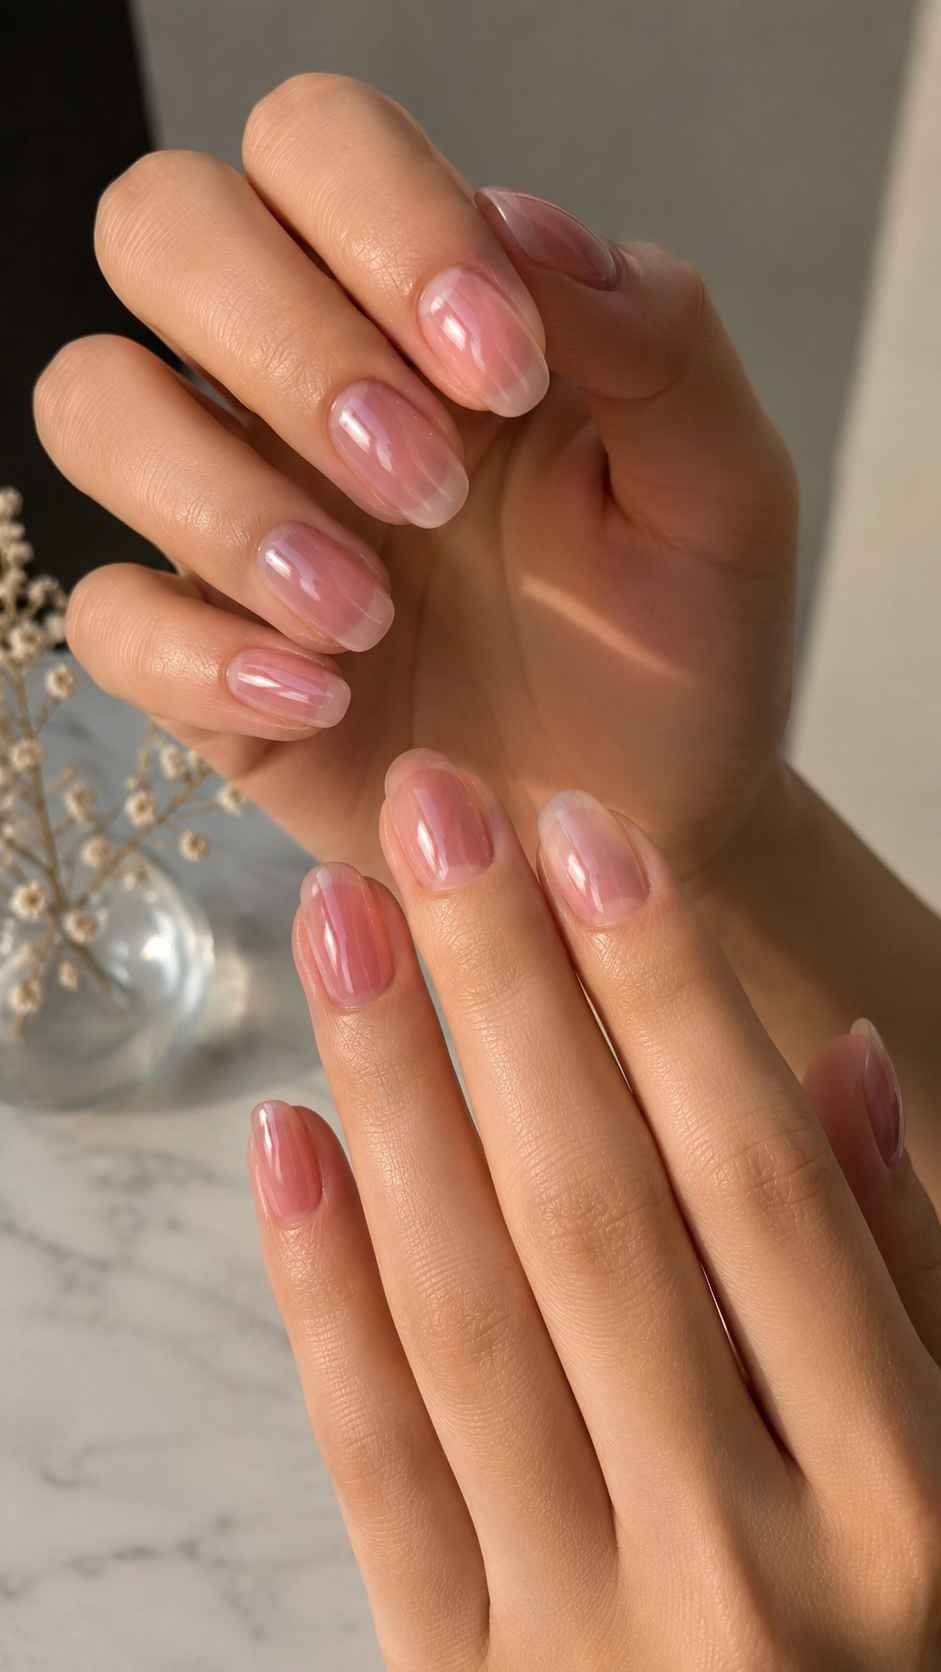
Apply one translucent shade as the base, then place a related color through the center or near the tip. Pink with peach creates a warm fruit glass effect, while blue with mint feels cooler. Blend the meeting point gently instead of covering the entire nail twice. The tonal difference adds dimension, while a glossy top coat smooths the finish.
Float Watercolor Patches Inside
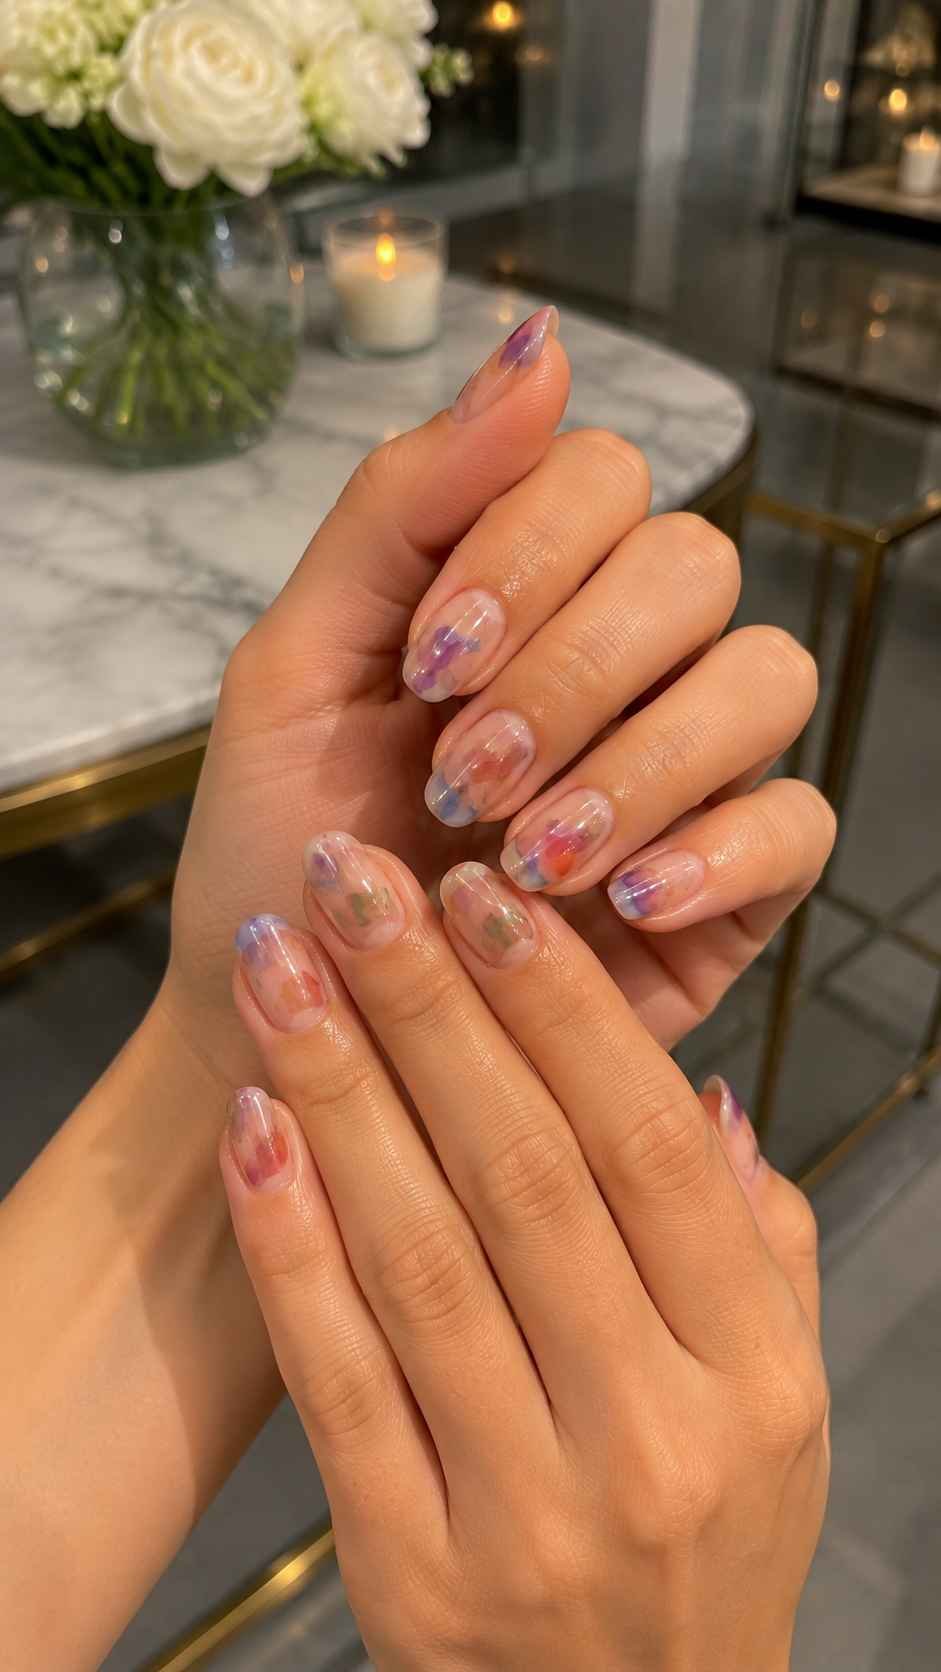
Place soft, irregular patches of diluted color over a sheer base. Lavender with blue, coral with pink, or pistachio with pale yellow can blend beautifully when some areas remain transparent. Use fewer patches on short nails and longer diagonal washes on extended tips. A final translucent coat can soften edges and unify the design.
Leave a Clear Side Window
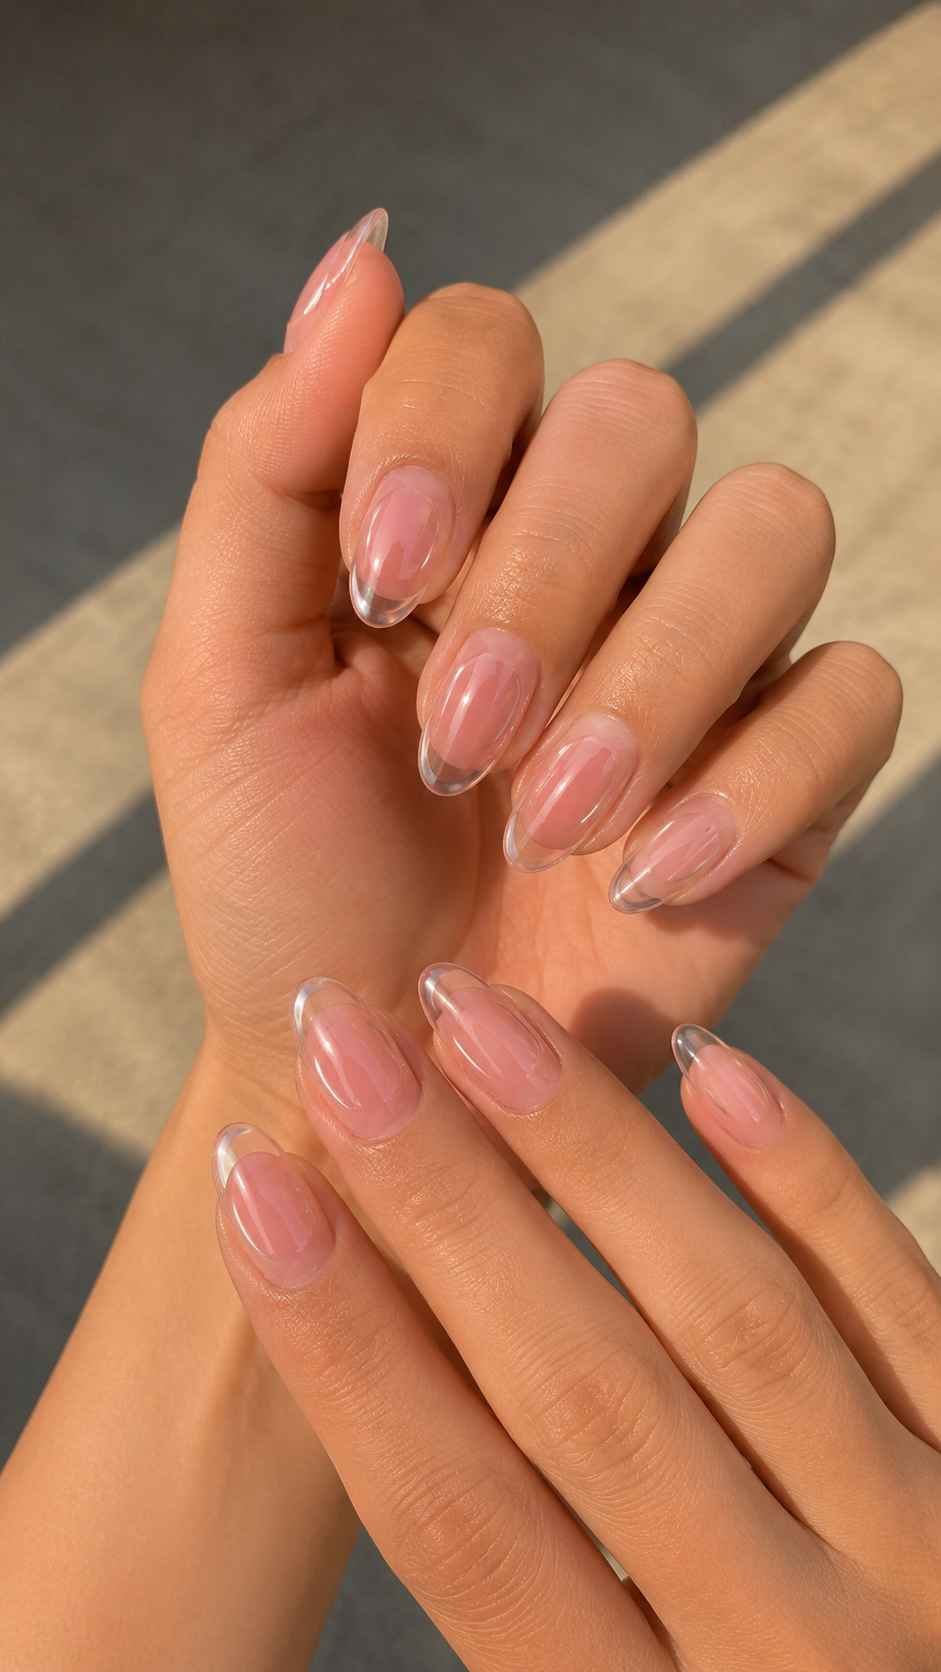
Keep a narrow clear section along one side while placing translucent color across the rest. This window makes the design lighter and can visually narrow a wider nail bed. Follow the natural side wall, then add an optional fine line between the clear and colored sections. Alternate the window direction across fingers to create movement.
Place Bright Color in Controlled Zones
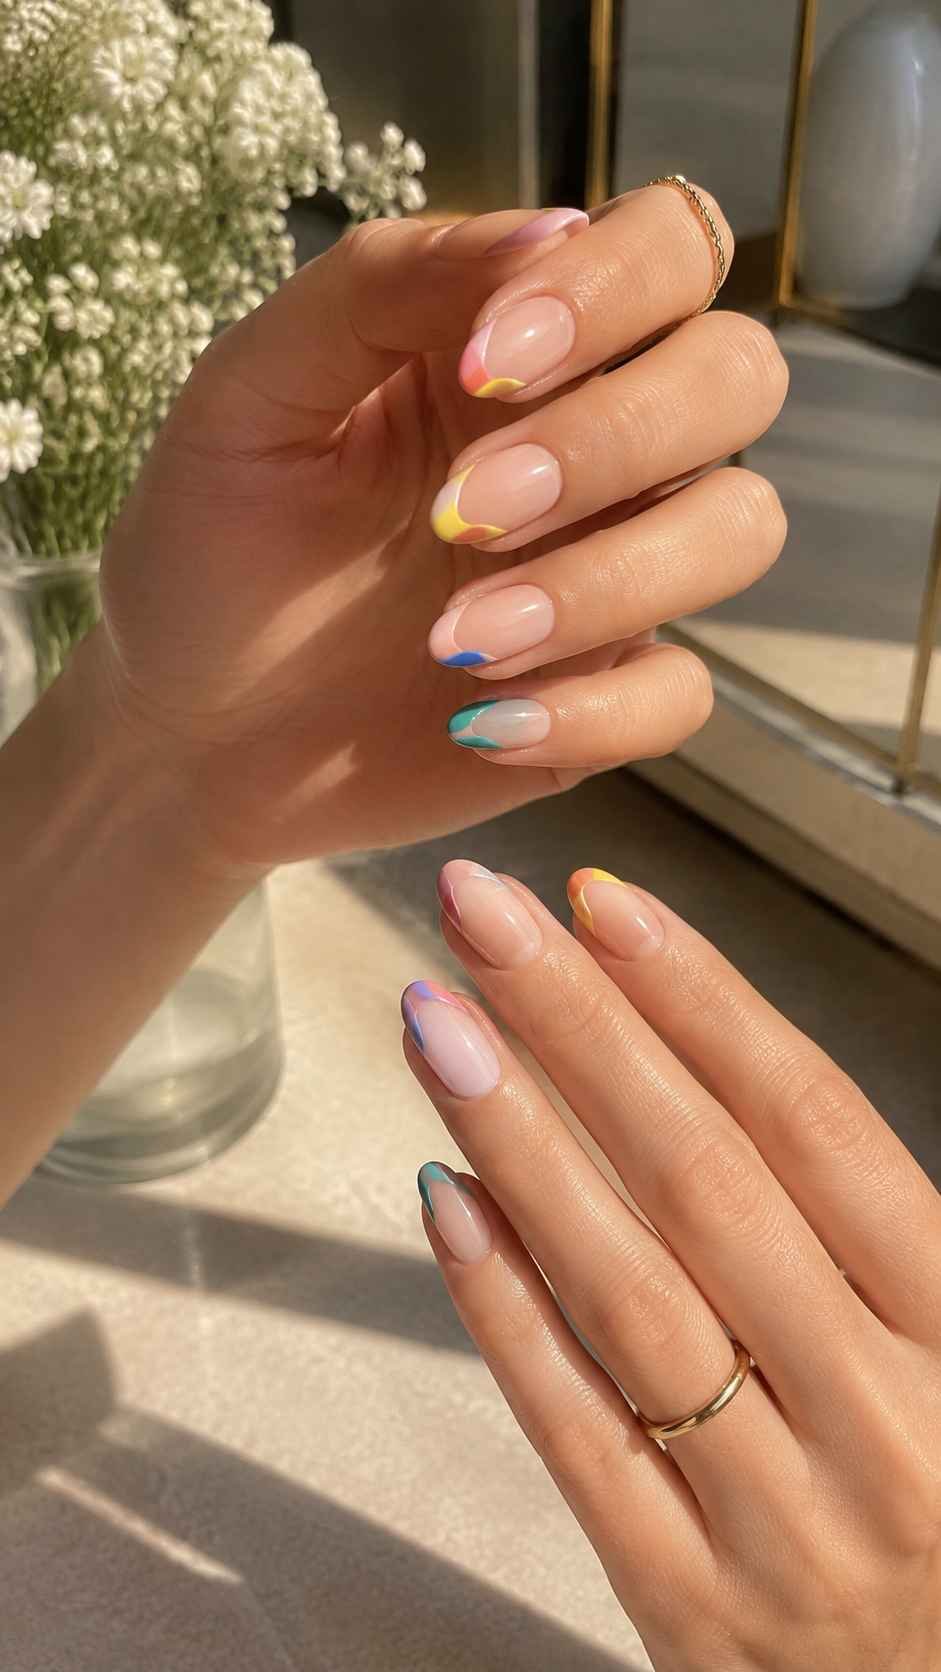
Bold shades become more wearable when they occupy selected areas instead of covering every nail. Cool red, coral, marigold, pistachio, turquoise, and vivid purple can energize a set while a neutral base keeps it balanced. Vertical color encourages length, corner accents create movement, and a concentrated tip strengthens the outline.
Paint a Vertical Color Ribbon
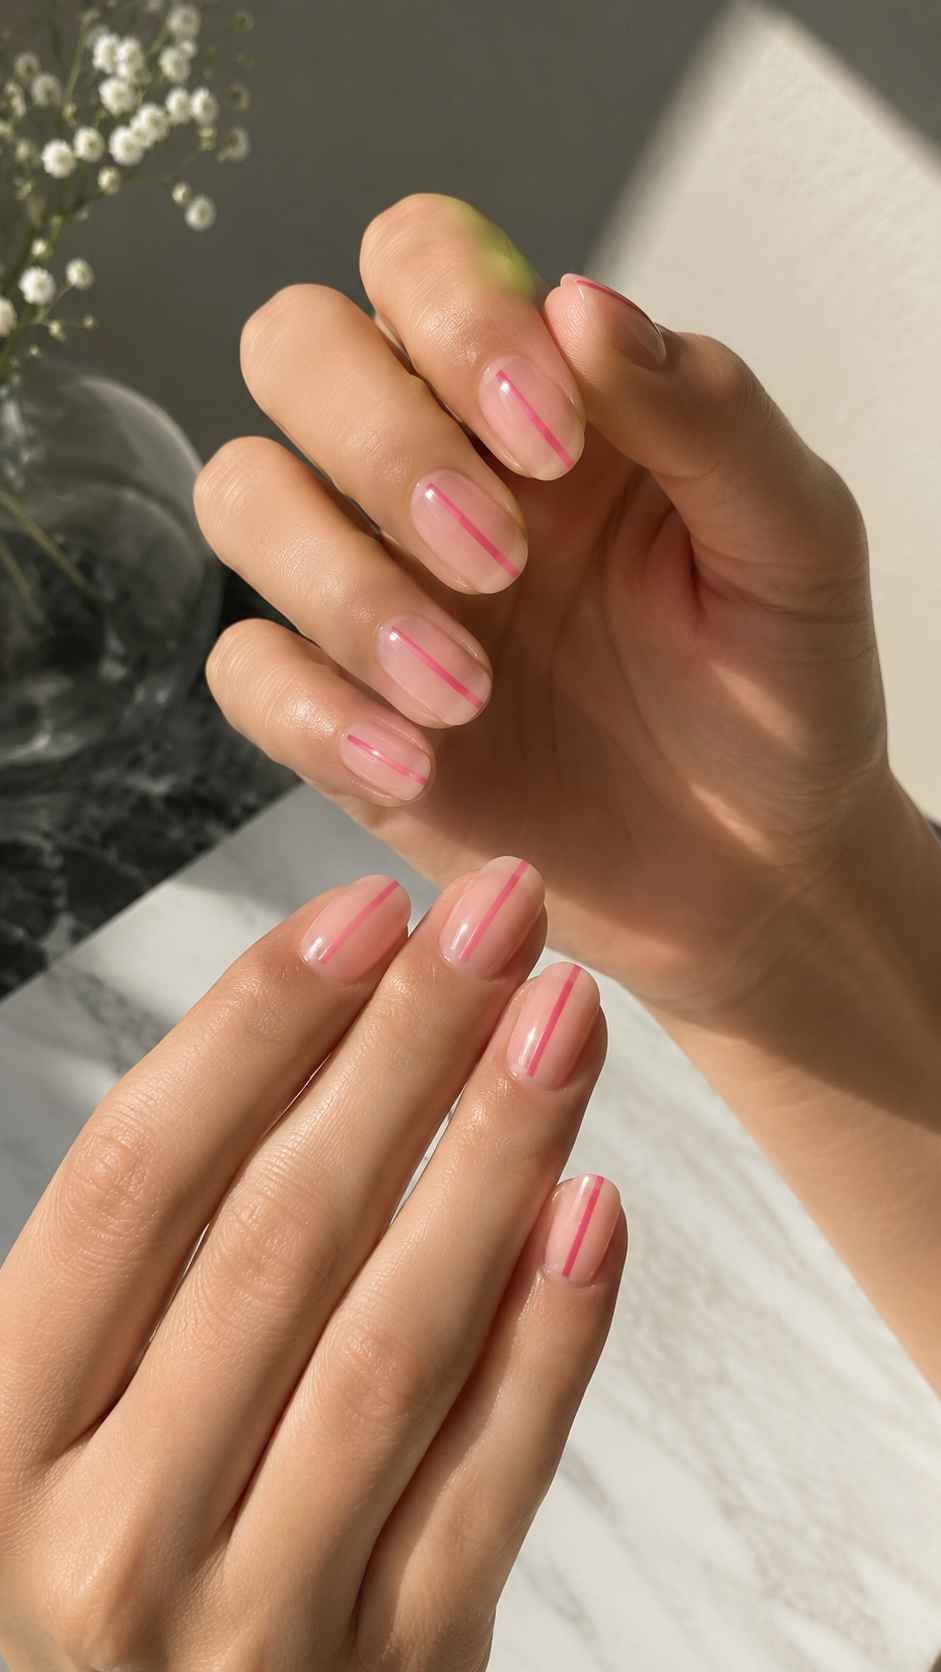
Create a slim strip from near the cuticle toward the tip, leaving a neutral border on both sides. This direction can make short square or rounded nails appear longer. Center the ribbon for symmetry or shift it sideways. Butter yellow over beige feels playful, while cool red over translucent pink creates stronger contrast.
Concentrate Color in One Corner
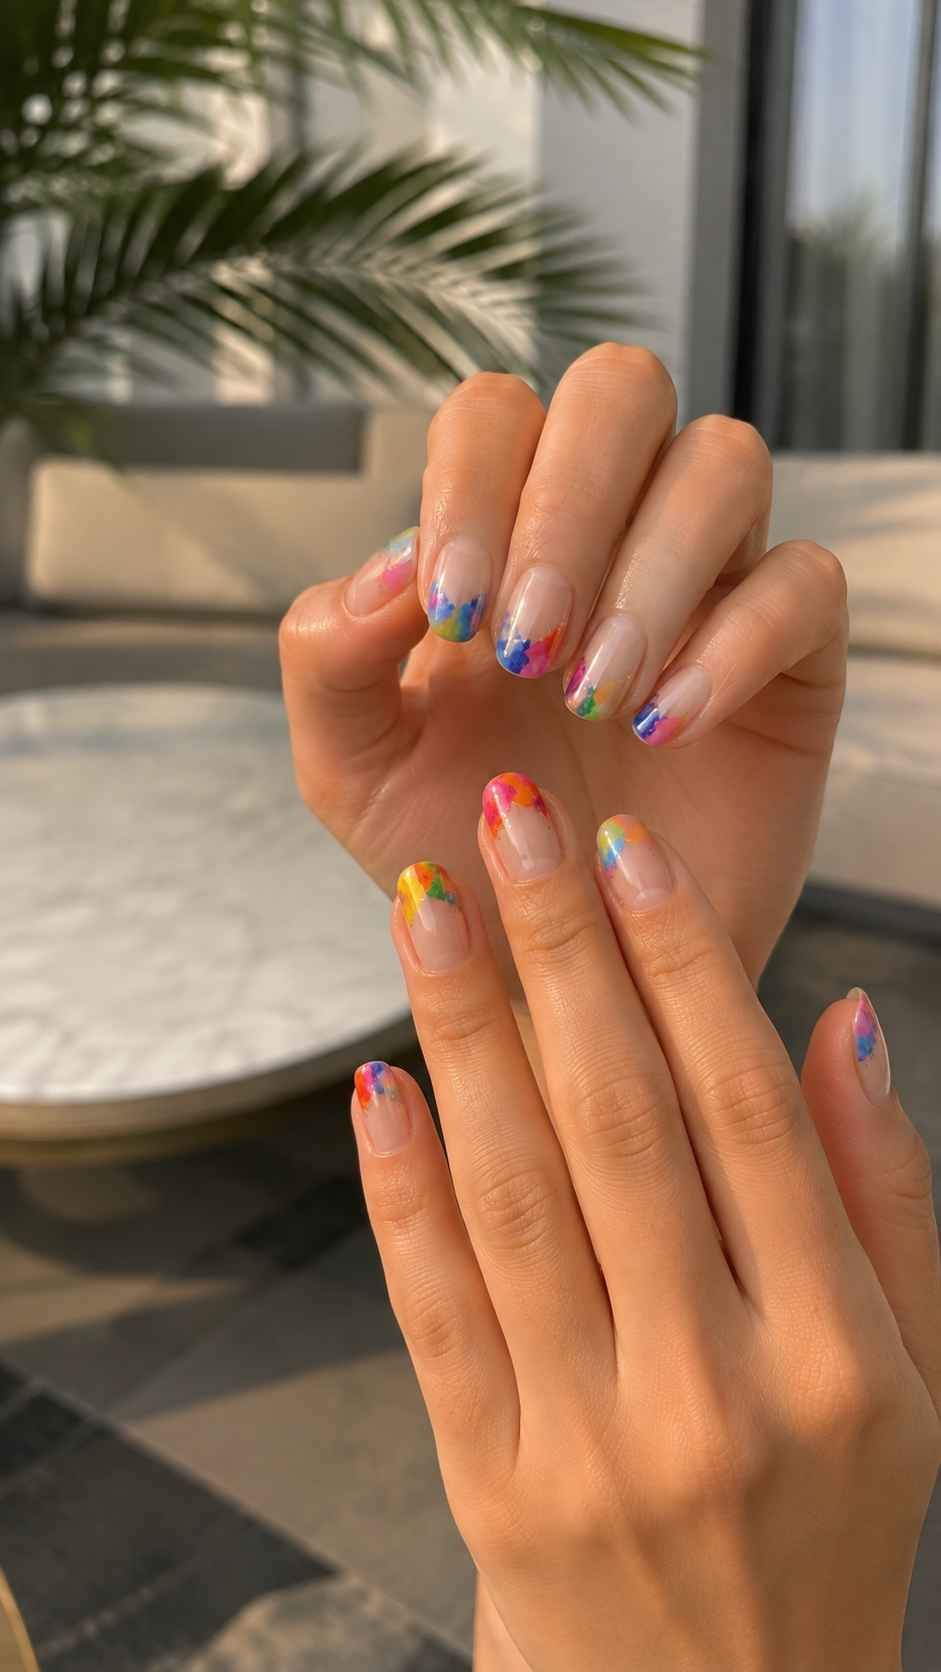
Paint a curved section of color in the upper corner and vary its direction from nail to nail. Watery blue, pistachio, coral, and lavender remain clear against sheer pink or nude bases. Keep the shape softly rounded. Repeat it across the set, or use it on three fingers with solid polish on the remaining two.
Give Each Hand Its Own Tip Color
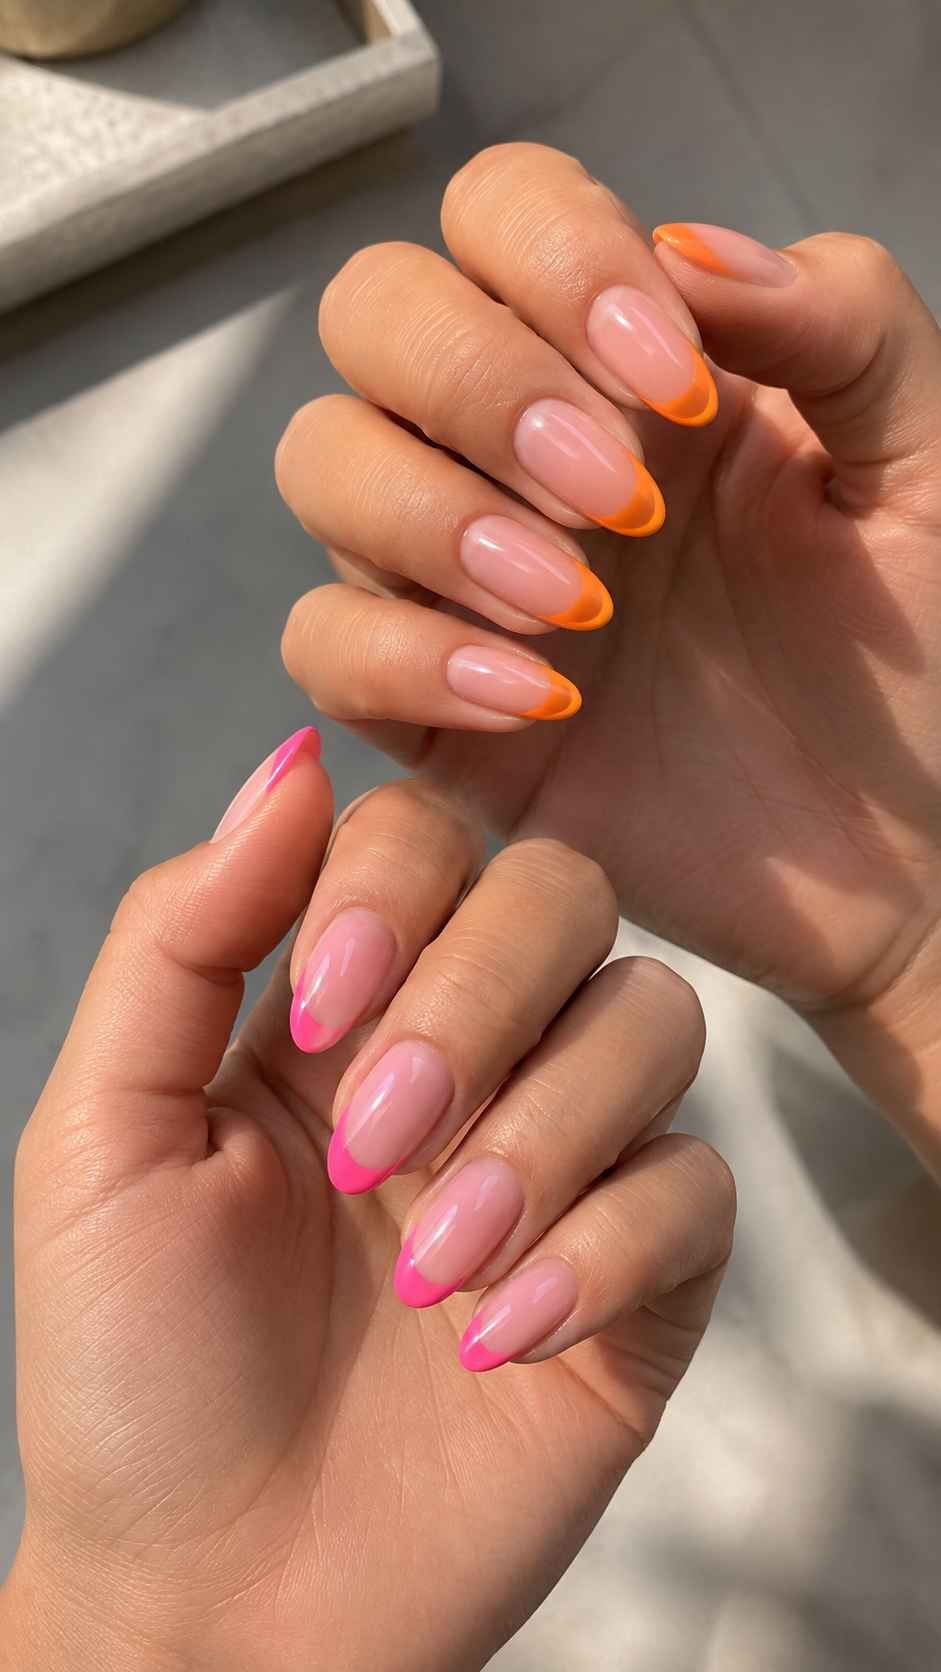
Choose one vivid edge color for the left hand and a related shade for the right. Tomato red with coral pink or turquoise with pistachio creates an intentional pairing. Keep the base, shape, and line thickness identical so both hands still belong to one manicure. This creates contrast without placing several colors on every nail.
Add Texture Where It Improves the Shape
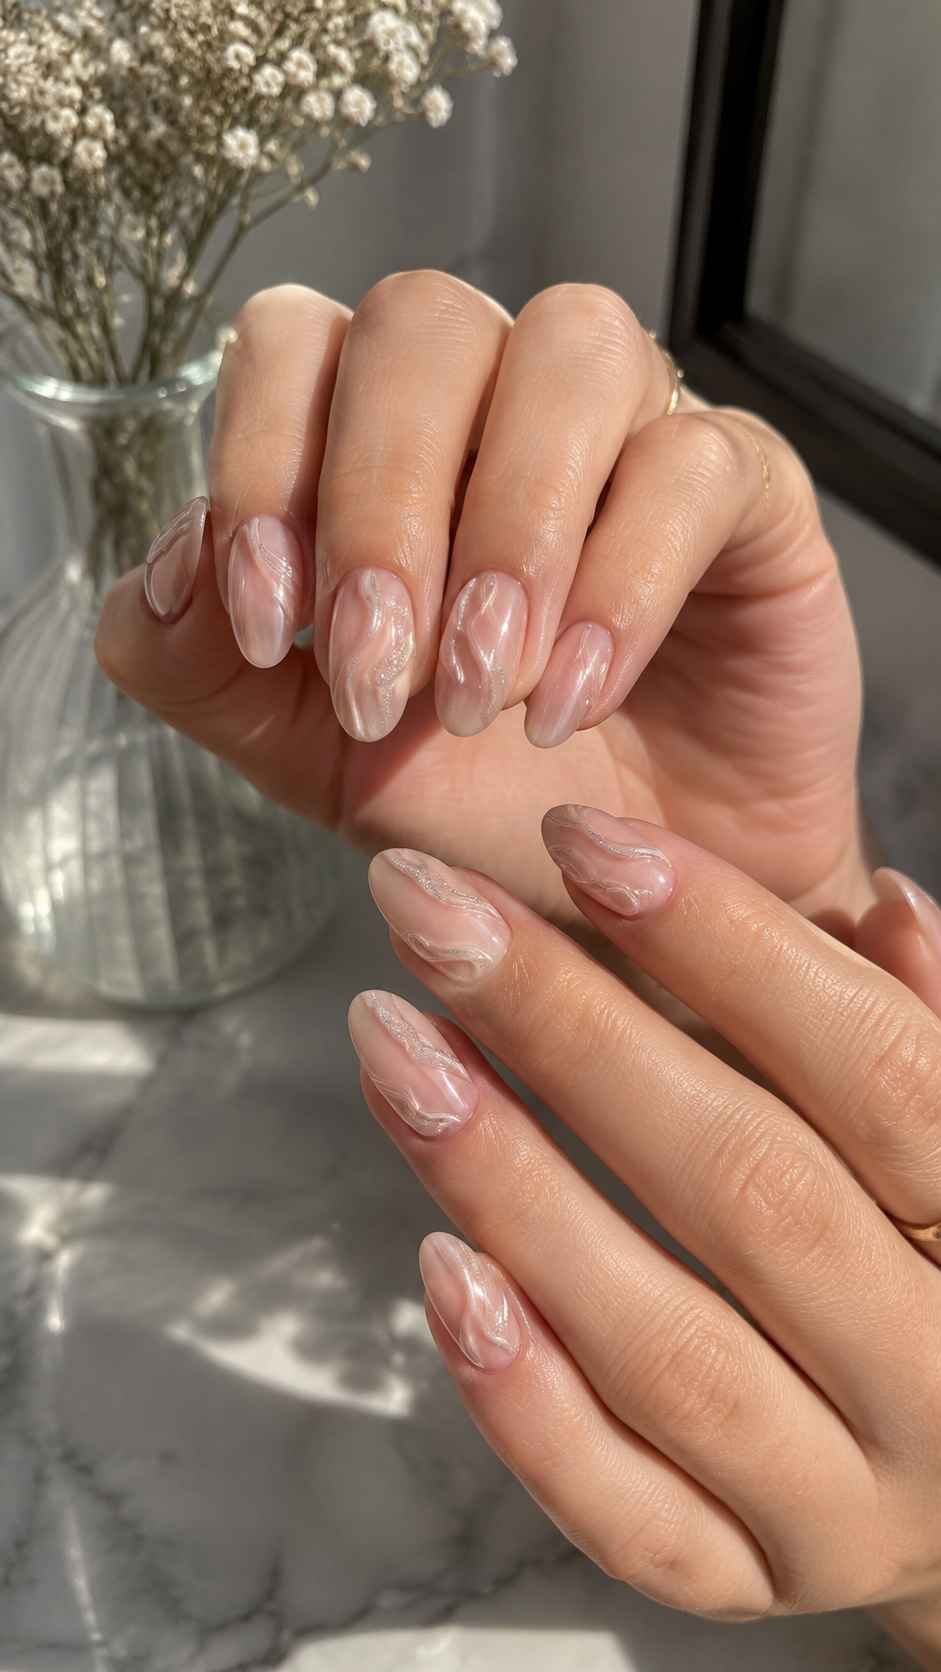
Texture works best when it follows the nail outline instead of covering the whole surface. Raised clear lines, miniature pearls, fine shimmer, and soft ridges can direct the eye while adding dimension. Vertical placement lengthens, curved placement softens square tips, and low accents preserve a clean edge. Restricting texture keeps the manicure practical and less likely to catch.
Follow the Length With Clear Ridges
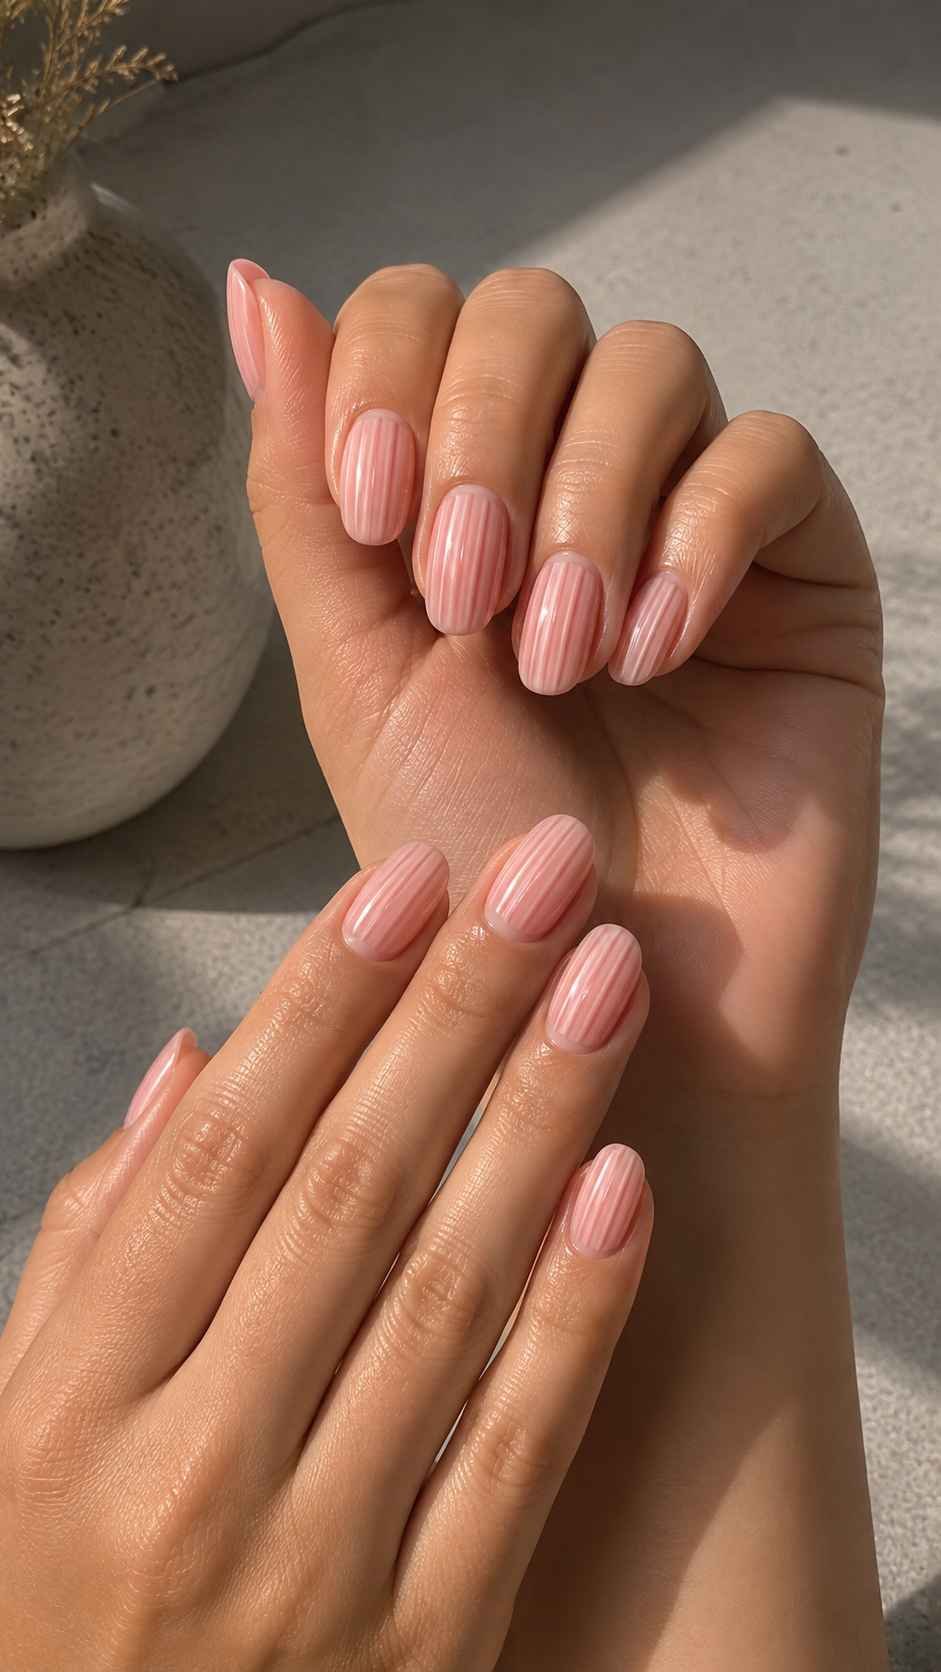
Apply two or three narrow clear gel ridges from the lower nail toward the tip. They catch light without introducing another color and look striking over mint, cloud white, milky pink, or a bare base. Angle them toward the center on almond nails and keep them straighter on square shapes. Thin, smooth ridges appear polished rather than bulky.
Frame One Cuticle With Tiny Pearls
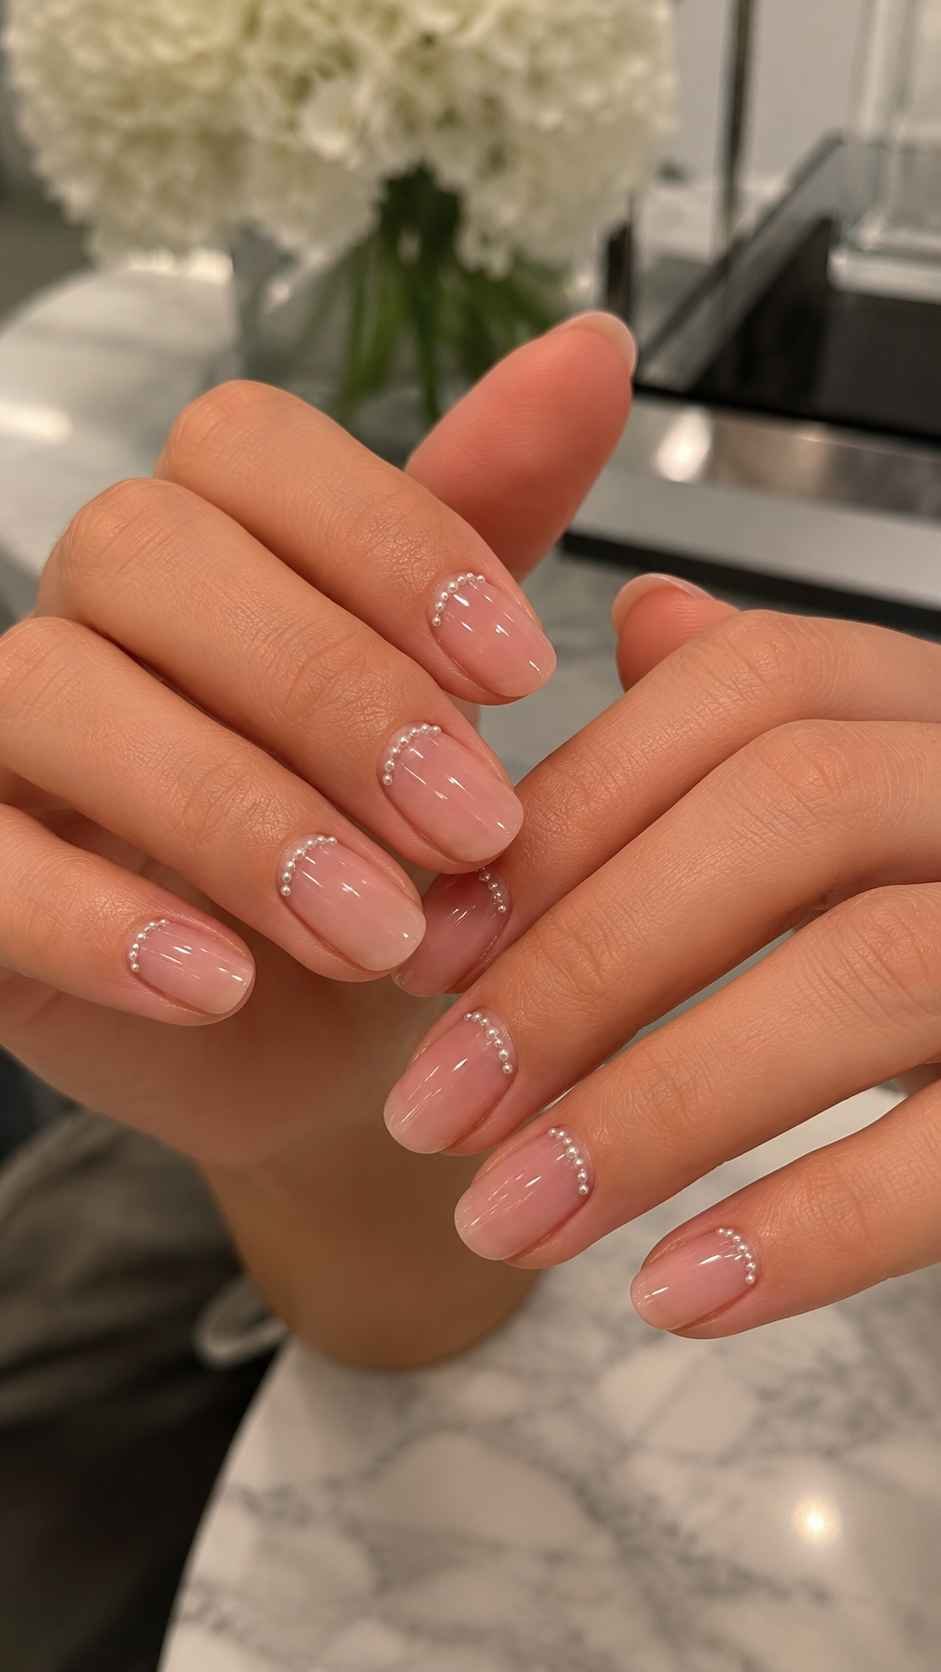
Arrange miniature pearls in a short curve above the cuticle on one accent nail. Follow the natural cuticle shape and leave space from the skin. Repeat one pearl on another finger to connect the design. A translucent white, frosted pink, or soft peach base keeps the detail delicate while the low placement visually extends the nail.
Press Shimmer Into a Side Curve
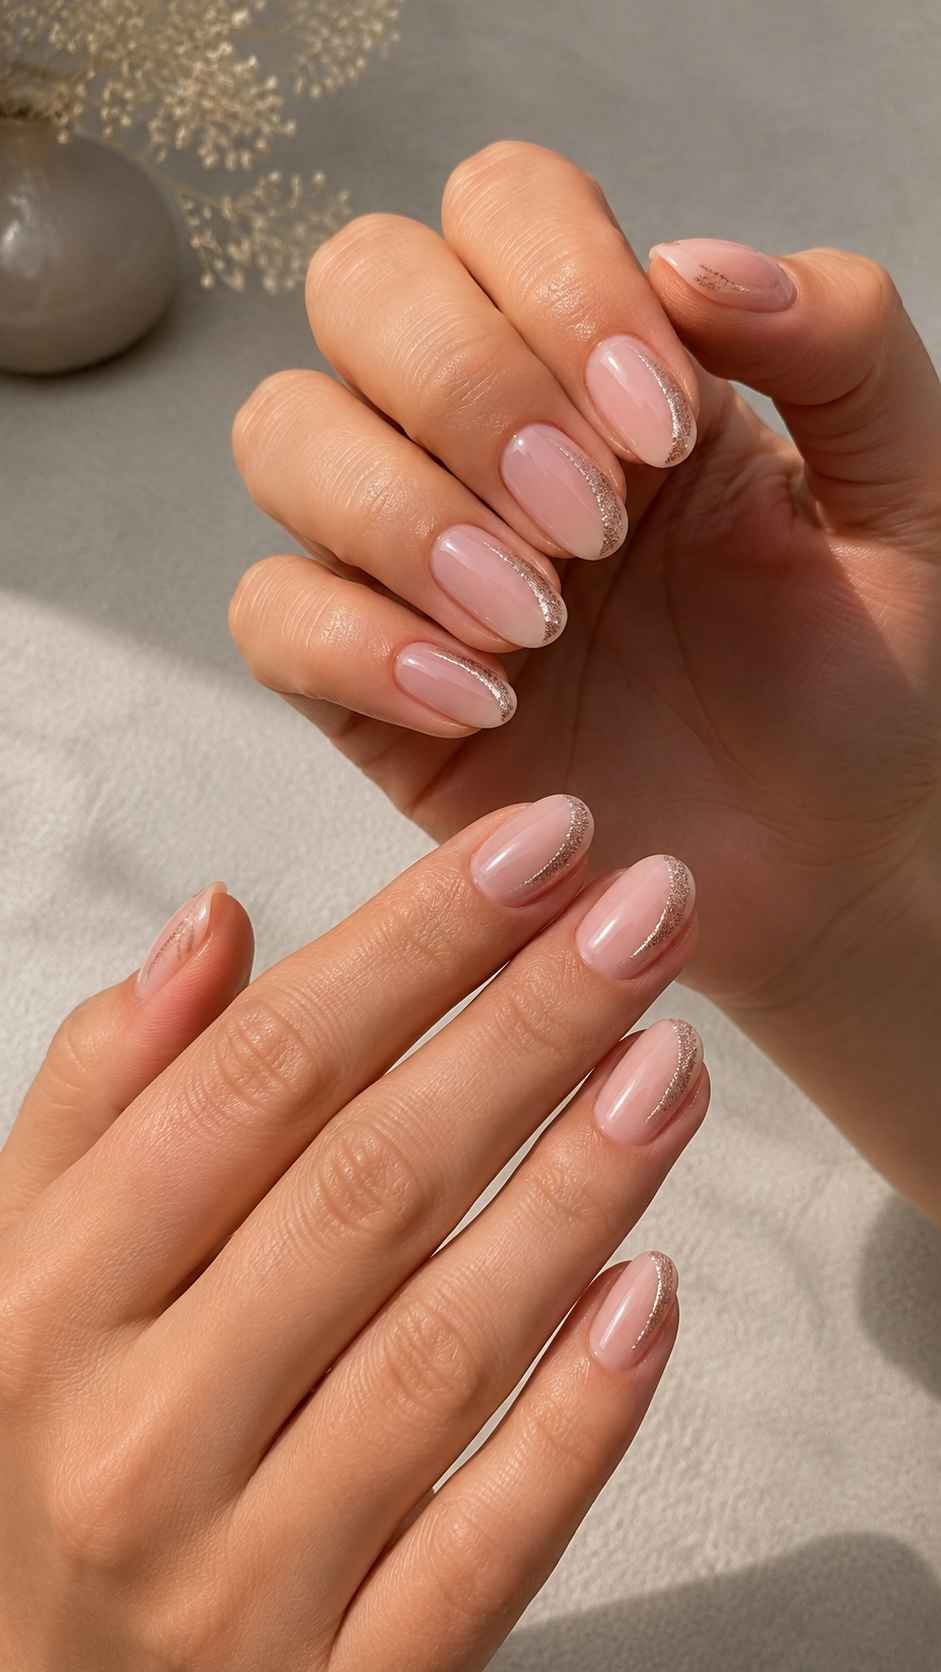
Concentrate fine shimmer in a narrow curved section along one side instead of spreading it everywhere. Begin near the lower corner and fade the particles upward. Silver works with watery blue or white, while rose gold complements peach and milky pink. The controlled sparkle catches light while keeping the base and edge visible.
Let Better Details Lead Your Next Nail Look
Memorable manicures do not require the longest extensions, brightest polish, or largest decorations. They need a clear plan, a flattering shape, and details placed with purpose. Use these nail tips as a starting point, then adjust the colors, length, and finish to suit your hands and style. A cloudy French edge can become softly colored, transparent layers can hold watercolor patches, and short natural nails can look striking with one precise accent. Explore related articles on popular nail colors, nail shapes, short nail designs, manicure preparation, and creative nail art for even more ways to plan a complete look.
