
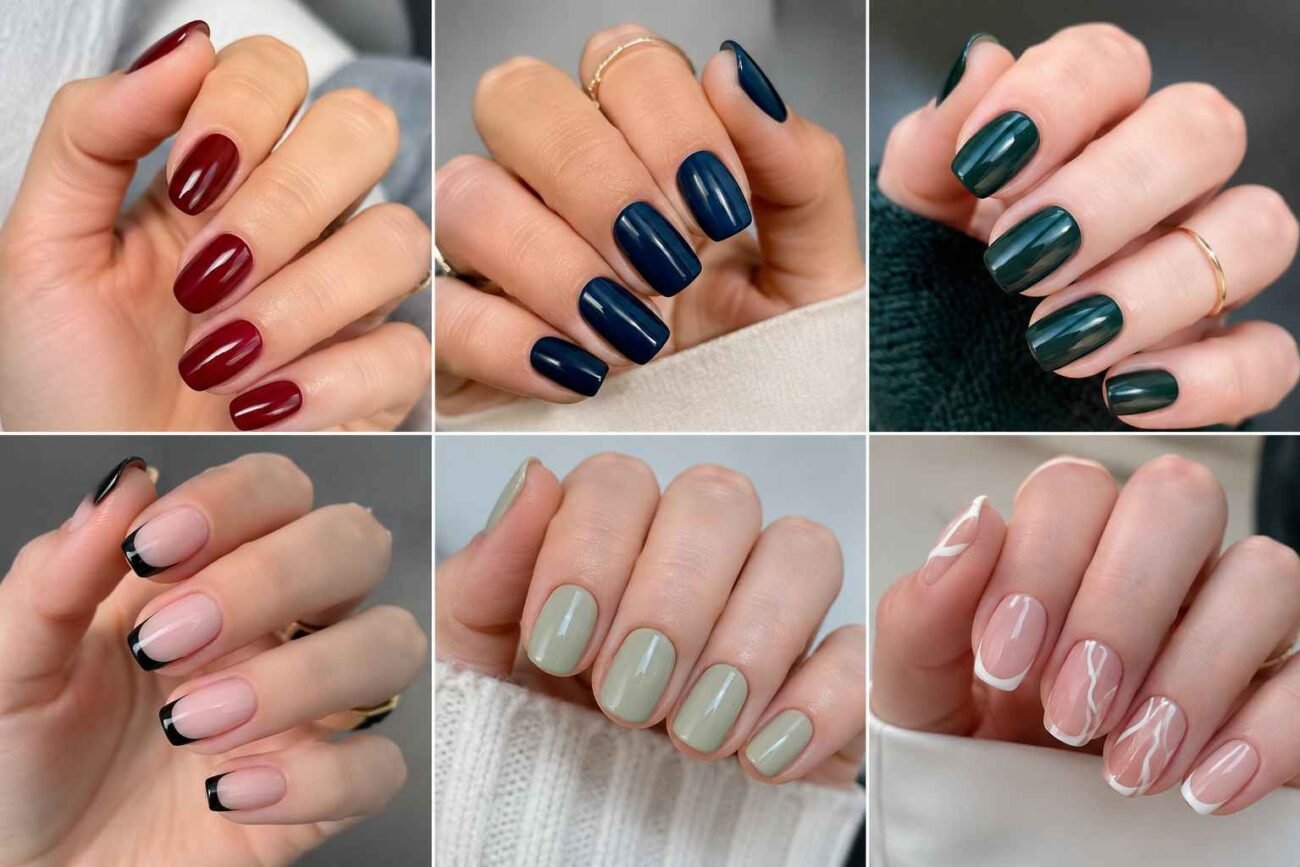
Regular nail polish designs can look current without gel, extensions, lamps, or difficult salon tools. The best ideas begin with thin coats, patient drying, and balanced color pairings. Sheer tints, clean lines, playful dots, frosted pearls, and softly blurred color are shaping manicure inspiration.
Short natural nails work beautifully because these designs depend on proportion rather than dramatic length. The six directions below are made for ordinary lacquer, so every look can be changed easily. Choose one complete design or borrow a detail for a manicure that feels original and carefully finished.
Sheer Tint Layers With a Fresh Glassy Finish
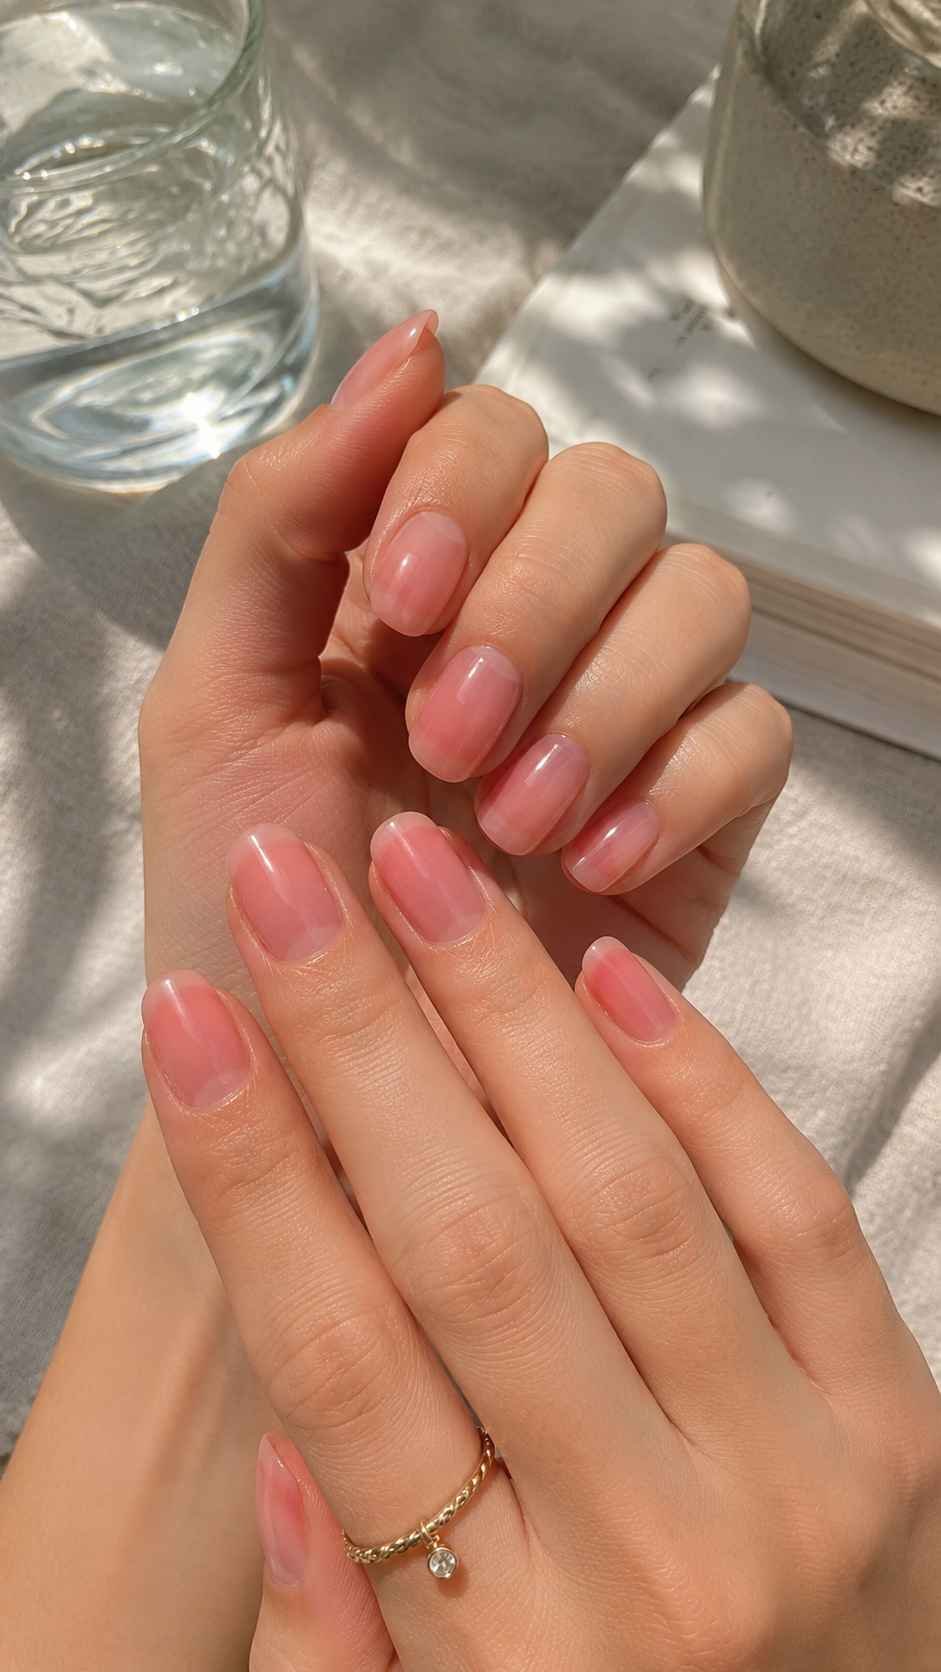
Translucent color makes regular polish look modern because the natural nail remains visible. Current sheer styles range from milky skin enhancing shades to brighter jelly tones. Apply one thin coat, then add color only where depth is needed. Guava pink, watery blue, cherry syrup, pale apricot, and soft cocoa keep the finish lively and wearable.
Build a Guava Watercolor Wash
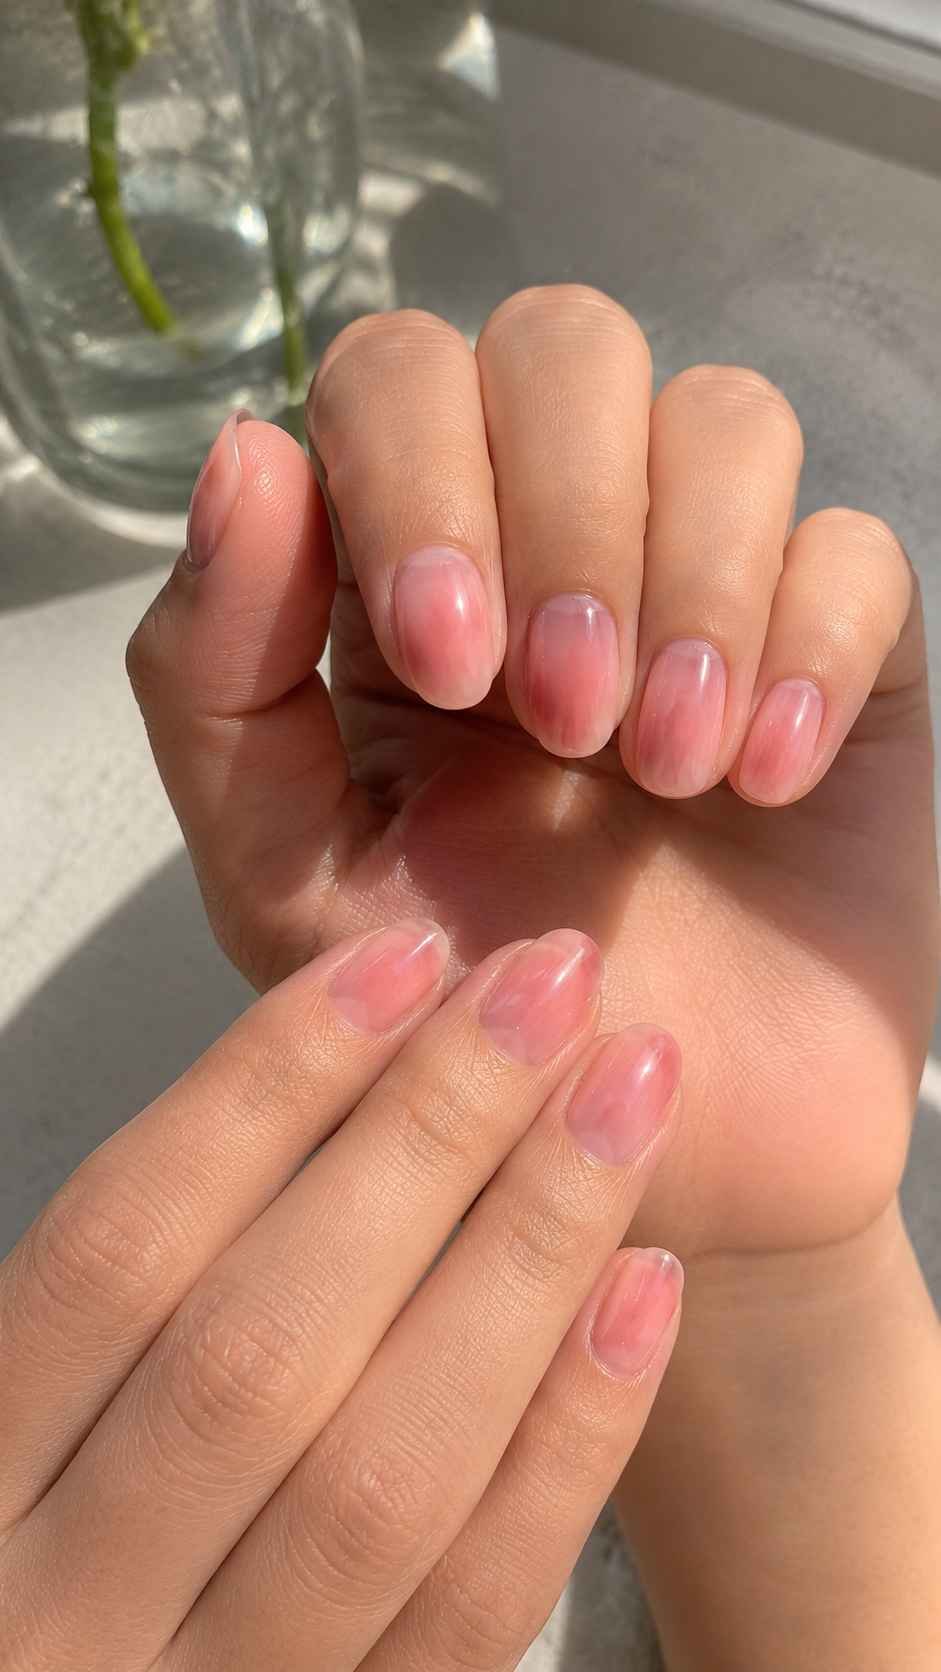
Start with transparent guava polish, then place a second irregular patch near one side of each nail. Use little product so the edge looks diffused. Clear top coat softens the boundary and makes the layers appear suspended. Change the placement on every finger while repeating the palette for balance. Short oval nails suit this watercolor effect especially well.
Create Cherry Syrup Gradient Tips
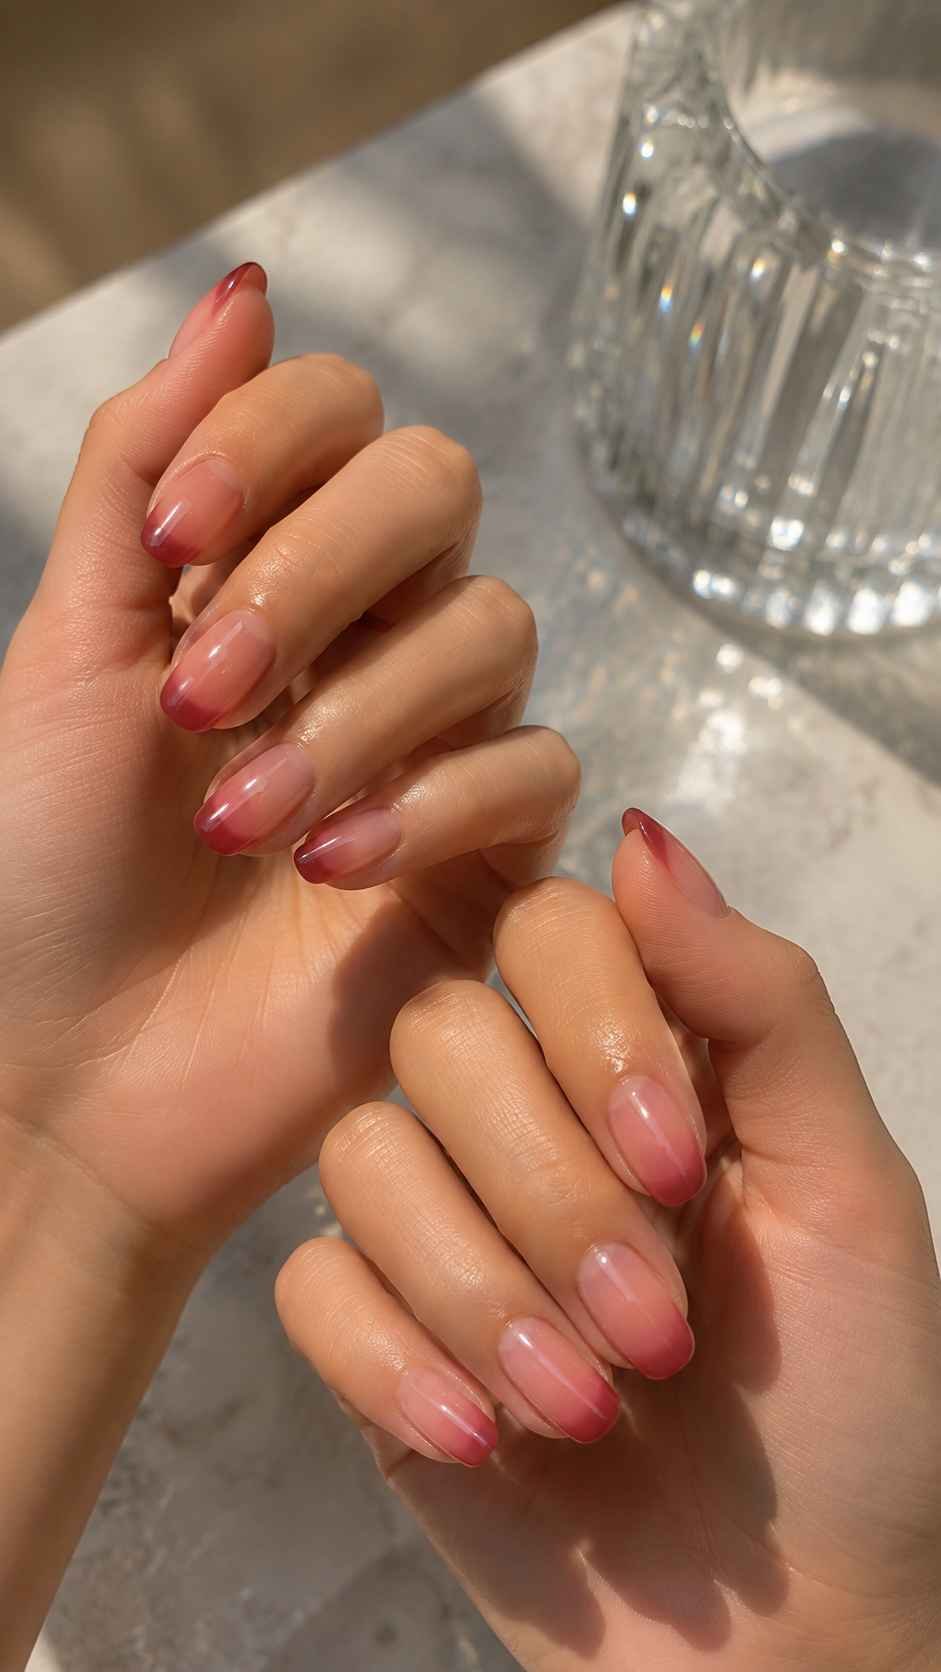
Paint one sheer cherry coat over the nail, add another across the upper third, and place a final narrow layer at the tip. The gradual richness resembles stained glass rather than a solid French manicure. Cherry, blackcurrant, raspberry, and cola brown create sophisticated gradients. Clean the side edges before top coat so the translucent finish appears precise.
Mix Clear Blue With Soft Peach
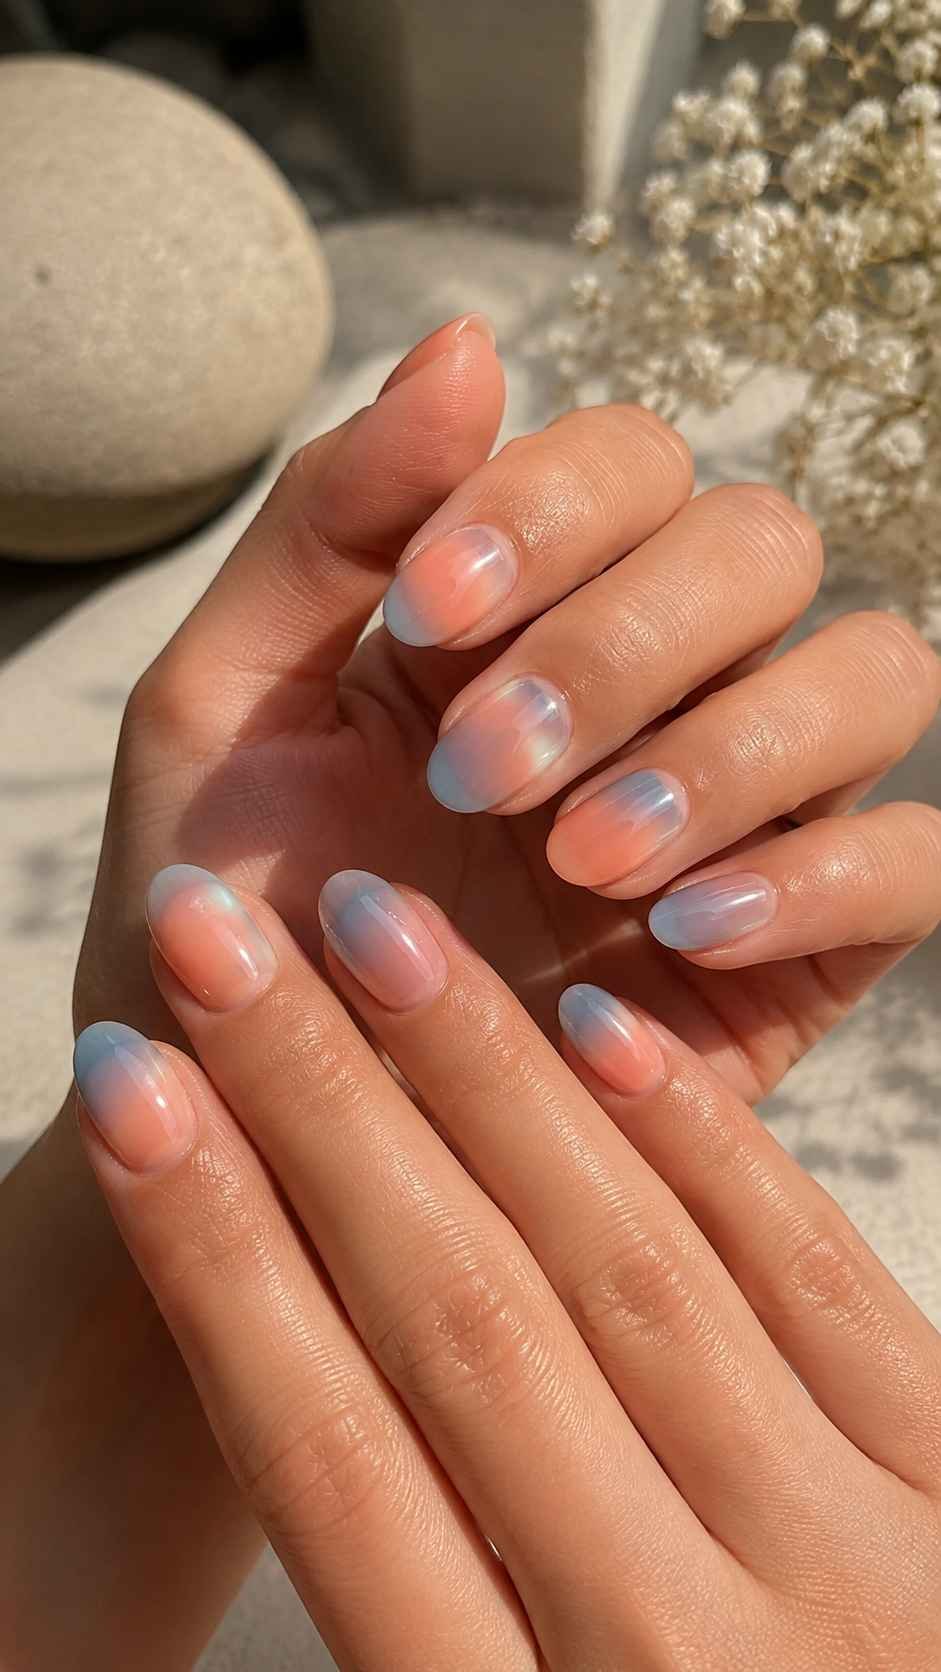
Alternate transparent aqua and pale peach nails, then overlap a small amount of the opposite shade near one corner. The meeting point forms a subtle third color. Keep each overlap narrow so the result remains airy. This pairing looks fresh beside denim, white clothing, coral accessories, and simple silver jewelry without depending on glitter.
Slim Line Designs That Visually Lengthen the Nails
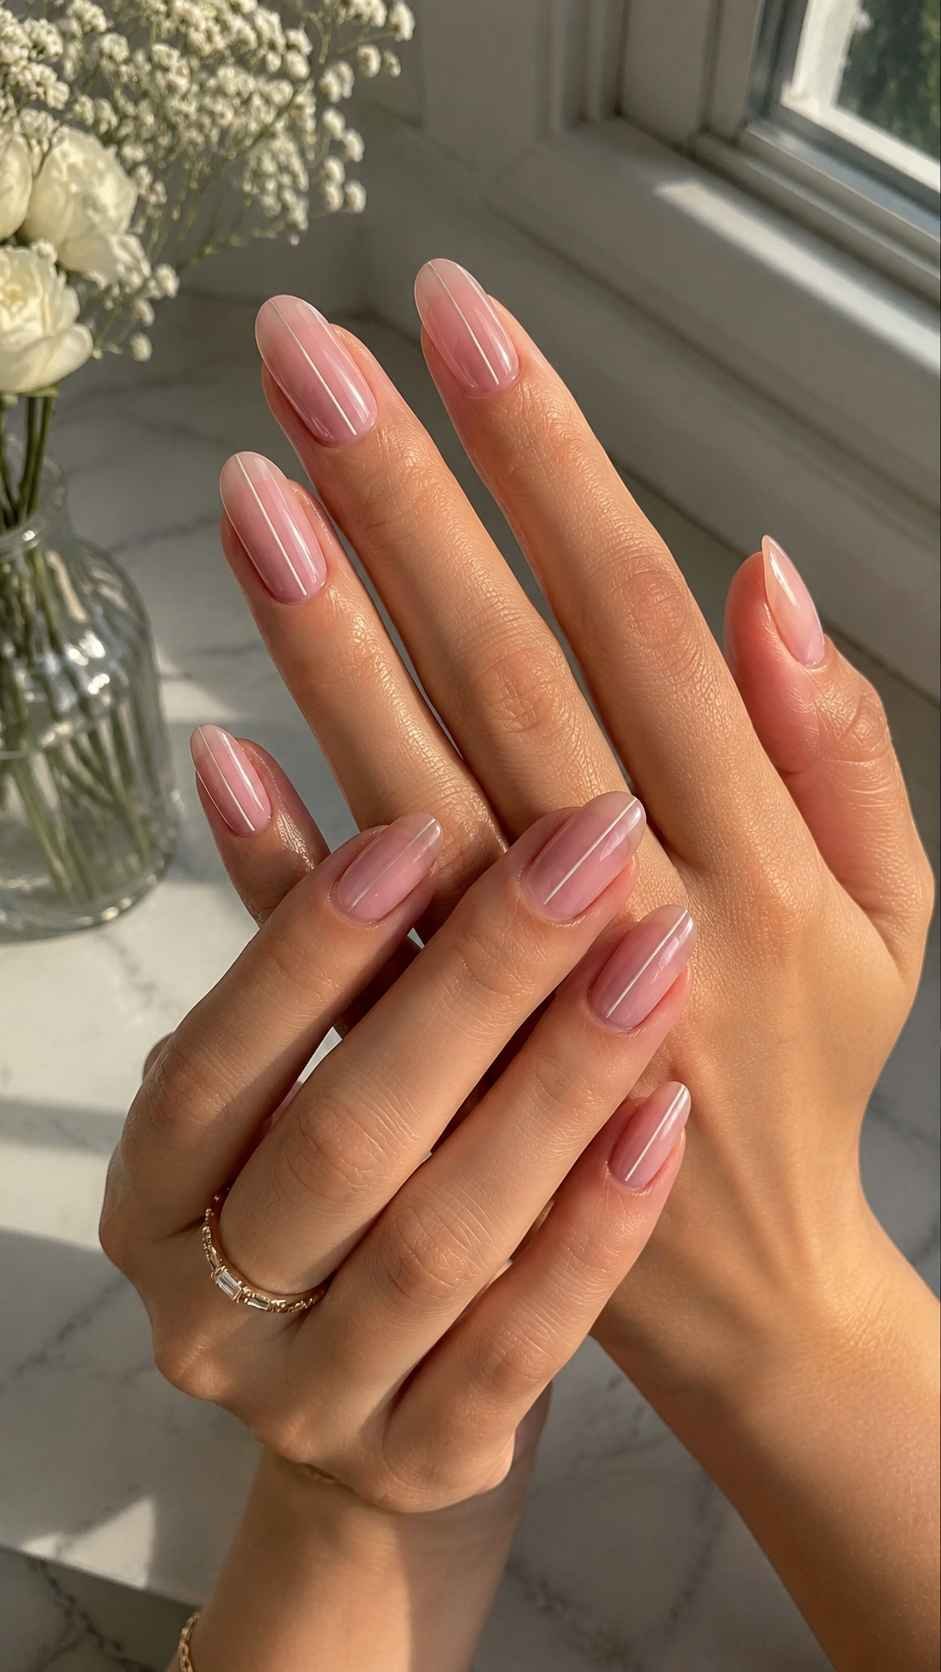
Fine linear details make regular polish feel precise while using little product. Vertical line work looks clean, intentional, and easy to wear. Let the base dry first, then leave open space around each stroke so the design remains elegant.
Paint One Offset Vertical Ribbon
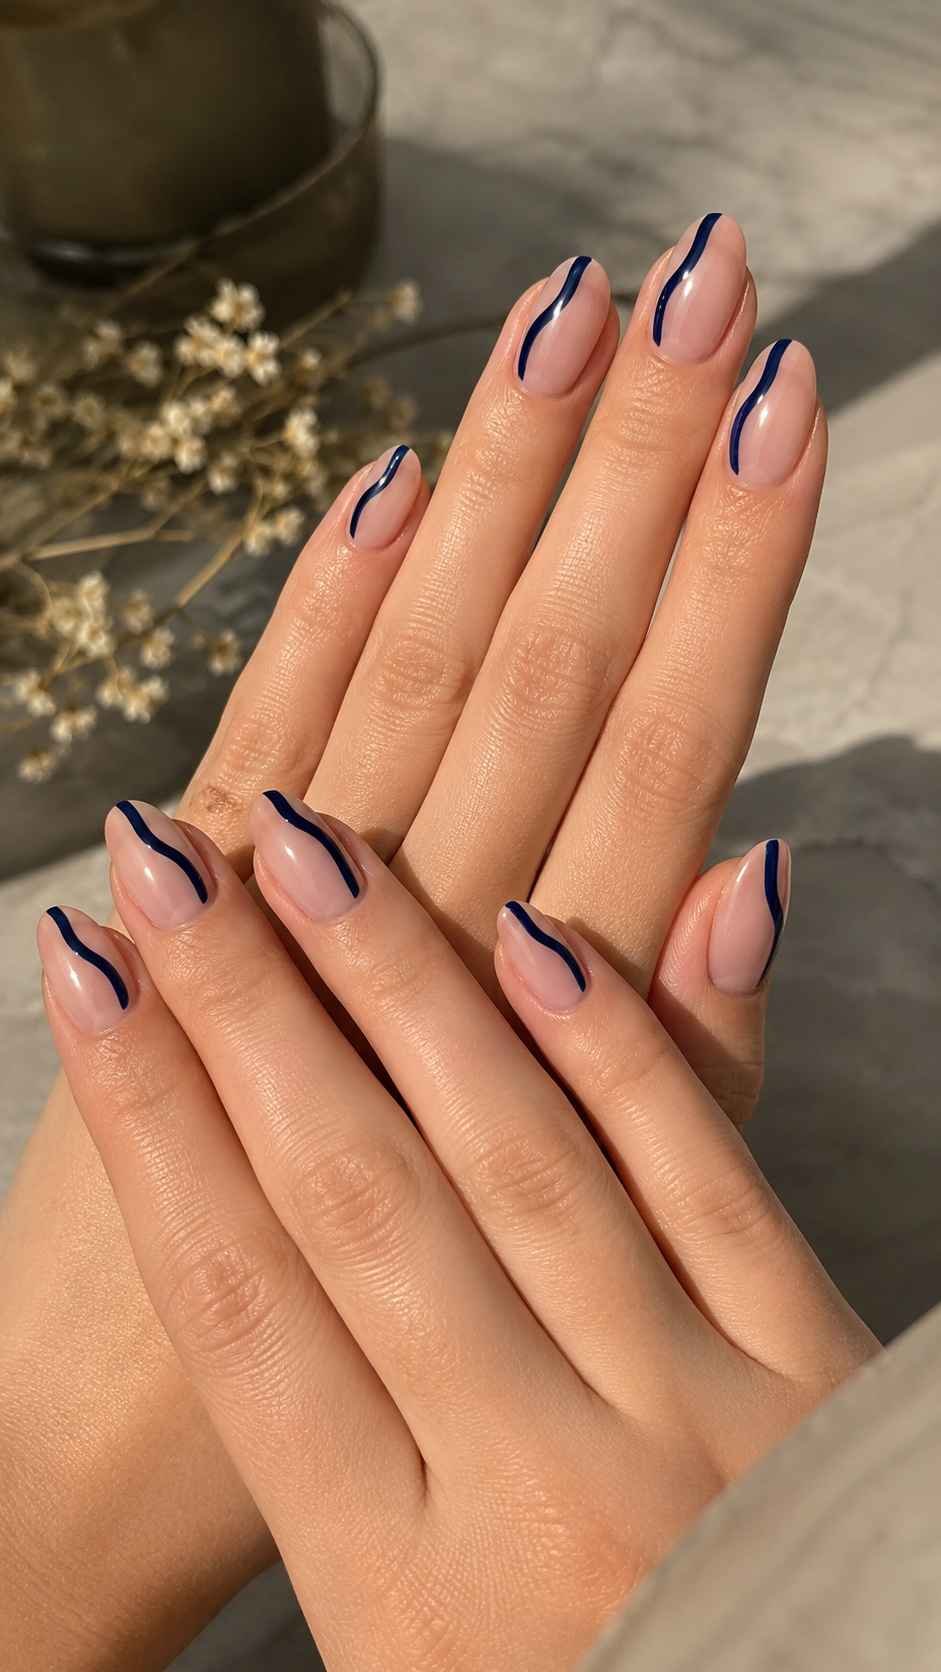
Cover the nails with creamy beige, pale lilac, or muted pistachio, then paint one slim line away from the center. Make it longer on some nails and shorter on others while keeping its position consistent. Navy over beige, poppy red over pink, or white over pistachio creates clear contrast. The upright placement can make compact square nails appear longer.
Add Curved Side Contours
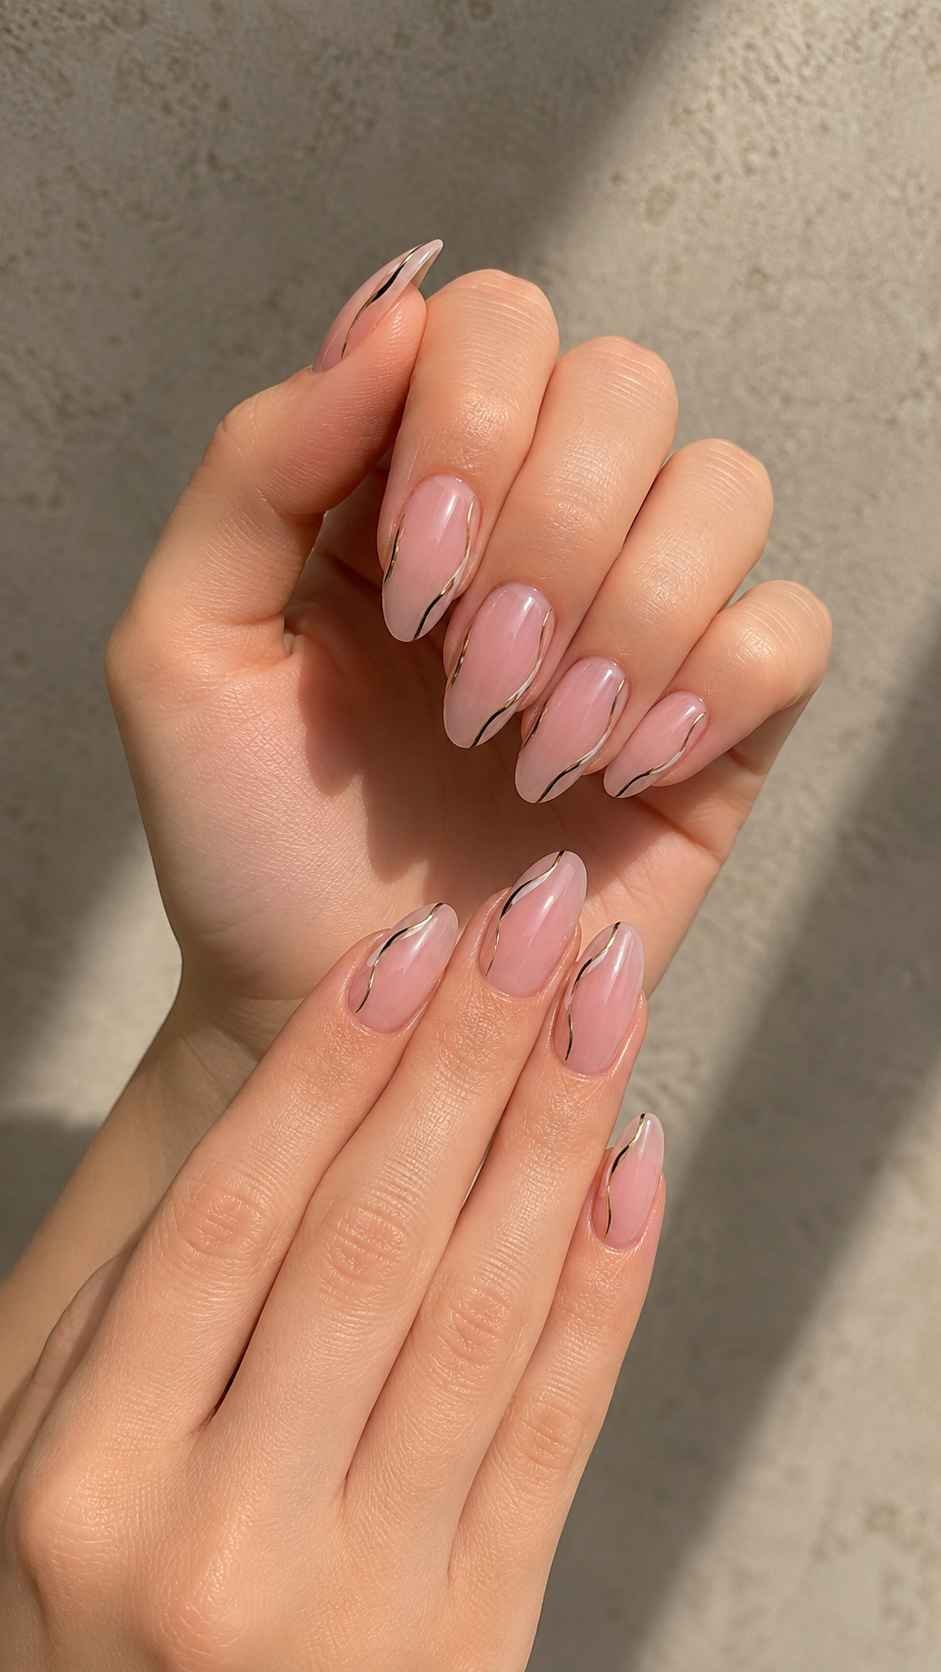
Follow one side wall with a fine curved stroke that begins near the cuticle and stops before the tip. This partial contour frames the nail without enclosing it. Try dusty blue with silver, plum with pale rose, or forest green with cream. Place the line on alternating sides to create movement while keeping the design connected.
Divide the Nail With Twin Threads
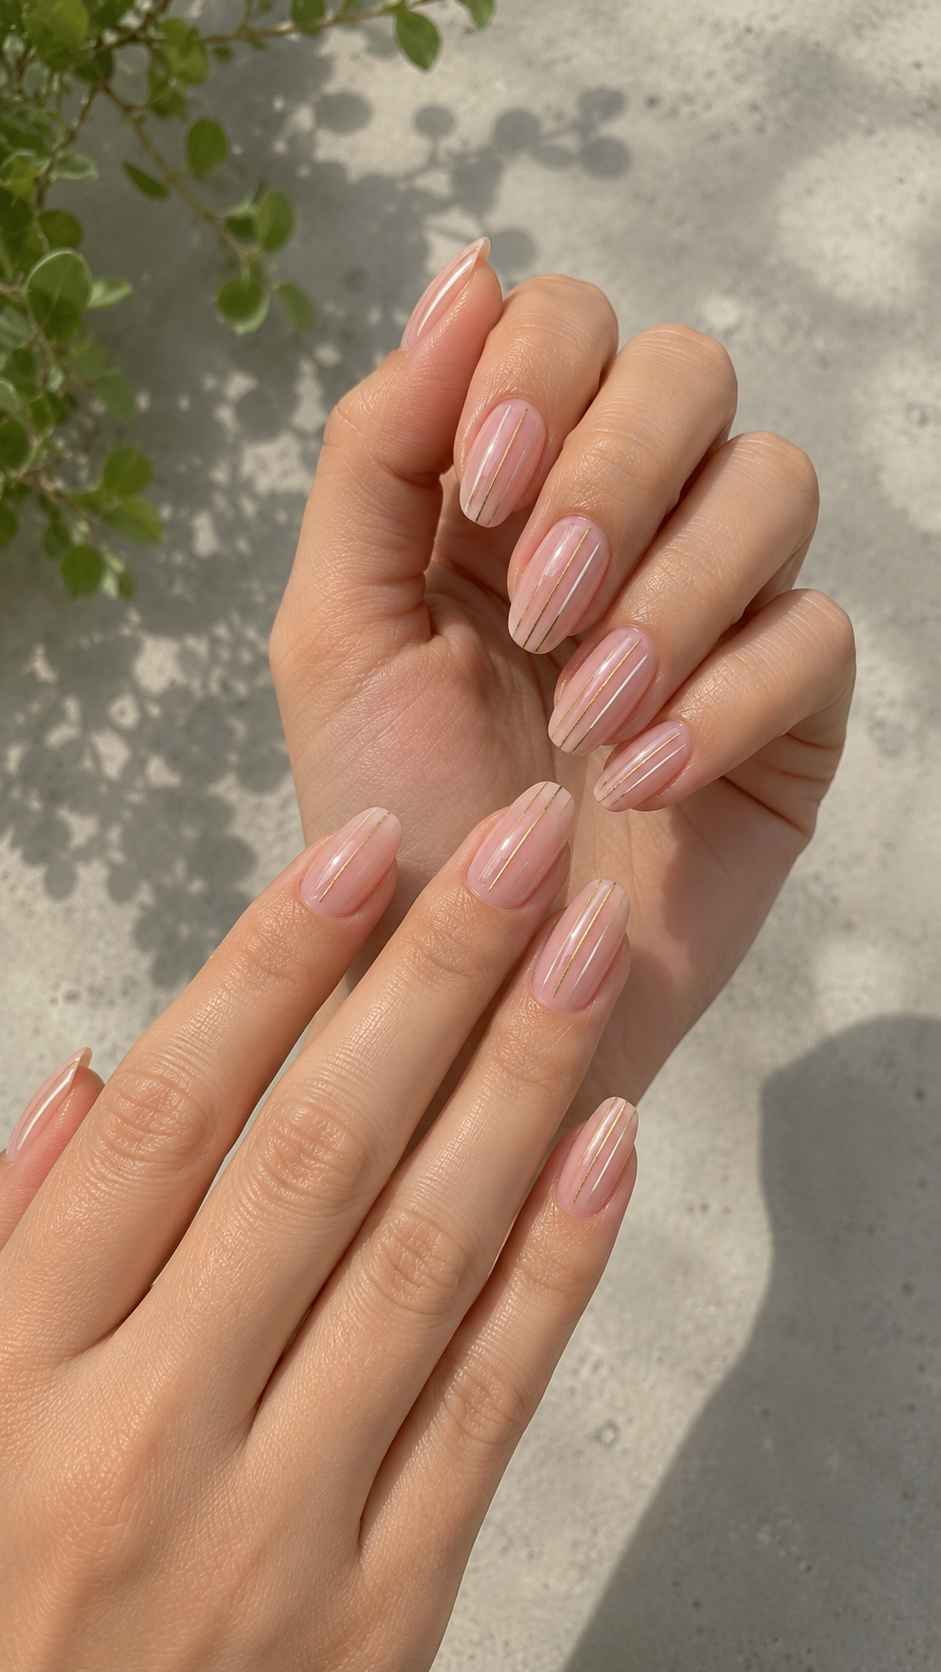
Use a sheer nude base and draw two thin parallel lines from one lower corner toward the opposite tip. Leave a narrow gap so the base becomes part of the design. Espresso with tangerine or charcoal with sky blue feels modern. The diagonal direction allows two outfit colors to appear together without covering every nail boldly.
Polka Dot Details With a More Fashionable Rhythm
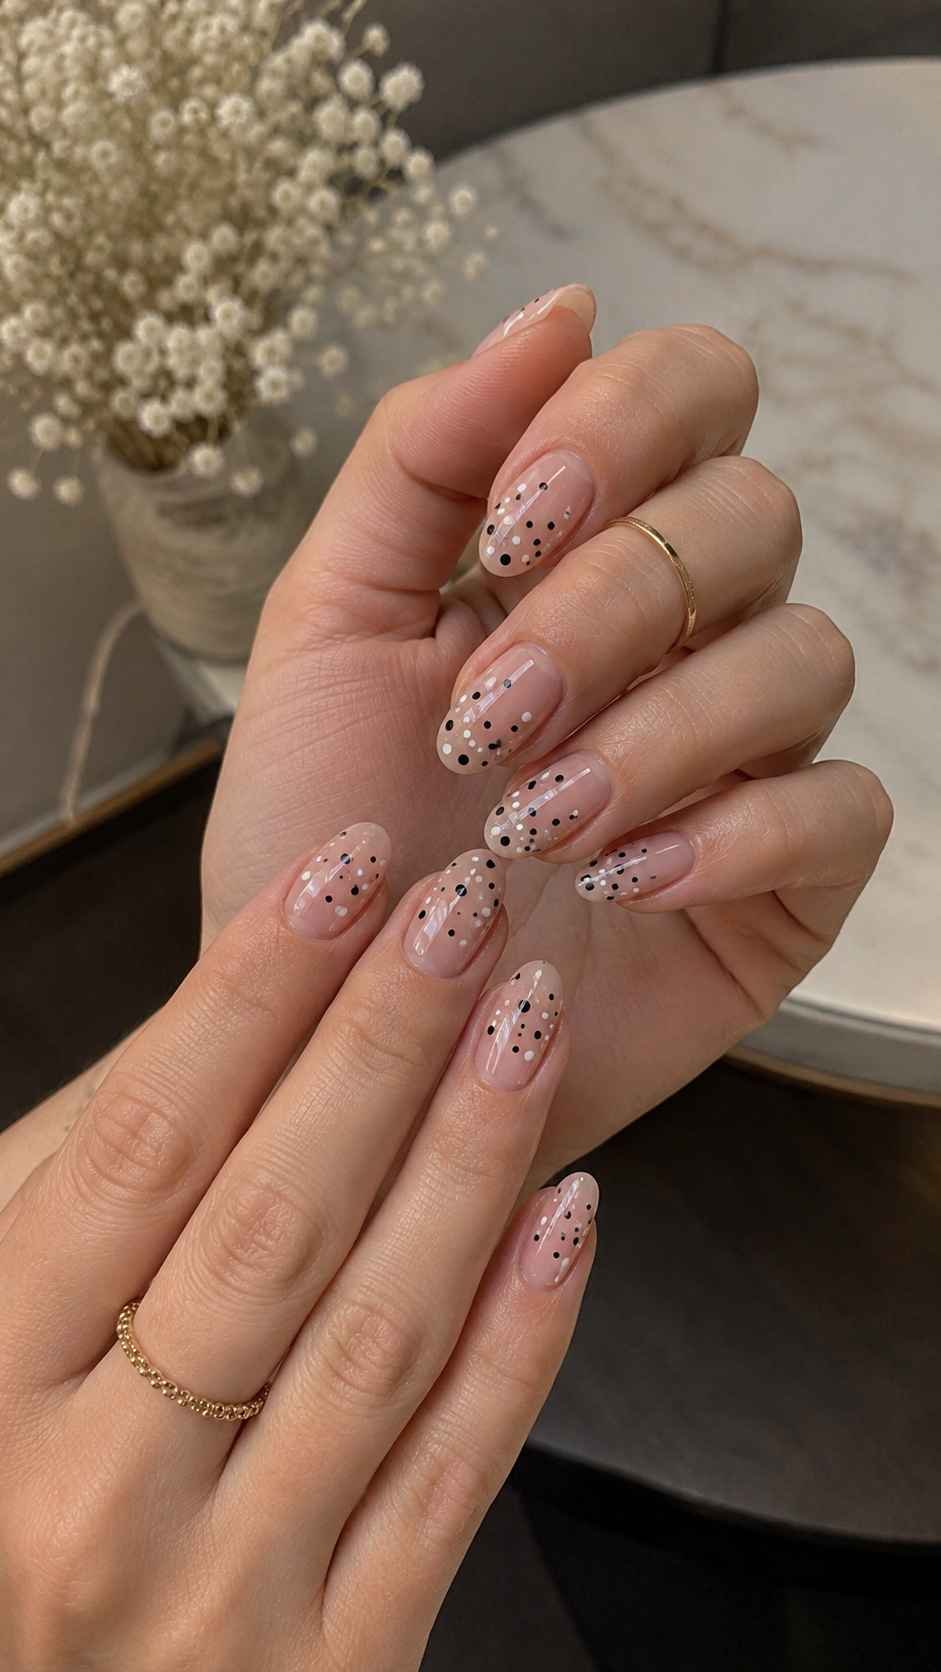
Polka dots feel freshest when spacing, scale, and placement change rather than covering every nail identically. A dotting tool, bobby pin, or rounded brush handle works with ordinary lacquer. Place polish on foil and reload frequently to keep circles neat. Limit the palette to two or three related colors so the playful pattern still feels considered.
Design a Broken Dot French Tip
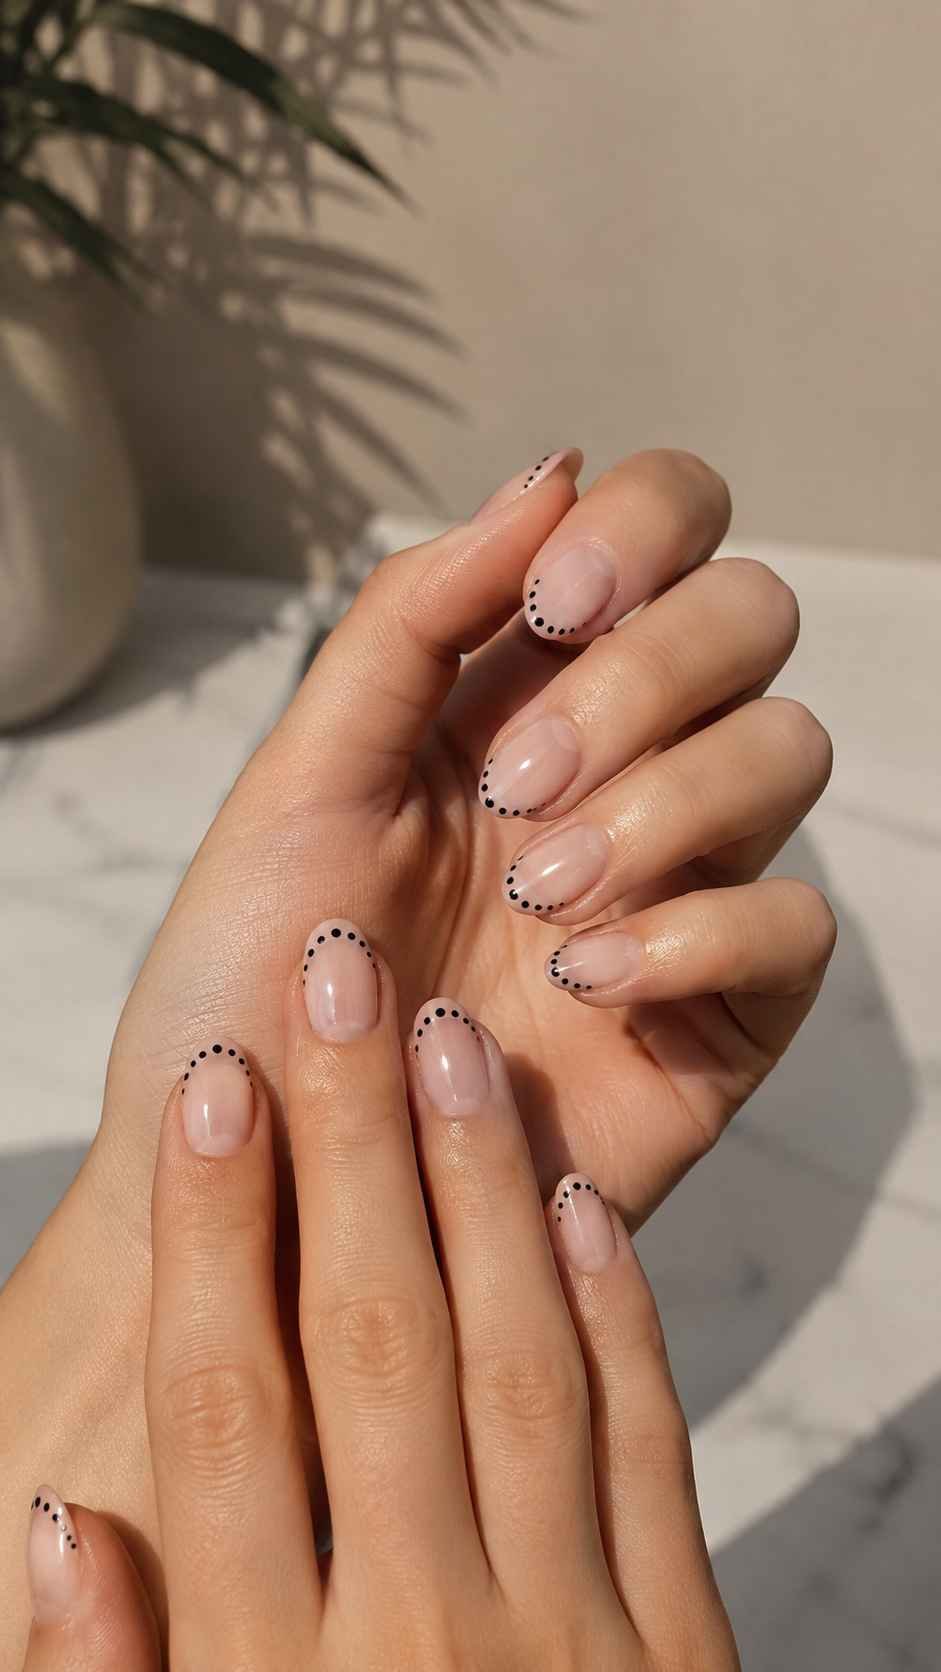
Place clusters of tiny dots along the free edge, leaving small breaks instead of one continuous band. Use cobalt with white, tomato red with pale pink, or black with cornflower blue. Keep the circles smaller near the sides and larger at the center. This broken French arrangement works on short nails because it uses little tip space.
Scatter Bubble Dots From One Corner
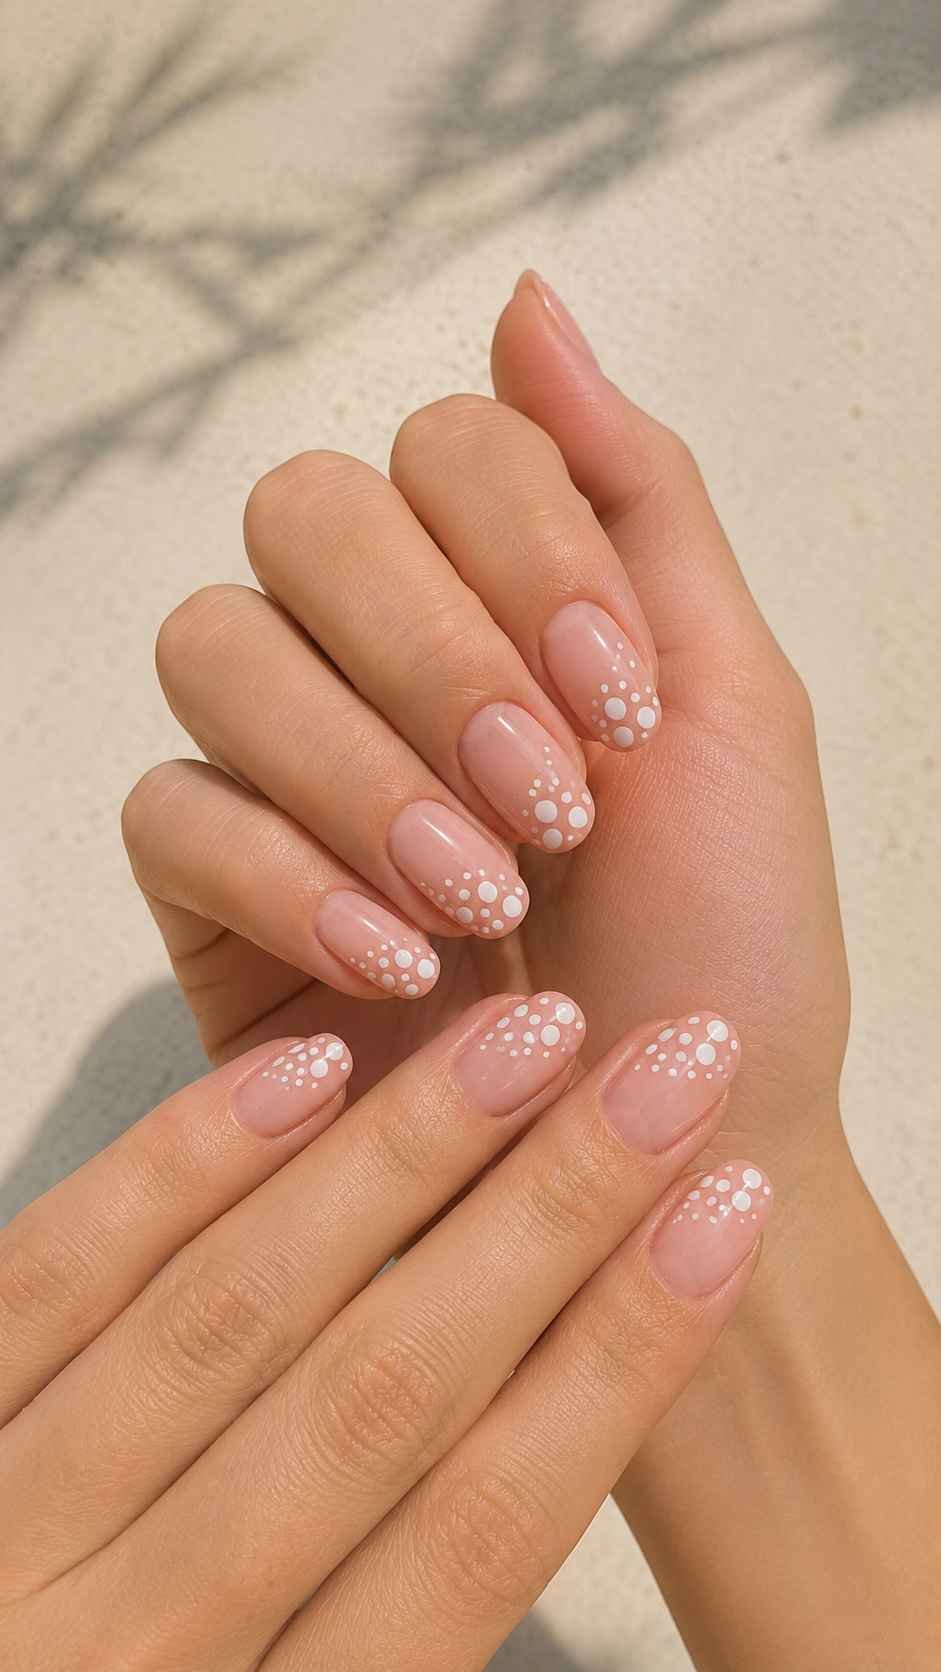
Begin with three dots near one lower corner and let the pattern travel diagonally upward while becoming smaller. A milky base with aqua, lavender, and one silver accent creates an airy bubble look. Avoid copying the exact arrangement on every finger. Different spacing gives a handmade quality, while the repeated direction keeps the set balanced.
Use One Spotlight Dot Per Nail
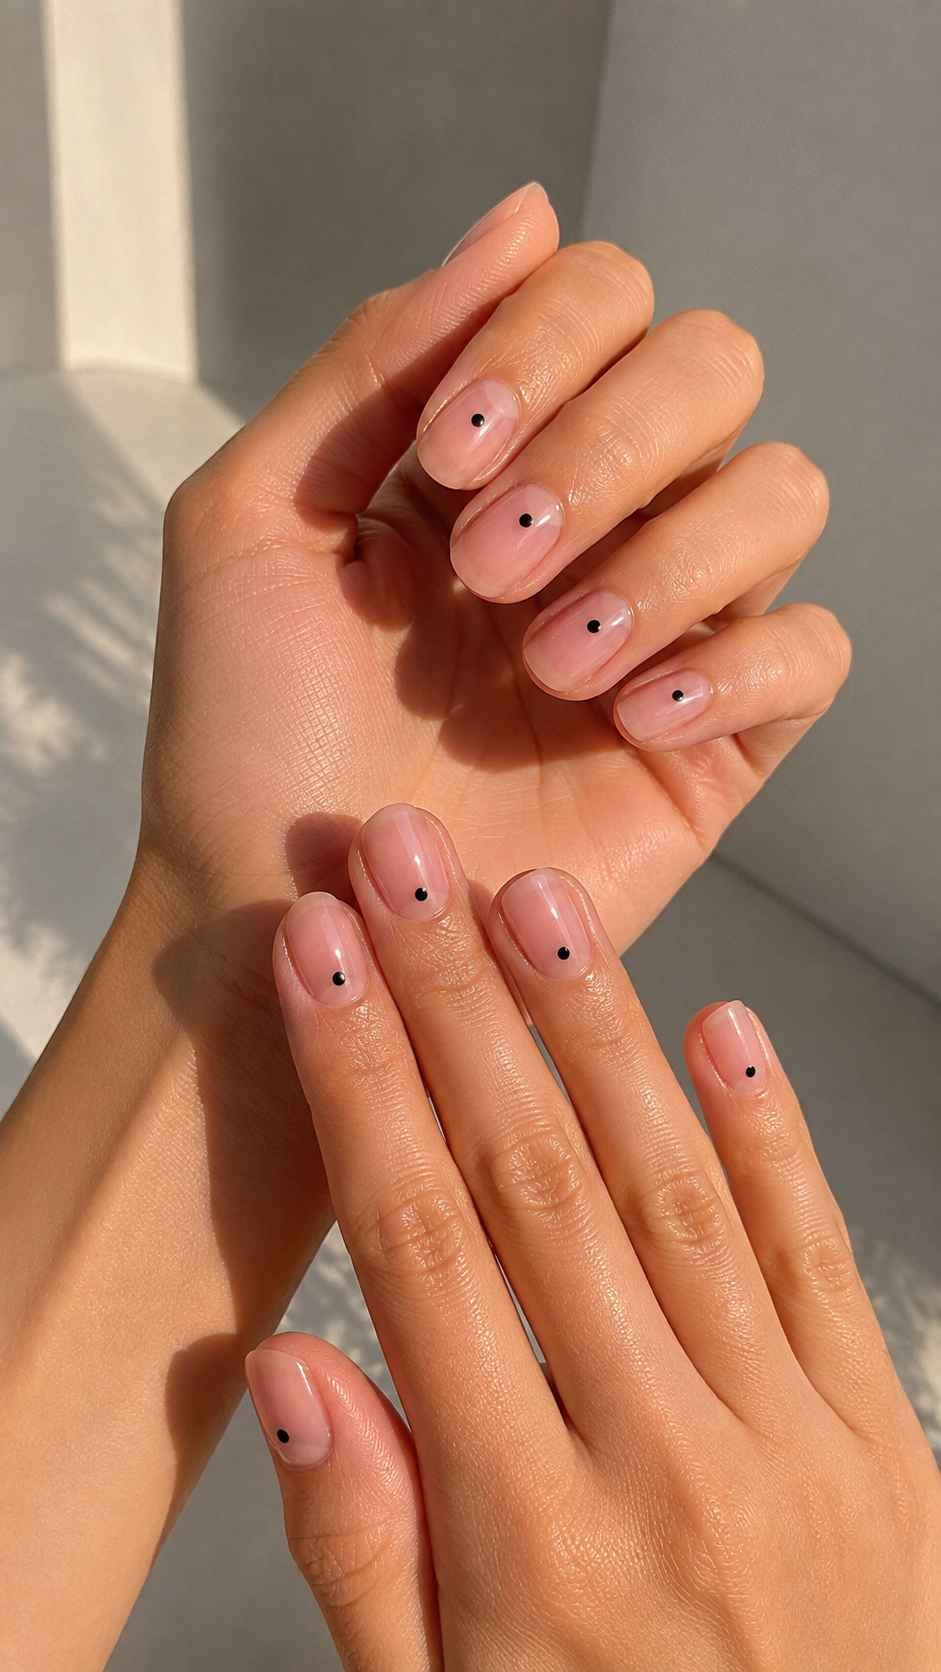
Paint each nail in a different softened shade, then add one larger contrasting dot. Move the dot from the cuticle to the side or tip across the hand. Butter yellow, denim blue, guava, sage, and violet form a cheerful palette without neon intensity. Clean cuticle lines and smooth top coat make this beginner friendly design look graphic.
Blurred Aura Effects Made With Ordinary Polish
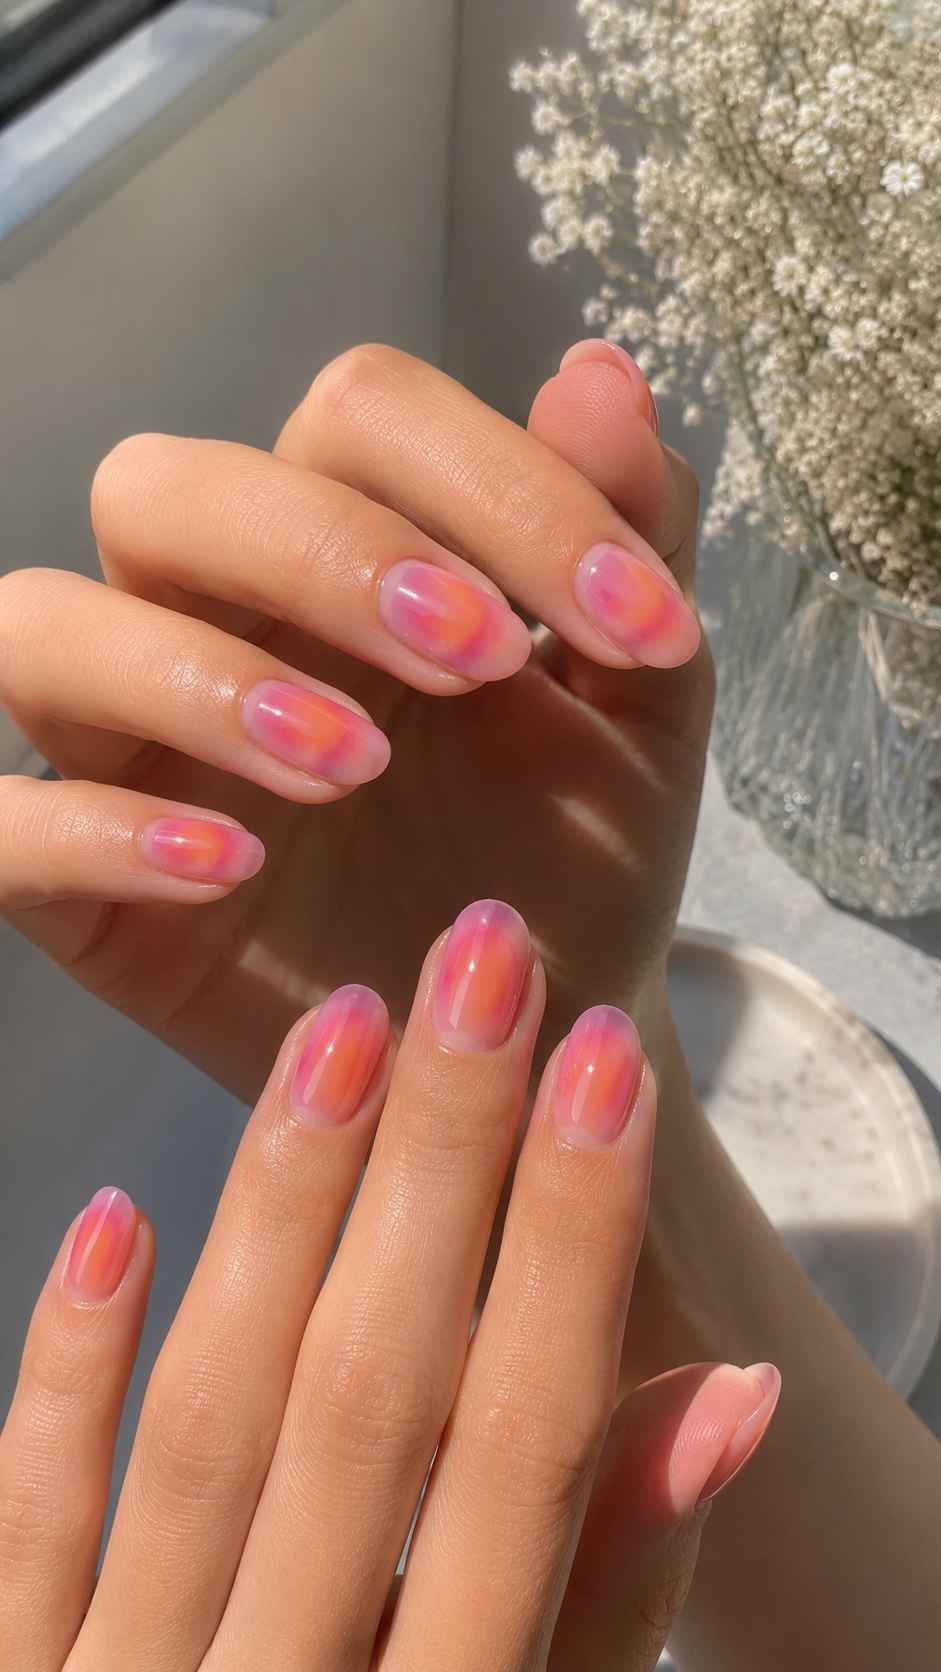
Aura effects can be created with regular lacquer by using a small makeup sponge and almost dry layers. The center does not need to form a perfect circle. A softly blended glow surrounded by a visible base is enough. Aura manicures continue to appear in vivid sunset and mismatched palettes. Let each sponged layer settle before adding color.
Blend a Papaya Sunset Center
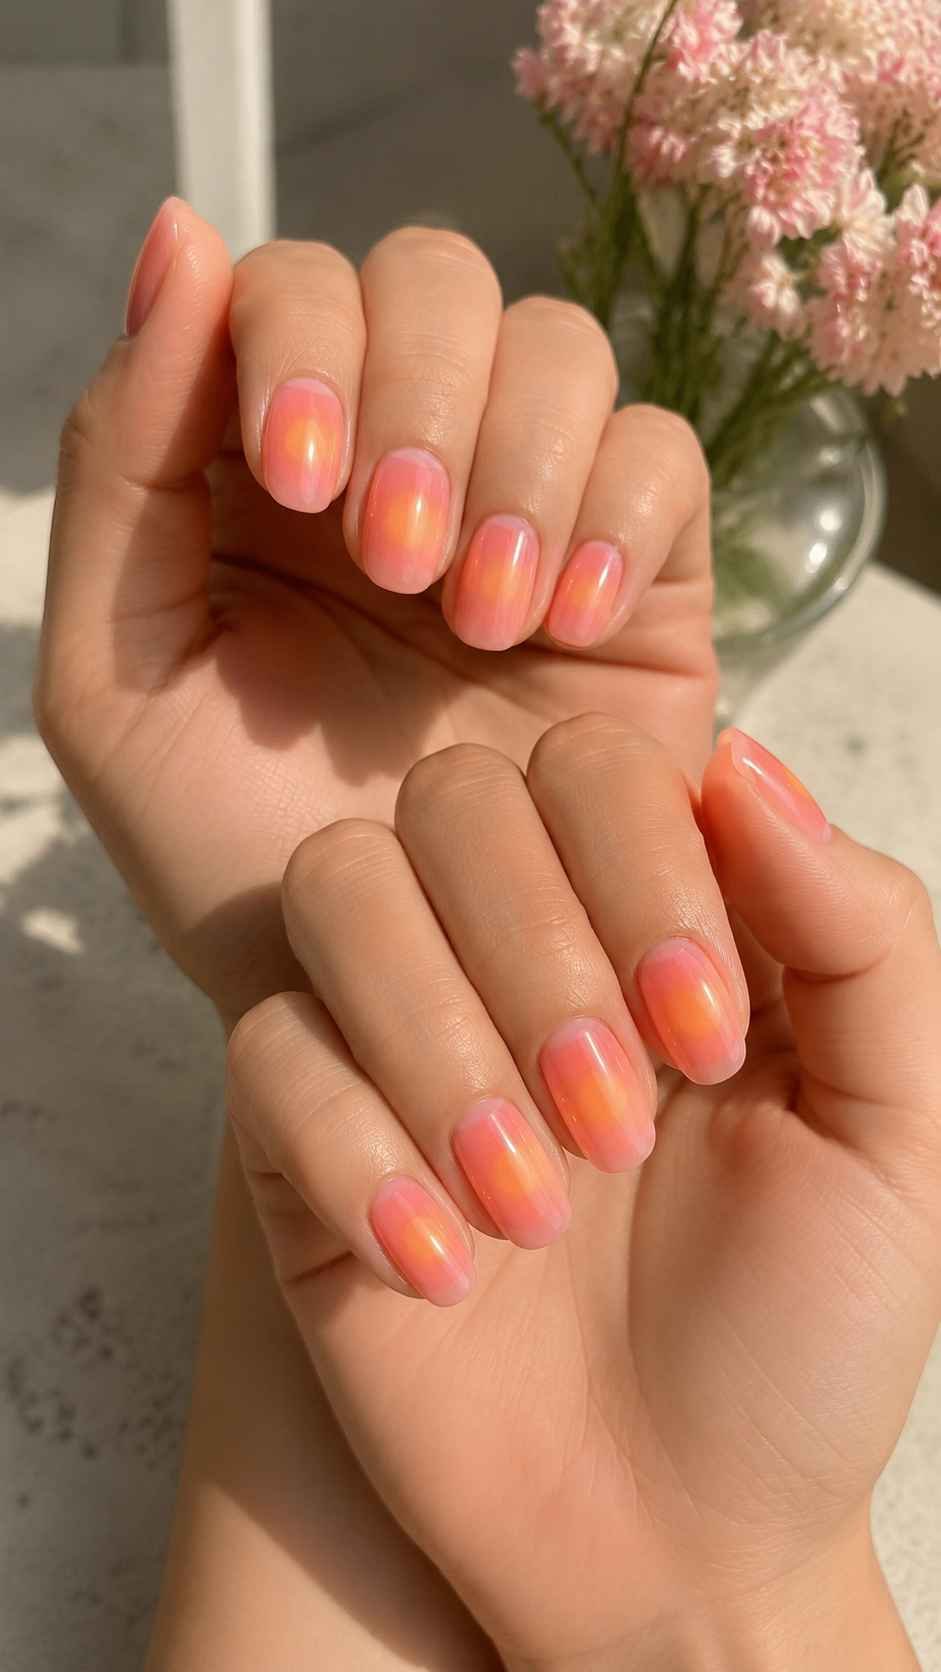
Paint a warm pink base, sponge papaya orange into the middle, then add a smaller touch of golden yellow at the center. Keep a pink border visible so the glow remains clear. This palette pairs beautifully with coral clothing and bright prints. Glossy top coat softens the sponge texture and makes the shades appear naturally blended.
Build a Blue Lagoon Halo
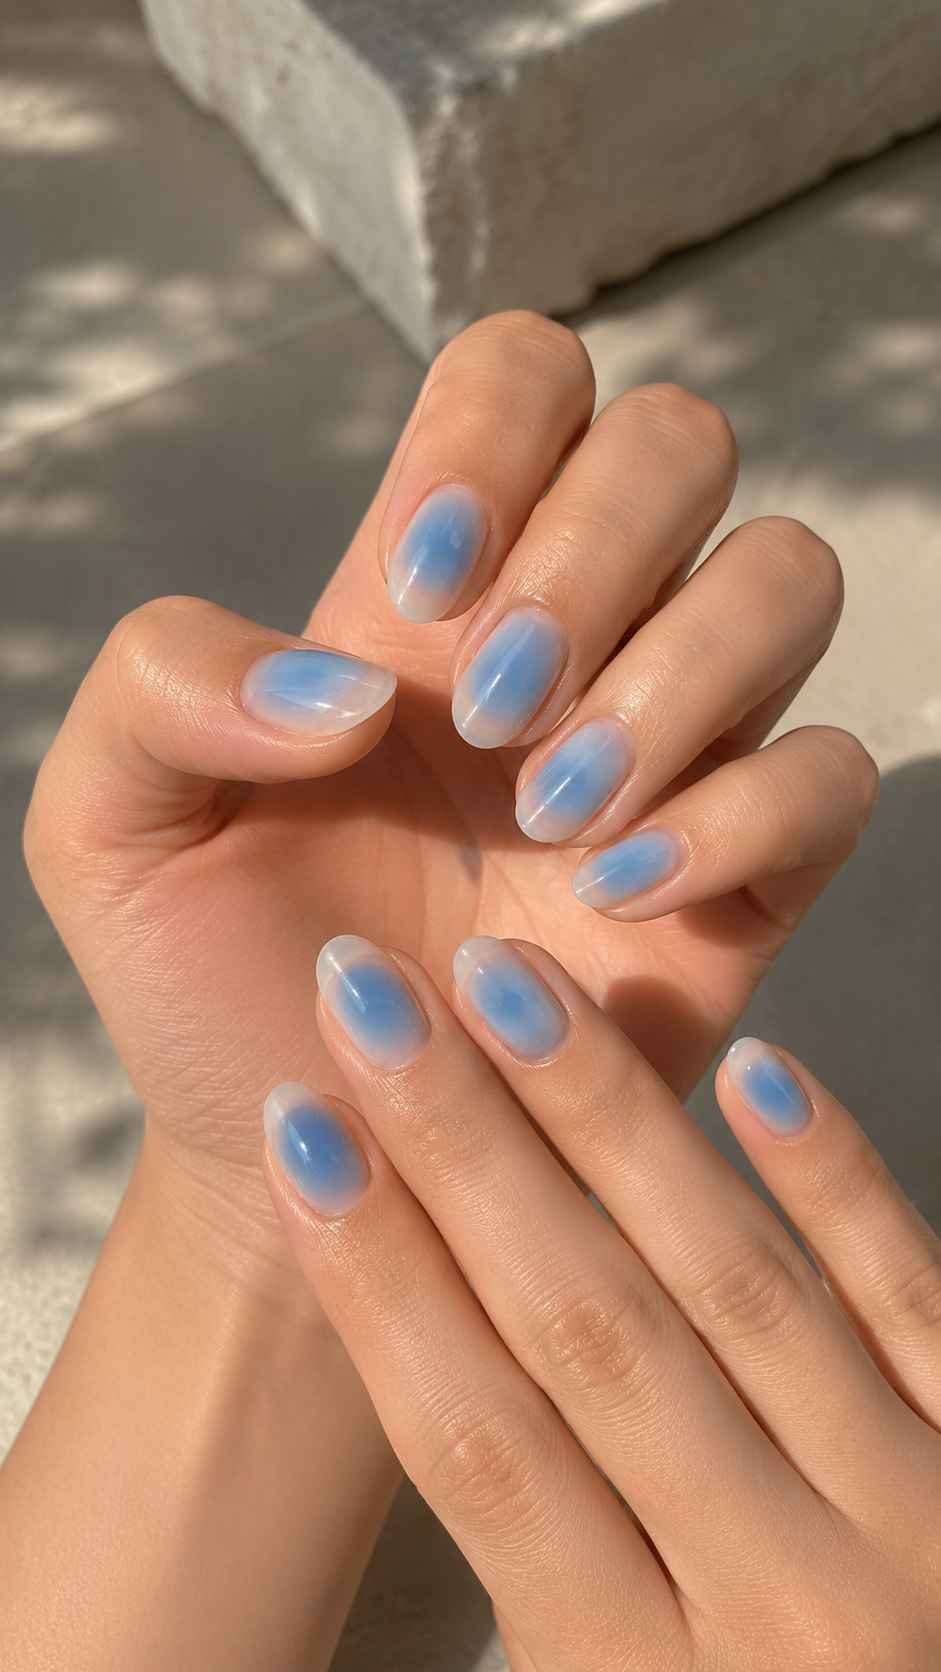
Use pale aqua as the base with a deeper ultramarine oval through the center. Add a little turquoise where the shades meet. On short nails, keep the center narrow and vertical to flatter the shape. Paint one accent nail solid ultramarine, giving the set a stronger anchor while making the softer aura nails appear more dimensional.
Try a Plum and Rose Evening Haze
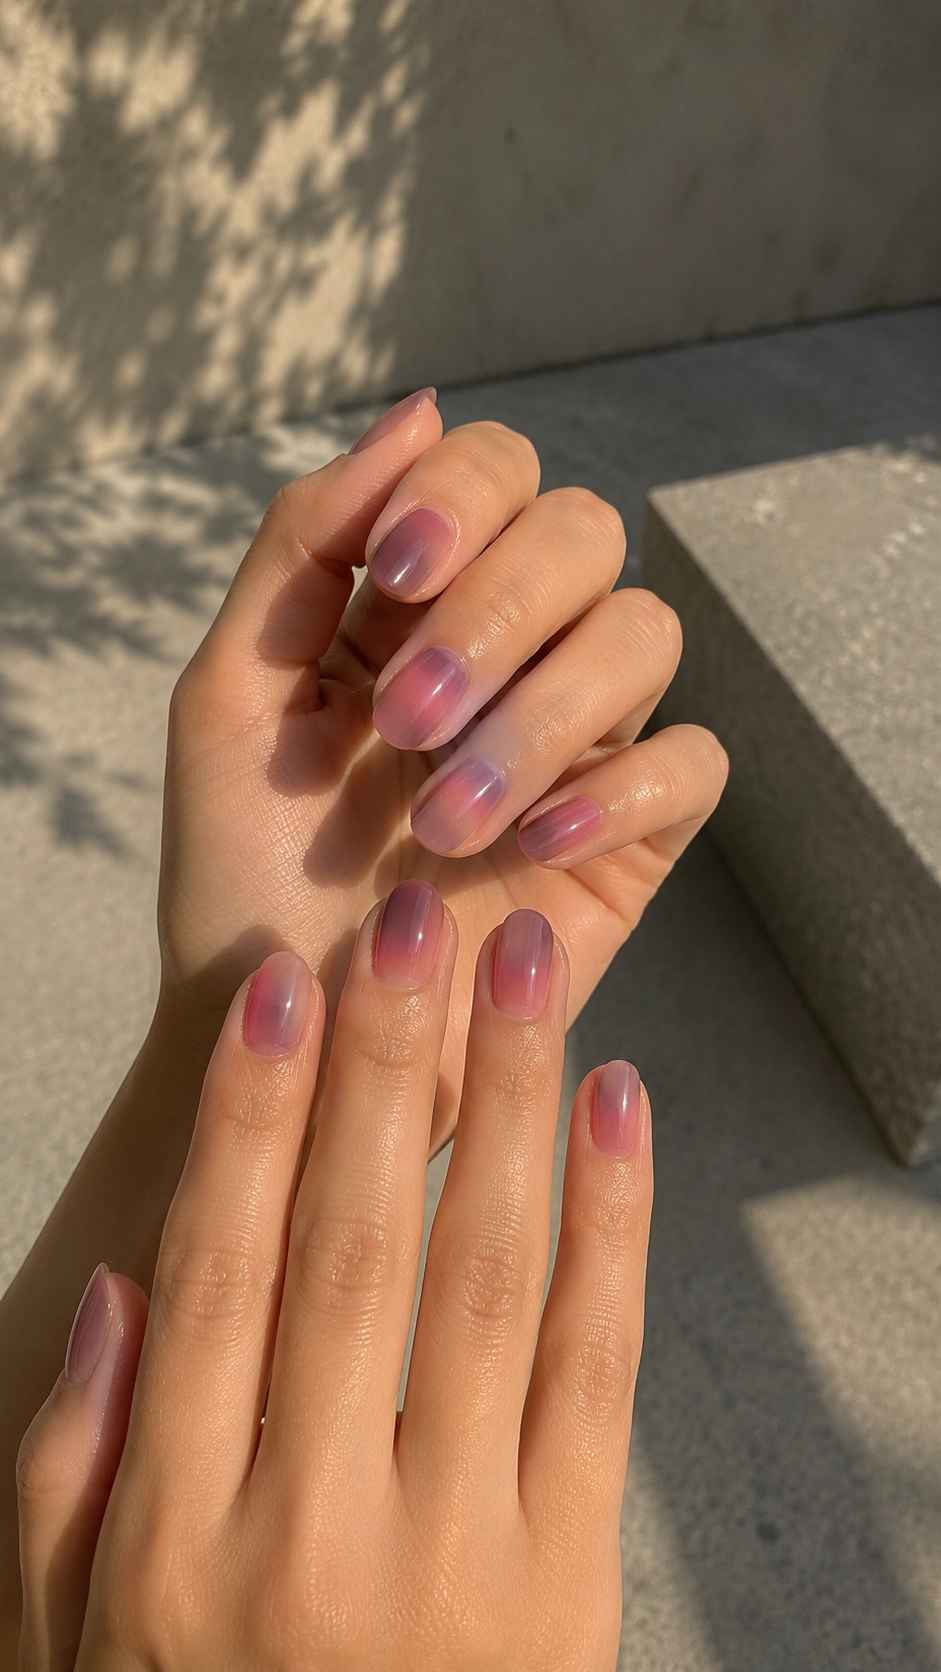
Begin with muted rose and sponge a diffused plum shape through the center. Place blackcurrant near one edge rather than directly in the middle, creating an asymmetric haze that changes as the hand turns. Glossy top coat produces a rich lacquered effect, while satin resembles soft fabric. Both finishes coordinate with black, cream, gray, and berry outfits.
Fabric Inspired Patterns With Delicate Scale
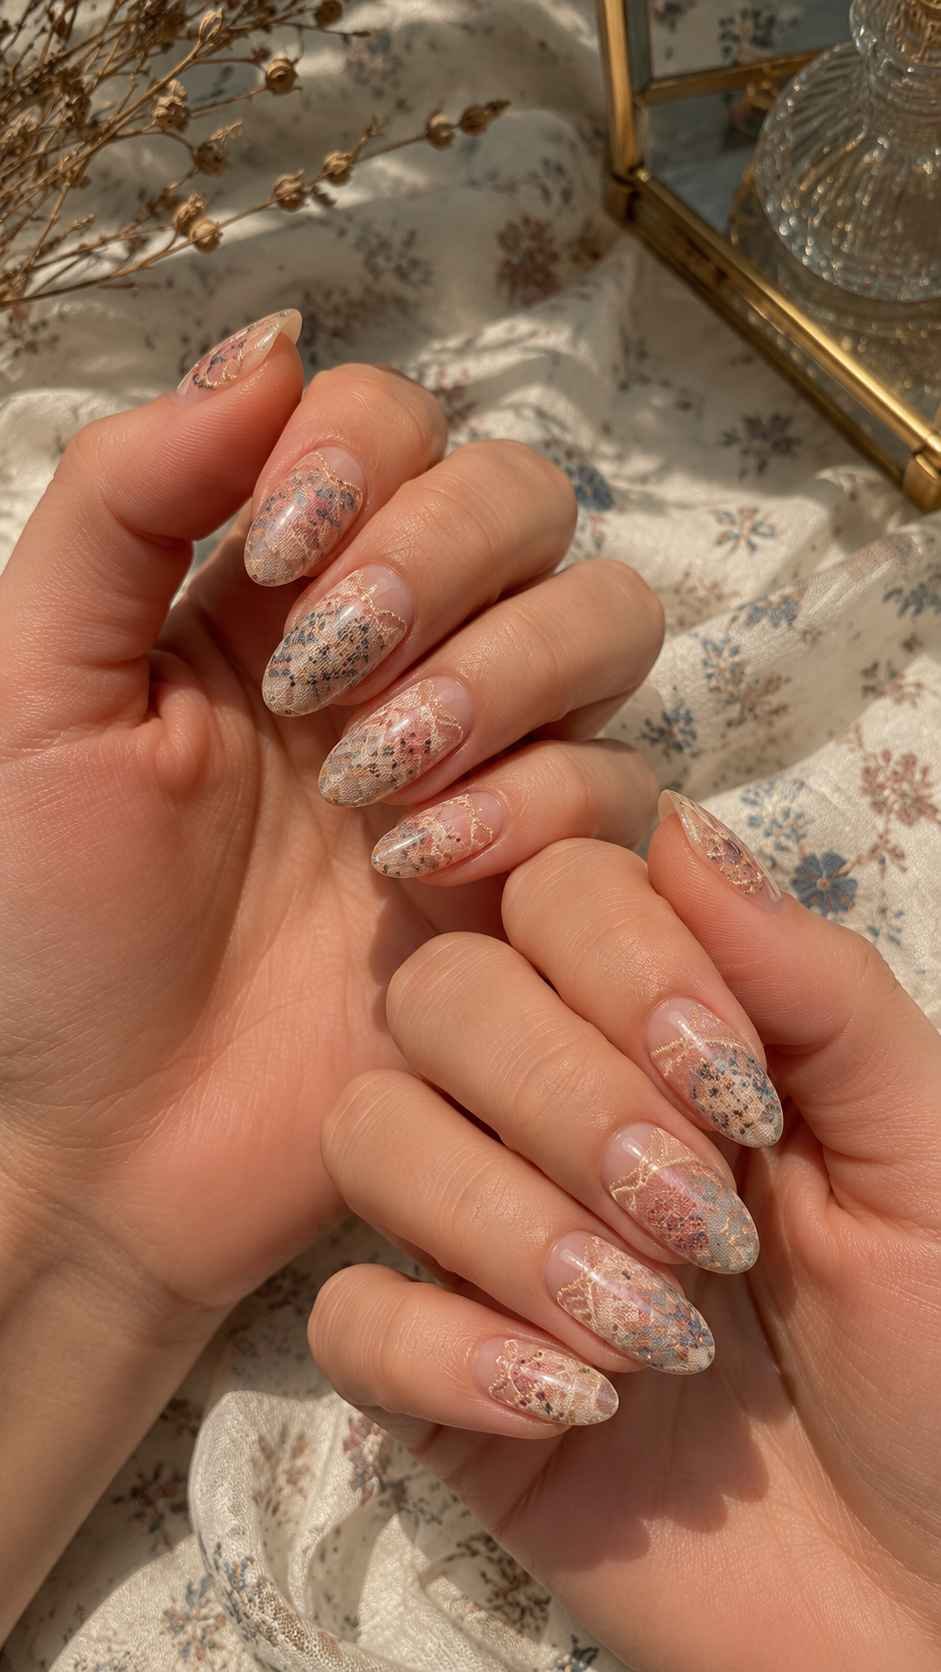
Textile patterns bring structure to regular nail polish designs, but they remain wearable when reduced to fine details. Instead of copying a complicated print, borrow one recognizable feature such as gingham crossings, narrow plaid lines, or lace curves. Use a neutral base for breathing room, and keep line thickness consistent.
Make Airy Picnic Gingham
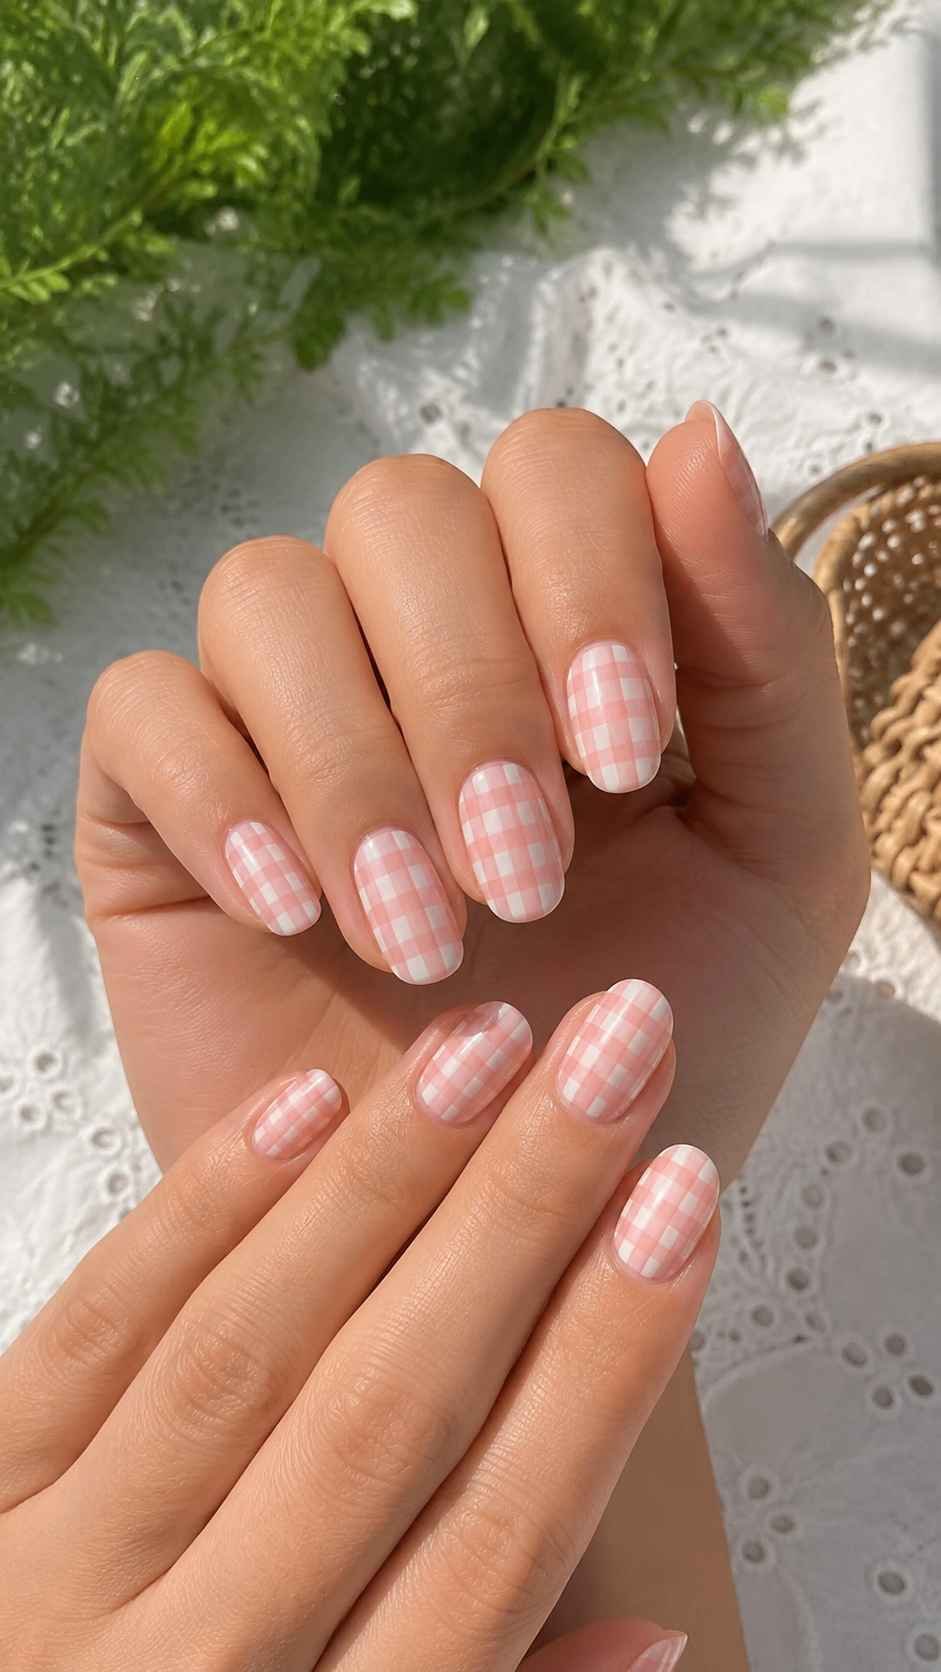
Apply pale cream, then paint two translucent vertical stripes and two horizontal stripes in cornflower blue or soft red. Add a more opaque square where each line crosses. Use gingham on two accent nails and keep the others solid cream. This selective placement prevents clutter while giving dresses, denim, and relaxed outfits a charming coordinated detail.
Create Narrow Espresso Plaid
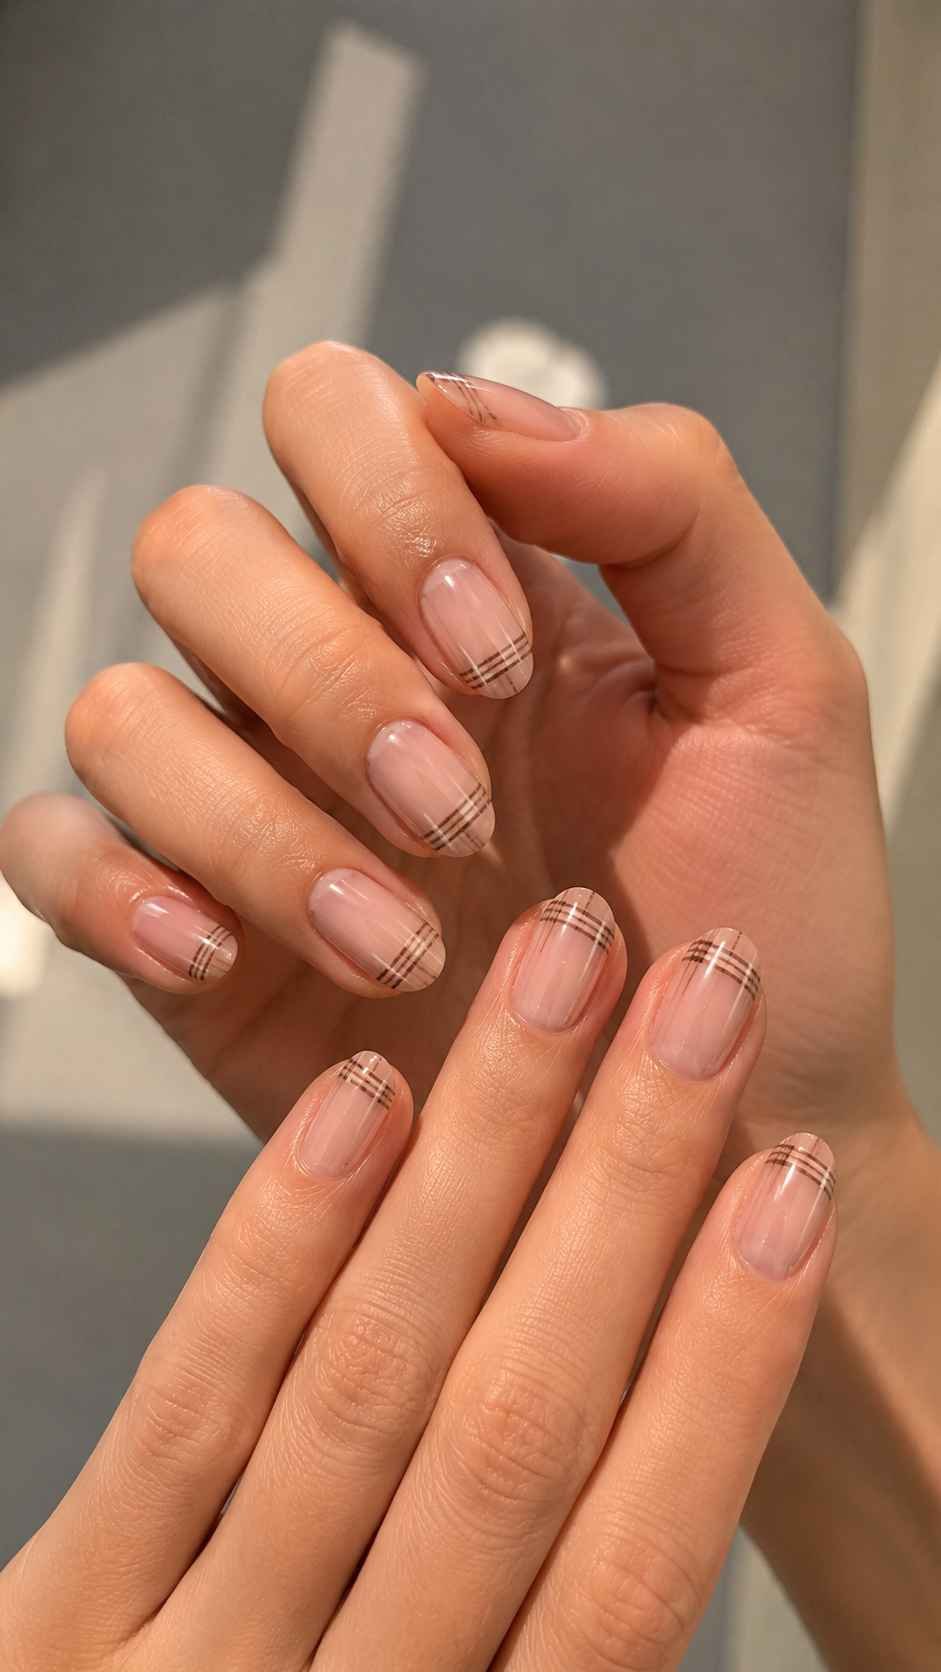
Start with taupe or parchment polish. Add one thin espresso line vertically and another horizontally, positioning the crossing away from the center. Place a finer rust or muted blue line beside one dark stripe. Shift the crossing point on every nail while repeating the color order. Glossy top coat looks sharp, while matte top coat suggests woven fabric.
Paint a Lace Veil Accent
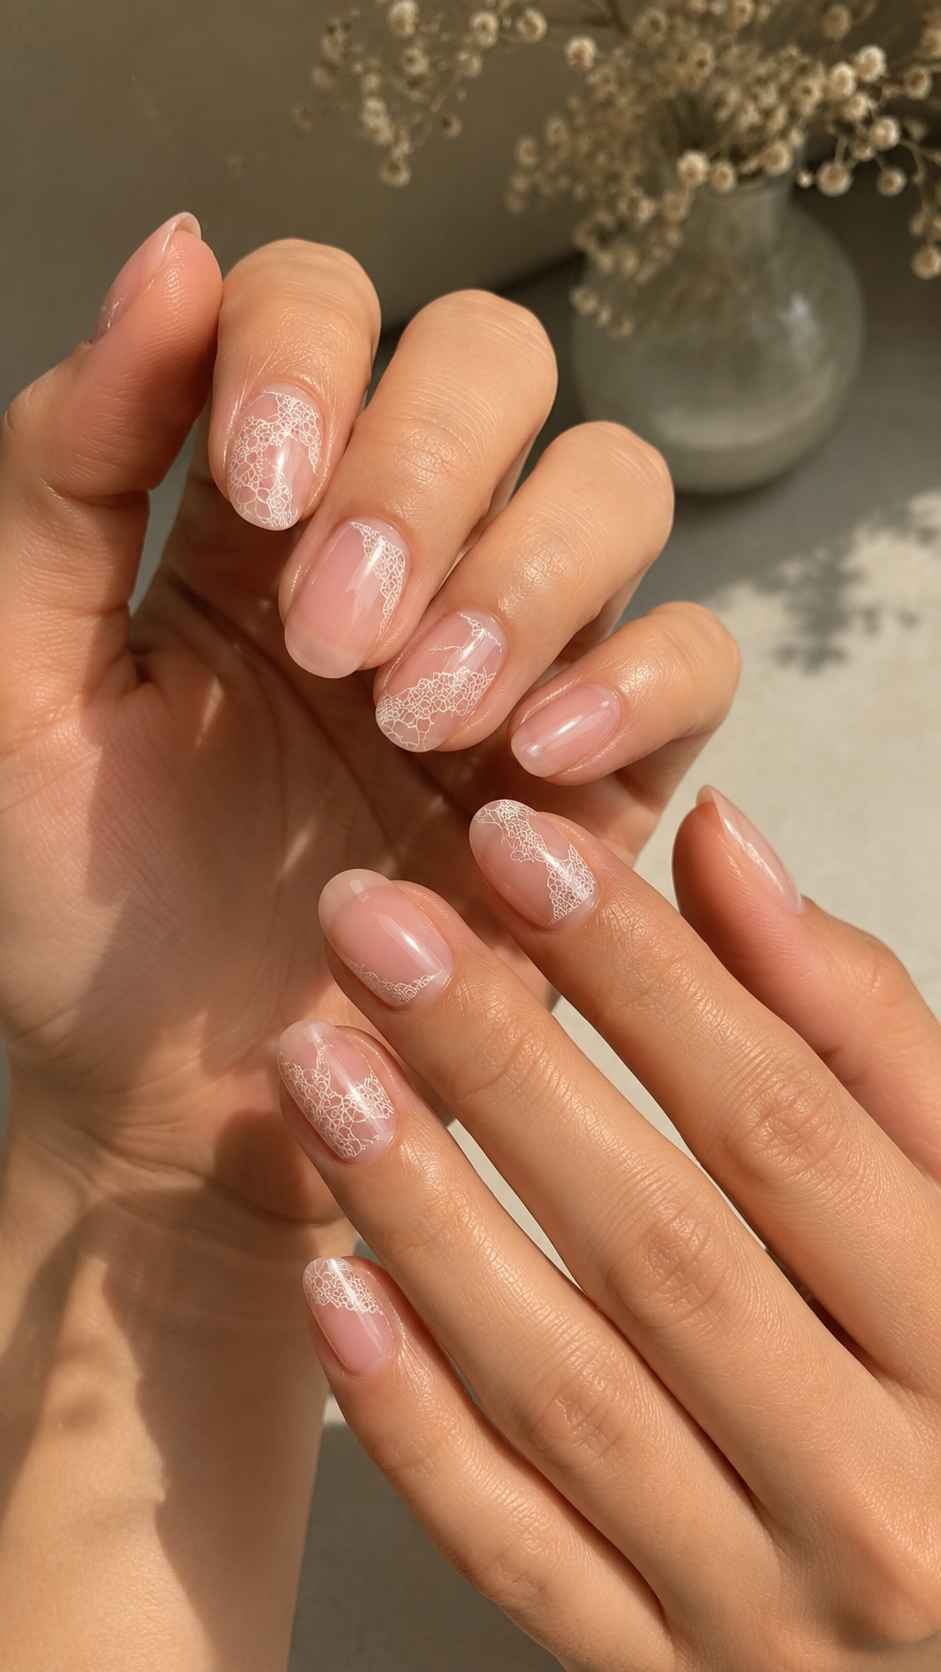
Use a sheer blush base and draw two or three shallow scallops along one side of an accent nail. Add tiny dots inside the curves and connect them with a fine line. Keep the remaining nails solid blush with one matching cuticle dot. White feels delicate, while black, navy, or burgundy gives the lace pattern a stronger fashion mood.
Contrasting Finishes That Transform Simple Color
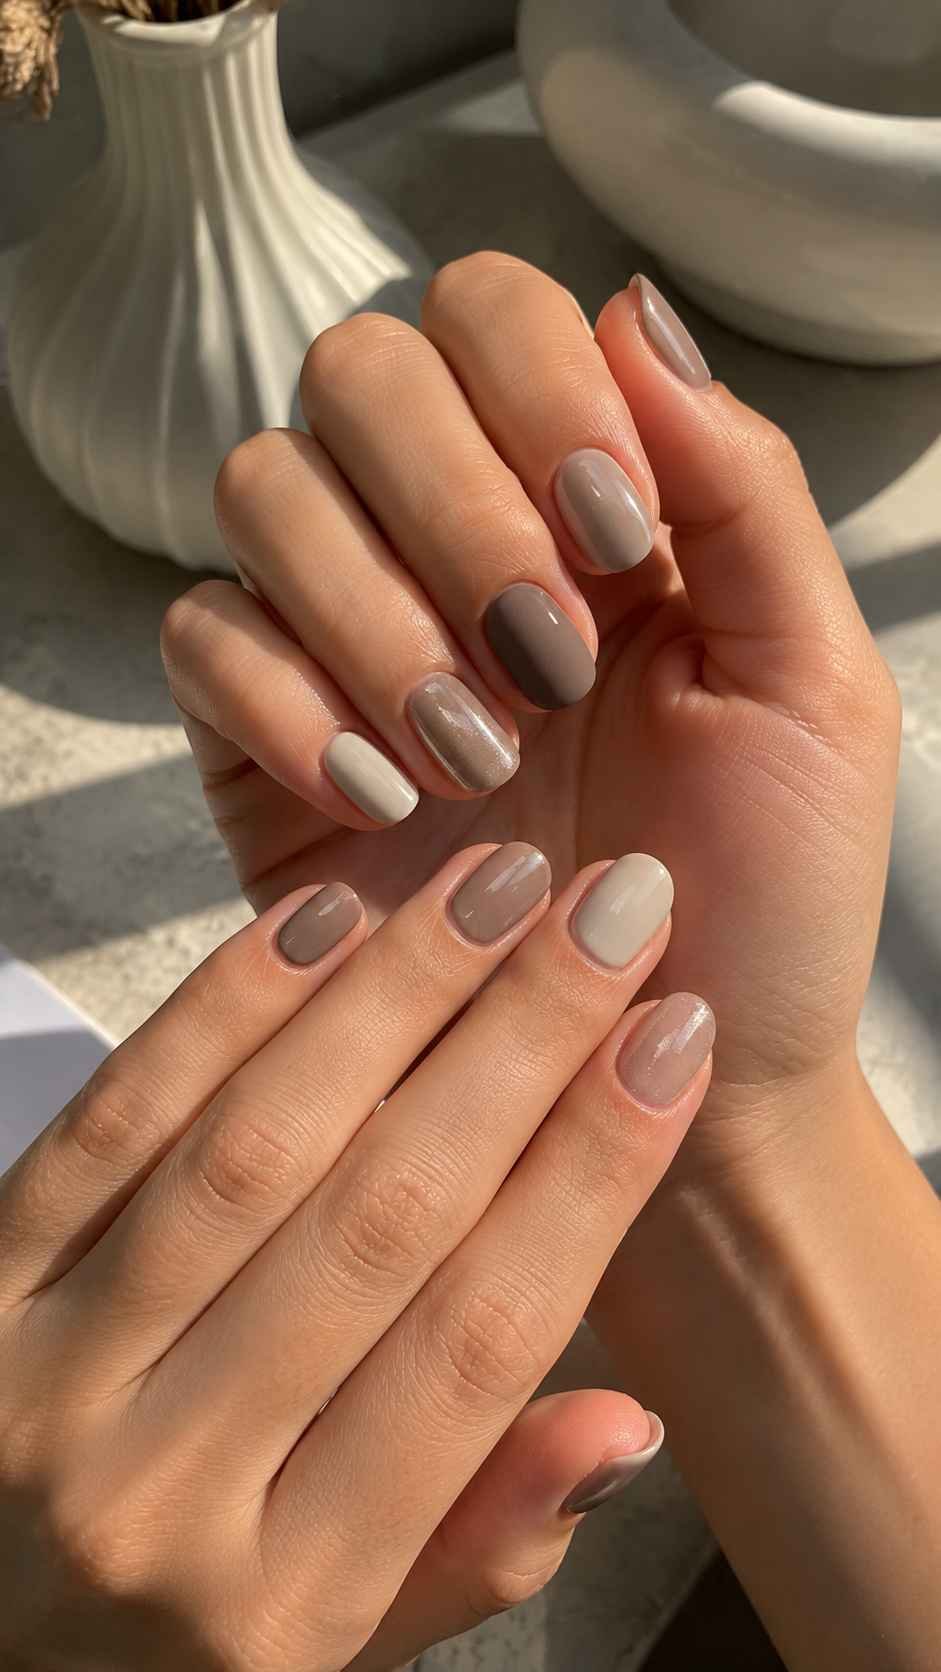
Regular polish can create dimension through finish alone. Pearly whites, metallic lines, glossy shapes, and satin backgrounds make a limited palette appear complex. Frosted pearl and healthy glossy manicures are especially visible on short rounded nails. Let the base dry completely before adding another finish.
Float Pearl Over Cloud White
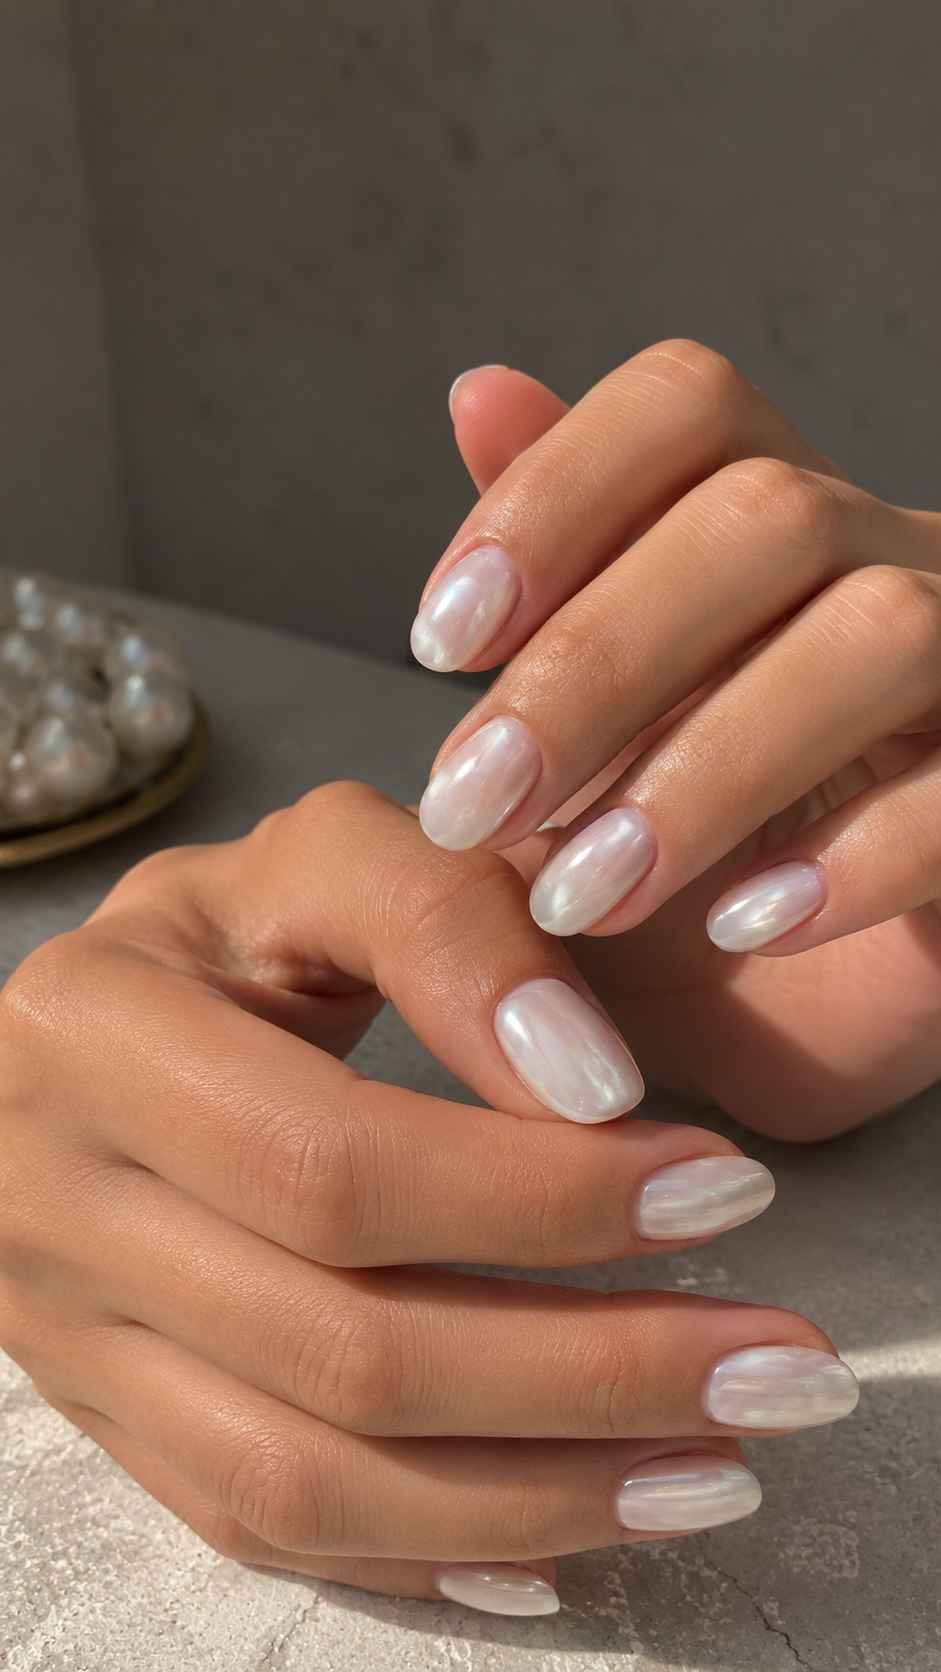
Apply clean cloud white, then sweep translucent pearl polish through the center while leaving a narrow plain border around the sides and cuticle. The difference appears subtle indoors but catches light as the fingers move. Choose cool blue or silver reflection instead of yellow gold for a crisp finish. Rounded square nails make this frosted design look especially neat.
Pair Glossy Shapes With a Satin Base
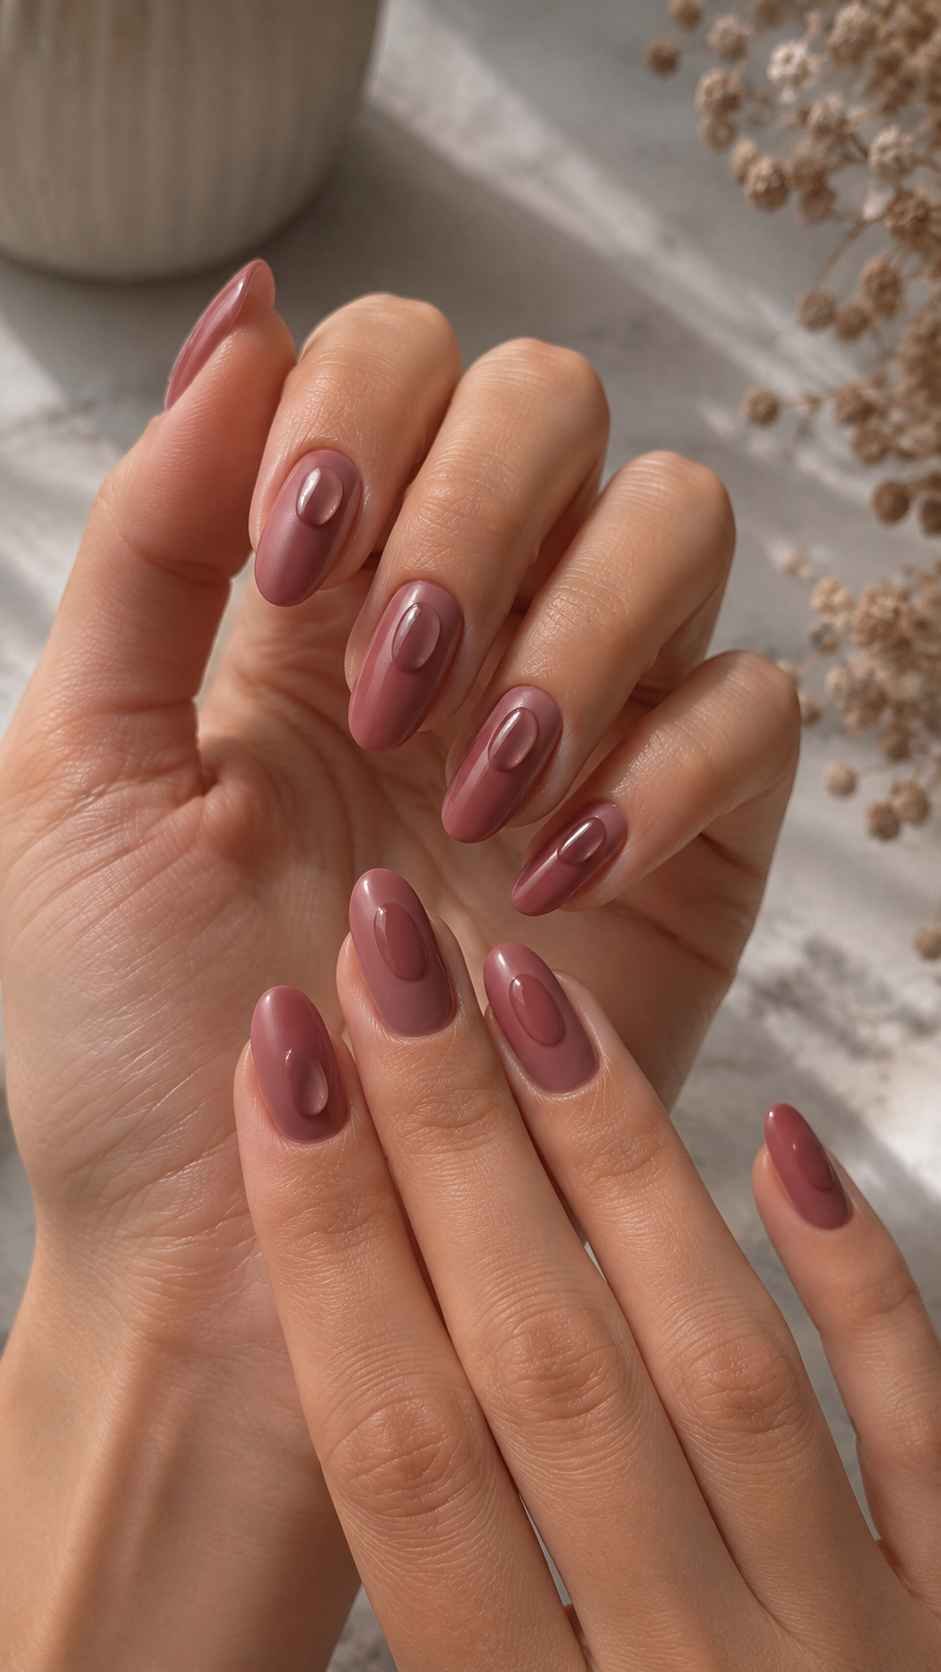
Paint charcoal, olive, berry, or deep navy and finish with satin top coat. Once dry, use clear glossy polish to add a curved block, slim tip, or centered oval. The shape appears only when light reaches it, creating quiet dimension without another color. Vary the shapes slightly while keeping their scale similar so the manicure remains coordinated.
Frame a Cream Color With Metallic Edges
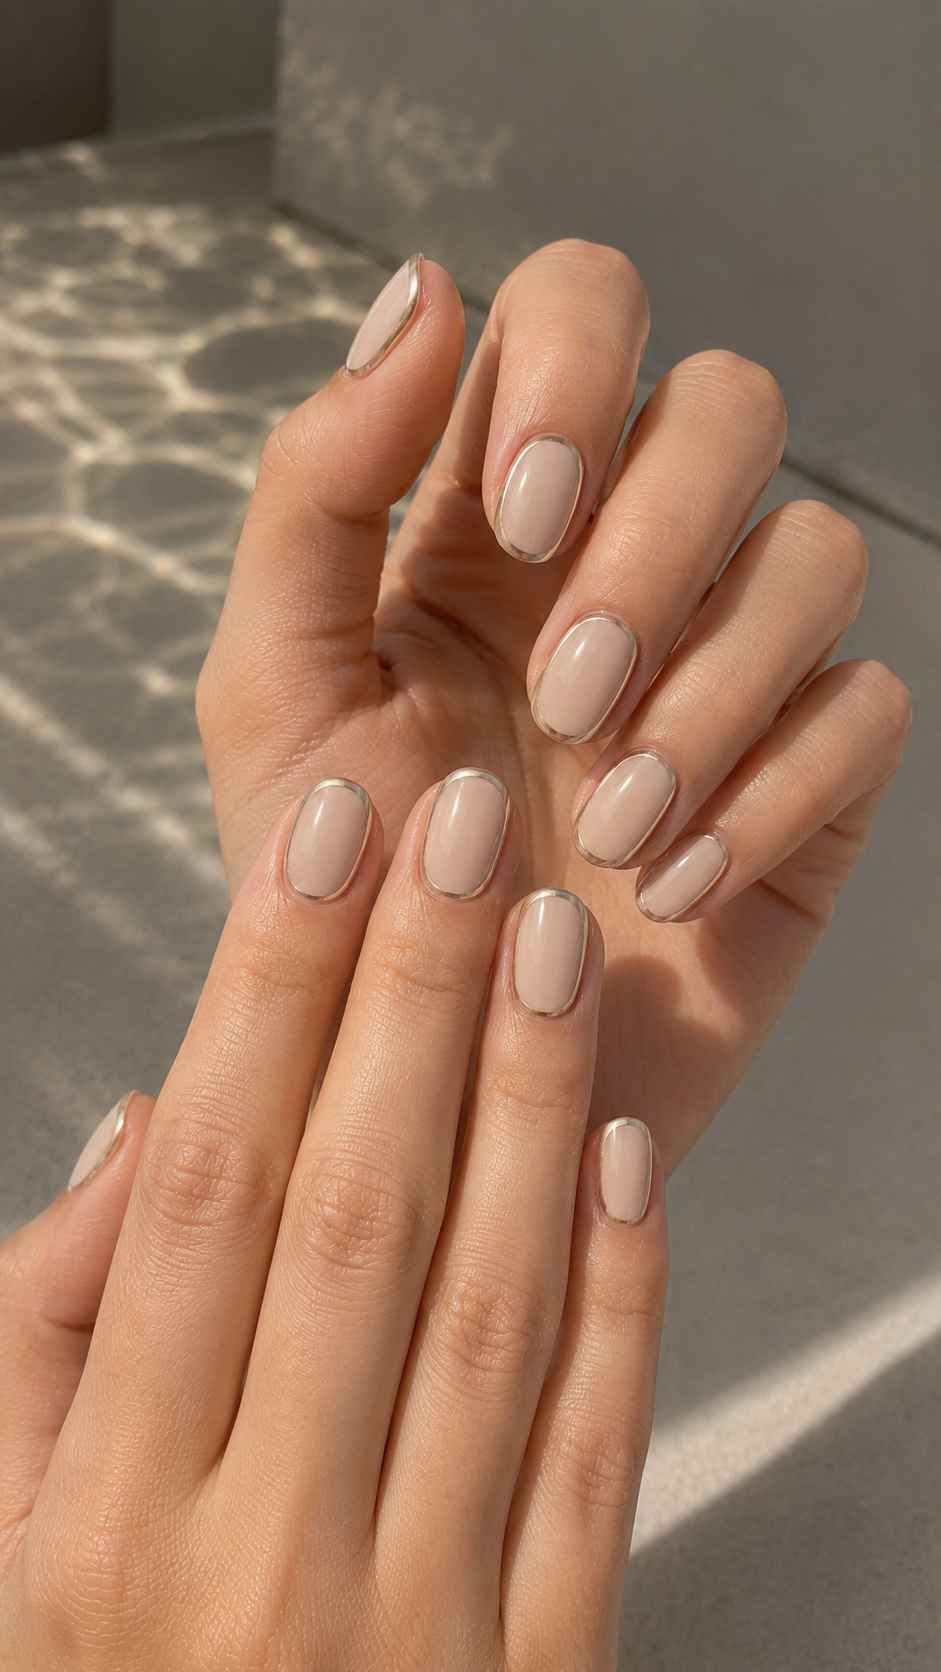
Choose pistachio, powder blue, soft peach, or lilac, then add a narrow silver or rose gold line along one side and part of the tip. Avoid outlining the entire nail because a partial frame looks lighter. Remove most polish from the detail brush before painting. Reverse the frame direction on the opposite hand for a balanced mirrored effect.
Let Regular Polish Become the Creative Advantage
Regular nail polish designs give you freedom to experiment without keeping one manicure for weeks. Sheer gradients, narrow ribbons, broken dots, blurred auras, fabric patterns, and mixed finishes can give the same bottles different personalities. Begin with the method that matches your comfort level, then adjust the colors for your wardrobe, nail length, and mood. Explore related nail color, nail shape, and manicure ideas to build a complete styling direction. The best result does not require perfect repetition. Clean preparation, a clear plan, thin layers, and enough drying time will make every handmade detail feel purposeful.
