
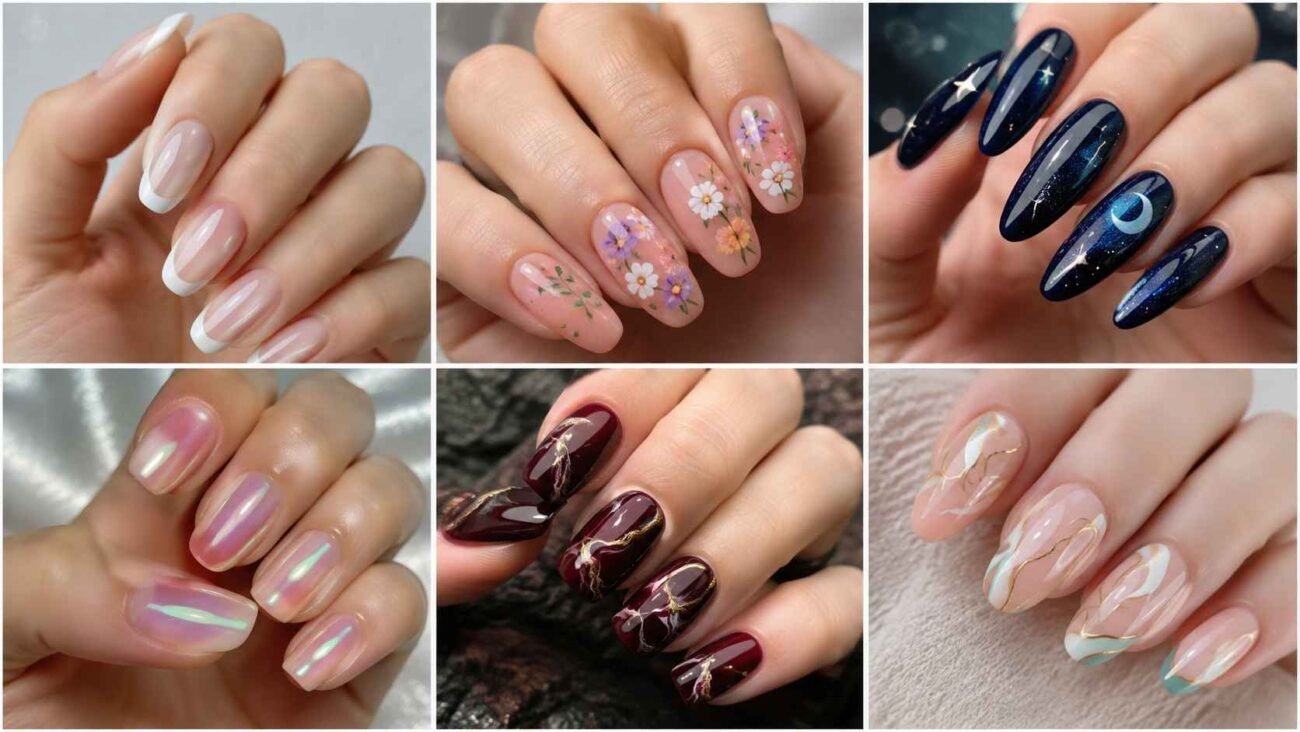
Nail art feels most exciting when every detail looks intentional, wearable, and personal. The strongest ideas combine clean color placement with unexpected texture, light, or pattern, creating a manicure that looks distinctive and easy to style. This collection explores transparent finishes, fine metallic lines, painterly color, fabric inspired surfaces, miniature dot work, and glowing magnetic depth.
Each concept can suit short, medium, or long nails and feel delicate, dramatic, playful, or polished. Whether you prefer soft neutrals or saturated color, these ideas offer fresh ways to make the hands look beautifully finished and memorable.
Glass Garden Tips With Floating Botanical Details
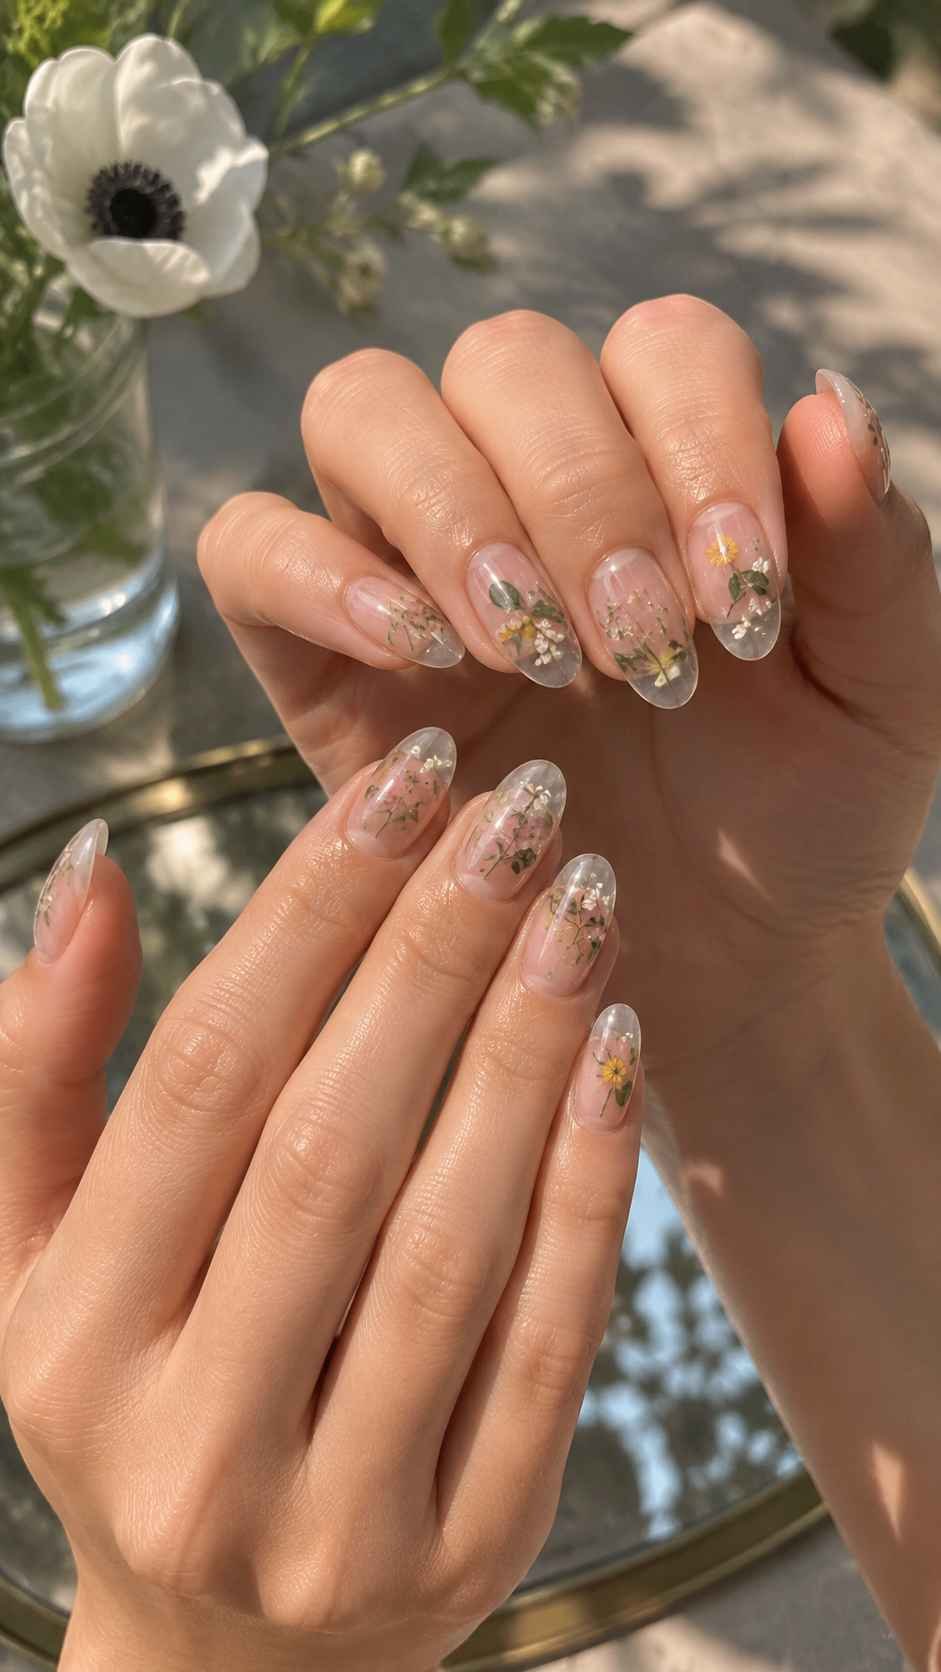
Glass garden tips bring transparency and decoration together without looking overloaded. Start with a sheer nude base, then leave part of the extension clear so the design appears suspended inside the nail. Tiny petals, winding stems, translucent leaves, and soft droplets can be placed with generous space around them. The open composition keeps each detail visible while the clear surface catches light. This idea works on almond, oval, square, or short coffin shapes, when the botanical elements remain miniature and the cuticle area stays clean.
Frosted Petal Windows
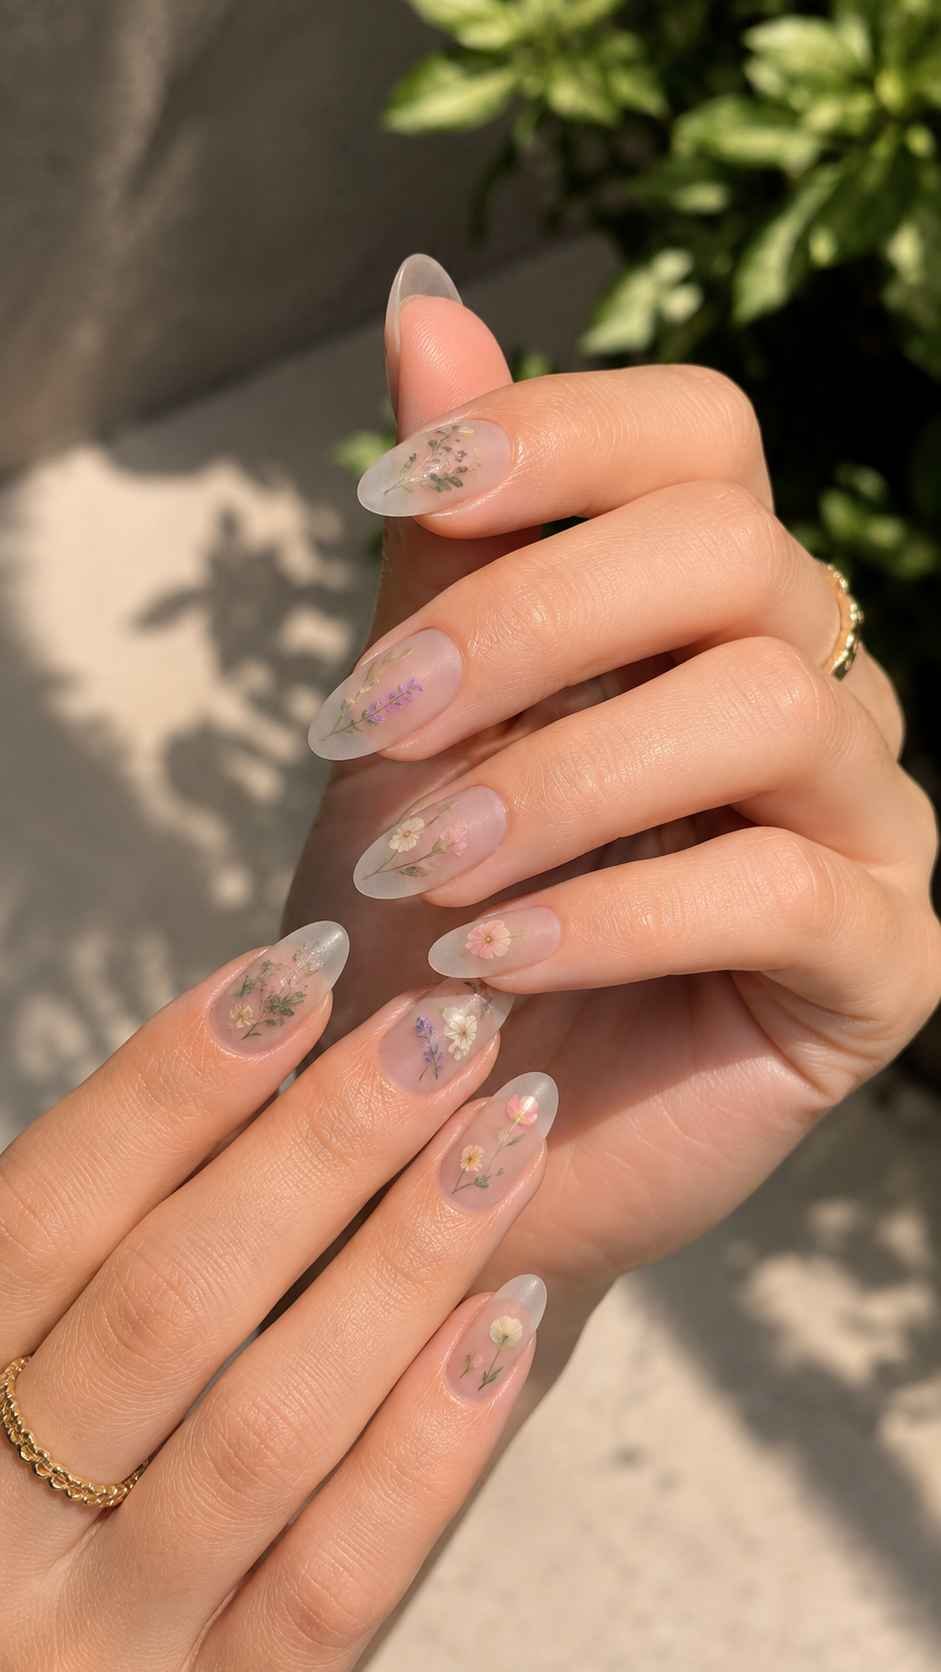
Create a softly blurred window near the center of each clear tip, then paint one or two small petals over it. Milky white, pale lilac, blush pink, or muted cornflower blue can keep the design airy. Leave a few transparent areas untouched, allowing the frosted section to look like delicate glass rather than an opaque block.
Floating Dew Beads
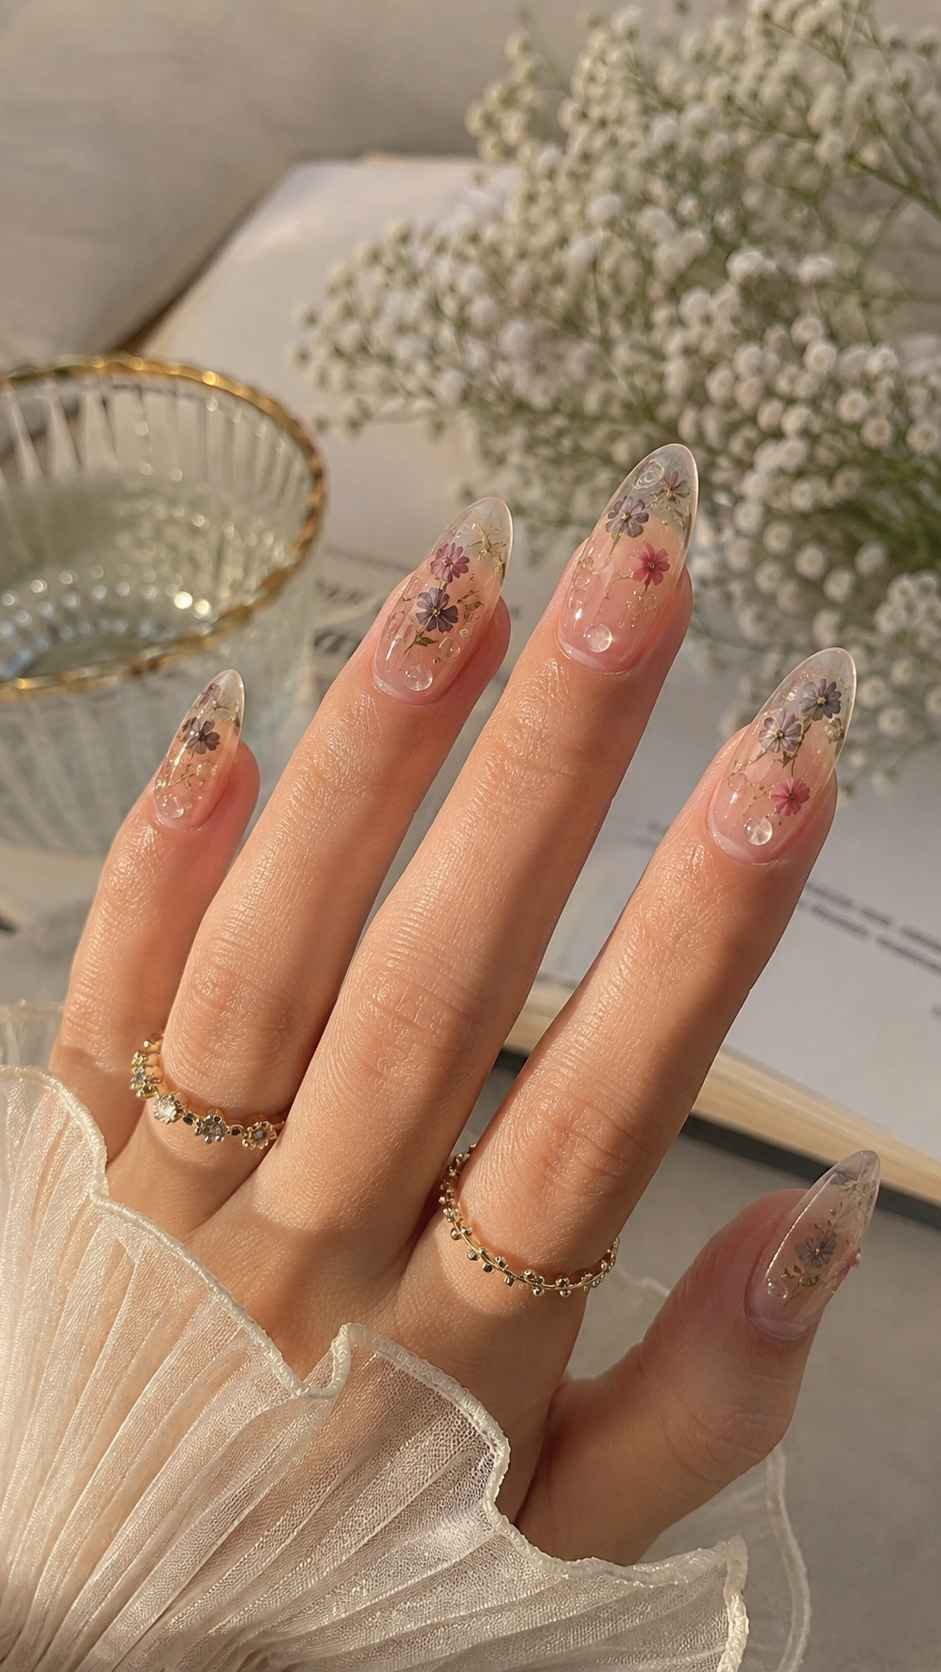
Place tiny clear gel droplets between fine stems and leaves to imitate morning dew. Keep the beads different in size, with smaller ones close to the cuticle and larger drops near the tip. A glossy top layer makes them look dimensional, while a restrained palette prevents the texture from appearing heavy.
Smoked Crystal Edges
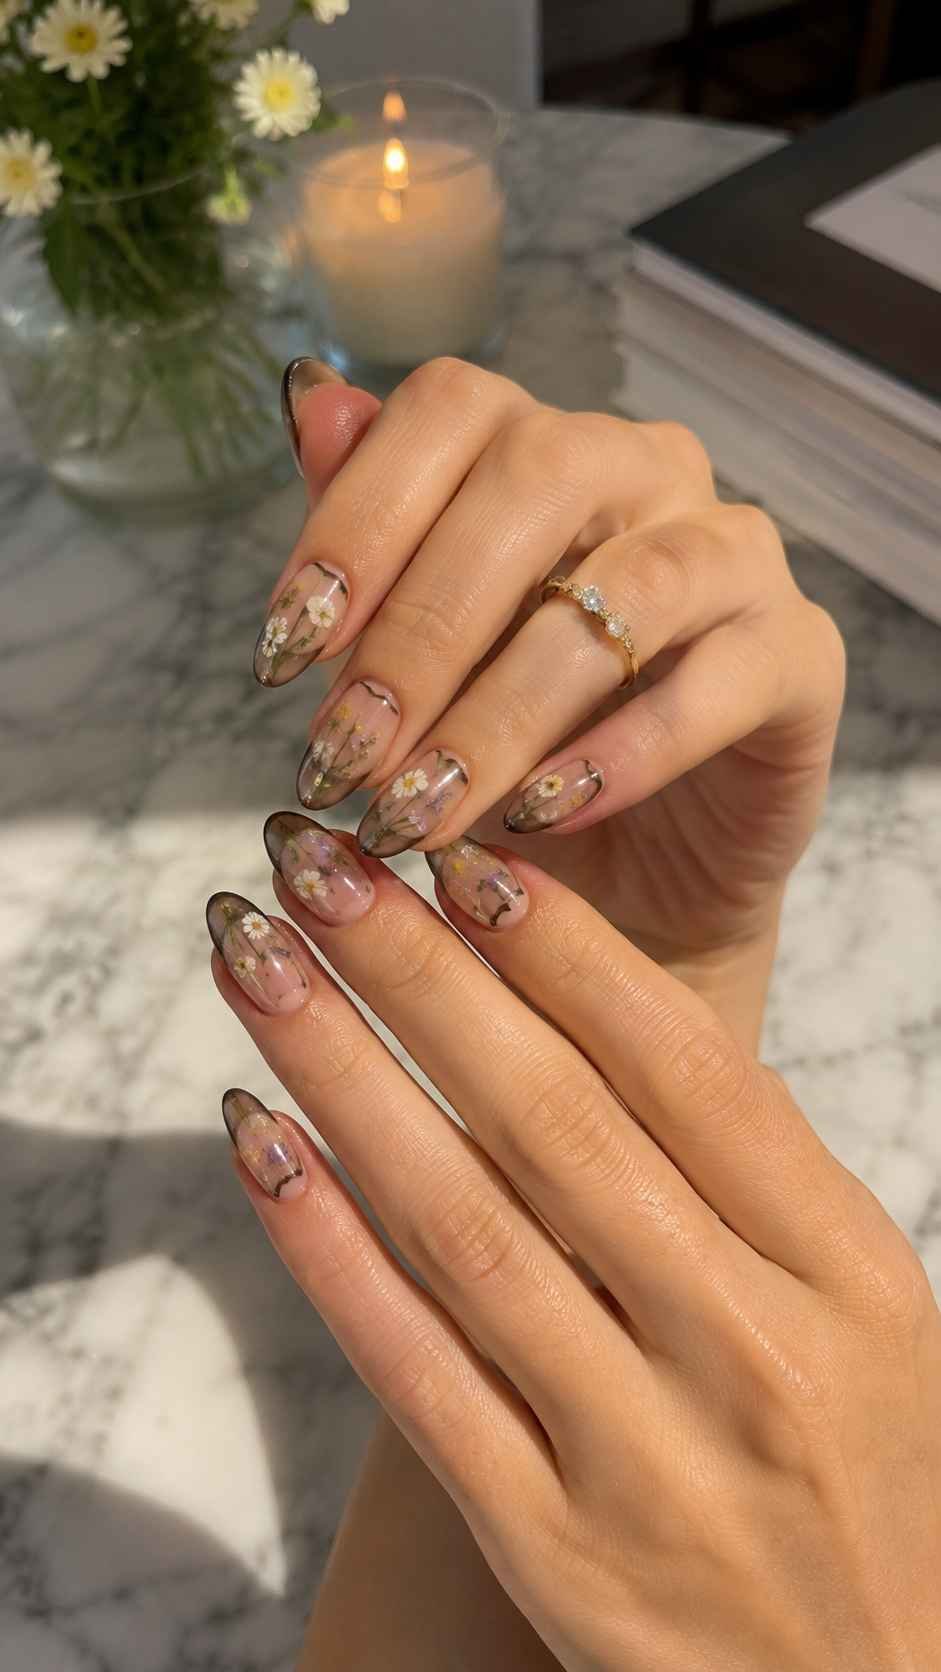
Outline the free edge with a thin wash of smoky gray, deep plum, or transparent navy. The softened border gives the clear tip definition without covering the botanical artwork. Add one metallic speck near a flower center, then keep the remaining surface simple so the crystal effect stays polished.
Laser Thread Lines With Precise Metallic Movement
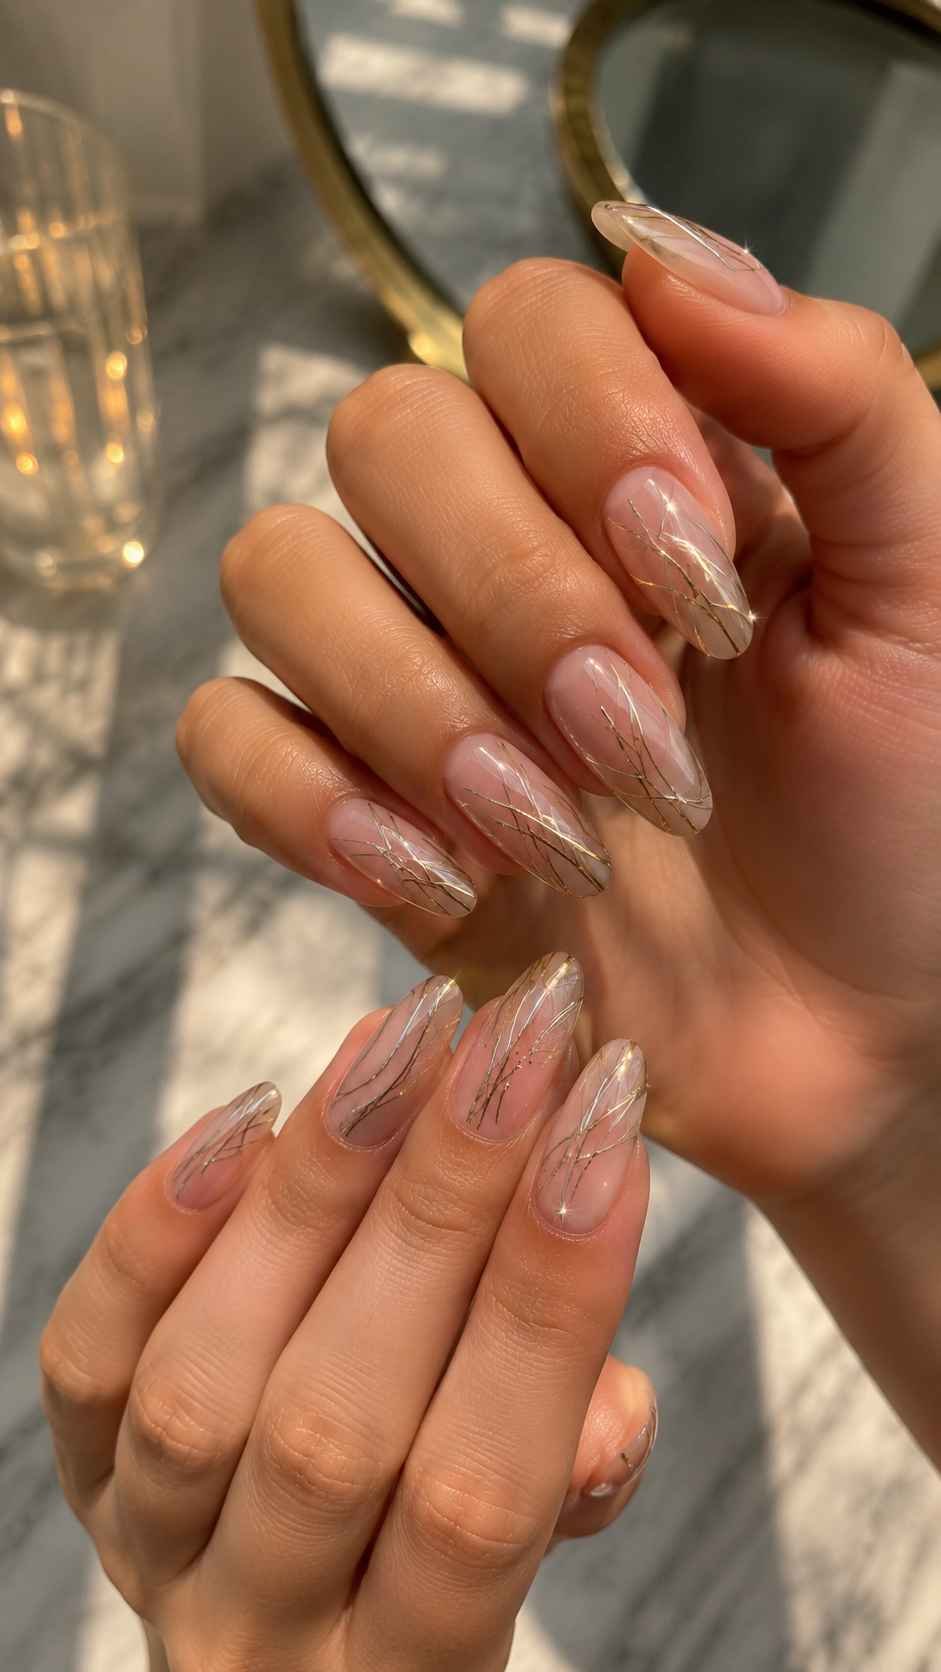
Laser thread nails use extremely fine reflective lines to create movement across a smooth base. Instead of broad chrome sections, the metallic detail appears like a strand of light passing over the nail. A sheer beige, glossy black, fog blue, or translucent berry background provides contrast. The design can connect across several fingers or change direction on every nail. Its precise details suit compact nails and longer statement shapes.
Single Diagonal Filament
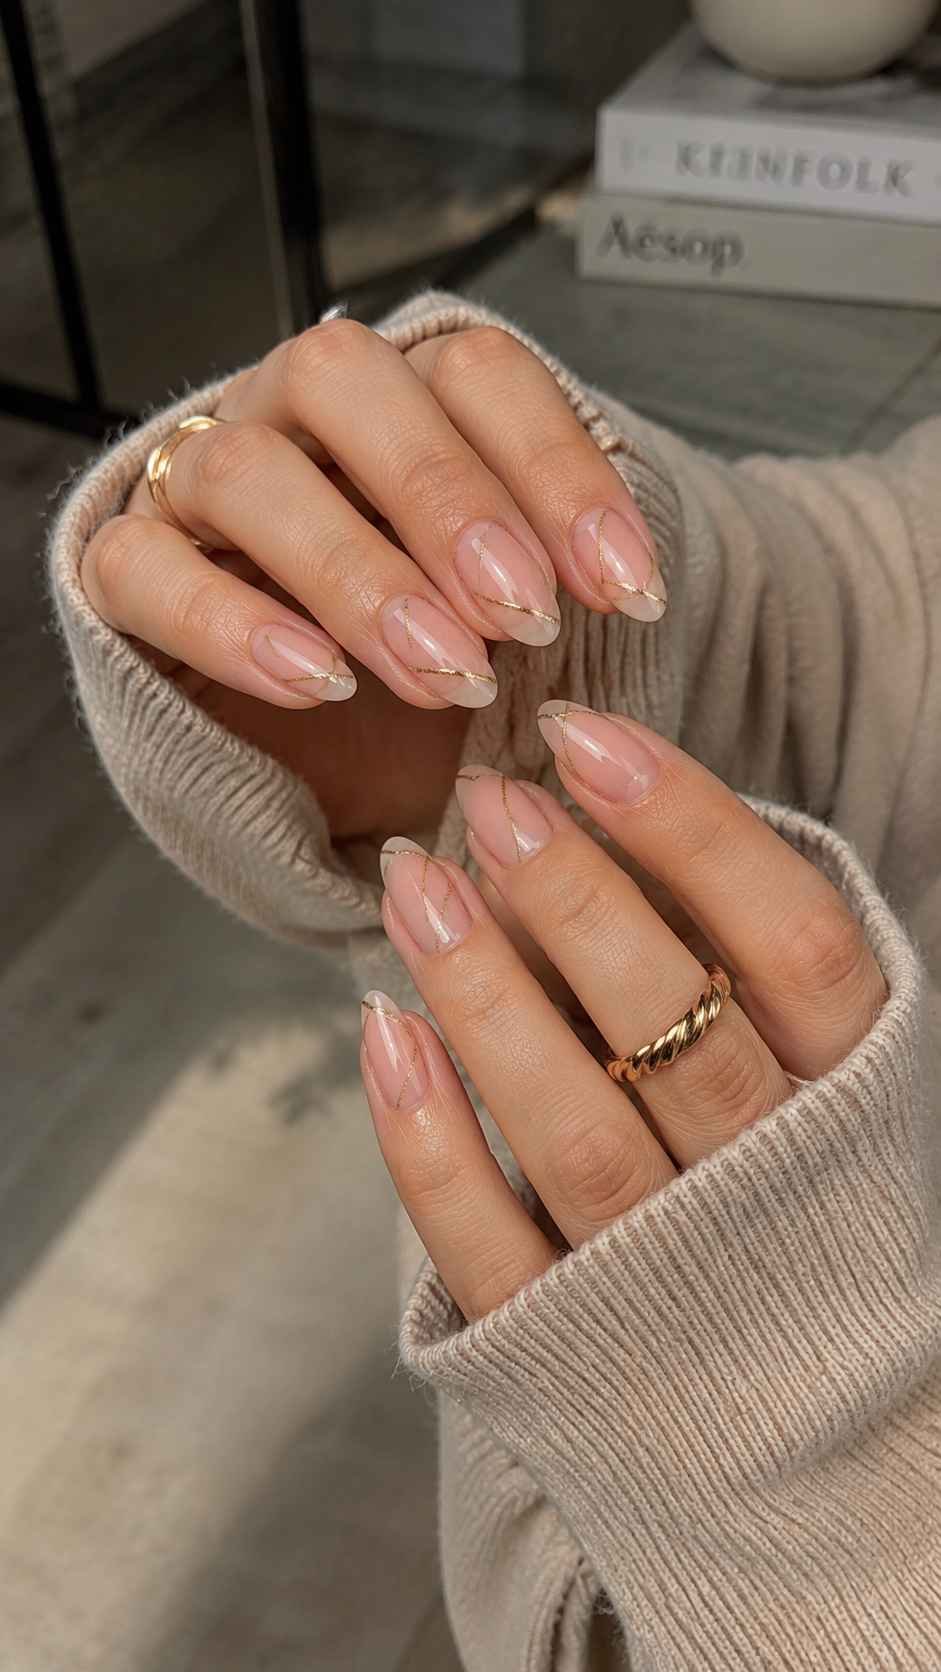
Draw one narrow silver, copper, or holographic line from a lower corner toward the opposite side of the tip. Leave the rest of the nail clean and glossy. The diagonal placement visually lengthens shorter nails and gives a simple manicure a sharp focal point. Add a second faint line only on an accent finger.
Woven Corner Mesh
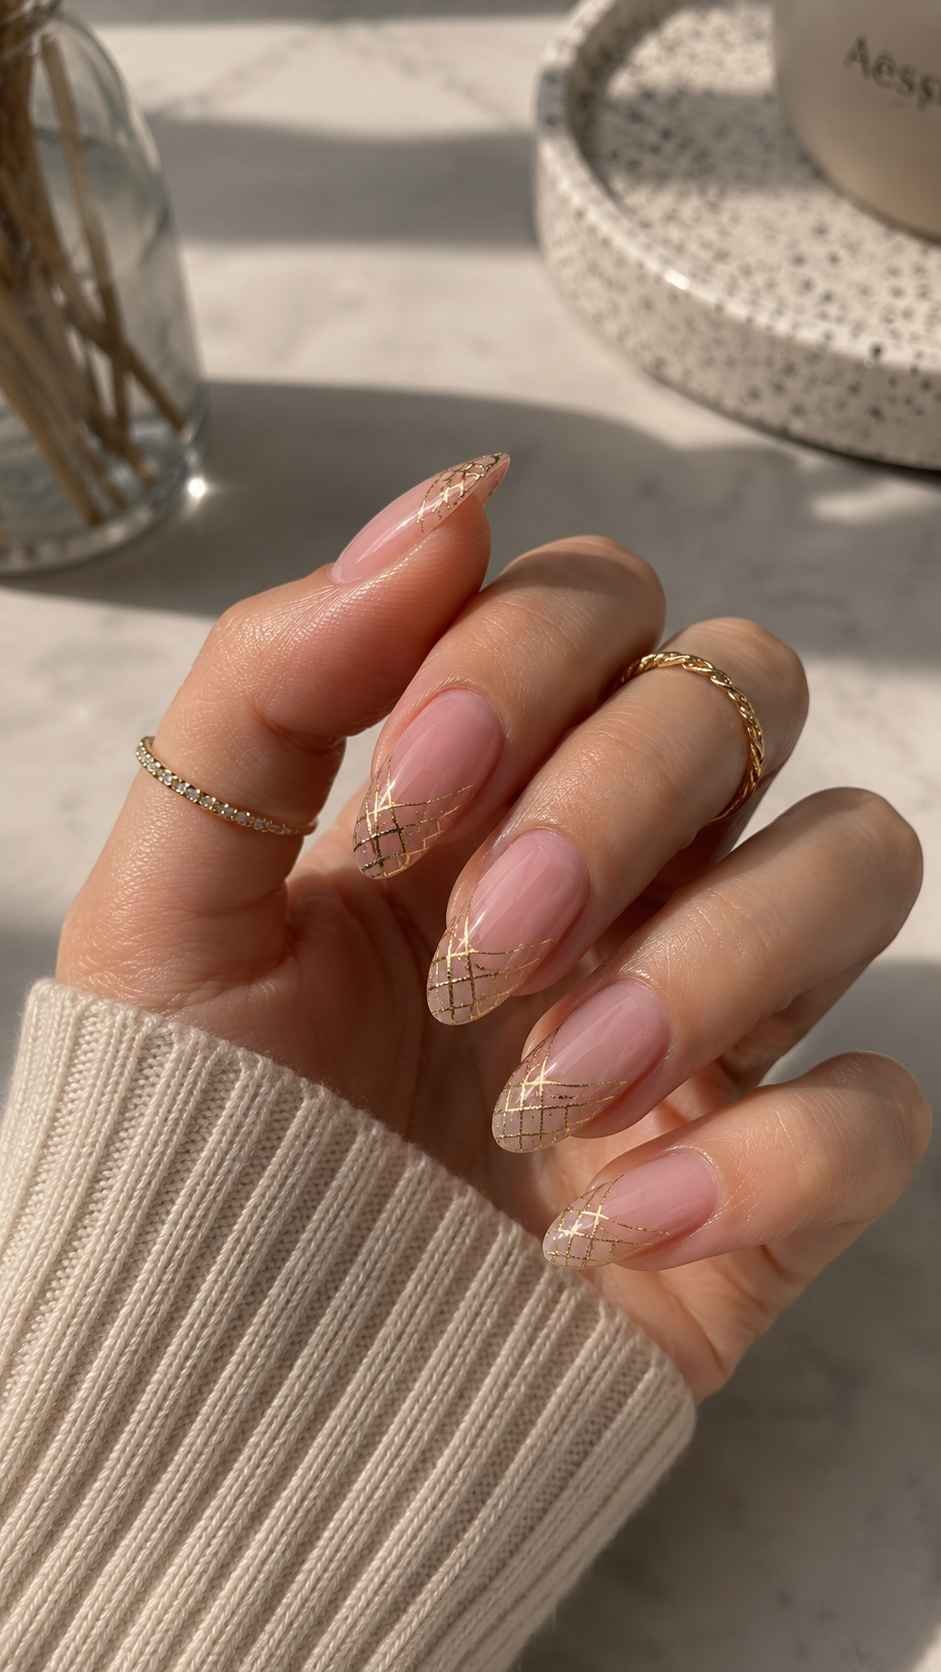
Build a tiny mesh pattern in one corner using several crossing metallic strands. Keep enough open space to show the base underneath. This detail looks striking over black cherry, espresso brown, or milky taupe. Limit the mesh to two or three nails for a balanced finish.
Split Chrome Pathways
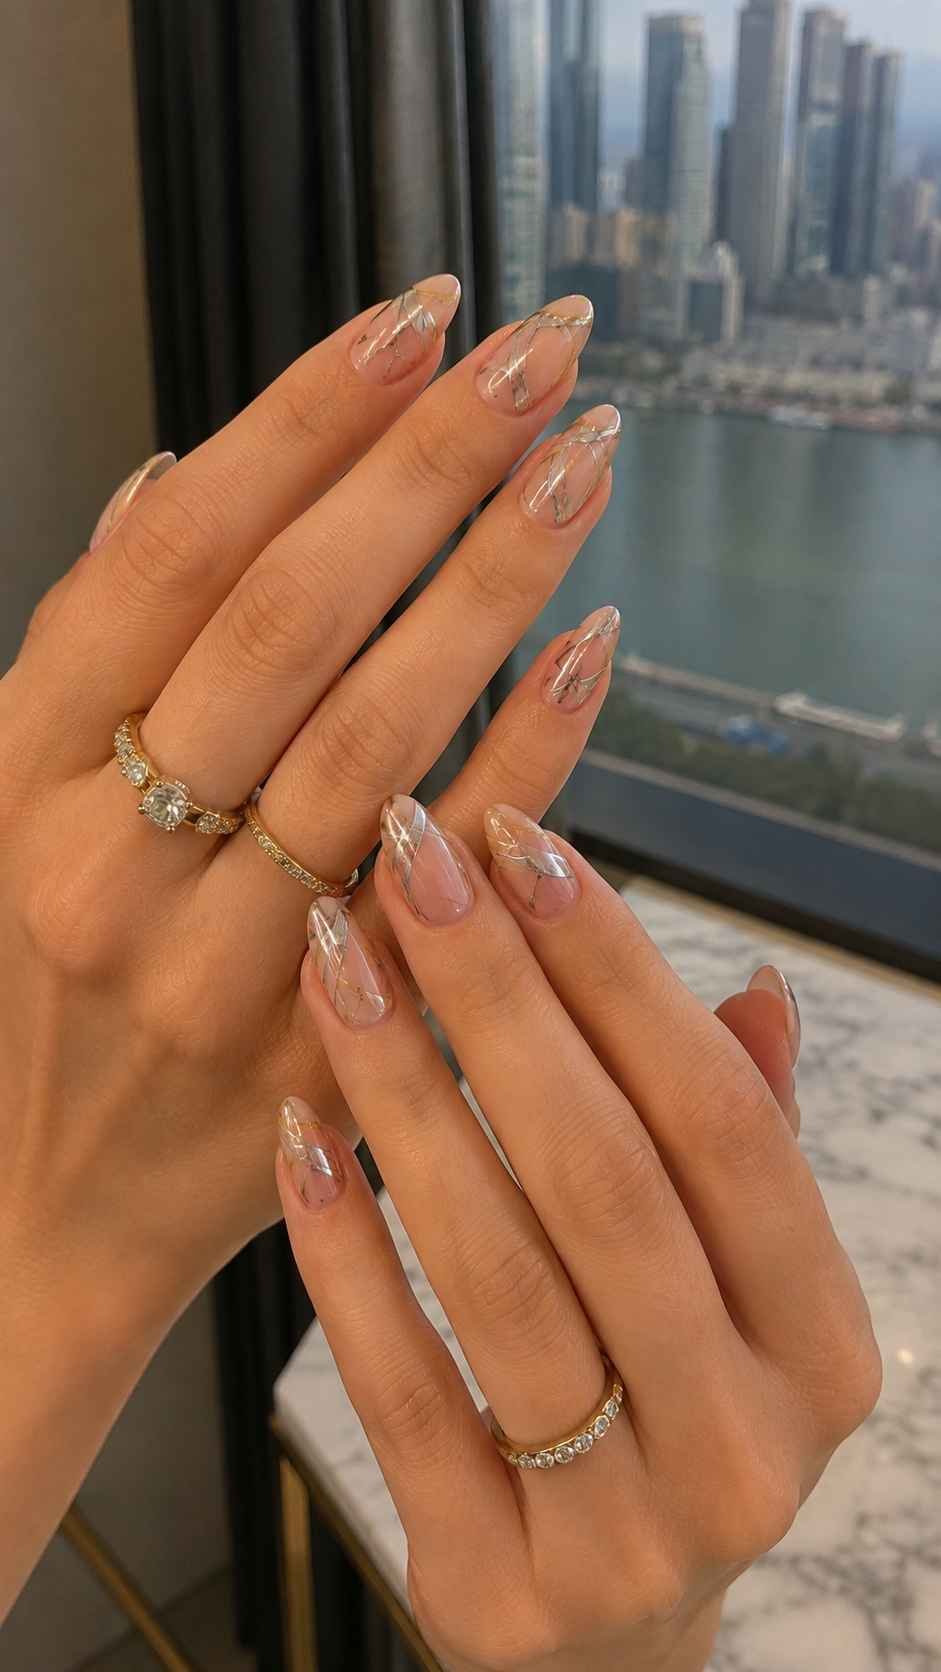
Divide each nail with two narrow reflective paths that curve in different directions. Use cool silver for one and soft gold for the other, creating a mixed metal effect without large embellishments. Let the lines nearly meet at the center but leave a small gap to make the composition more intriguing.
Watercolor Mineral Washes With Organic Color Blending
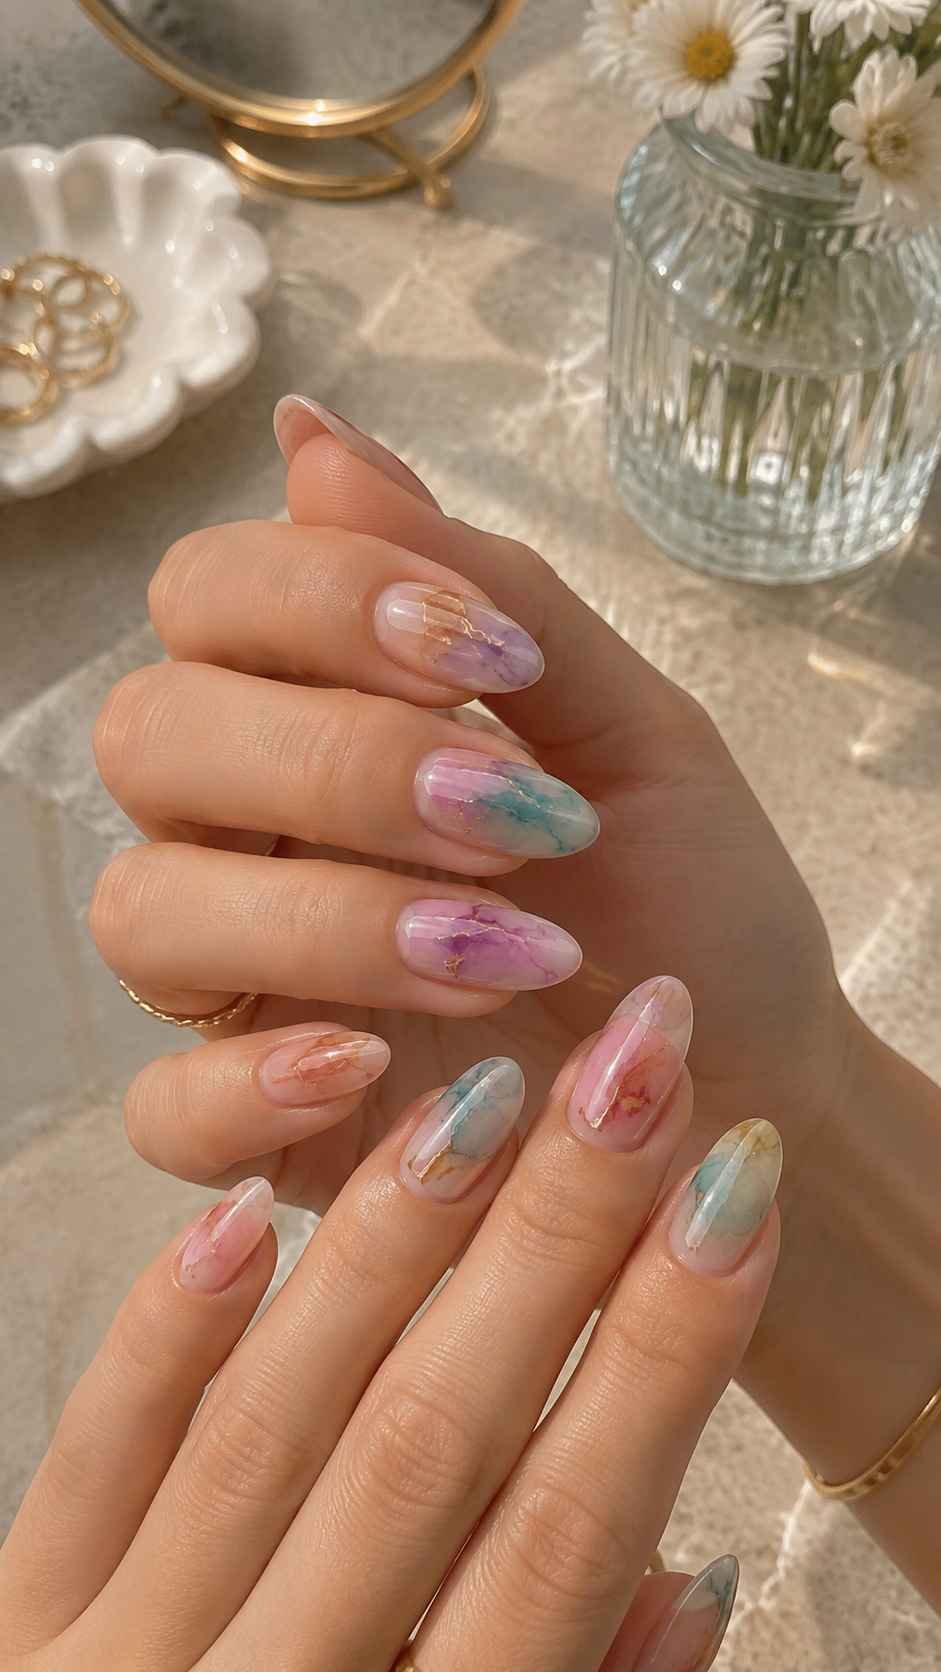
Watercolor mineral nails transform soft pools of color into patterns resembling polished stone, ink clouds, and diluted pigments. The technique looks refined when each shade blends gently into the next without hard outlines. Begin with a translucent milky base, then layer two or three tones in irregular patches. A thin wash of clear gel between colors adds depth and prevents muddiness. Every nail should feel related but not identical, giving the set natural variation in quiet palettes or expressive jewel tones.
Amethyst Tide Pools
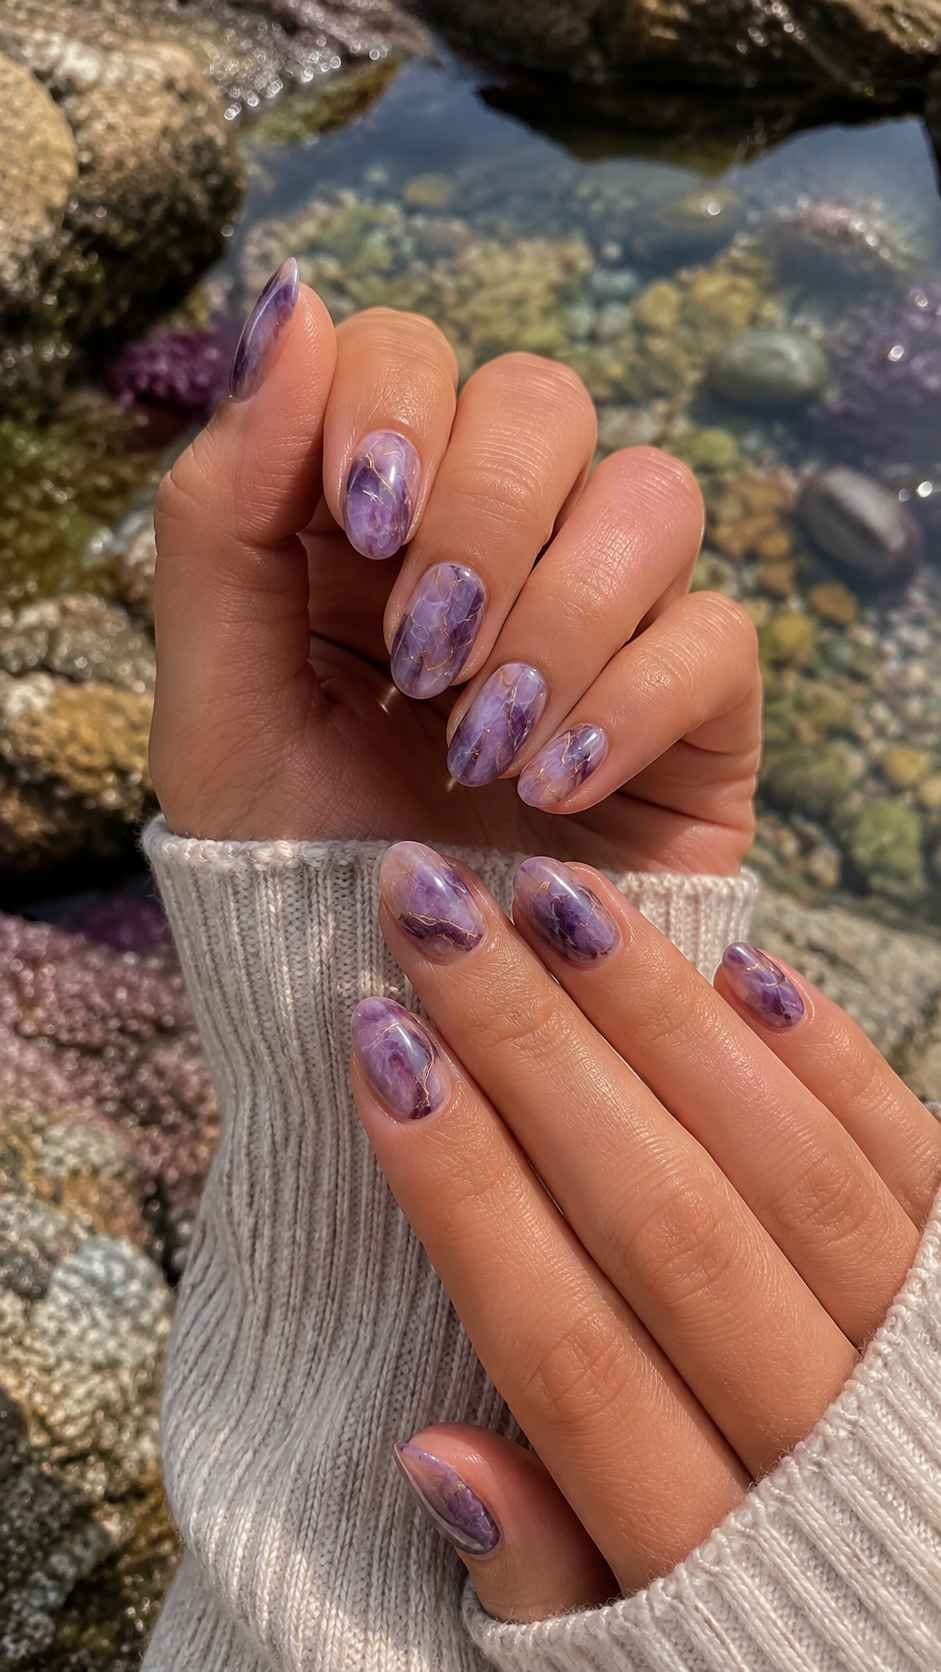
Blend lavender, muted violet, and smoky blue into uneven pools near the center. Allow the edges to fade into the sheer base instead of forming a complete marble pattern. Add a tiny silver vein through one section, then leave the other nails softer so the metallic detail feels carefully placed.
Jade Mist Layers
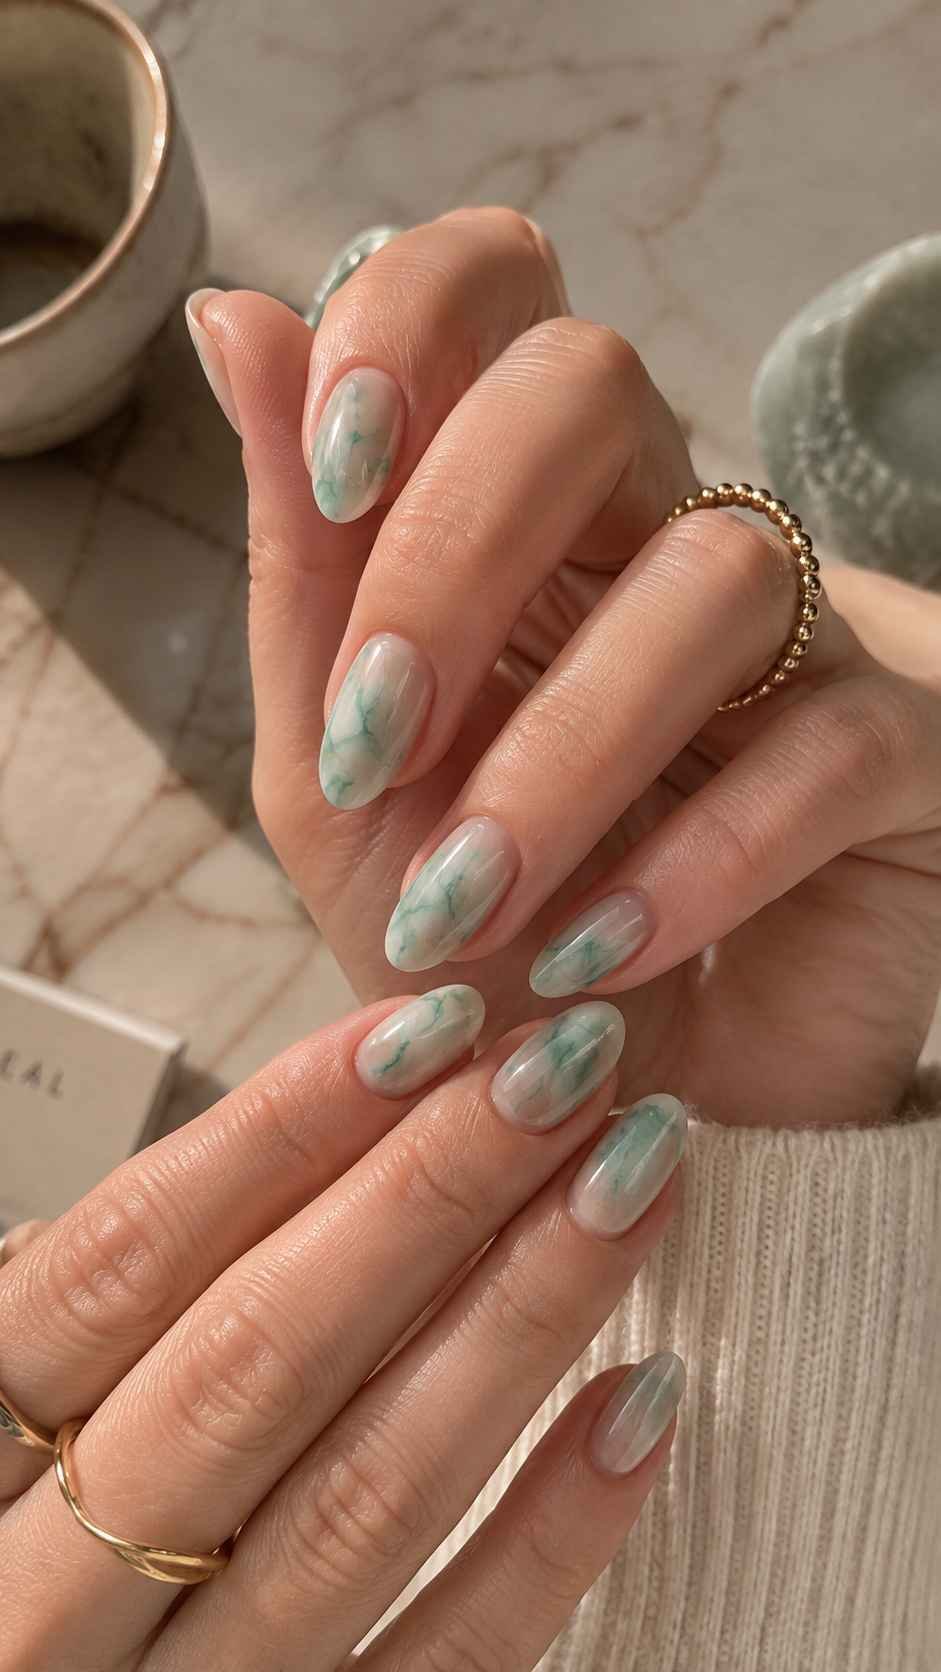
Use translucent sage, pale mint, and deep jade to create a misty green composition. Place the darkest shade close to one side wall and diffuse it inward with clear gel. Add a small area of milky white to create visual light and make the layers resemble polished mineral slices.
Coral Bloom Stains
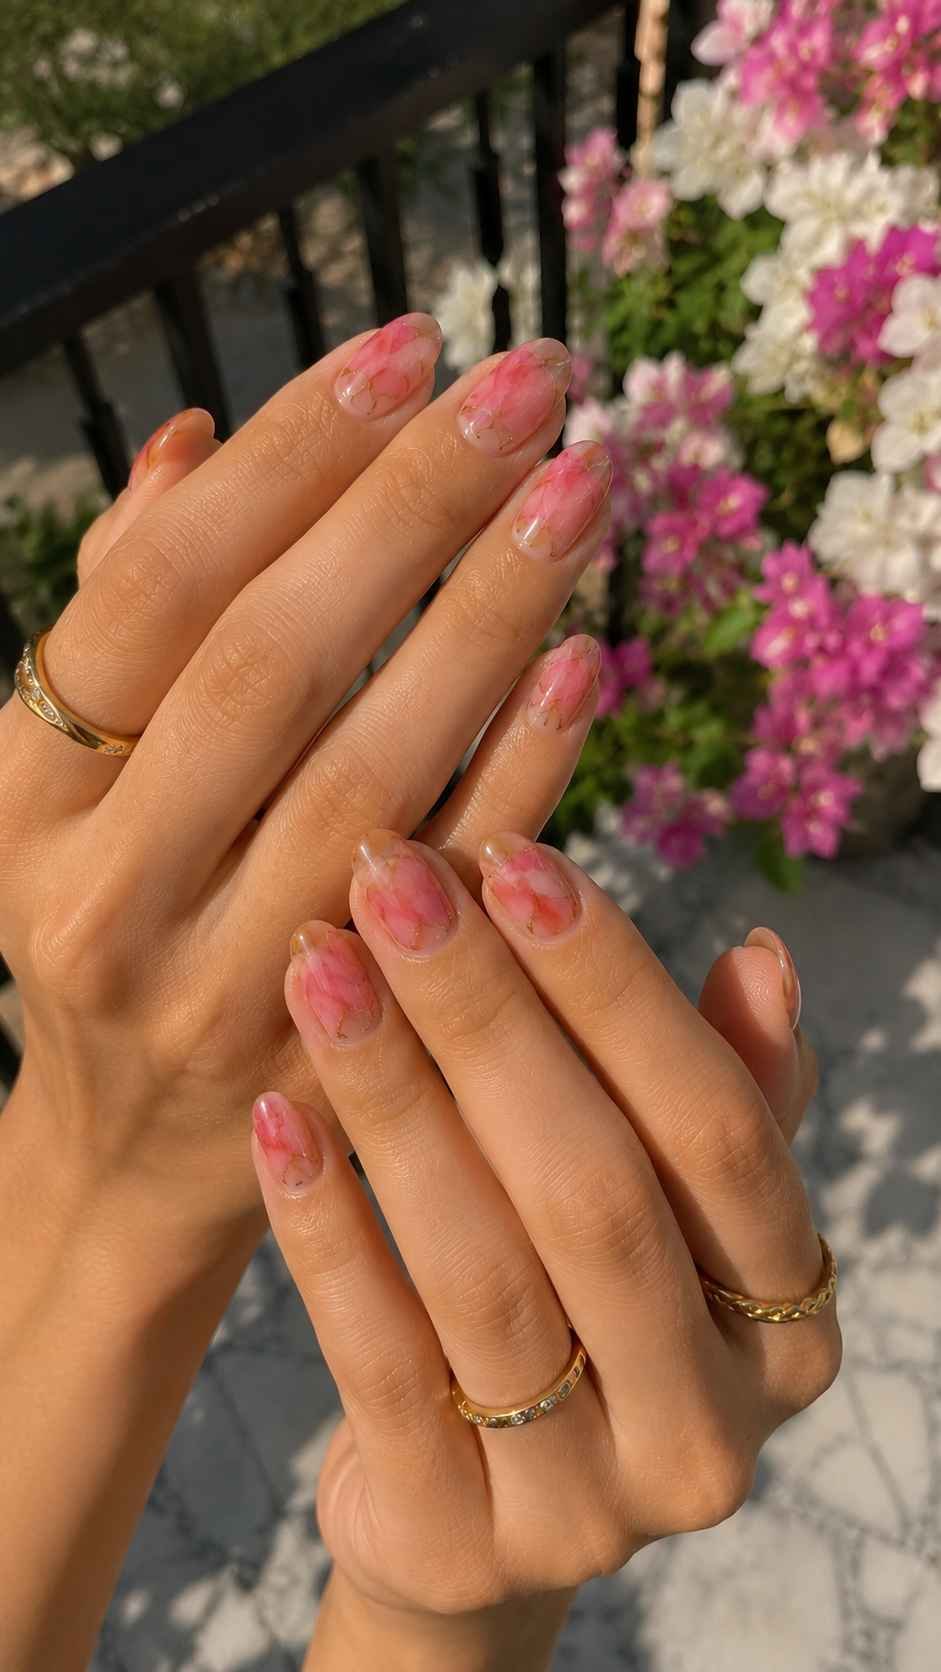
Combine coral pink, papaya orange, and diluted raspberry in loose circular stains. The color should appear to spread naturally, as though pigment touched wet paper. Keep one or two nails mostly bare with only a faint coral cloud, giving the brighter accent nails space to stand out.
Textile Illusion Nails With Couture Inspired Surfaces
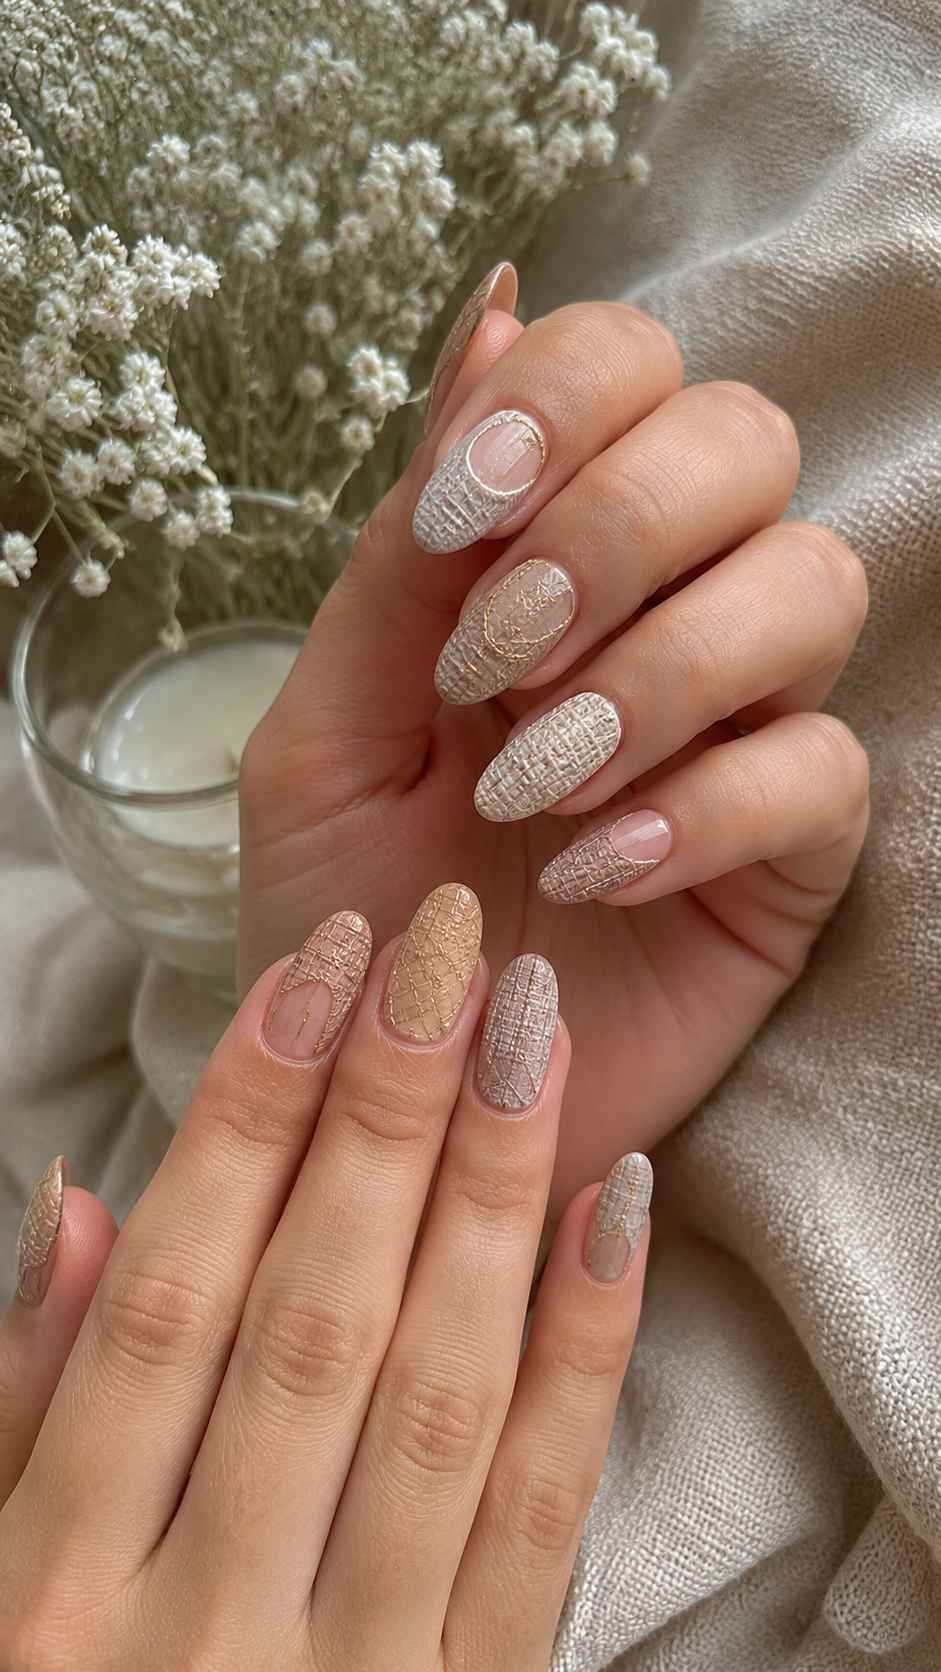
Textile illusion nail art borrows the appearance of tweed, lace, satin, and woven fibers without making the manicure feel costume like. Fine lines, translucent layers, and controlled texture work better than thick painted patterns. Choose one fabric reference as the feature, then repeat its colors or finish across the remaining nails. Cream, black, dusty rose, soft gold, and muted blue create an elegant palette, while brighter combinations feel playful. The result should suggest fabric while preserving a smooth surface.
Micro Boucle Checks
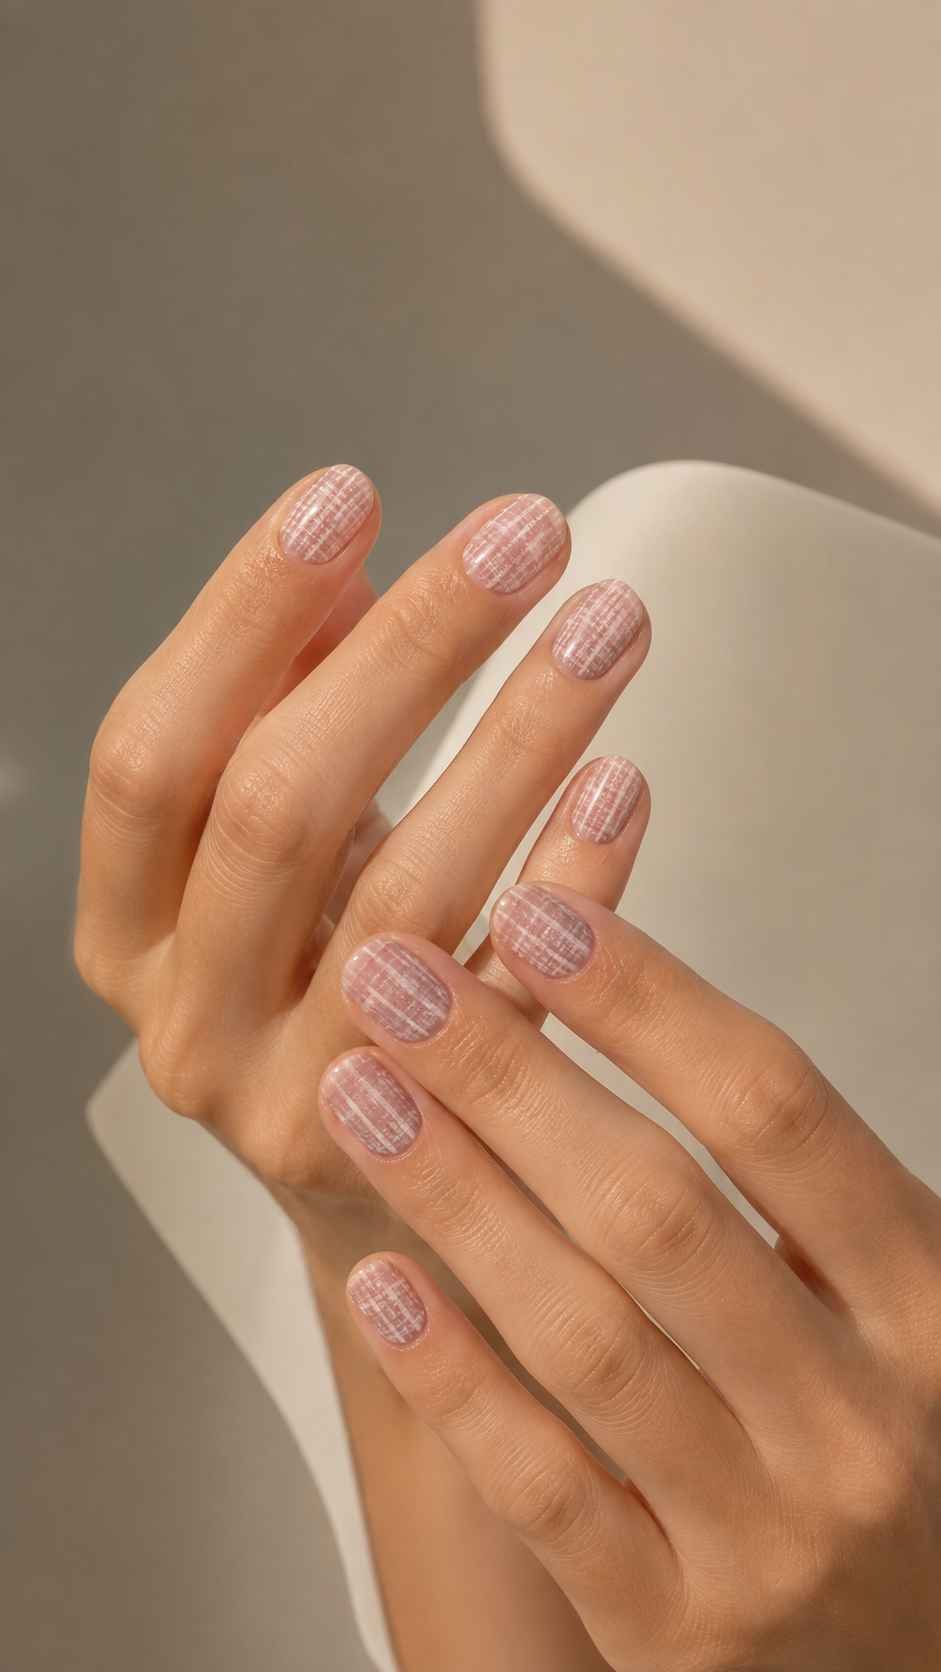
Paint an irregular check pattern using tiny broken lines rather than solid stripes. Cream, charcoal, and muted pink can imitate a soft boucle weave, while small gold threads add light. Keep the lines slightly uneven so the texture feels woven. A clear glossy layer will smooth the surface without hiding the detail.
Translucent Lace Panels
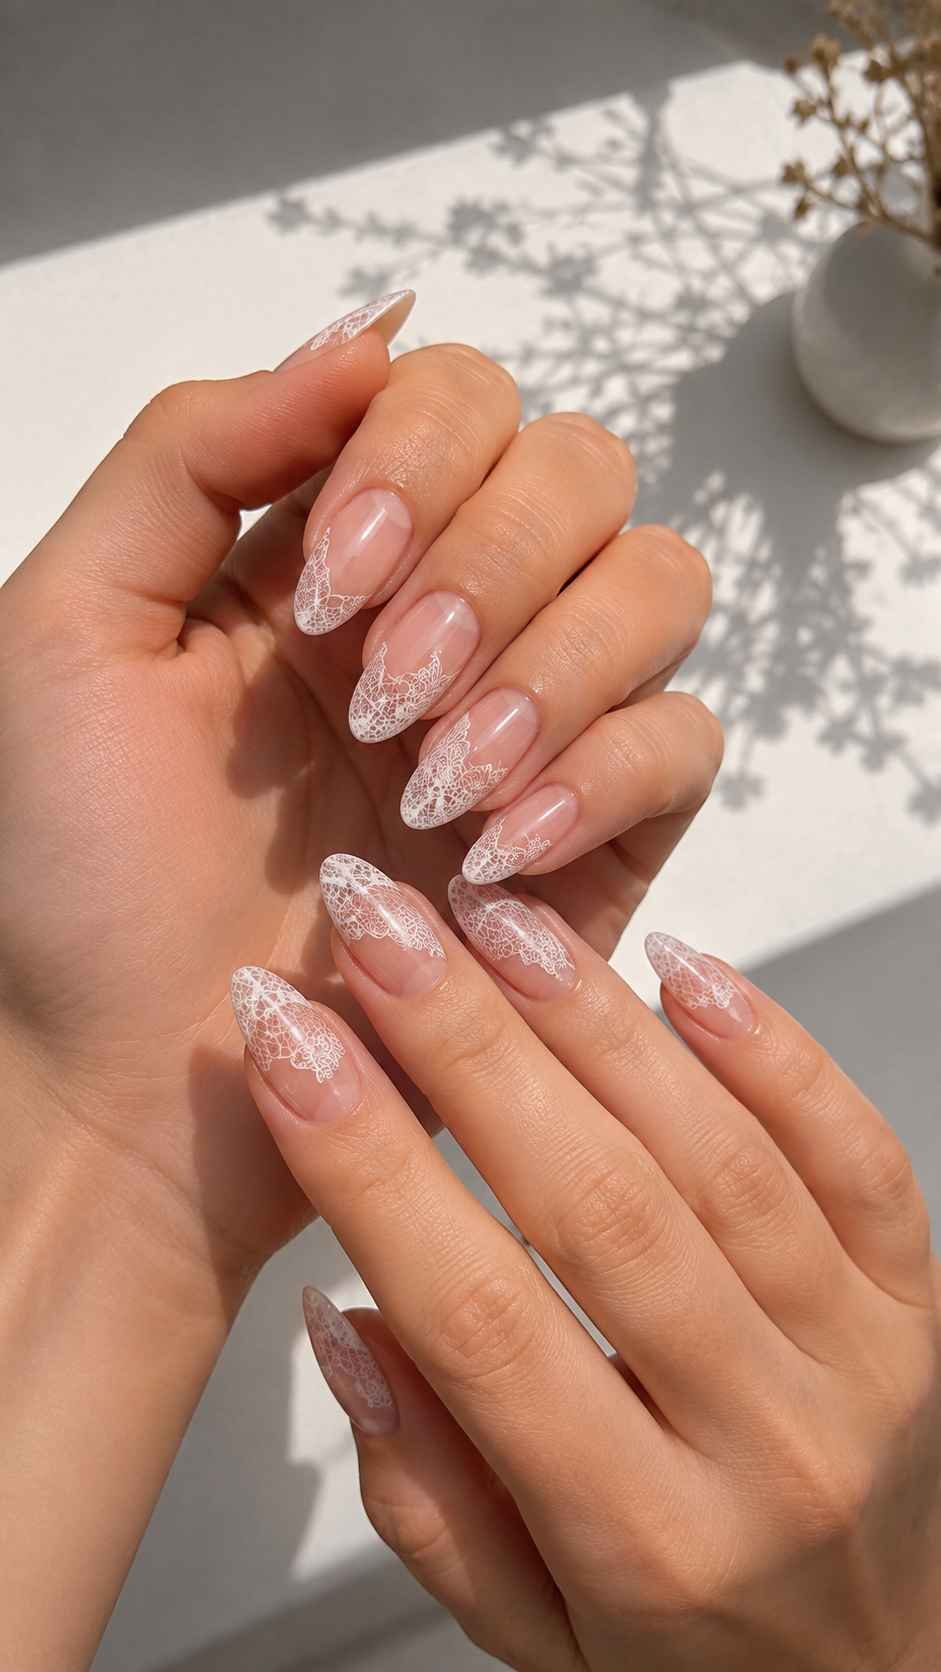
Create a sheer panel along one side of the nail, then add miniature loops, dots, and curved lines in white or black. Open spaces keep the lace effect delicate. Pair the detailed nails with plain milky or nude companions so the pattern looks intentional rather than overly decorative.
Satin Ribbon Folds
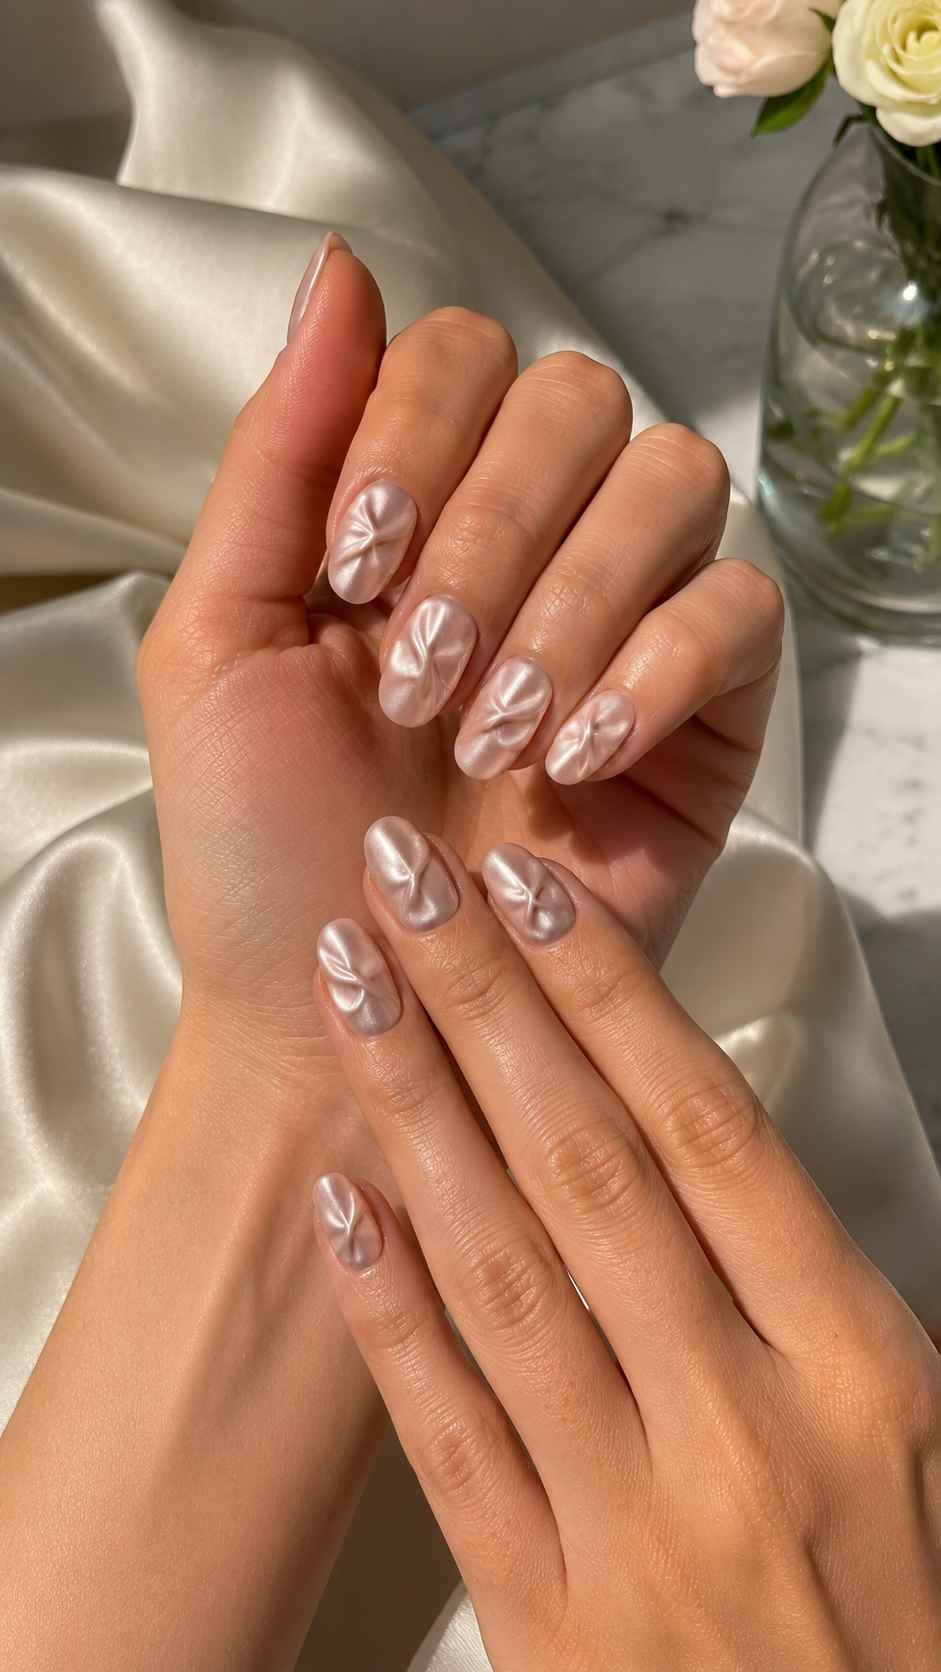
Use pearly gel to paint curved bands that appear to fold across the nail. A soft highlight along one edge and a deeper tone along the other create the illusion of fabric movement. Champagne, pale blue, shell pink, and silver gray look especially effective beneath a smooth luminous top layer.
Micro Dot Constellations Designed for Short Nails
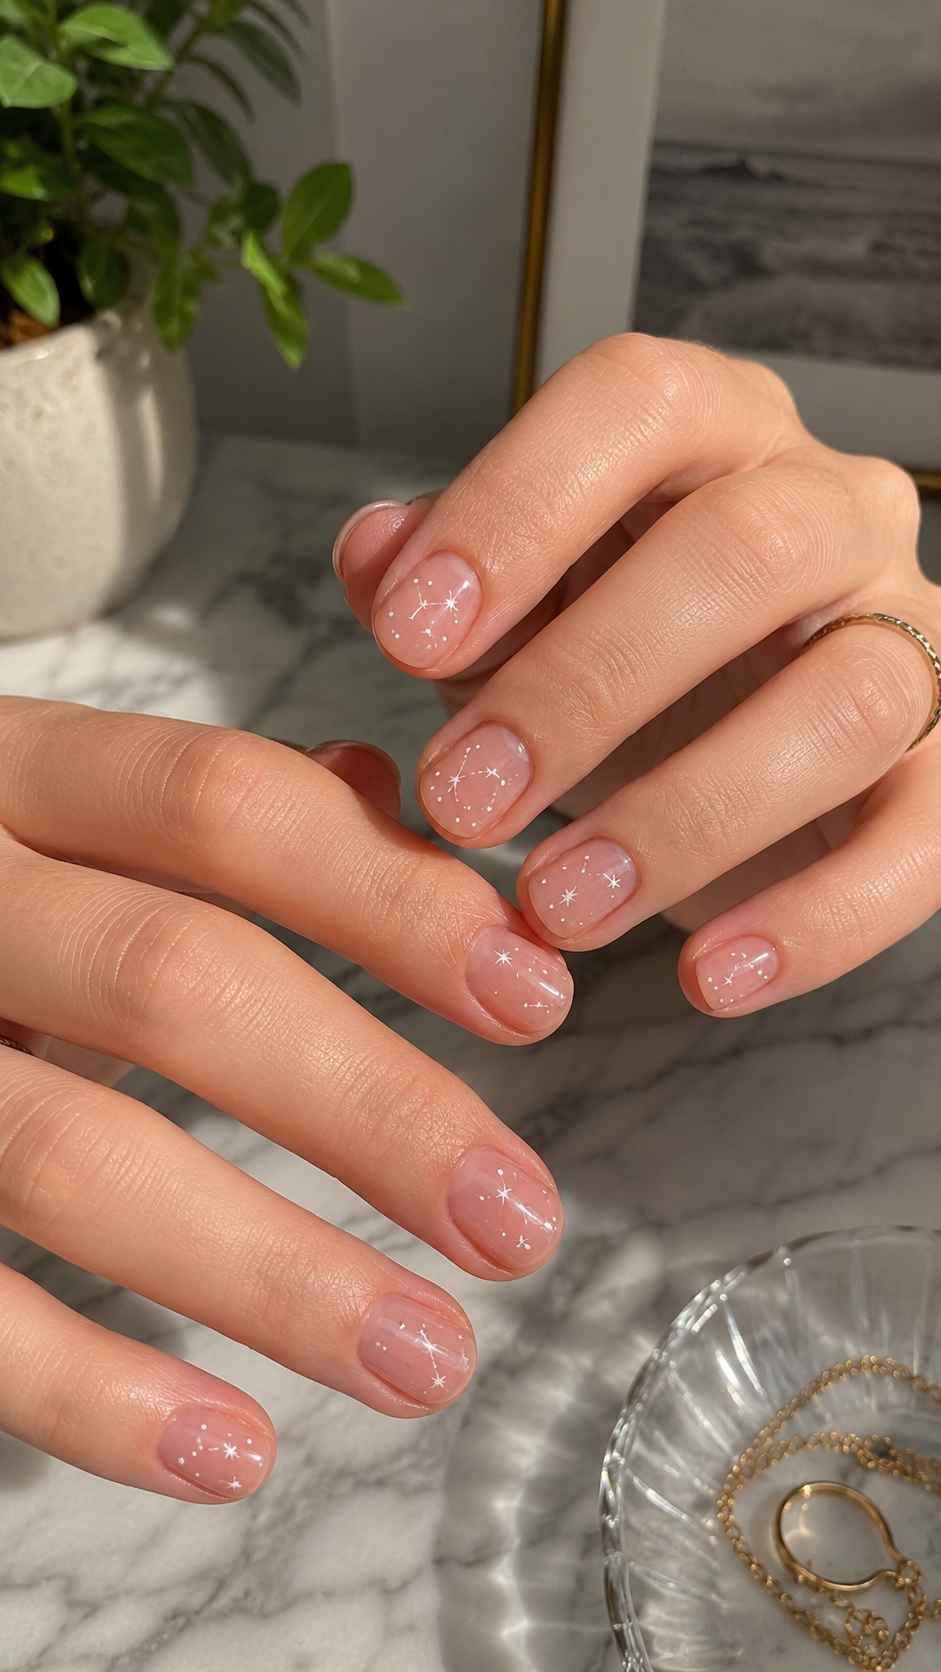
Micro dot constellations prove that small nail surfaces can hold detailed artwork without looking cramped. The key is using tiny dots with deliberate spacing rather than filling every area evenly. A dotting tool, fine brush, or nail pin can create crisp circles. Combine one dominant color with a smaller accent shade, then place the dots in curved routes, clustered corners, or narrow borders. The pattern looks minimal from a distance and intricate up close, suiting round, squoval, and compact square nails.
Orbit Dot Trails
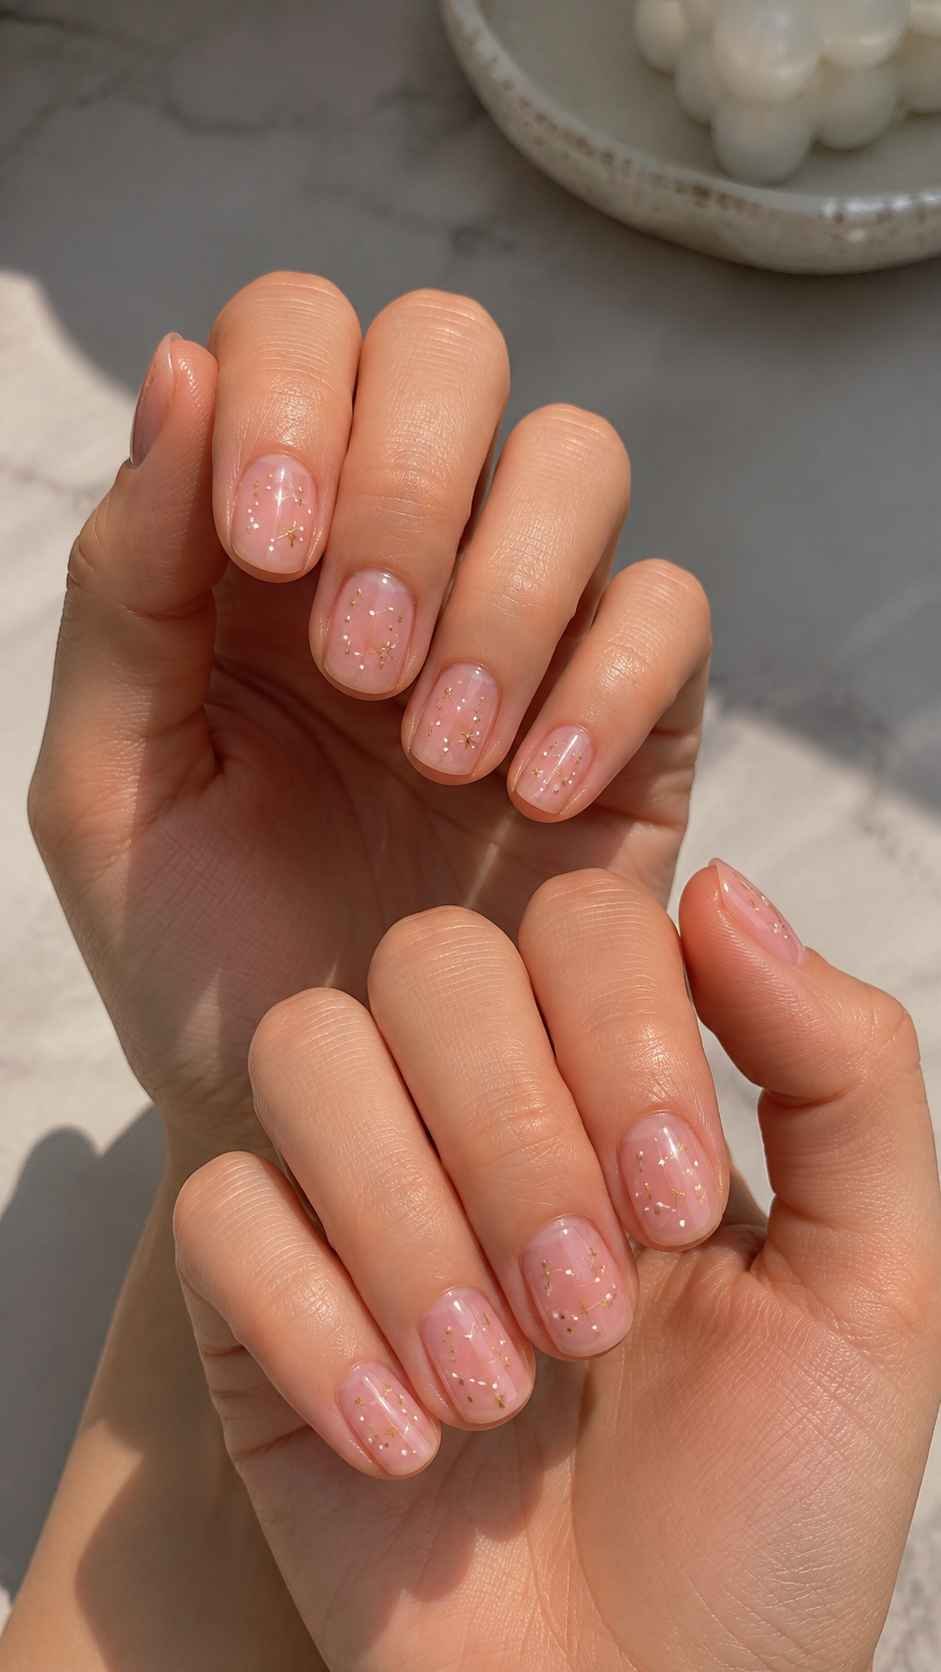
Arrange miniature dots in a curved trail that travels from the cuticle toward one side of the tip. Change the sizes gradually to suggest movement. White and cobalt over a clear base feel graphic, while blush and burgundy create softer contrast. Leave one nail plain to give the pattern a visual pause.
Confetti Crescent Corners
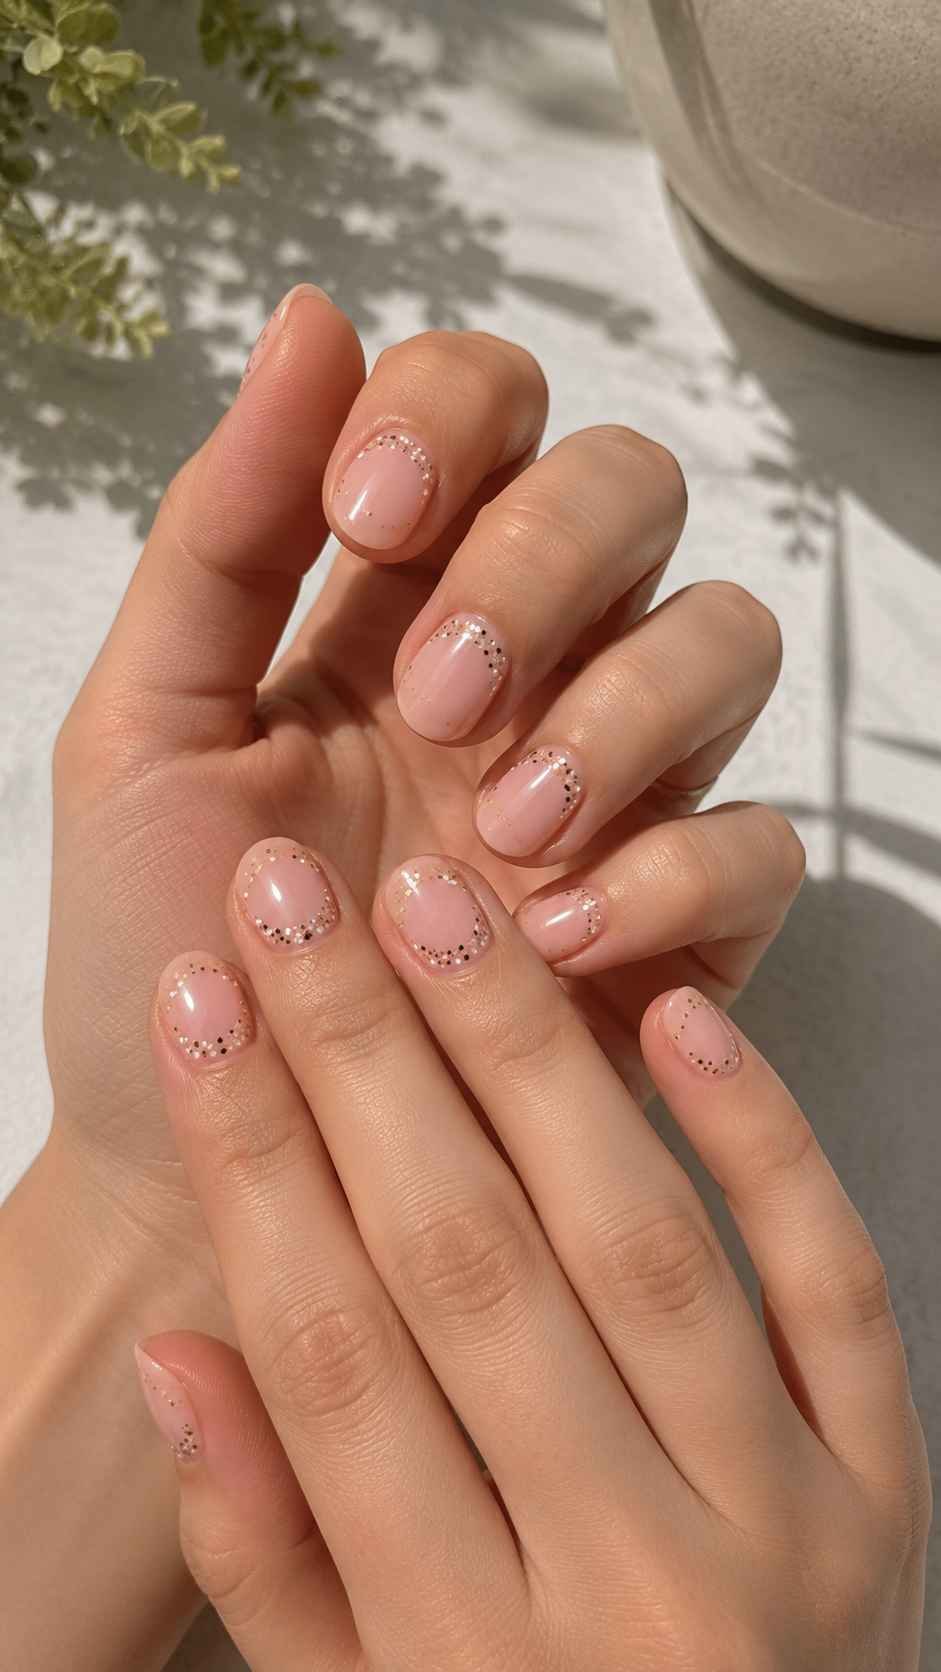
Build a small crescent of colorful dots in one lower corner of each nail. Use pistachio, tangerine, lilac, and aqua for a lively palette, or select three related neutrals for a quieter version. The empty space above the crescent helps short nails appear longer and keeps the confetti effect neat.
Checker Scatter Pattern
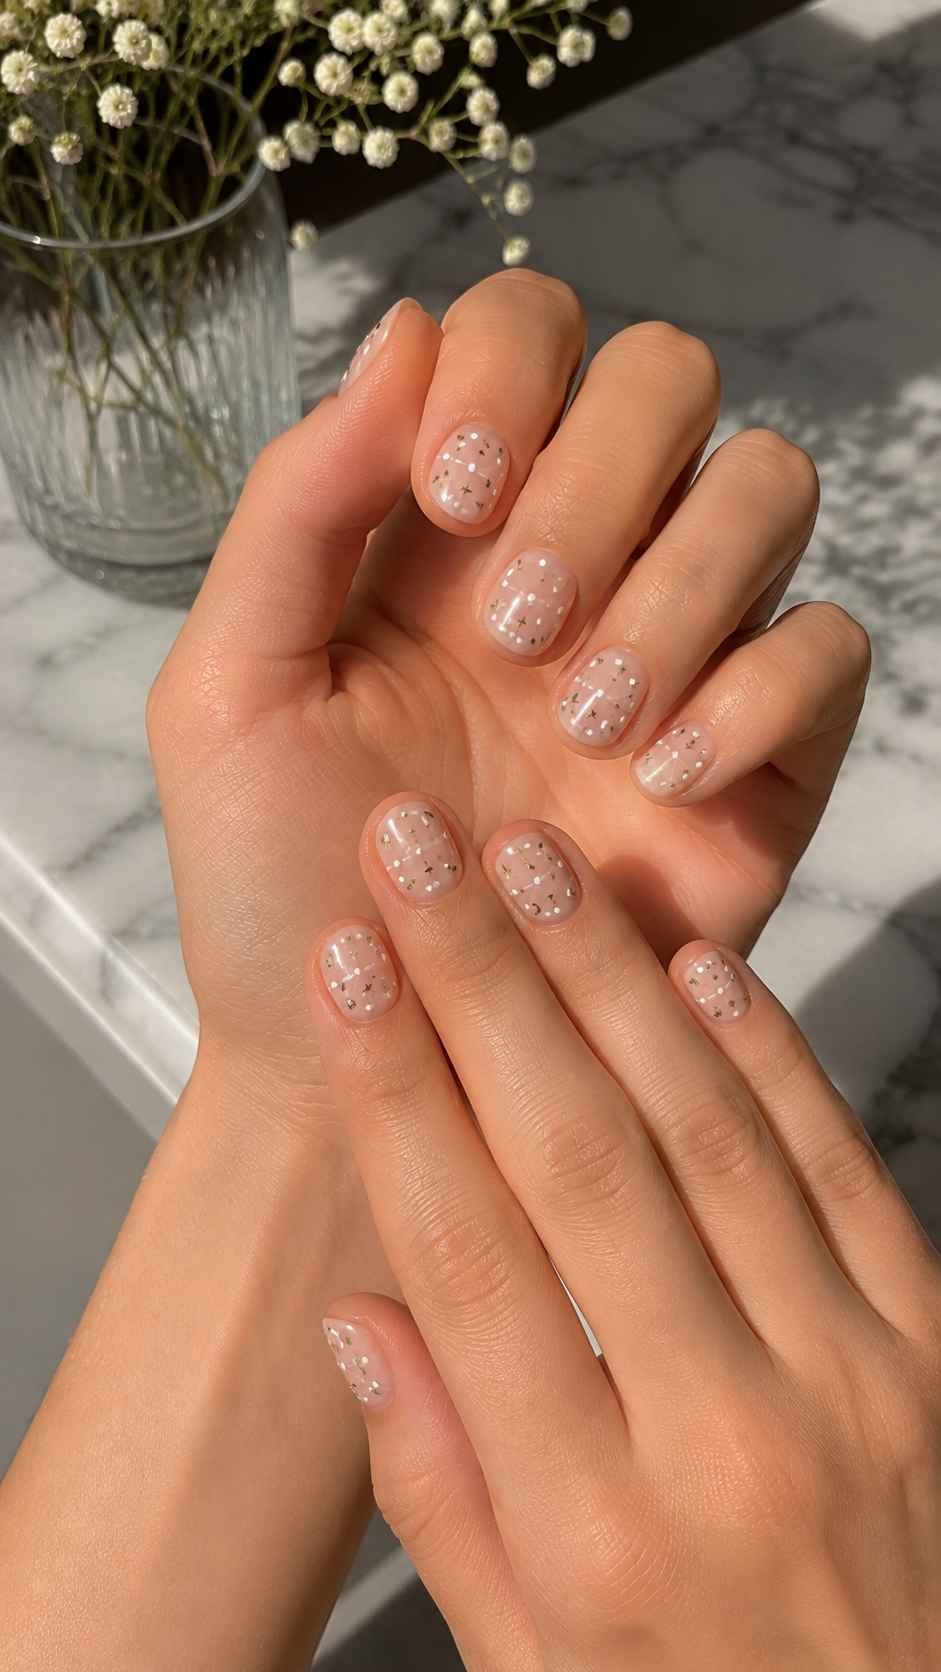
Alternate tiny dots in a loose checker arrangement, leaving several spaces empty. This interrupted layout feels more modern than a complete grid. Try glossy black and cloud white on a sheer pink base, then reverse the colors on an accent nail. A precise top layer will keep every dot sharp.
Magnetic Jelly Sculptures With Glowing Inner Depth
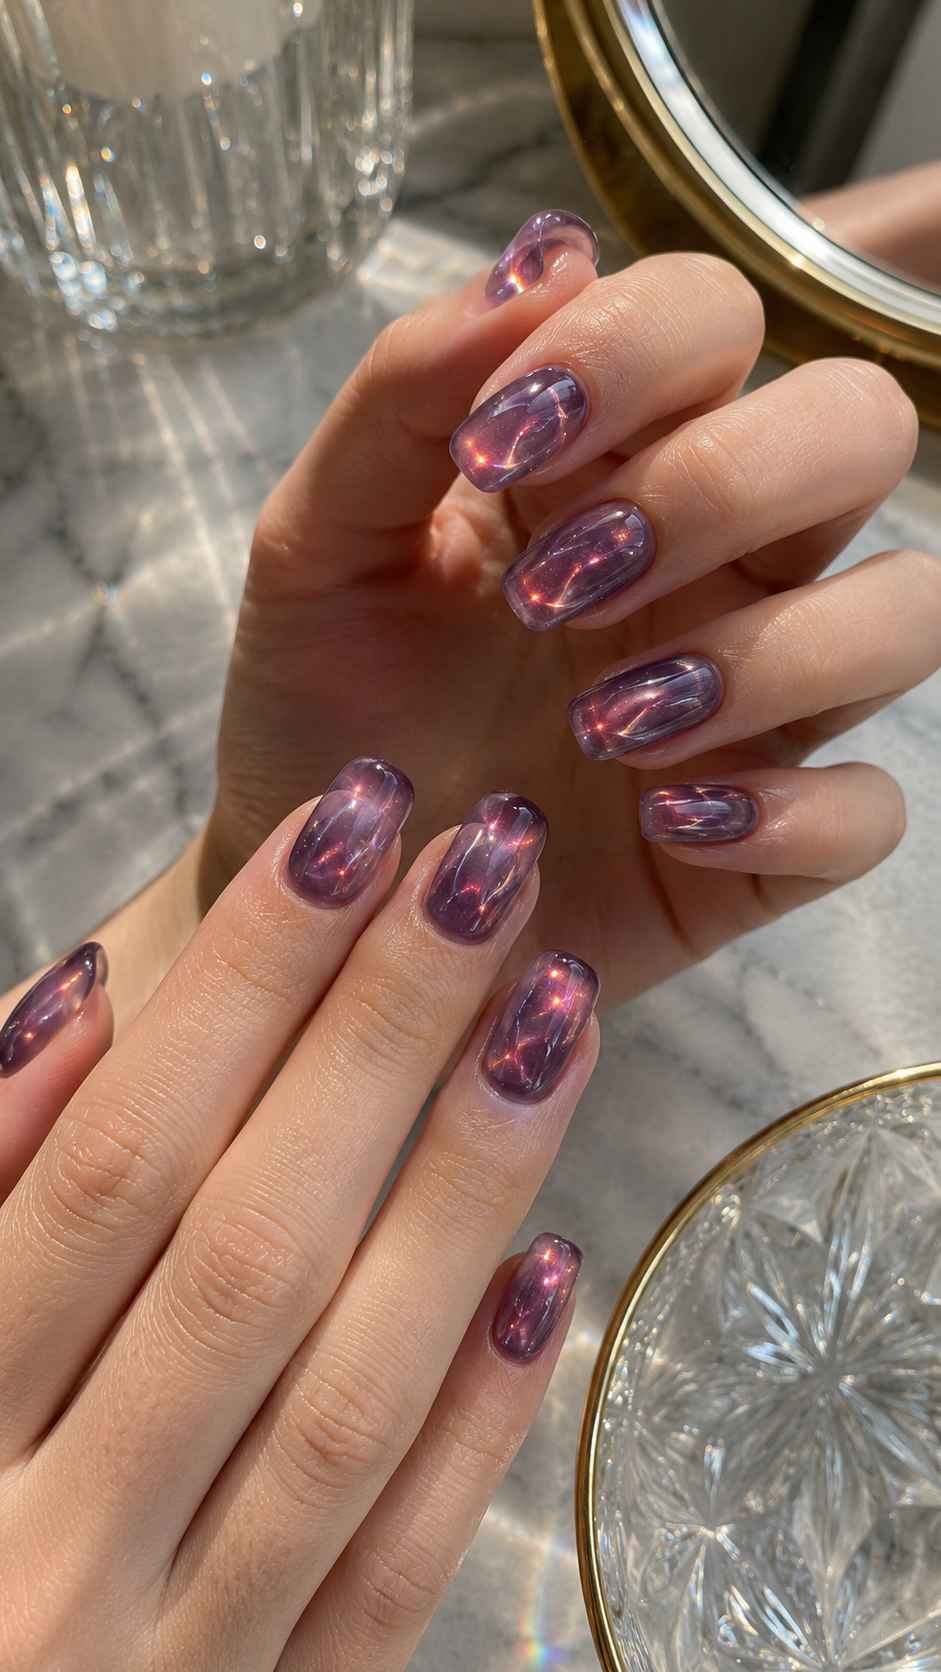
Magnetic jelly sculptures combine translucent color, reflected light, and raised clear details to create a manicure that seems to glow from inside. Magnetic polish forms the luminous foundation, while jelly color adds a tinted glass effect without hiding the shimmer. Clear ridges, waves, or domes can be placed over selected areas to distort the reflection and create movement. This idea suits berry, aquatic blue, pistachio, bronze, smoky violet, milky pink, or pearl.
Velvet Tunnel Glow
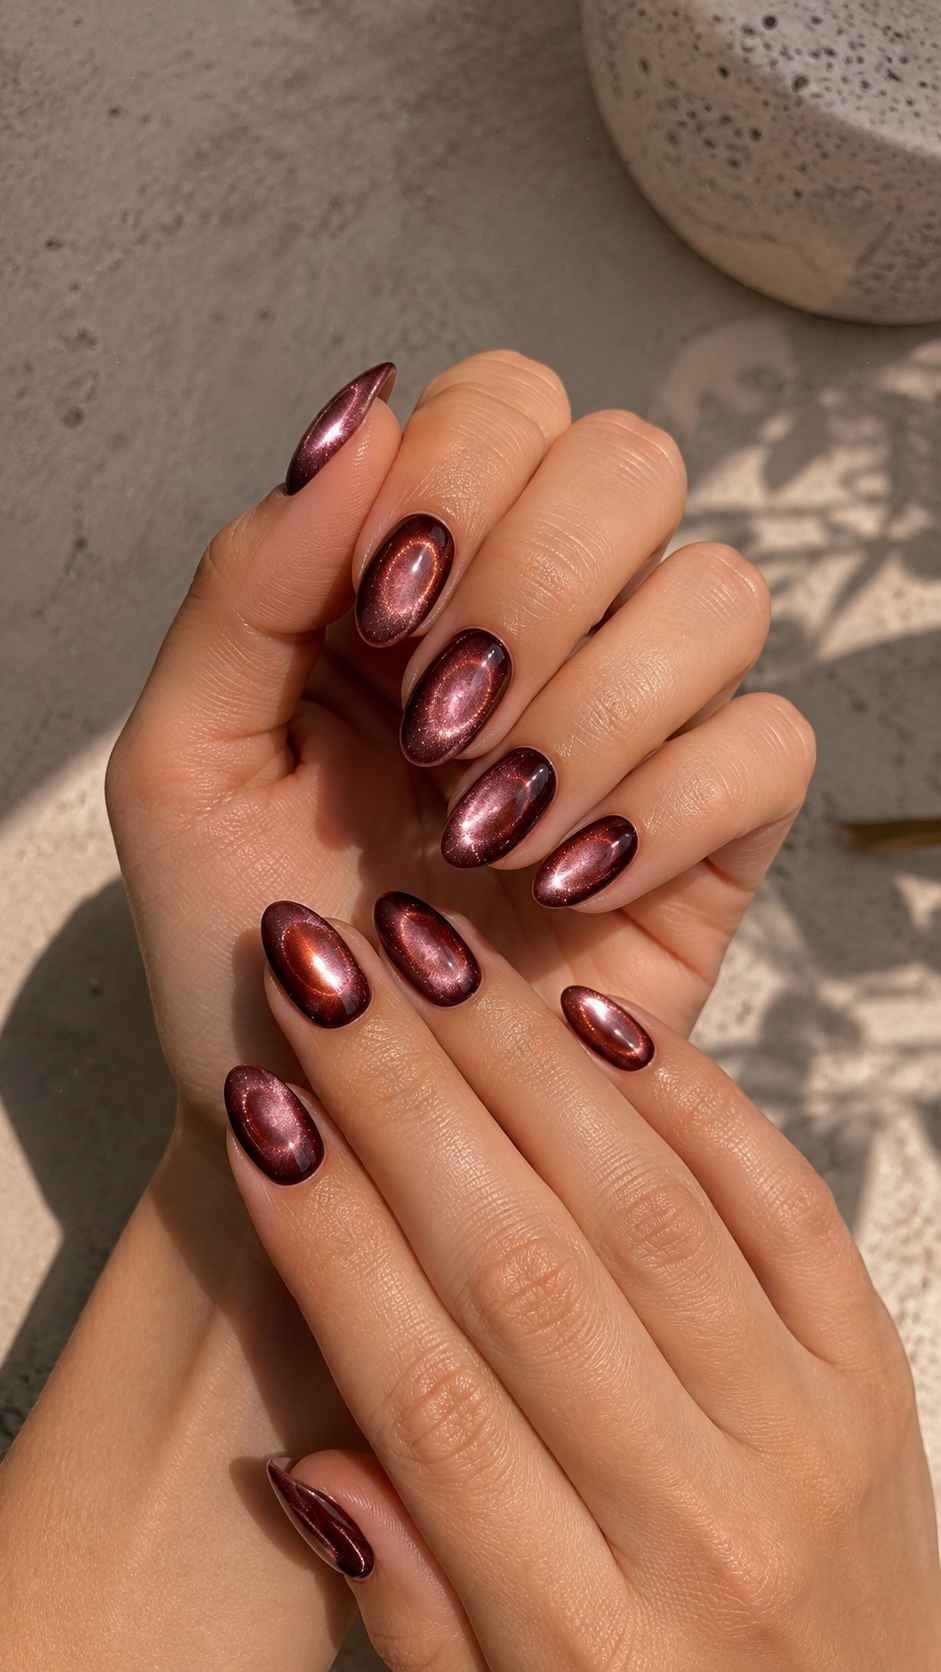
Concentrate the magnetic shimmer through the center so it resembles a narrow tunnel of velvet light. Surround it with a darker translucent shade to deepen the contrast. Keep the brightest reflection smooth and uninterrupted. A simple oval or almond shape allows the glowing center to become the main feature.
Juicy Prism Layers
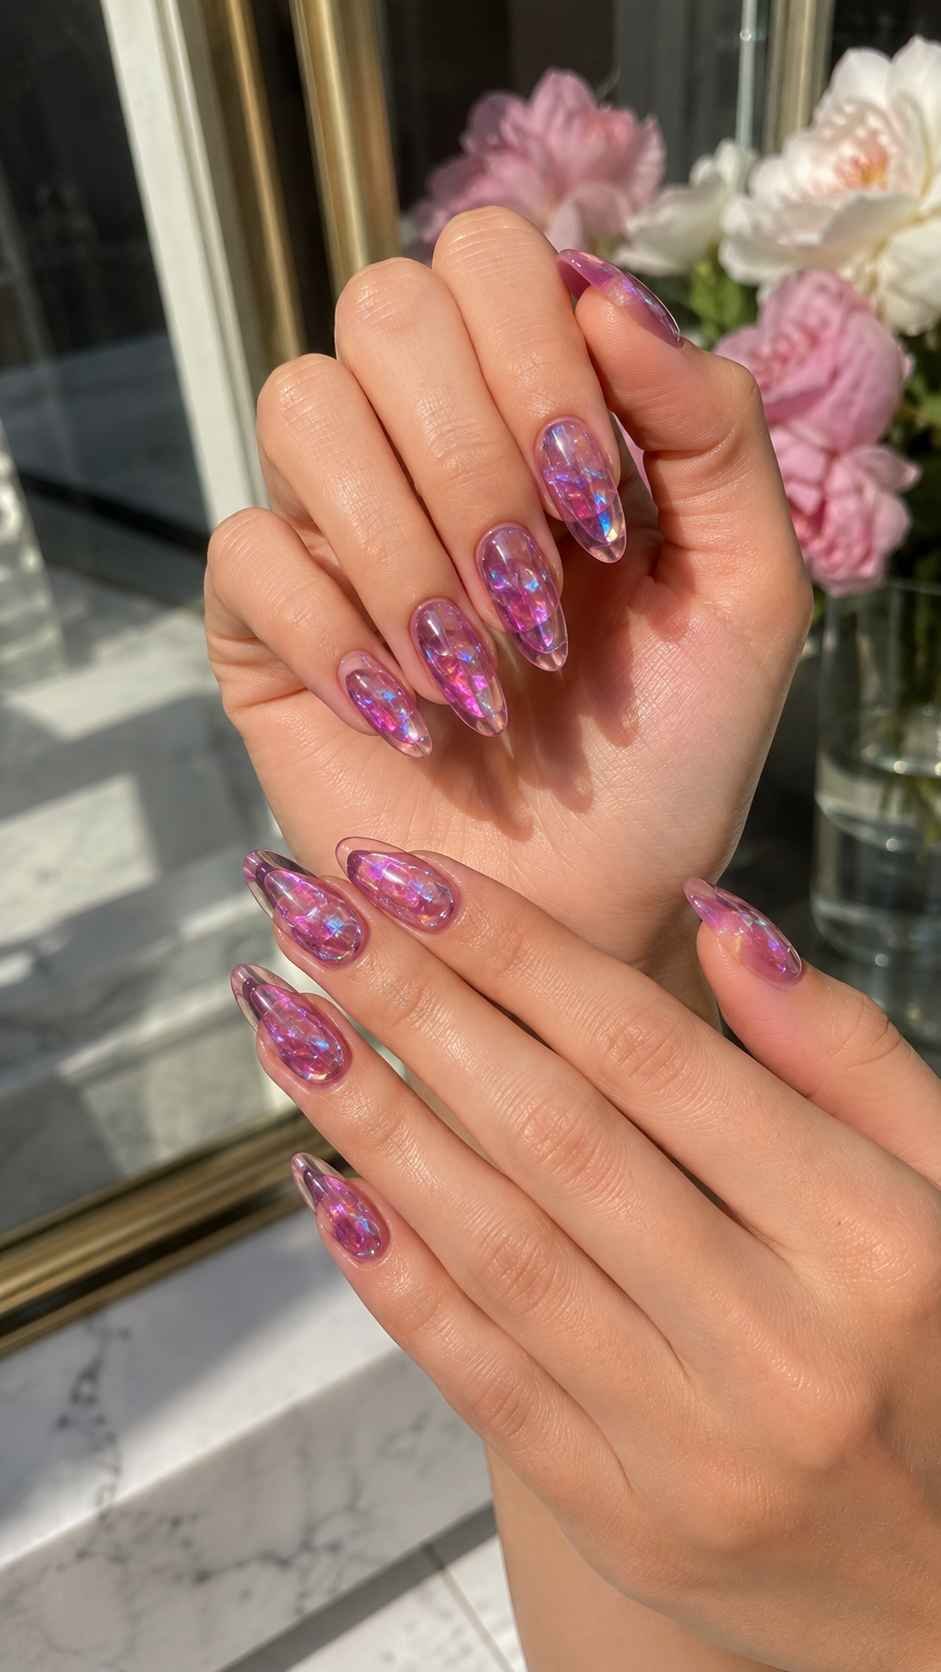
Layer two transparent shades over a magnetic base, such as cherry with violet or aqua with lime. Keep the colors separate enough to show a subtle transition rather than blending into one tone. As the hand moves, reflective particles shift beneath the jelly layers, creating a lively prism effect without extra decoration.
Raised Ripple Tracks
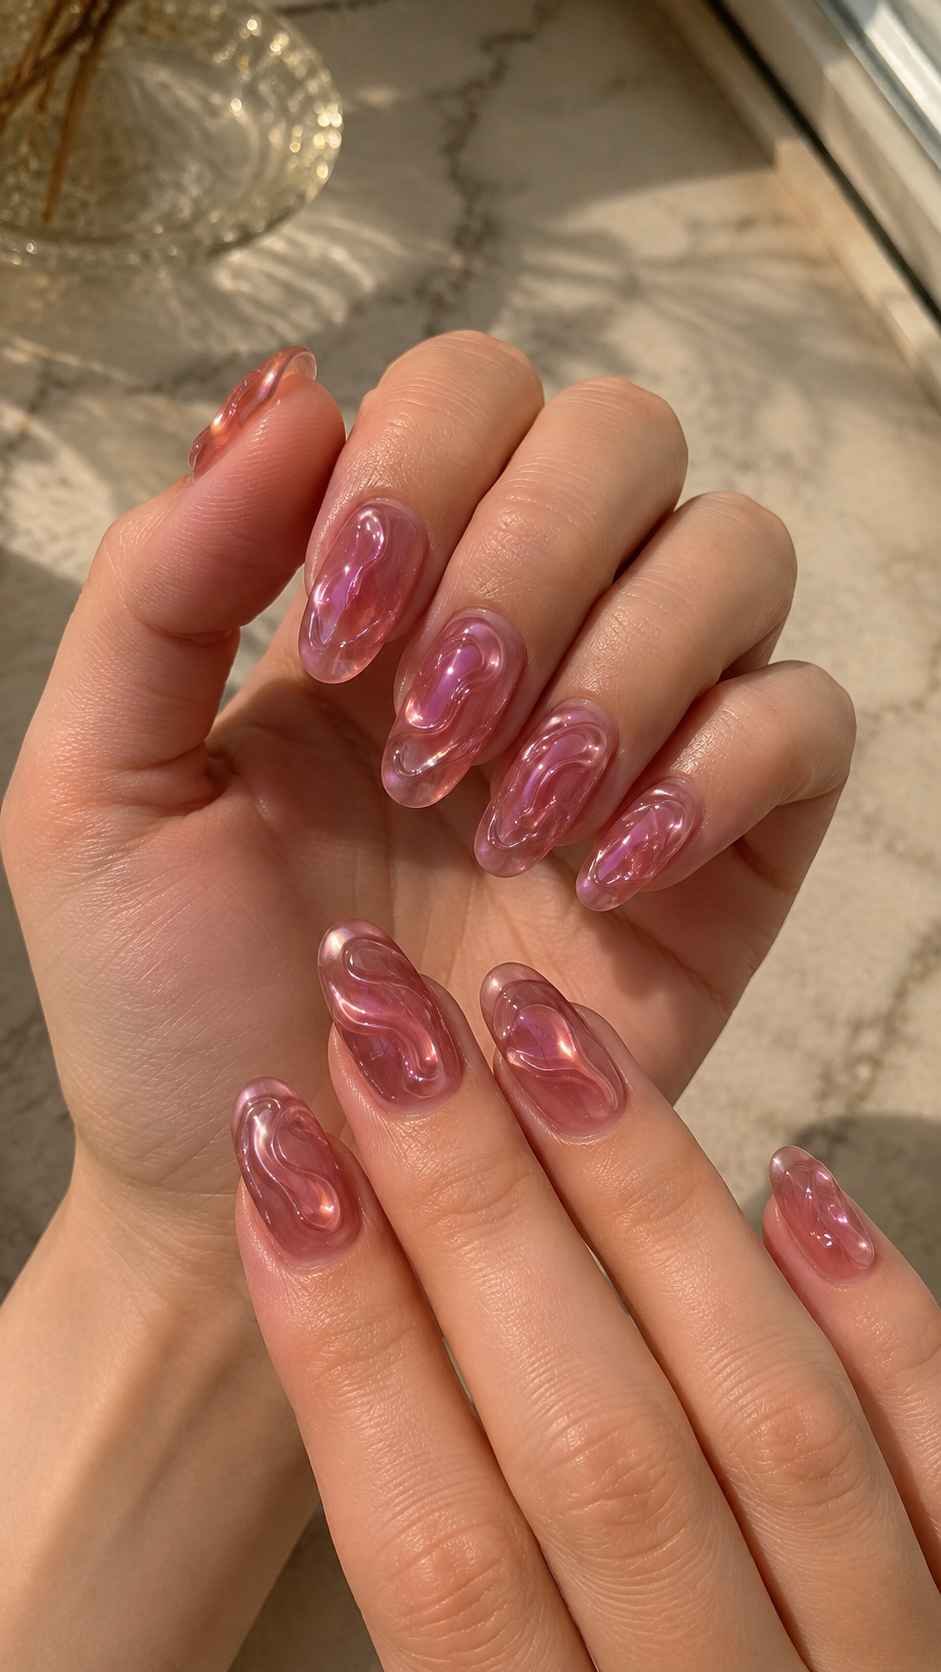
Apply thin clear gel ripples over the magnetic color, following the direction of the reflected light. Keep the raised lines smooth, narrow, and evenly spaced. This texture changes how the shimmer appears from different angles. Limit the ripples to a few nails and keep the remaining nails glossy for contrast.
Choose Nail Art That Feels Personal From Every Angle
The most memorable manicure is not always the loudest. It is the design that balances color, surface, shape, and detail in a way that feels connected to your style. Transparent garden tips can feel romantic, metallic threads look futuristic, watercolor washes bring softness, textile surfaces add elegant texture, micro dots make short nails expressive, and magnetic jelly layers create dramatic depth. Save the concepts that match your preferred length and palette, then adapt them with your own combinations. For more inspiration, explore related articles on nail colors, nail shapes, short nail designs, manicure finishes, and creative styling ideas.
