
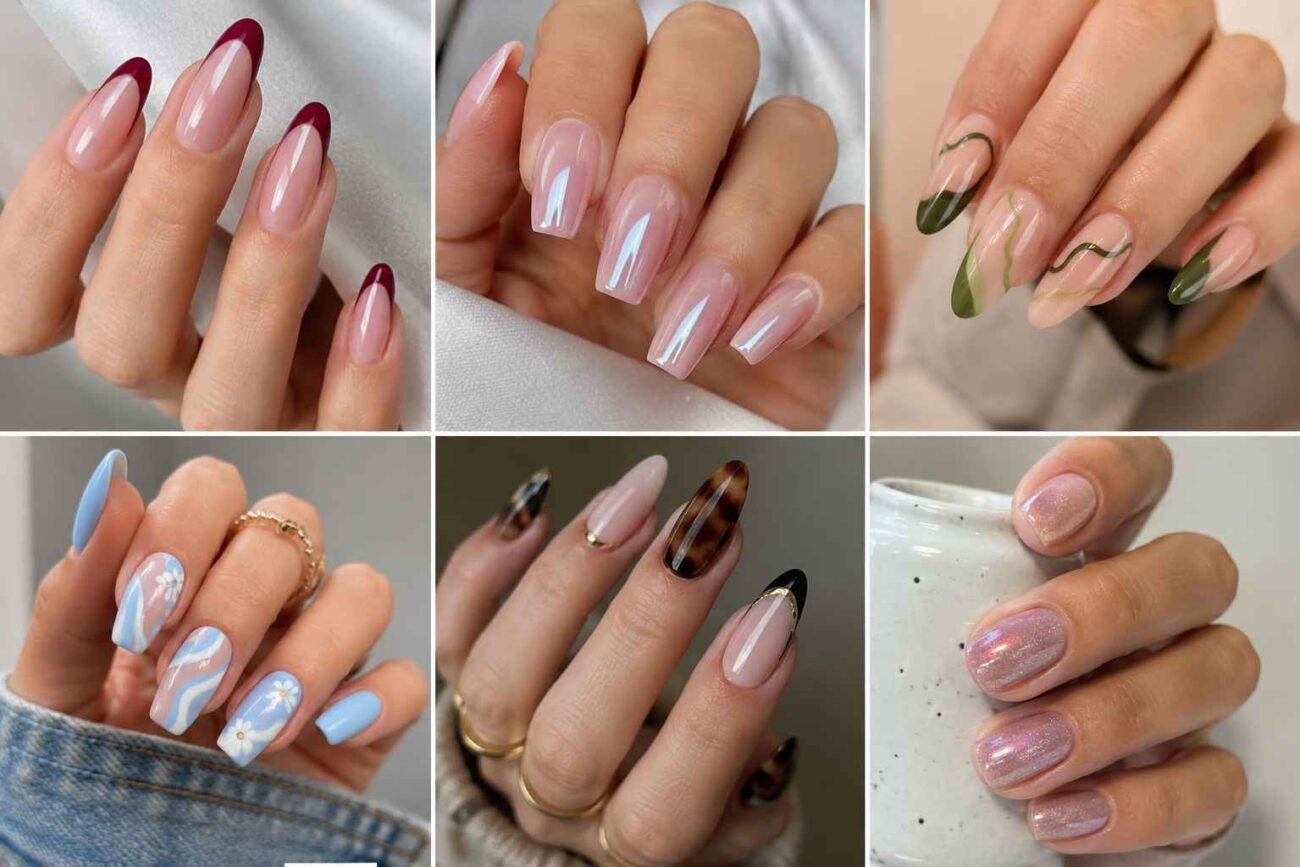
Nail ideas become more inspiring when color, shape, texture, and everyday wearability work together. This collection explores translucent shades, clear tips, graphic red placement, delicate details for short nails, creative cuticle art, and flowing patterns.
Every look can be adjusted for round, square, squoval, oval, or almond nails. Whether you prefer quiet polish or expressive artwork, these designs offer clear direction while leaving room to change the palette, finish, and detail according to your personal style.
Sorbet Glass Nails With Juicy Translucent Color
Sorbet glass nails use sheer polish to create fresh, glossy color with visible depth. Raspberry, peach, lychee pink, blood orange, and coral work beautifully because the natural nail remains faintly visible beneath them.
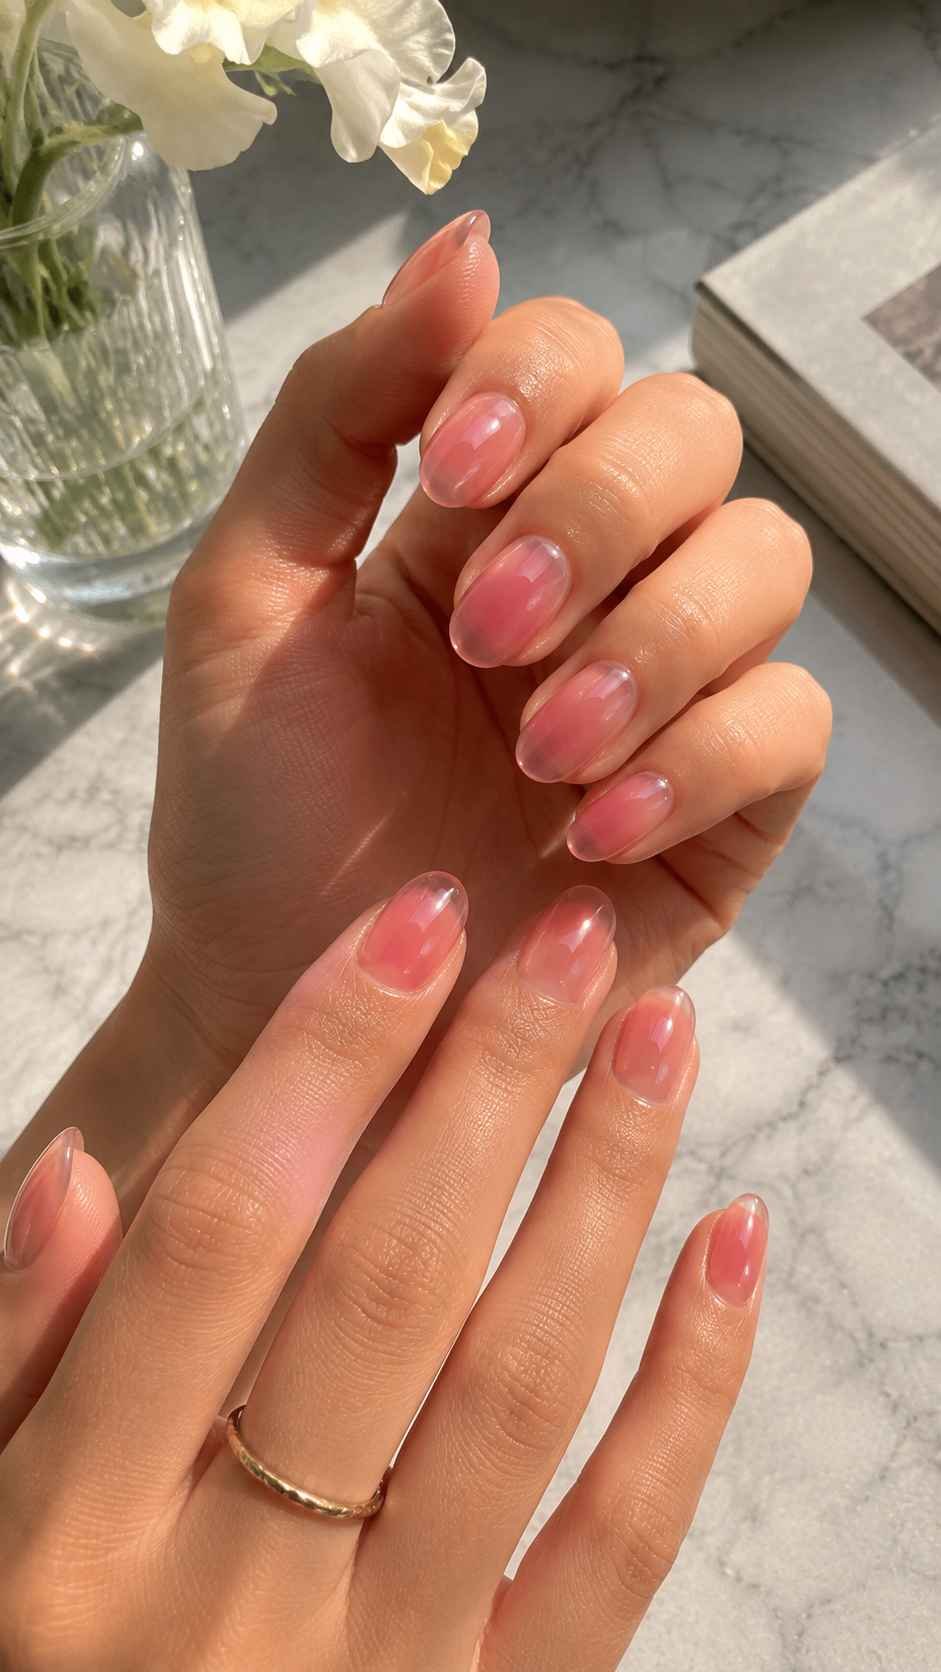
The finish feels lighter than opaque cream polish but still gives noticeable color. Short rounded nails look neat, while almond nails make the translucent layers appear longer and more graceful.
Raspberry Sorbet With a Clear Cuticle Fade
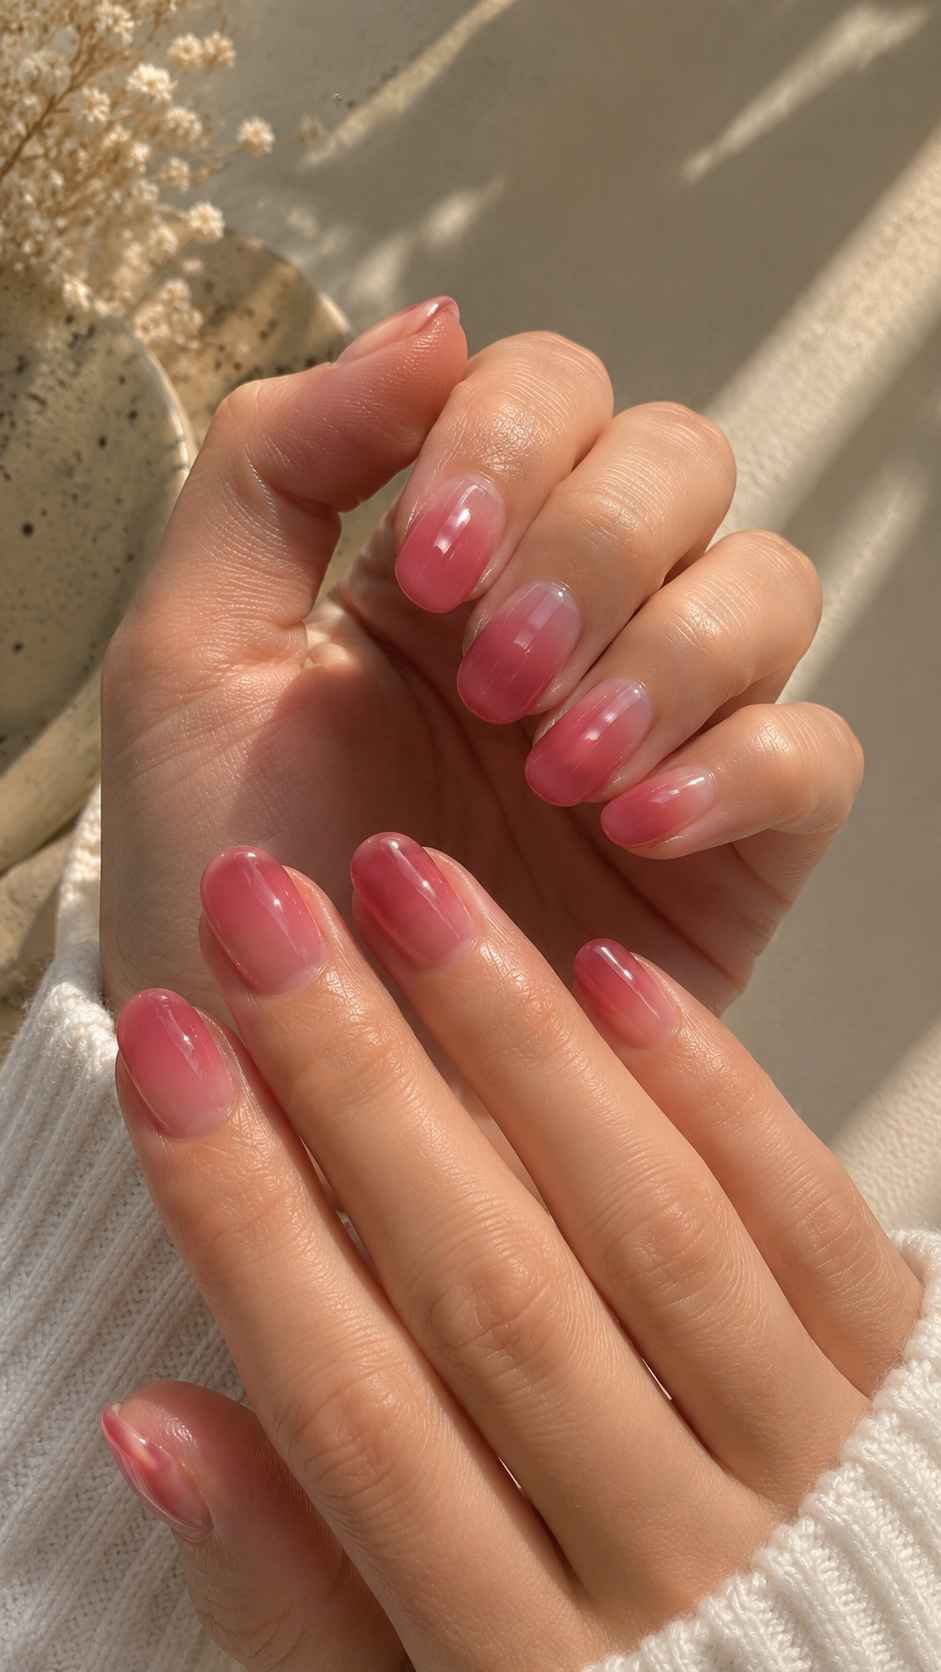
Apply transparent raspberry color more strongly near the tip, then soften it toward the cuticle. This creates depth and makes the shade appear suspended inside the nail. Keep the shape short and oval for a clean finish.
Peach Nectar Nails With Glossy Water Drops
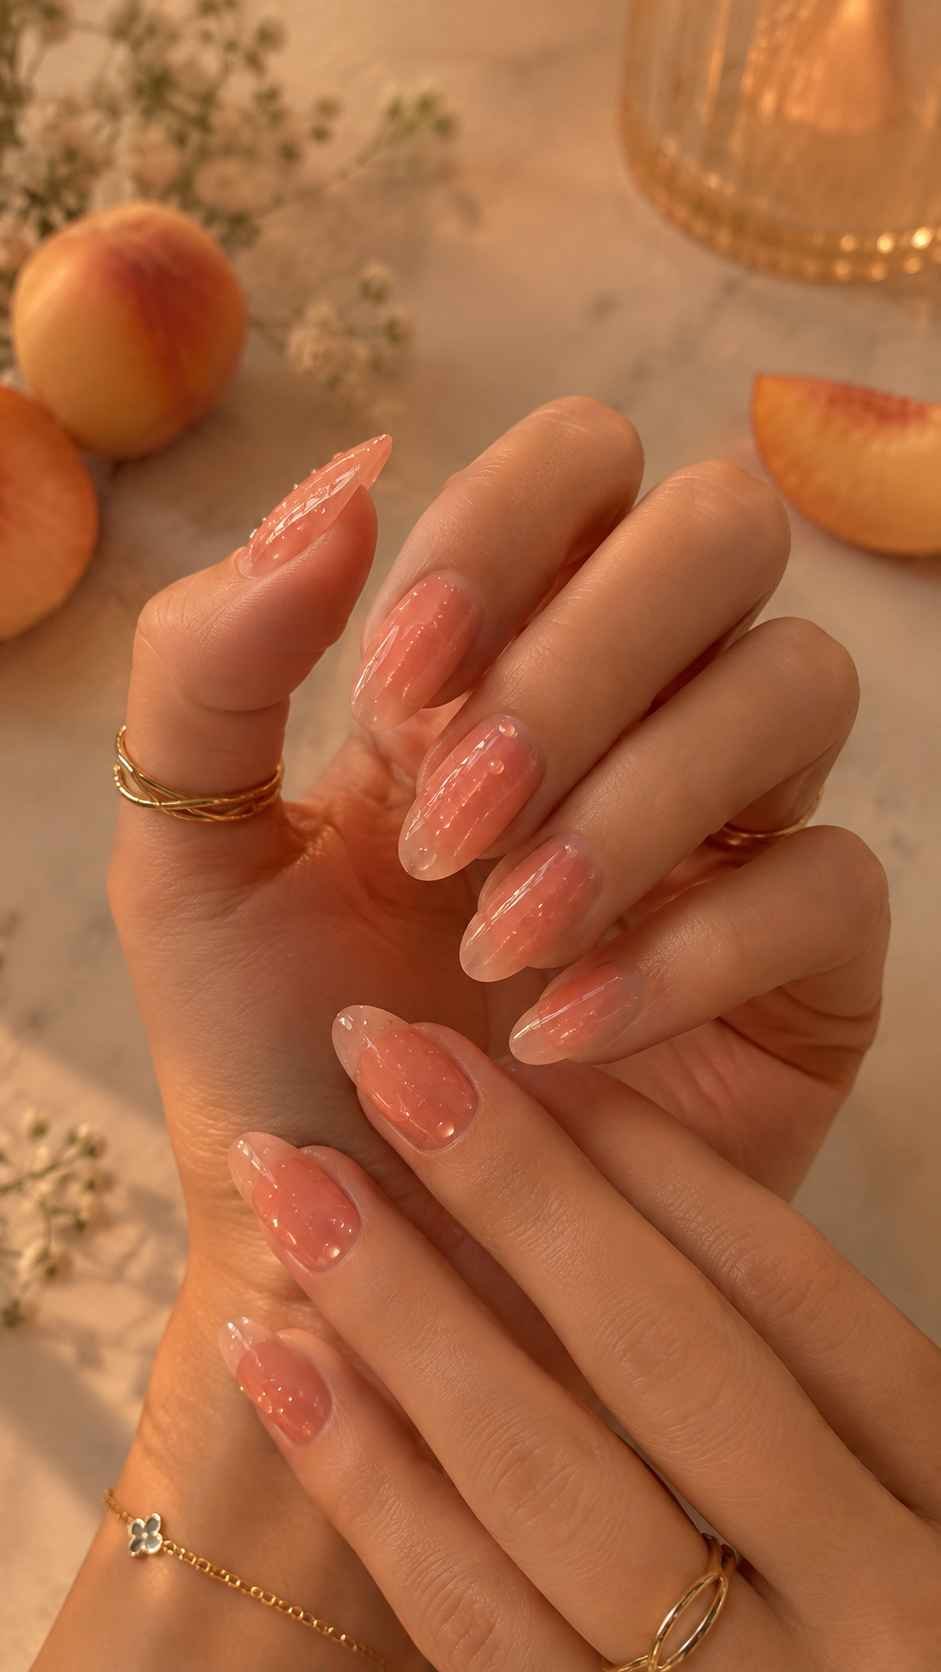
Cover the nails with warm peach jelly polish, then add several raised clear droplets to selected fingers. Vary their sizes slightly so the texture feels natural rather than perfectly arranged. Keep the remaining nails smooth to balance the design. Rounded square nails give the droplets a compact, modern background.
Mixed Citrus Tips Over a Bare Base
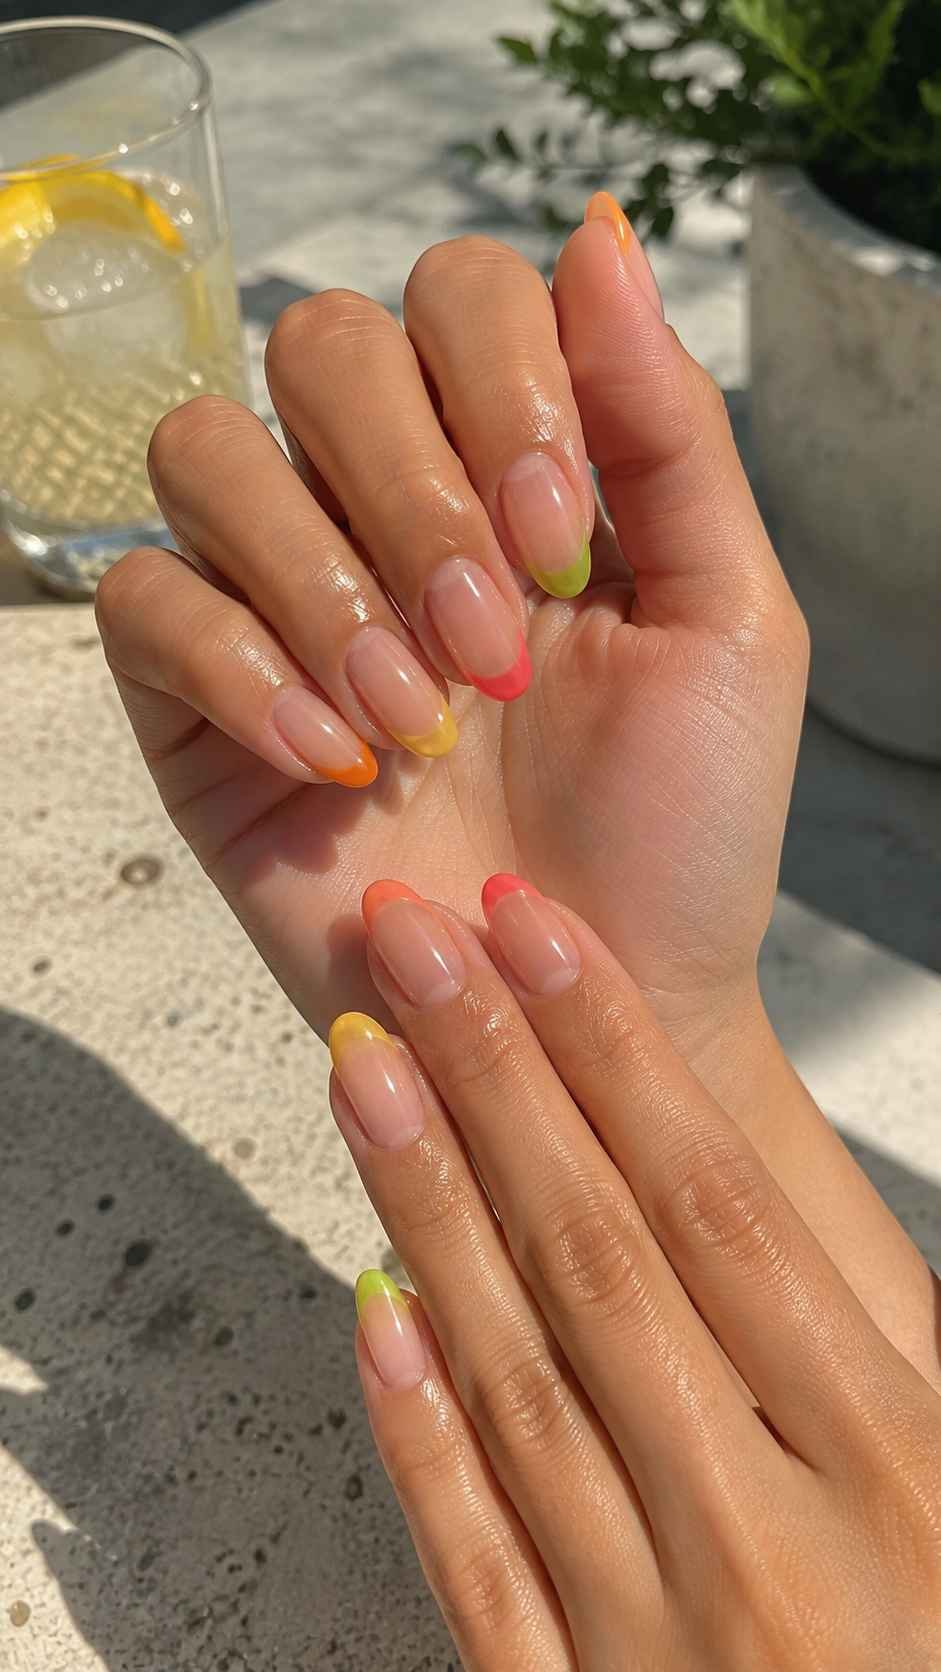
Place translucent tangerine, grapefruit, lemon, and coral shades only along the tips while keeping the base clear. Use a different citrus color on each finger for cheerful variety. Short nails look best with narrow curved tips, while longer almond nails can support deeper bands. A high shine finish makes the manicure resemble bright stained glass.
Crystal Window French Nails With Transparent Tips
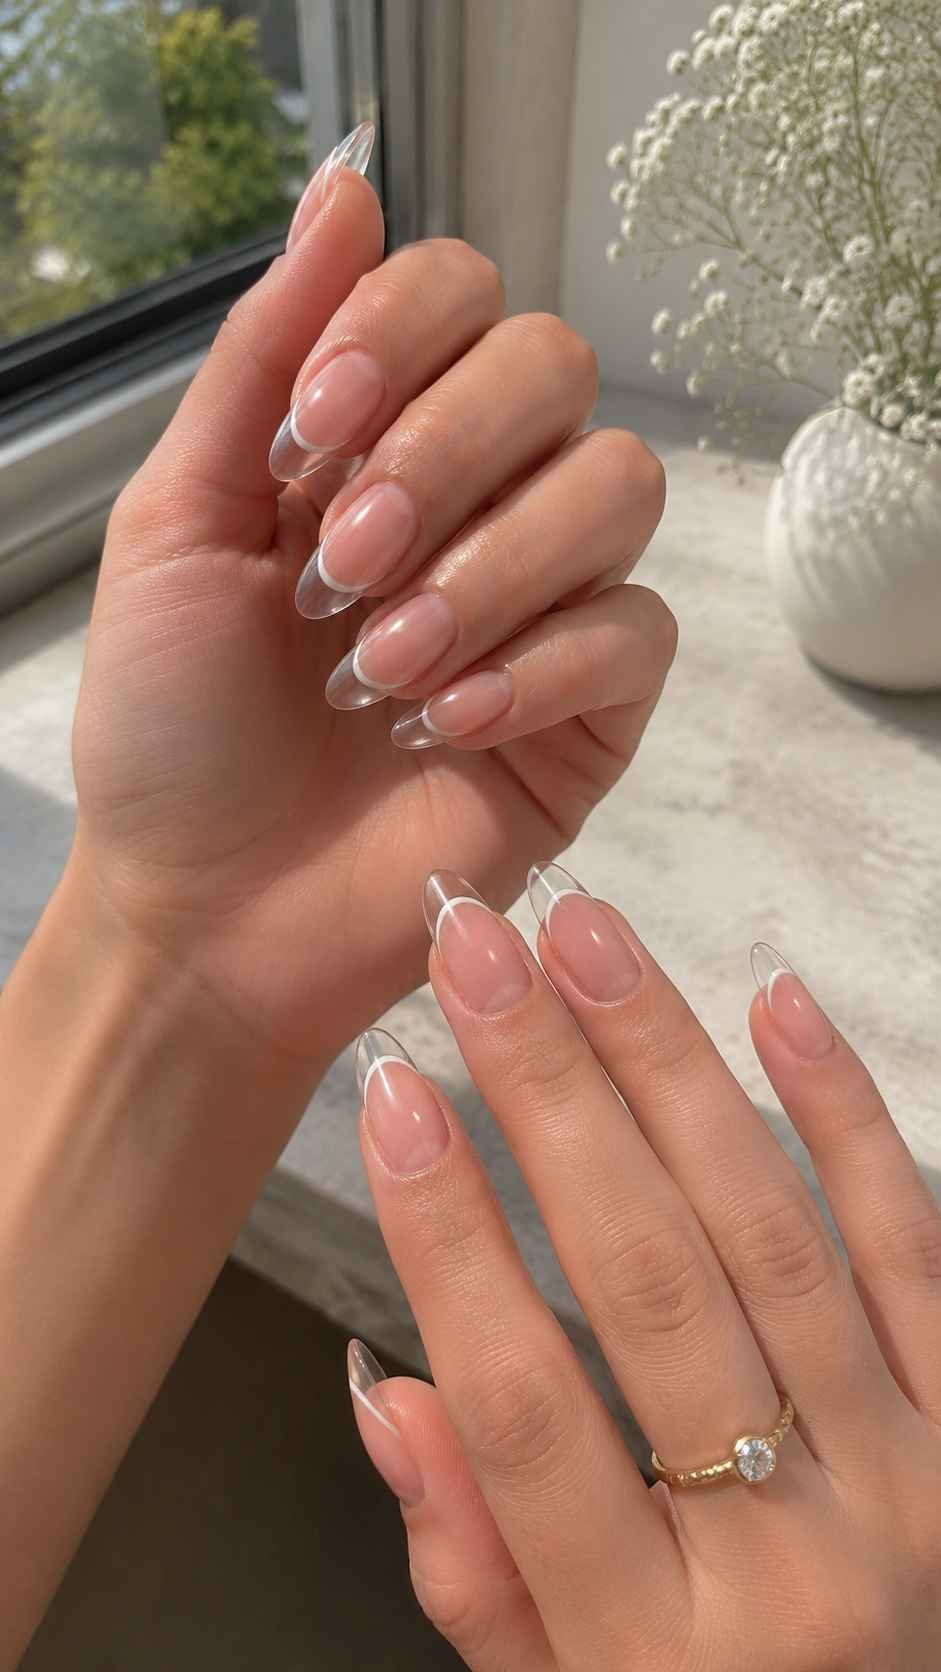
Crystal window French nails replace the solid white edge with a transparent tip. The clear section creates room for tiny details that appear enclosed within glass. A natural pink base keeps the nail bed polished, while the open tip adds contrast without heavy color. Medium square, tapered square, and almond extensions provide enough space for the transparent edge.
Fine Silver Frames Around Clear Tips
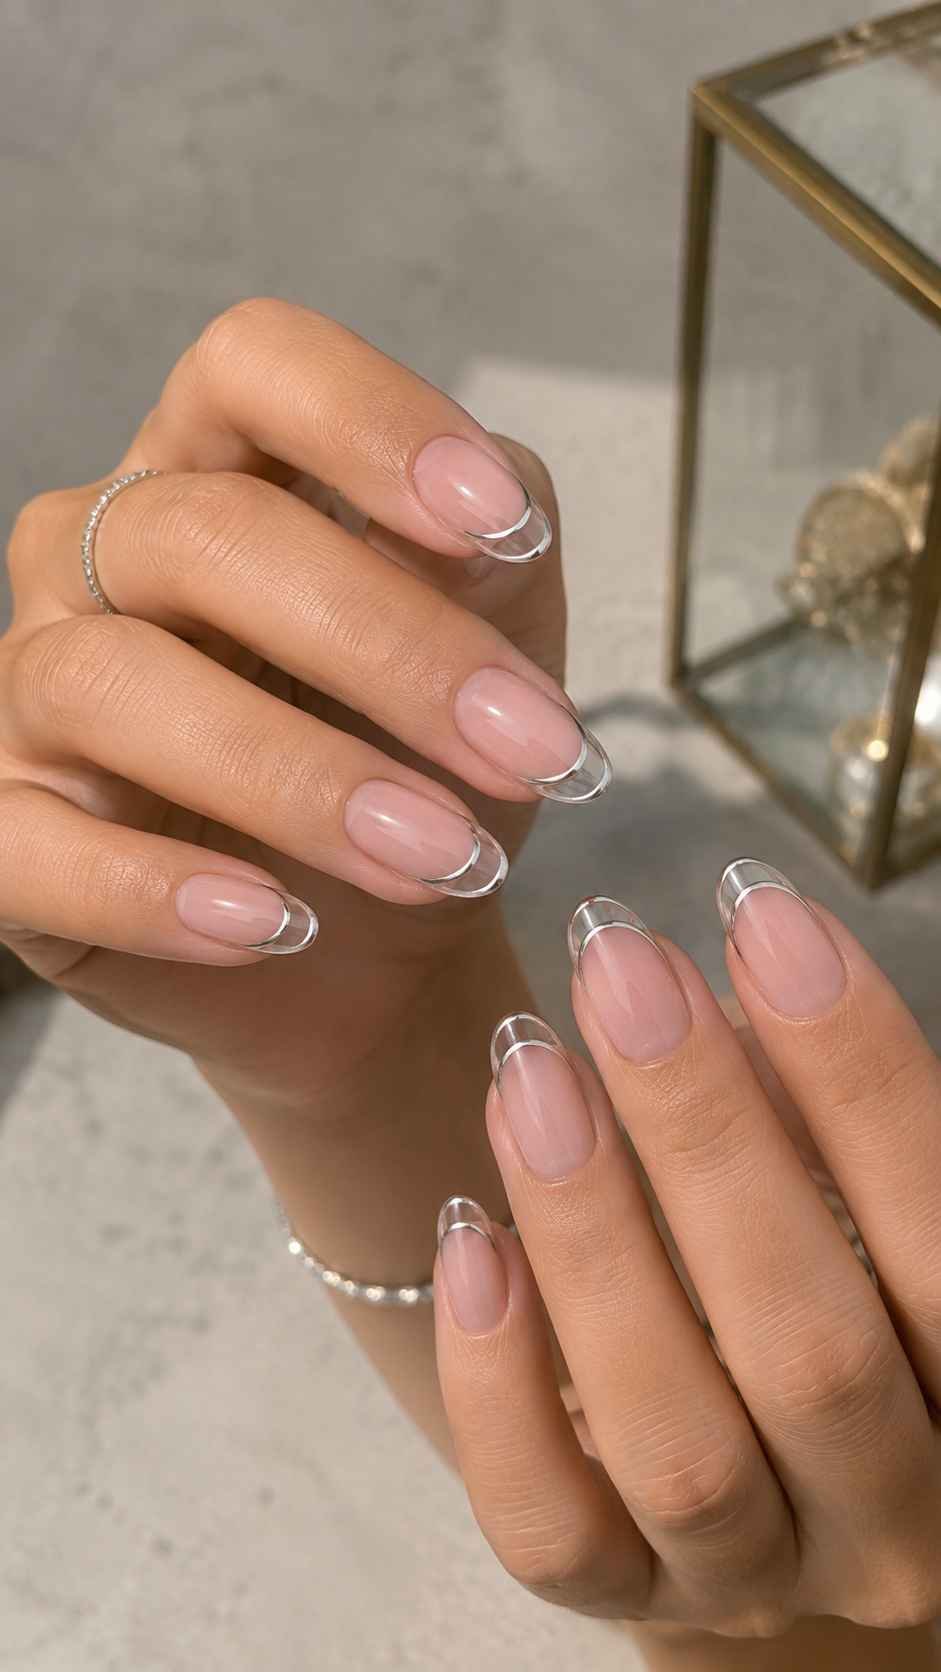
Outline the transparent tips with an extremely thin silver border that follows the upper edge and side walls. Keep the metallic line narrow so the center remains open and crystal clear. A soft blush base creates gentle contrast, while milky pink feels more romantic. This design is especially sharp on tapered square nails because their straight structure emphasizes the framed appearance.
Pressed Petals Floating Inside the Edge
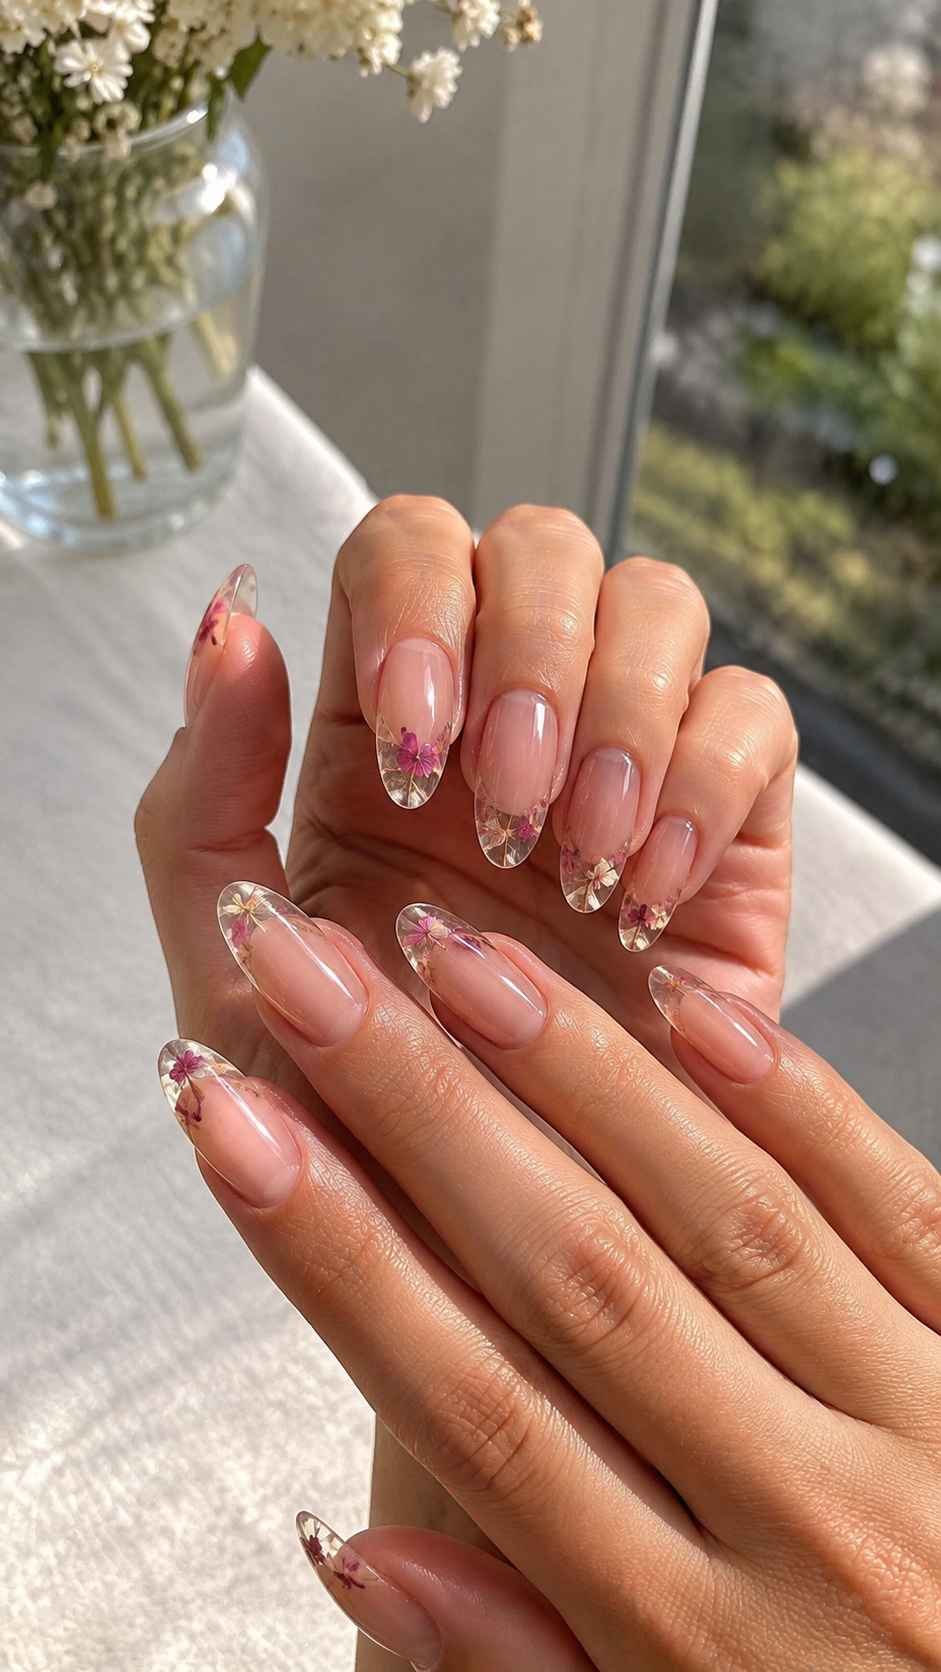
Place miniature painted petals or dried flower fragments inside the transparent tips. Pale blue, white, lavender, and pink details create a delicate garden effect without covering the entire edge. Vary the arrangement, using one petal on some nails and two tiny leaves on others. A clear seal makes the botanical pieces appear suspended inside a polished crystal surface.
Ocean Window Tips With Tiny Shell Lines
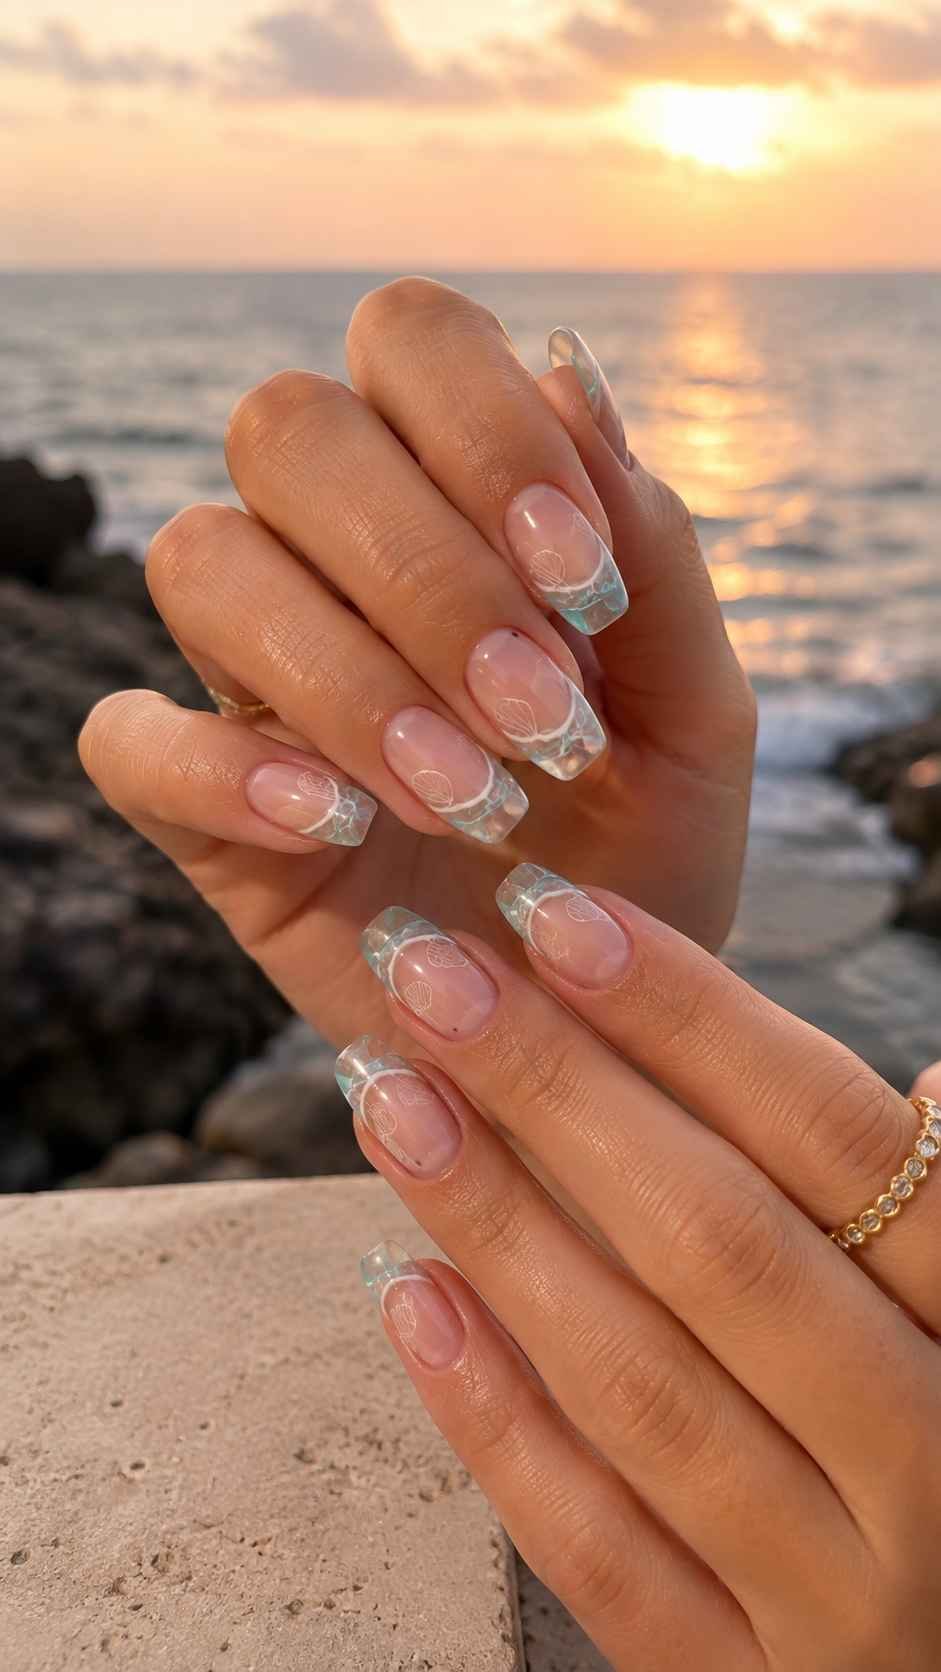
Decorate clear tips with fine pearl ridges, transparent aqua touches, and miniature shell inspired lines. Allow the details to follow the length of the nail rather than spreading randomly. One accent finger may include a small silver star, while the rest stay simpler. Almond nails soften the coastal pattern, while square tips give it a stronger graphic quality.
Tomato Lacquer Nails With Tailored Graphic Placement
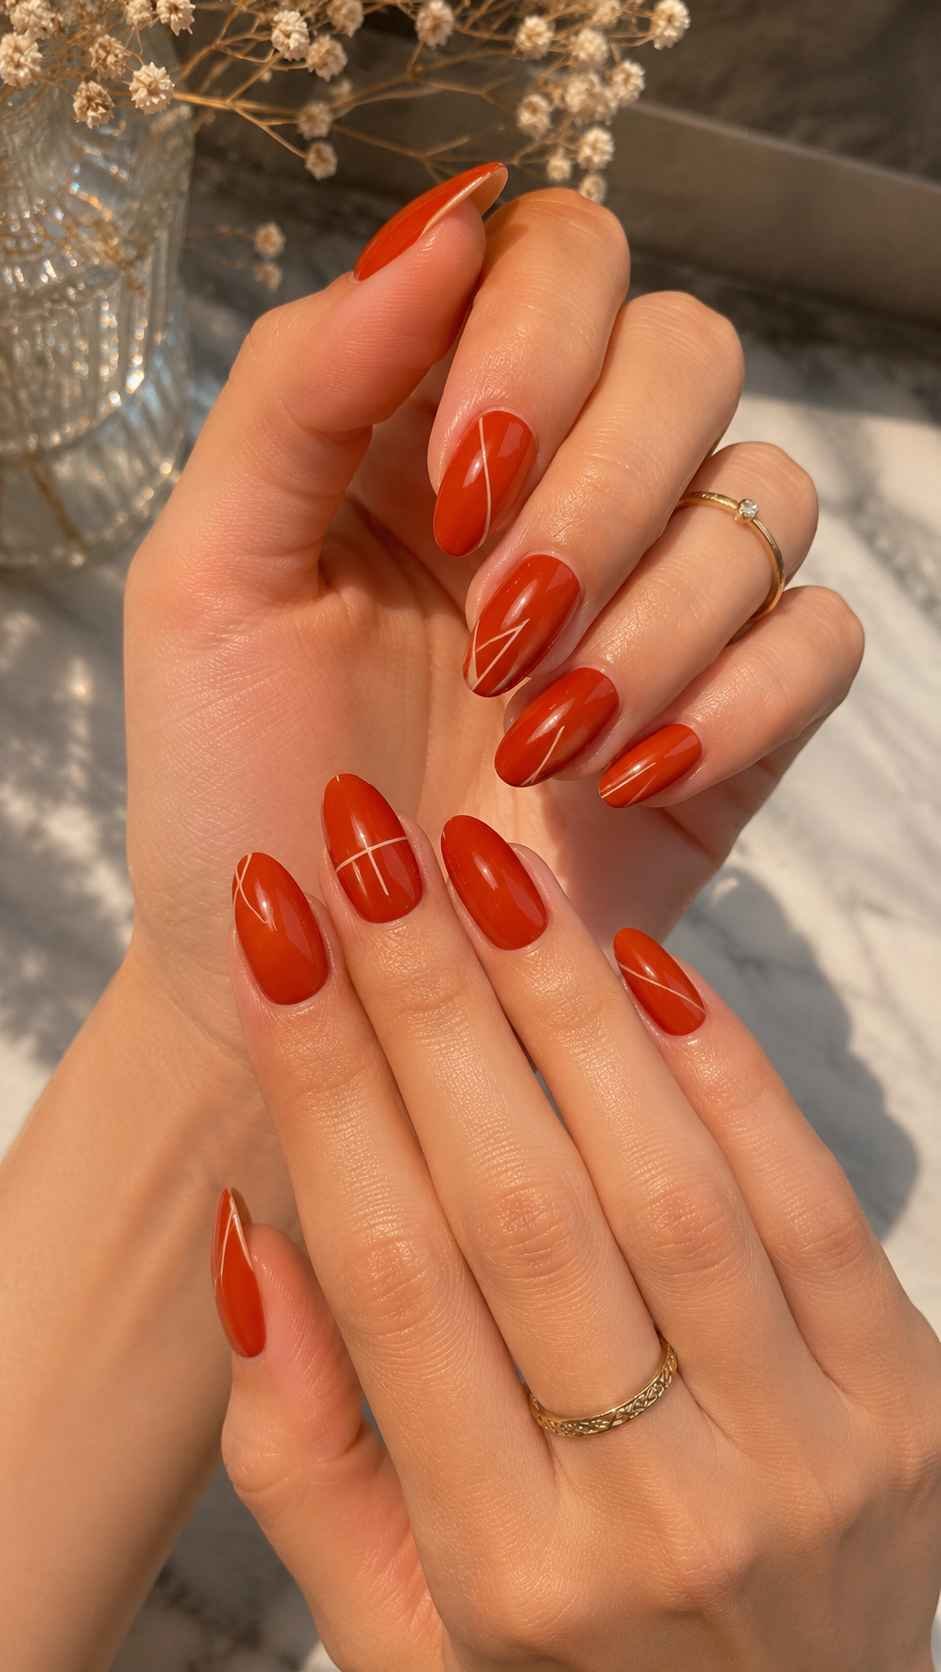
Tomato lacquer combines confident red with a lively orange undertone. Use controlled panels, rounded blocks, and clean outlines instead of covering every nail completely. The shade pairs easily with white, tan, pale pink, navy, and denim. Precise borders matter because each open section should look deliberate rather than unfinished.
Side Panel Red With a Natural Center
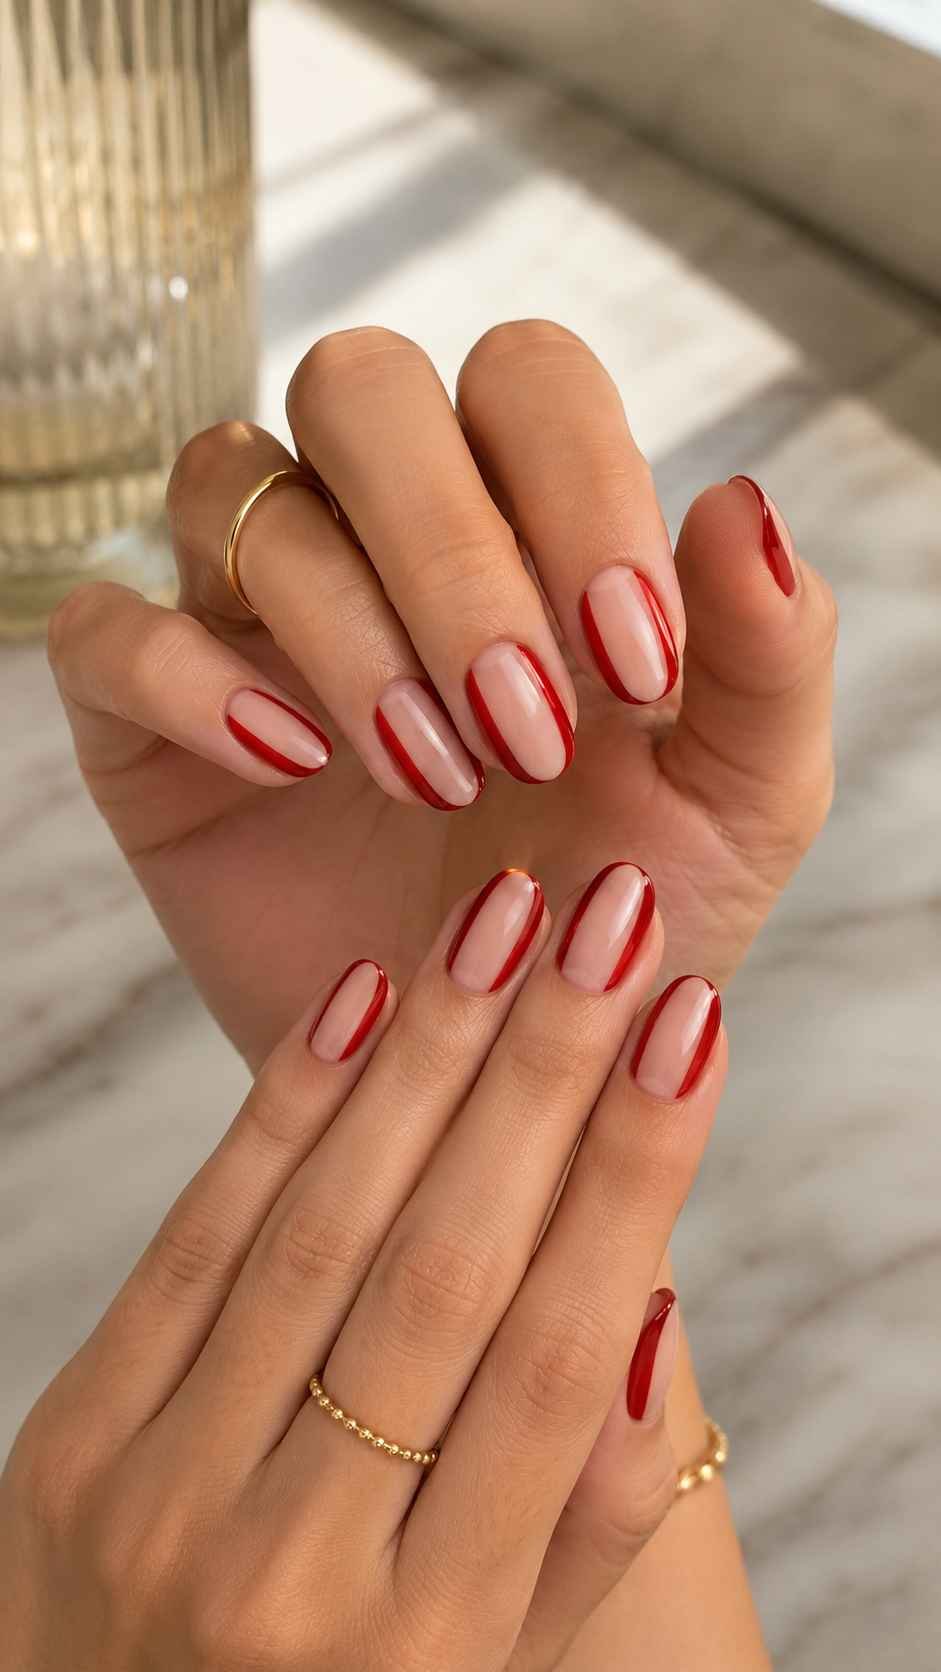
Paint a narrow tomato red panel down one side of each nail while leaving the center natural and glossy. Alternate the direction from finger to finger to create movement across the hand. This vertical placement can make short square and oval nails appear longer. Keep the cuticle area especially clean so the negative space remains crisp and purposeful.
Rounded Red Blocks With Soft Pink Borders
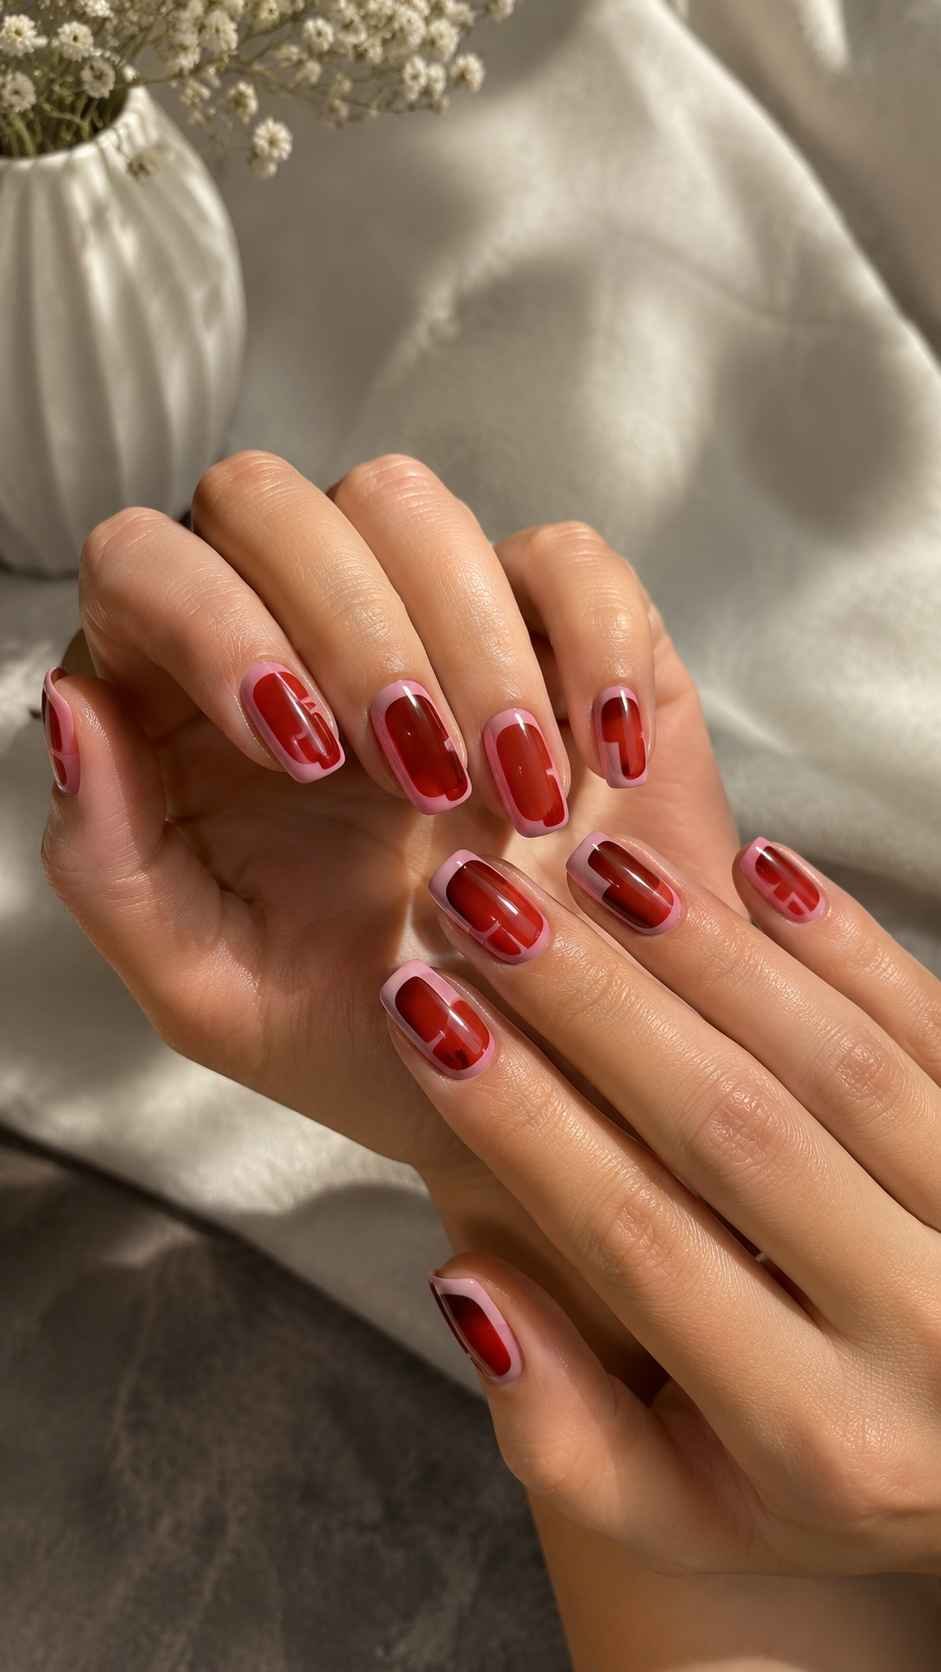
Place a rounded tomato red block in the middle of each nail and surround it with a slim soft pink border. The shapes should resemble smooth polished tiles with consistent spacing around them. A sheer pink base keeps the contrast gentle. Reverse the colors on one accent finger by using a pink center and tomato red outline for subtle variation.
Glossy Red Edges Around Nude Nails
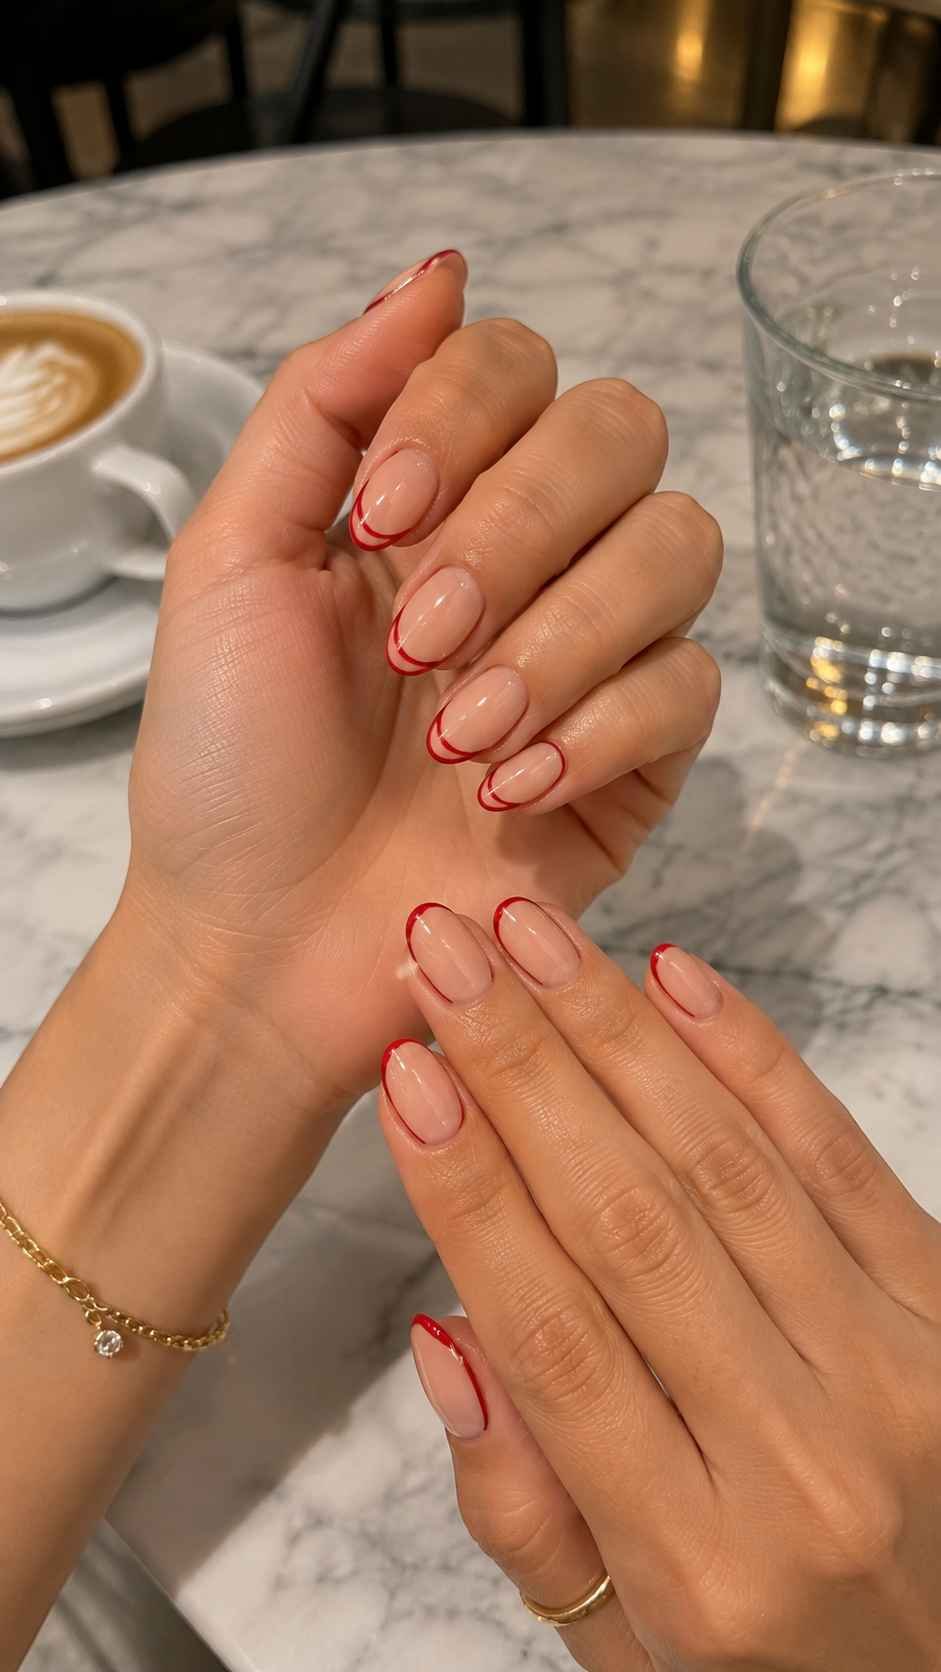
Trace the side walls and tip with tomato red while leaving the center nude. Stop the border before it reaches the cuticle, creating an open frame around the nail. This delivers the energy of red without a fully covered surface. Almond and oval shapes benefit from the outline because it emphasizes their curves and gives them a more defined silhouette.
Micro Dot Constellations for Short Natural Nails
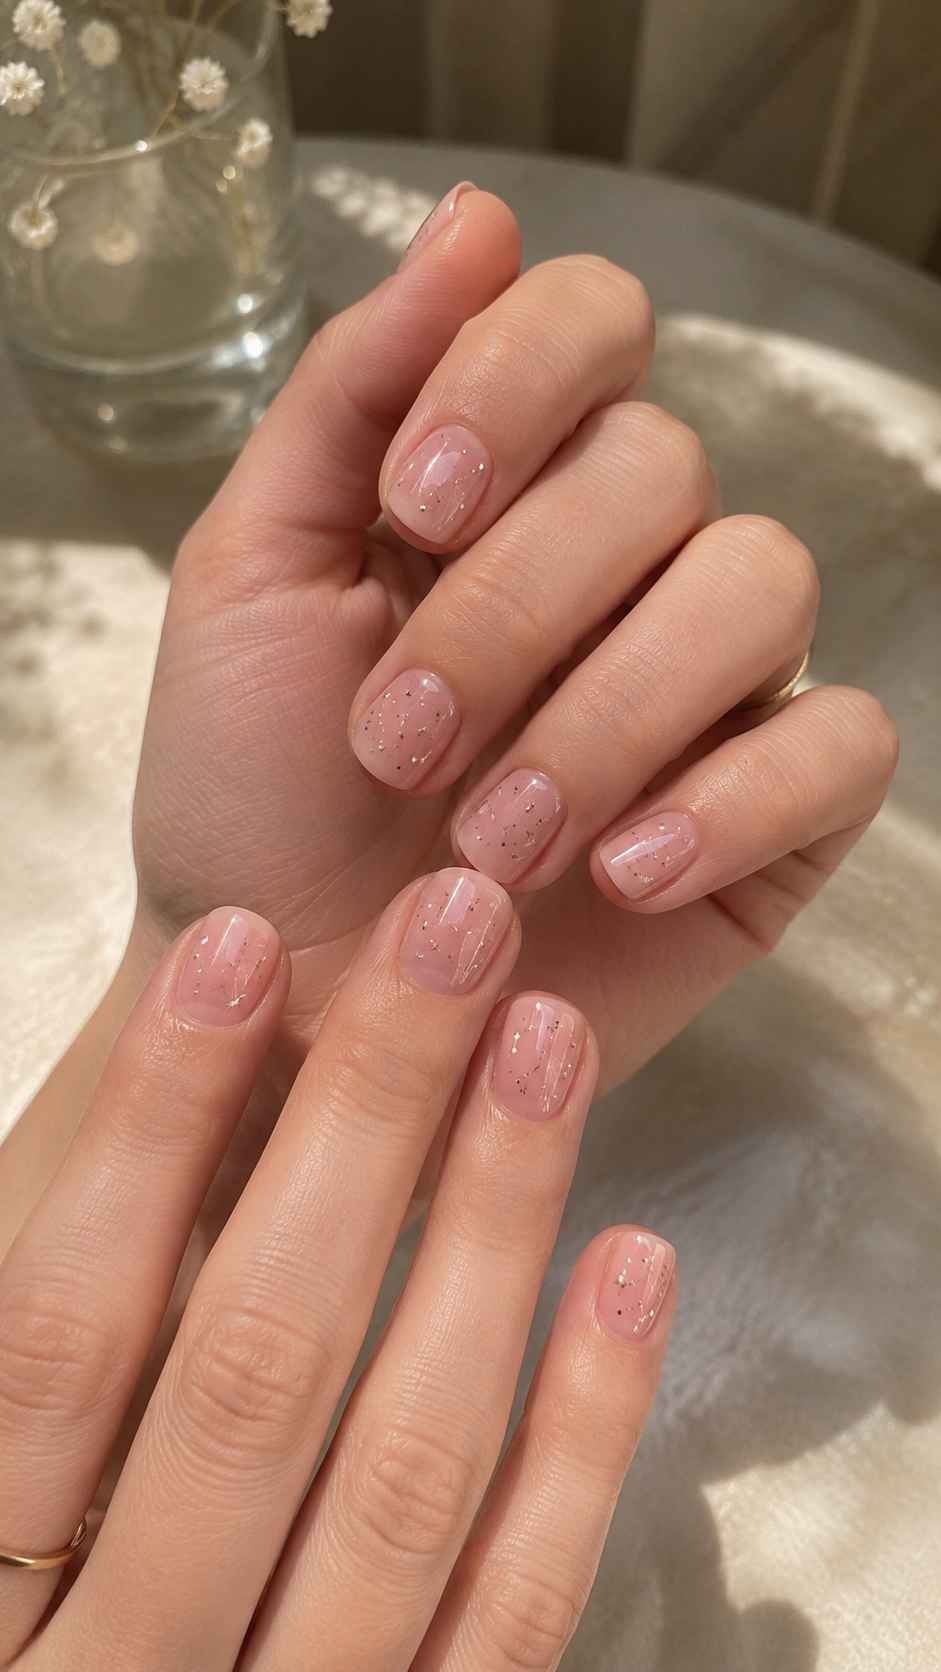
Micro dot constellations allow short nails to carry detailed art without appearing crowded. Tiny marks create rhythm while preserving a practical natural length. They may resemble stars, fine confetti, or delicate textile patterns. Round and compact square nails keep the scale proportionate. Choose two or three coordinated colors for an artistic but controlled result.
Silver Dust Over Cloud White Polish
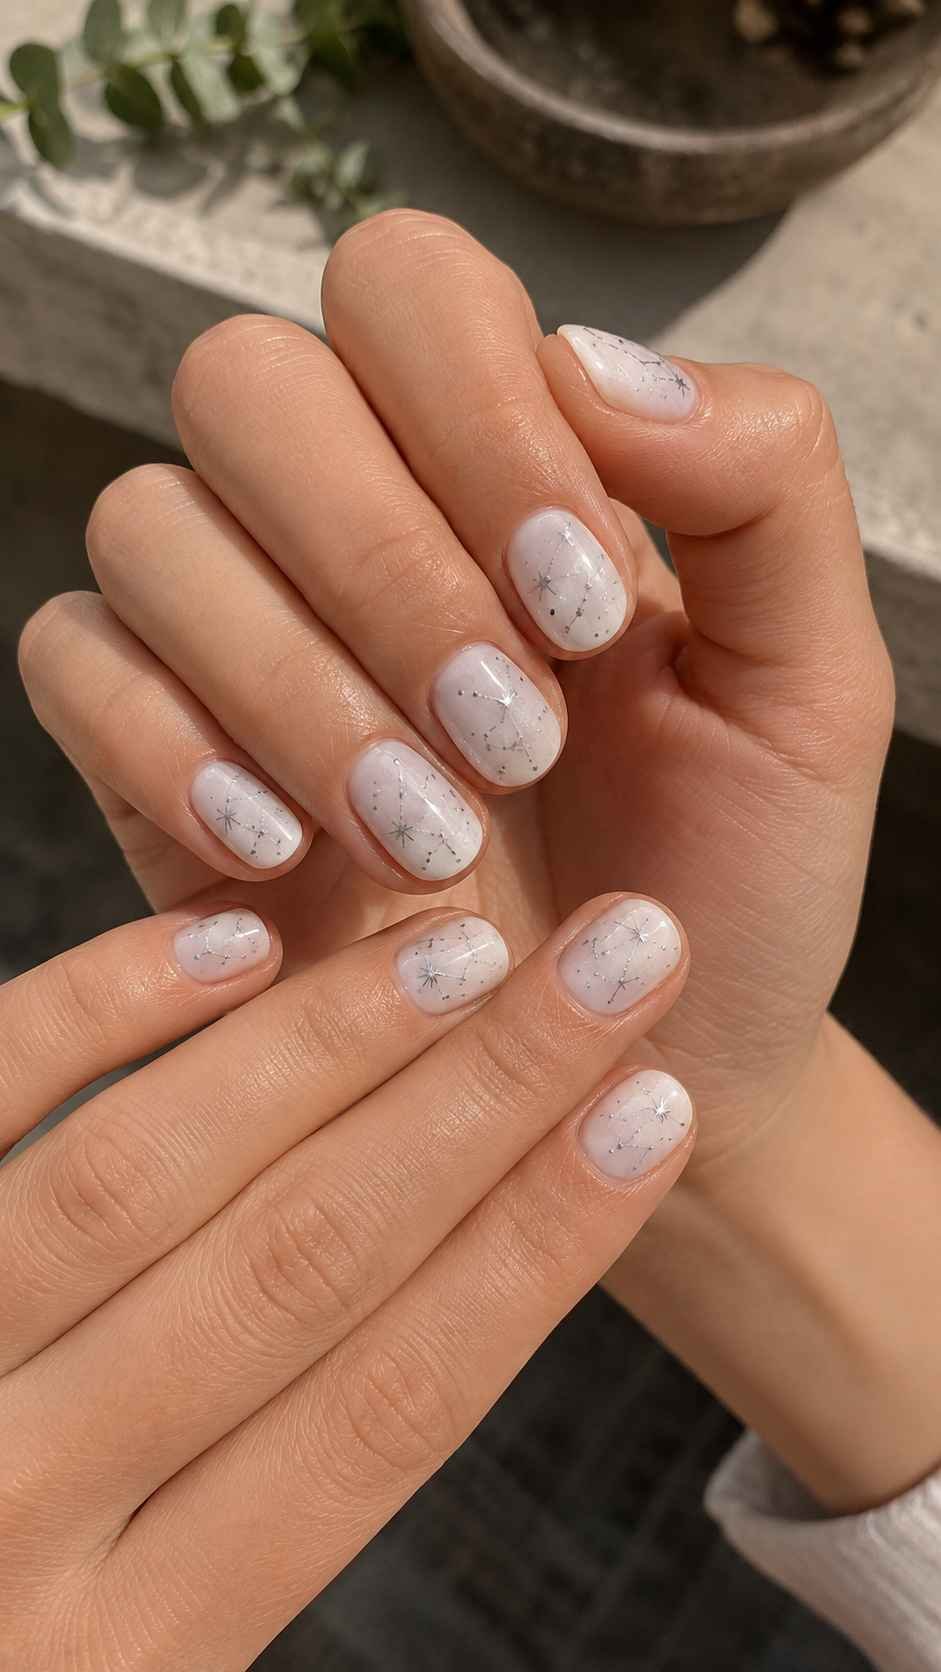
Apply a translucent cloud white base, then scatter tiny silver dots near the tips and outer corners. Make the dots denser on one accent nail and more widely spaced on the others. This uneven distribution creates a sparkling dust effect instead of a rigid pattern. A glossy finish brightens the white, while a satin surface makes the silver points look sharper.
Navy and Sky Blue Orbit Clusters
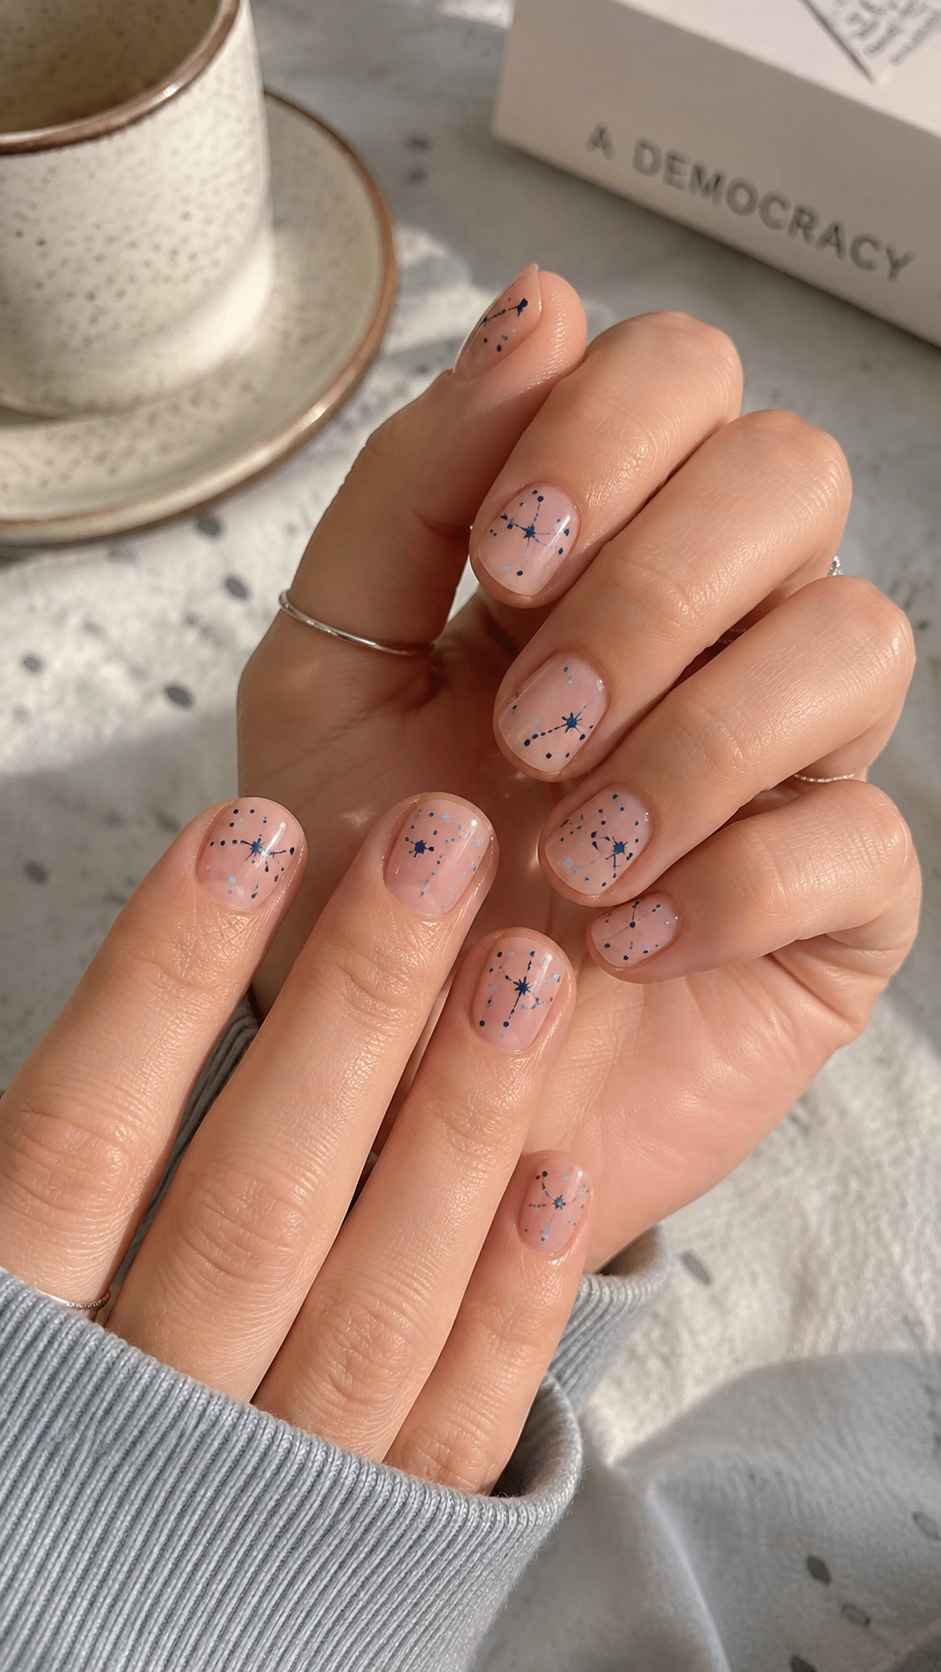
Use a sheer nude base and create small clusters with navy, sky blue, and silver dots. Begin each cluster with one larger point, then add several smaller marks around it. Change the placement on every nail, moving from the cuticle to the side or tip. The blue palette feels crisp, while the open background keeps the design light and wearable.
Raspberry Pin Dots With a Pearl Accent
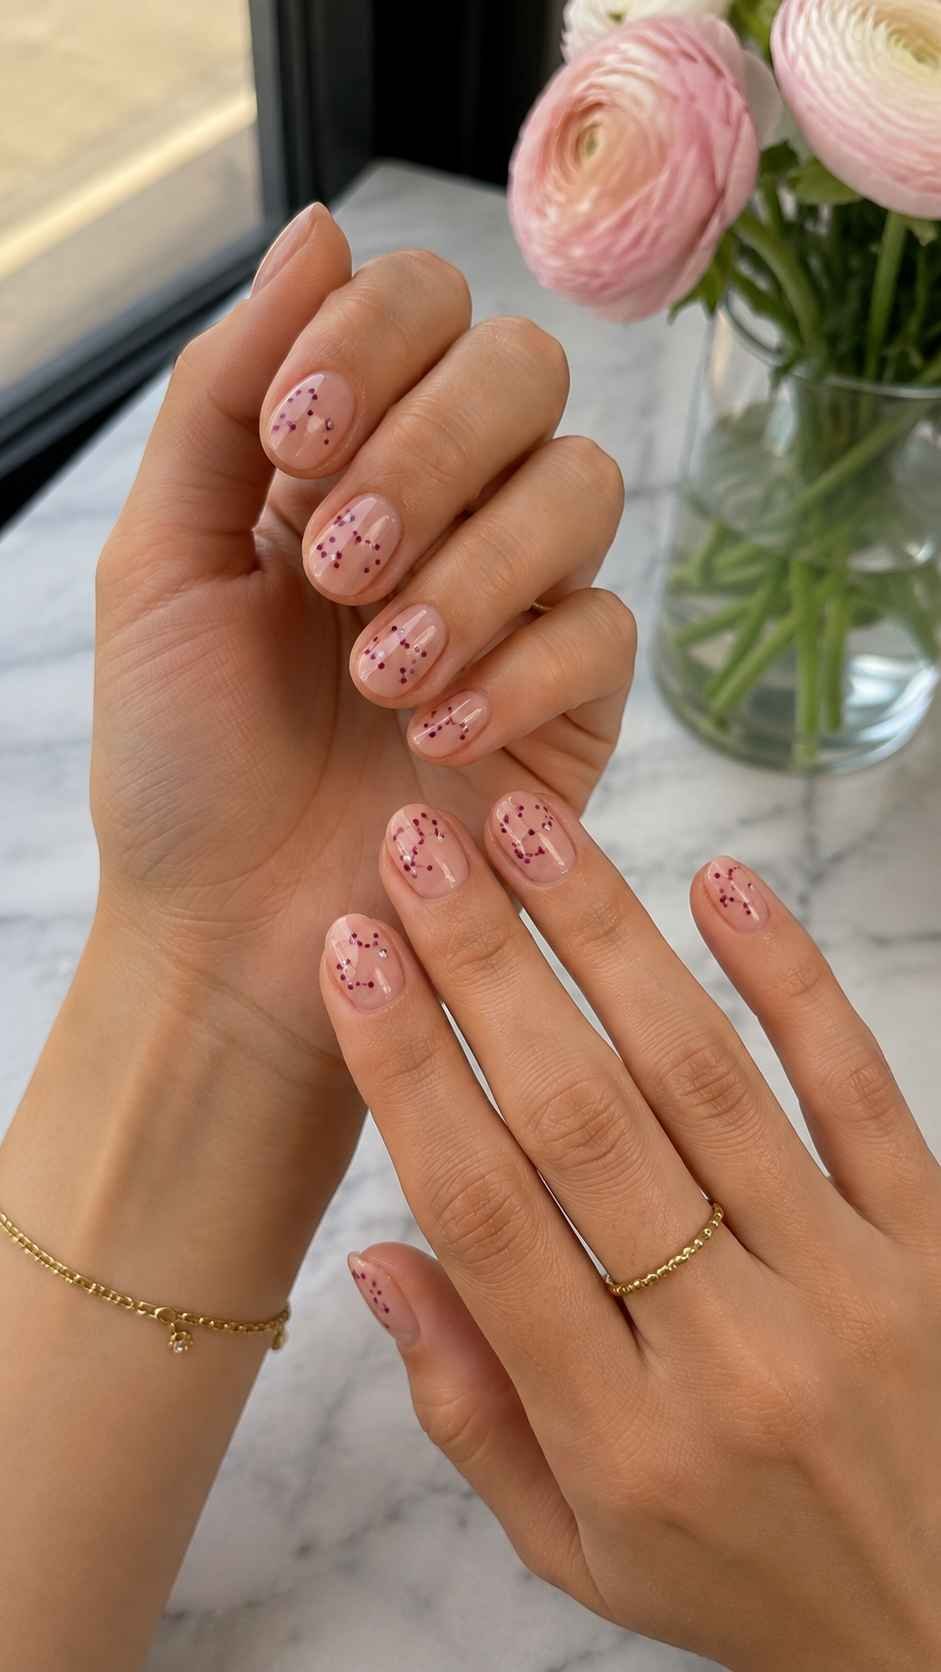
Start with a pale pink wash and add tiny raspberry dots in loose vertical rows. Place one miniature pearl near the base of a single accent nail to break the flat pattern. Keep the rows slightly irregular so the artwork feels hand painted. A short oval shape softens the dotted lines and gives the manicure a delicate, polished personality.
Modern Lunula Nails That Highlight the Natural Half Moon
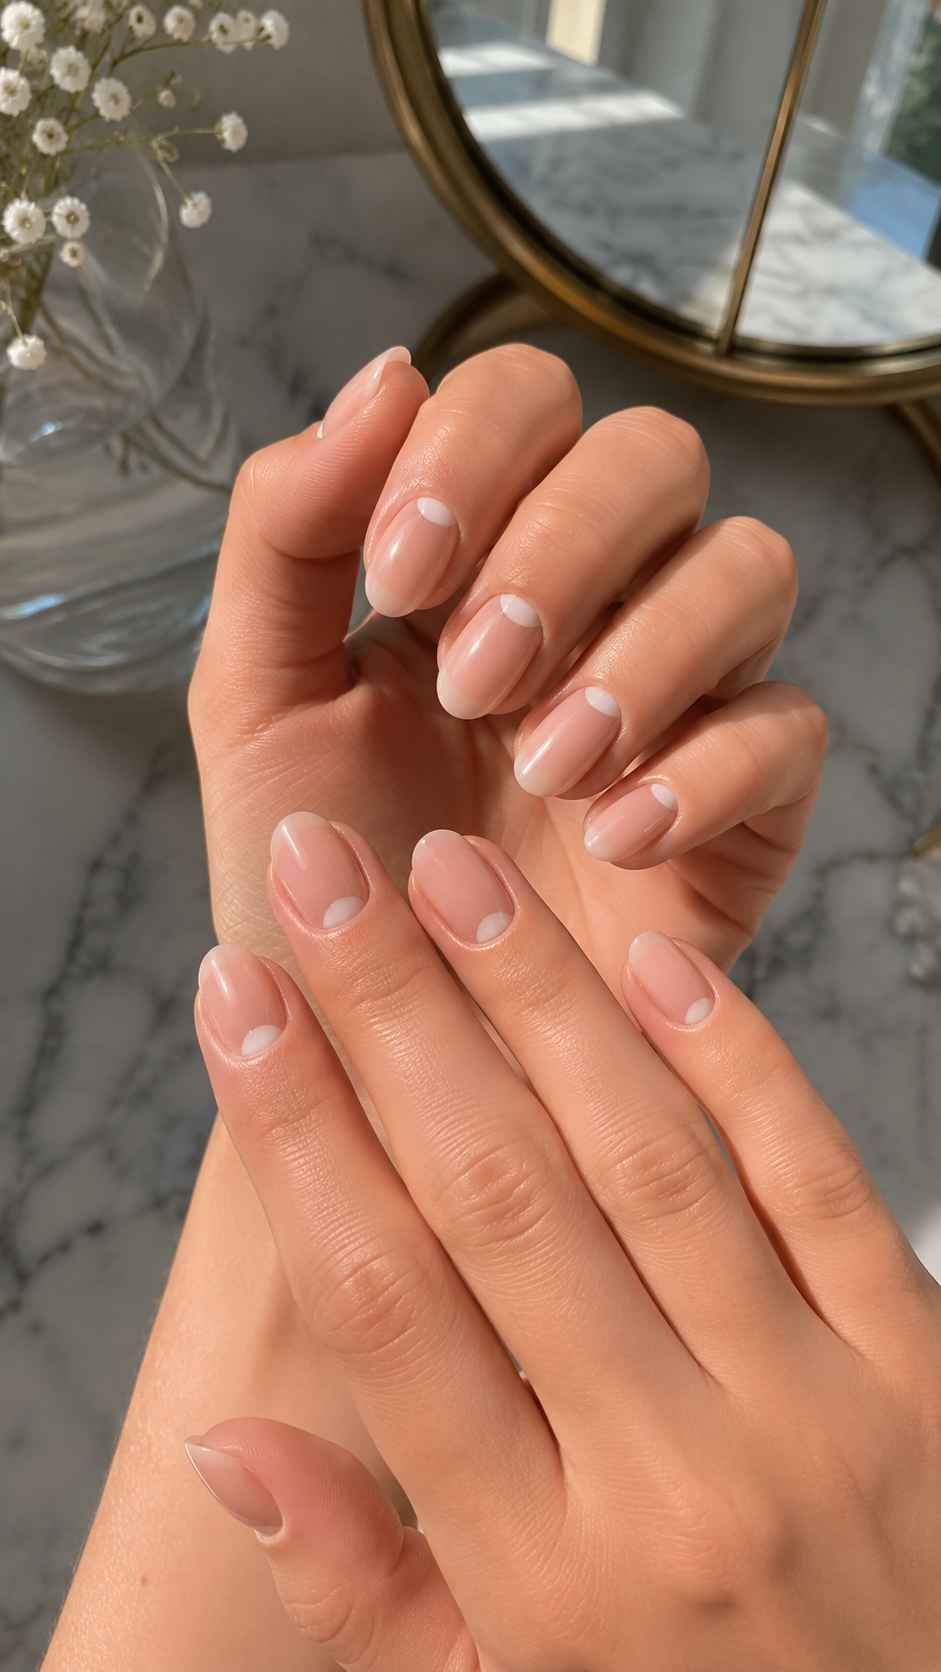
Lunula nail art turns the curved area near the cuticle into the main feature. Since many manicures decorate the tips, this lower placement feels distinctive. Highlighting the half moon can balance short nails and frame stronger colors with open space. The curve may be filled, outlined, doubled, or contrasted with another finish.
Cobalt Half Moons Beneath Clear Gloss
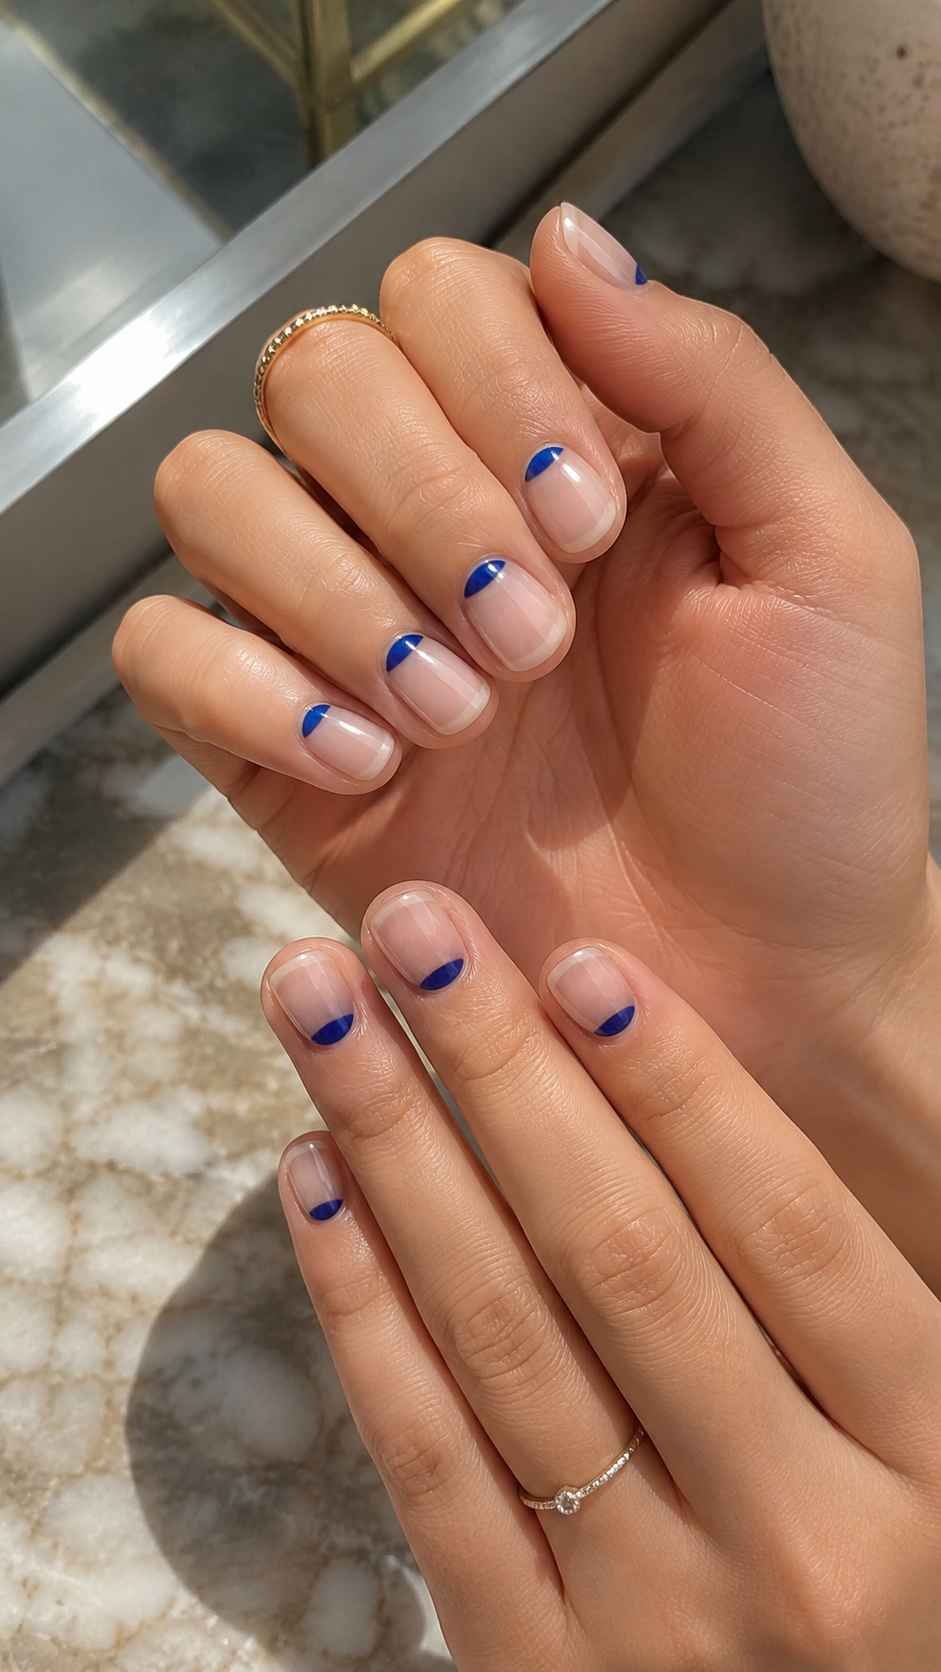
Leave the nail transparent and paint a compact cobalt crescent directly above the cuticle. Follow the natural curve without extending too far upward. The concentrated color gives the manicure strength while preserving plenty of clear space. Short round nails suit this design because the lower crescent echoes the curved tip and creates visual balance between both ends.
Pearl White Arches Over Milky Beige
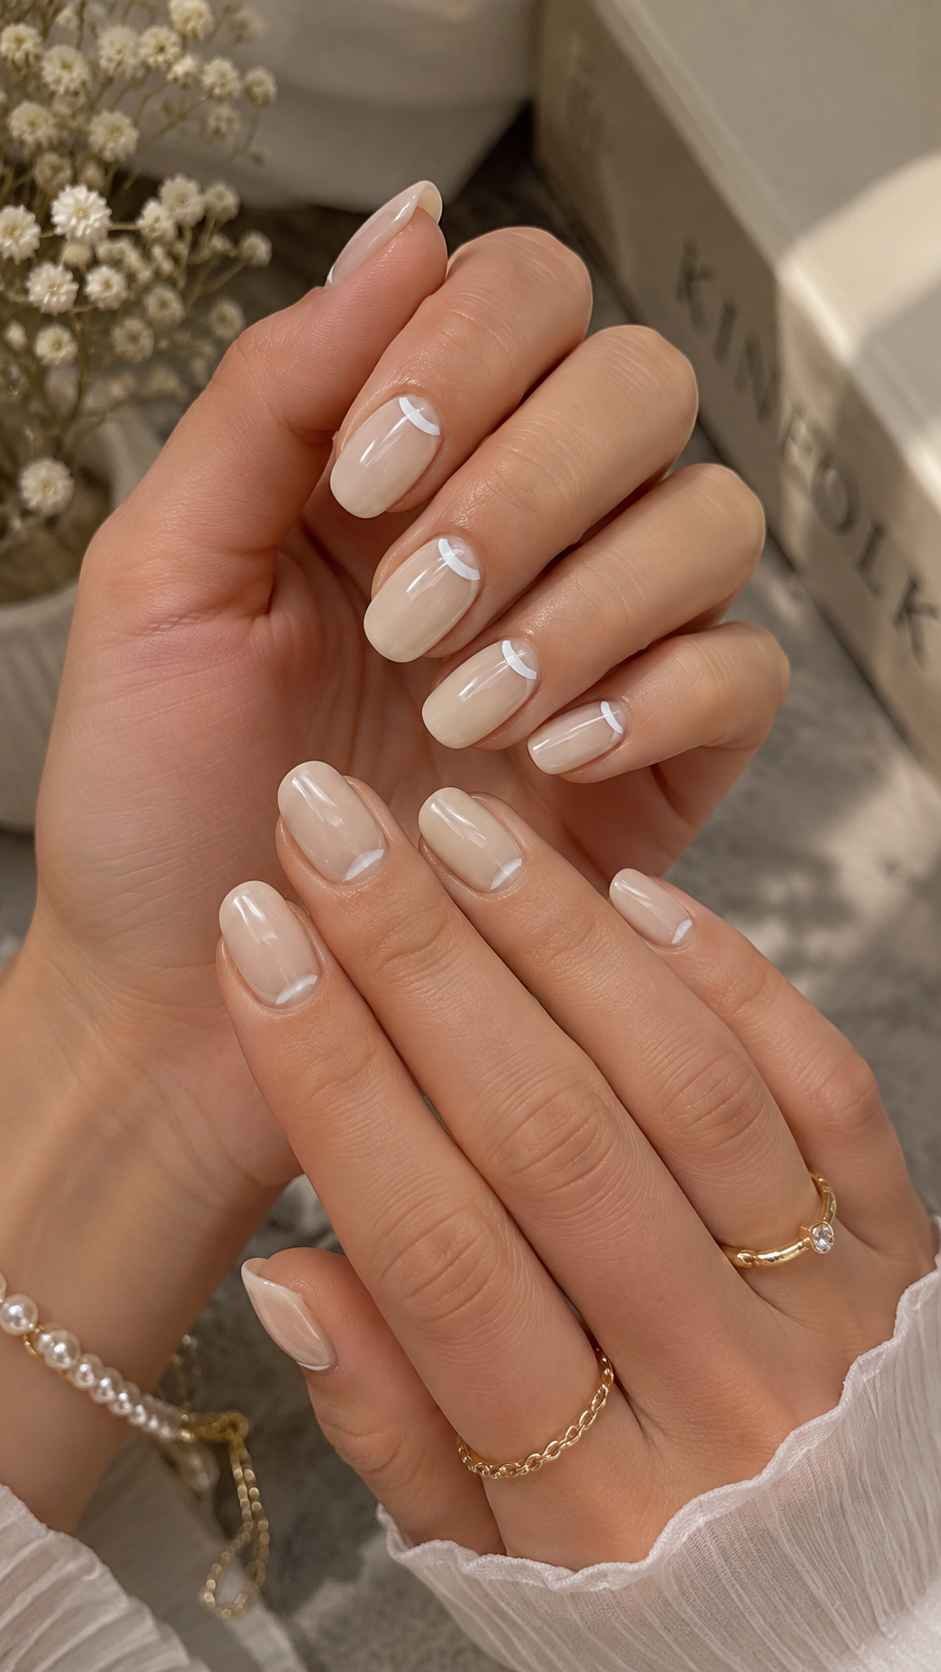
Cover the nails with milky beige, then trace each lunula using a slim pearl white arch. Do not fill the entire half moon. The fine reflective curve adds a jewelry like detail without introducing bold color. Keep the arches consistent and delicate. This manicure works well with professional outfits, formal styling, and neutral wardrobes because it looks polished but never plain.
Double Crescent Nails in Plum and Lilac
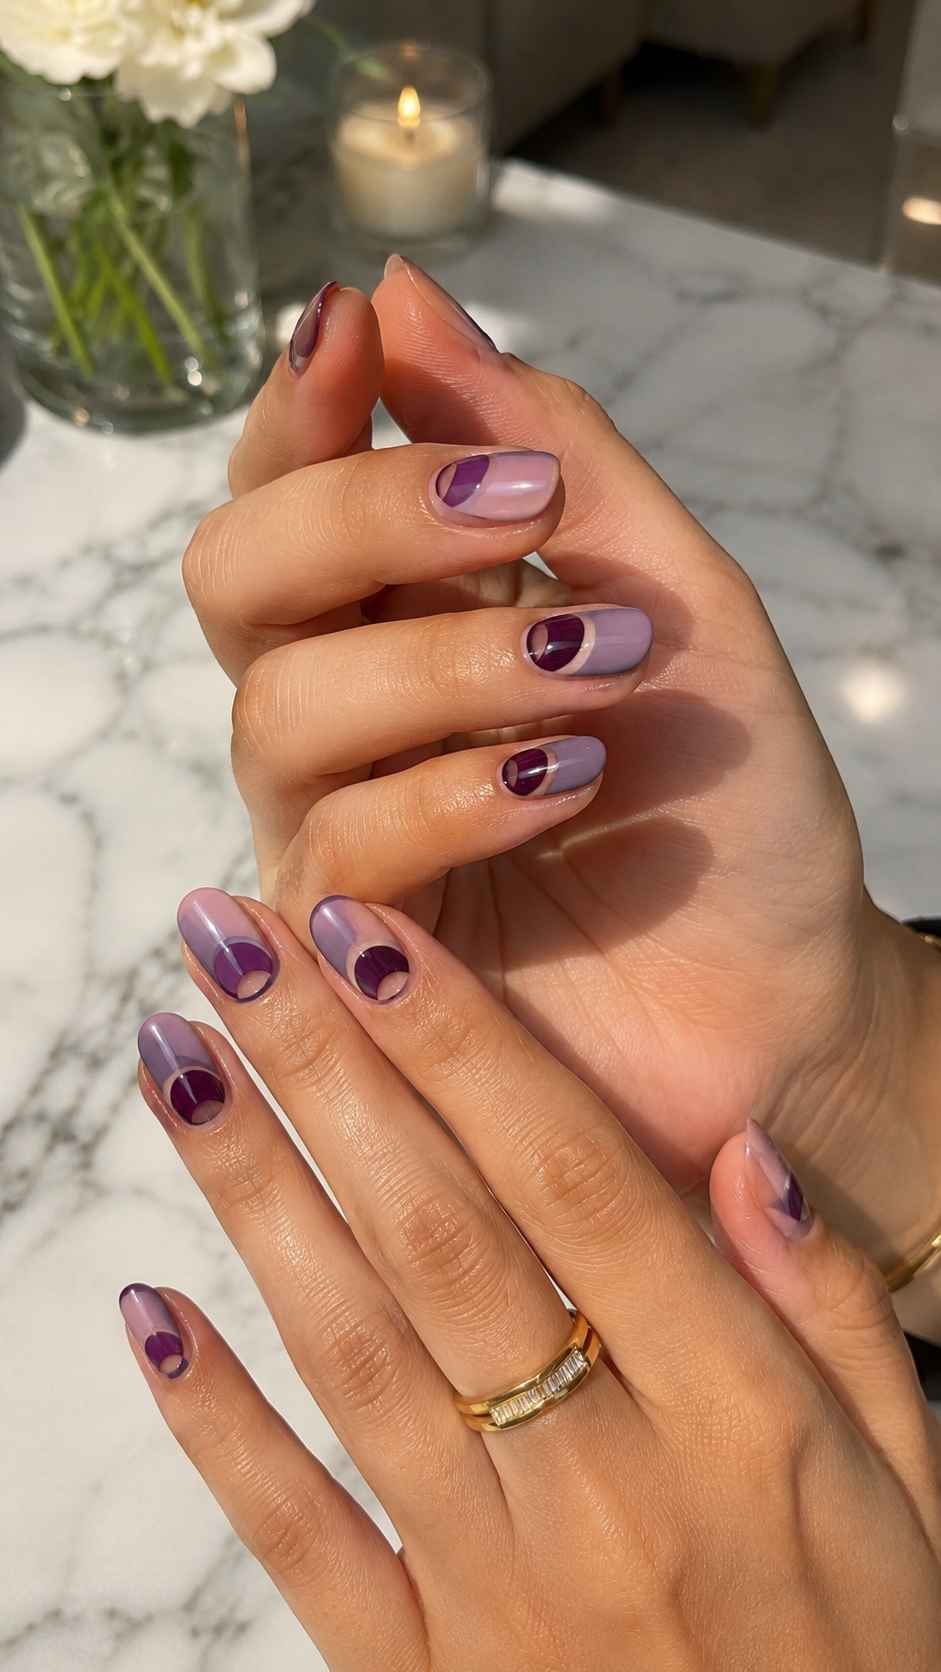
Create two narrow crescents above the cuticle, placing deep plum closest to the base and soft lilac above it. Leave a tiny line of natural color between both curves so the layers remain distinct. Apply the same arrangement across the set, then reverse the color order on two accent fingers. A glossy nude background makes both purple shades appear rich and clear.
Ribbon Swirl Nails With Controlled Color Movement
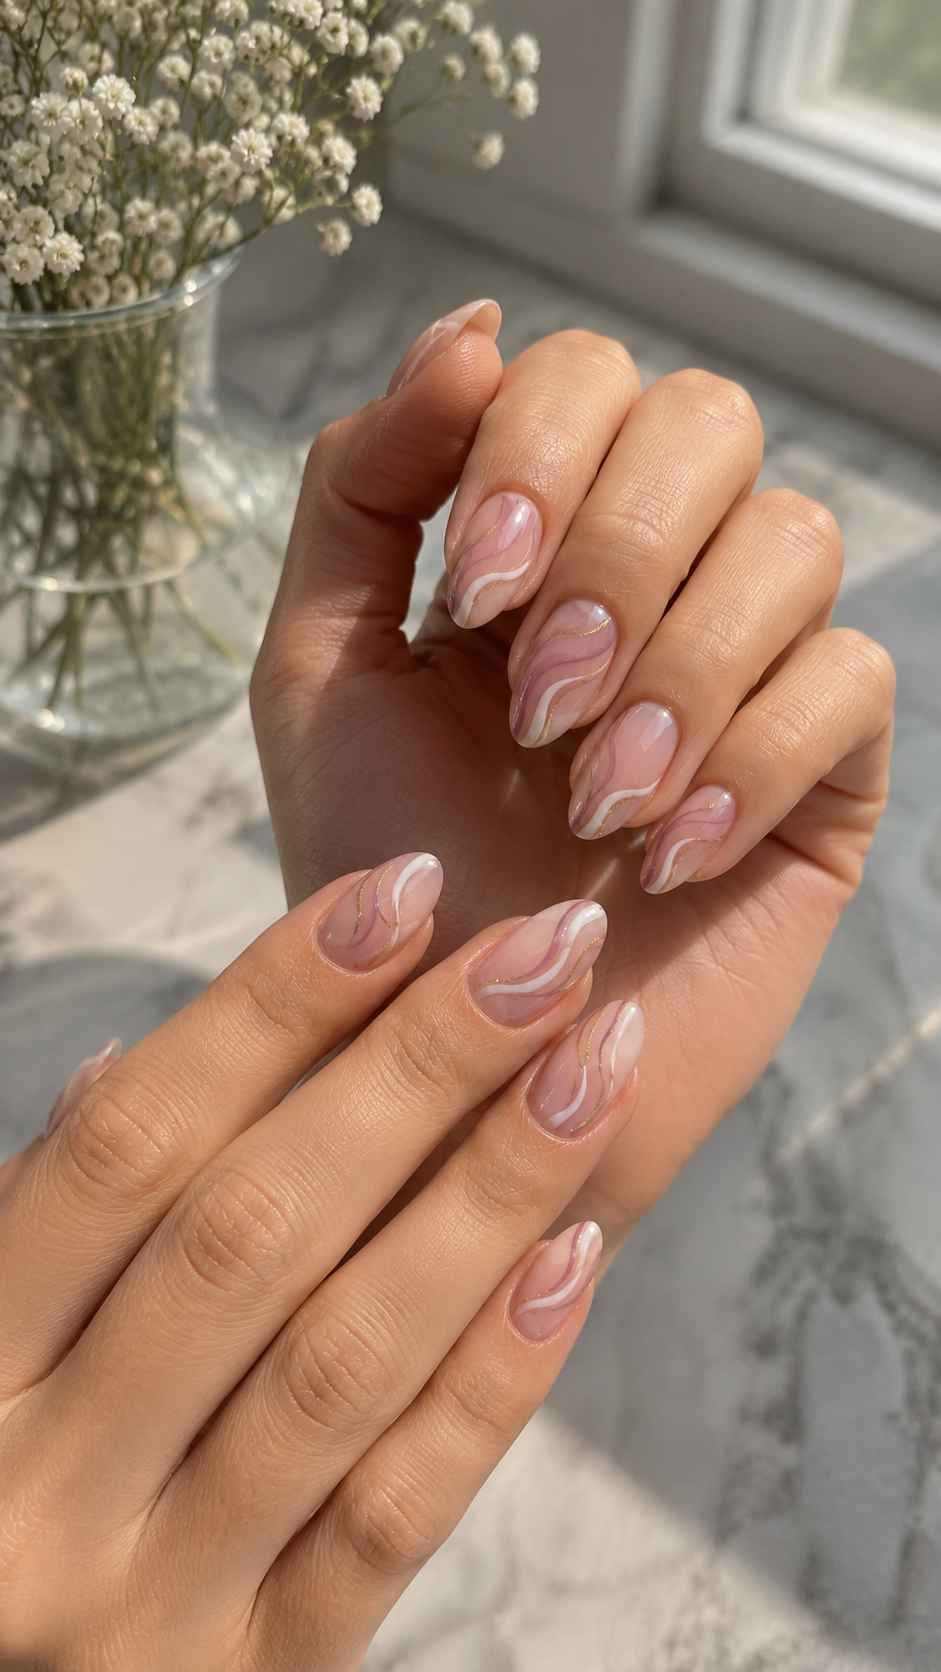
Ribbon swirl nails use fluid lines without covering the entire surface. Each curve should resemble a strip of color moving across the nail, surrounded by enough open space for clarity. Medium oval and almond nails allow longer movement, while short nails can carry one diagonal ribbon. Smooth thickness and careful spacing keep the design controlled.
Pink Lemonade Ribbons on a Sheer Base
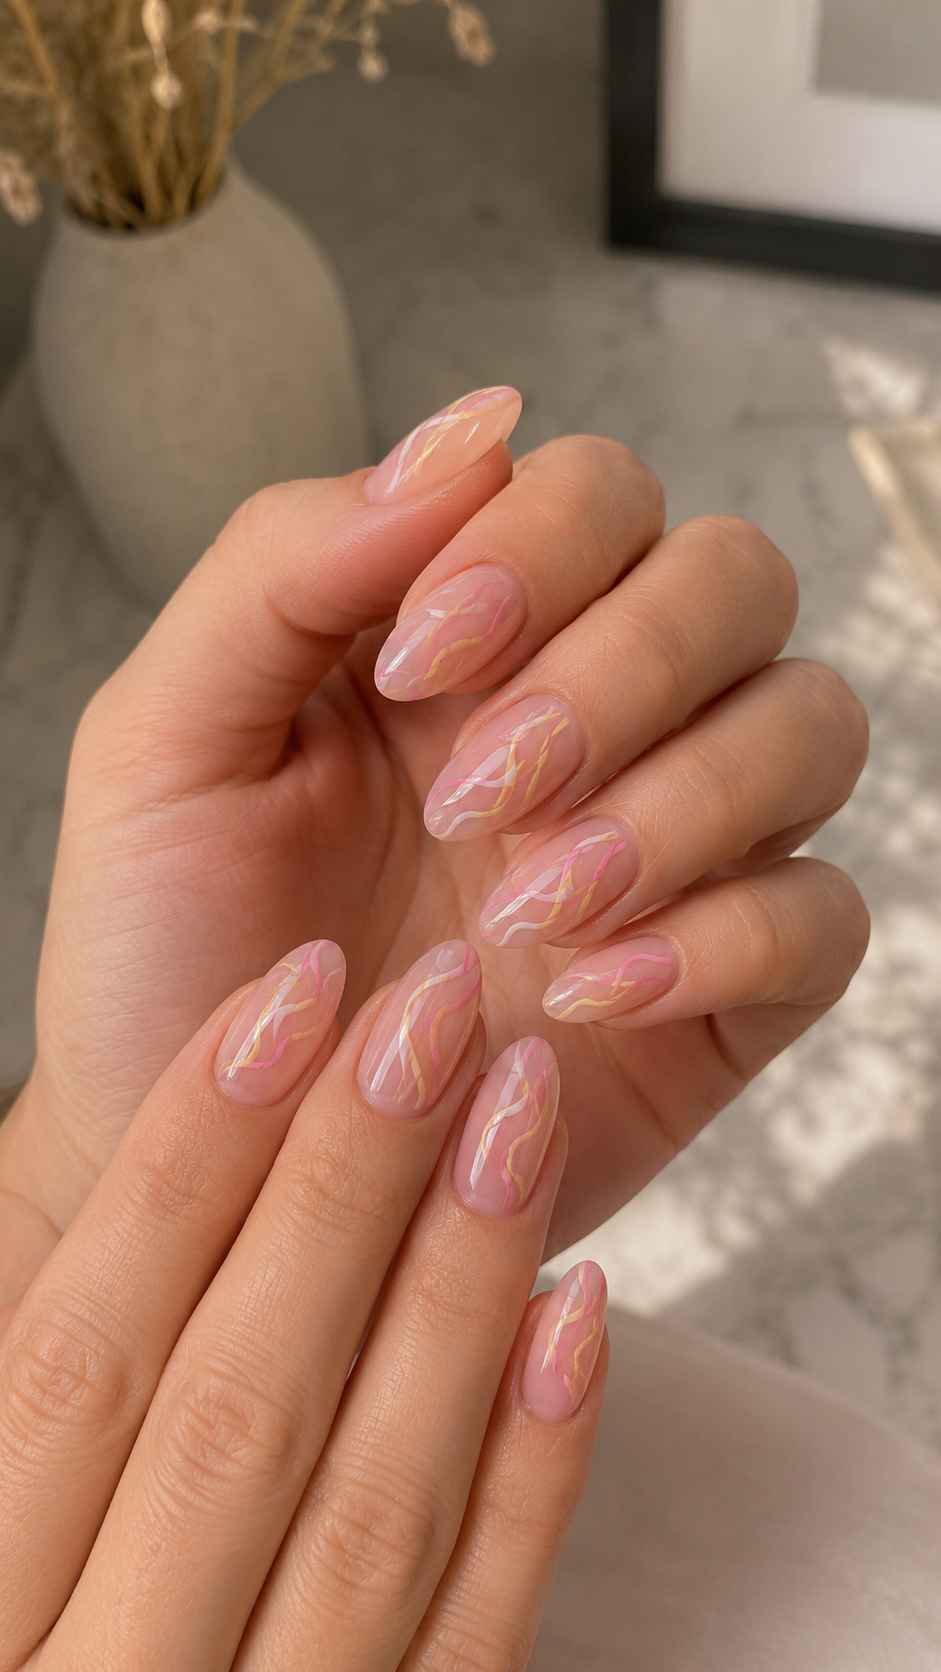
Paint slim hot pink and lemon yellow ribbons that cross once near the center. Leave a little space between the shades through most of the design so each one remains visible. A transparent pink base softens their brightness. Change the crossing direction on every finger, then seal everything with a glossy top layer for a smooth candy inspired finish.
Turquoise and Coral Coastal Curves
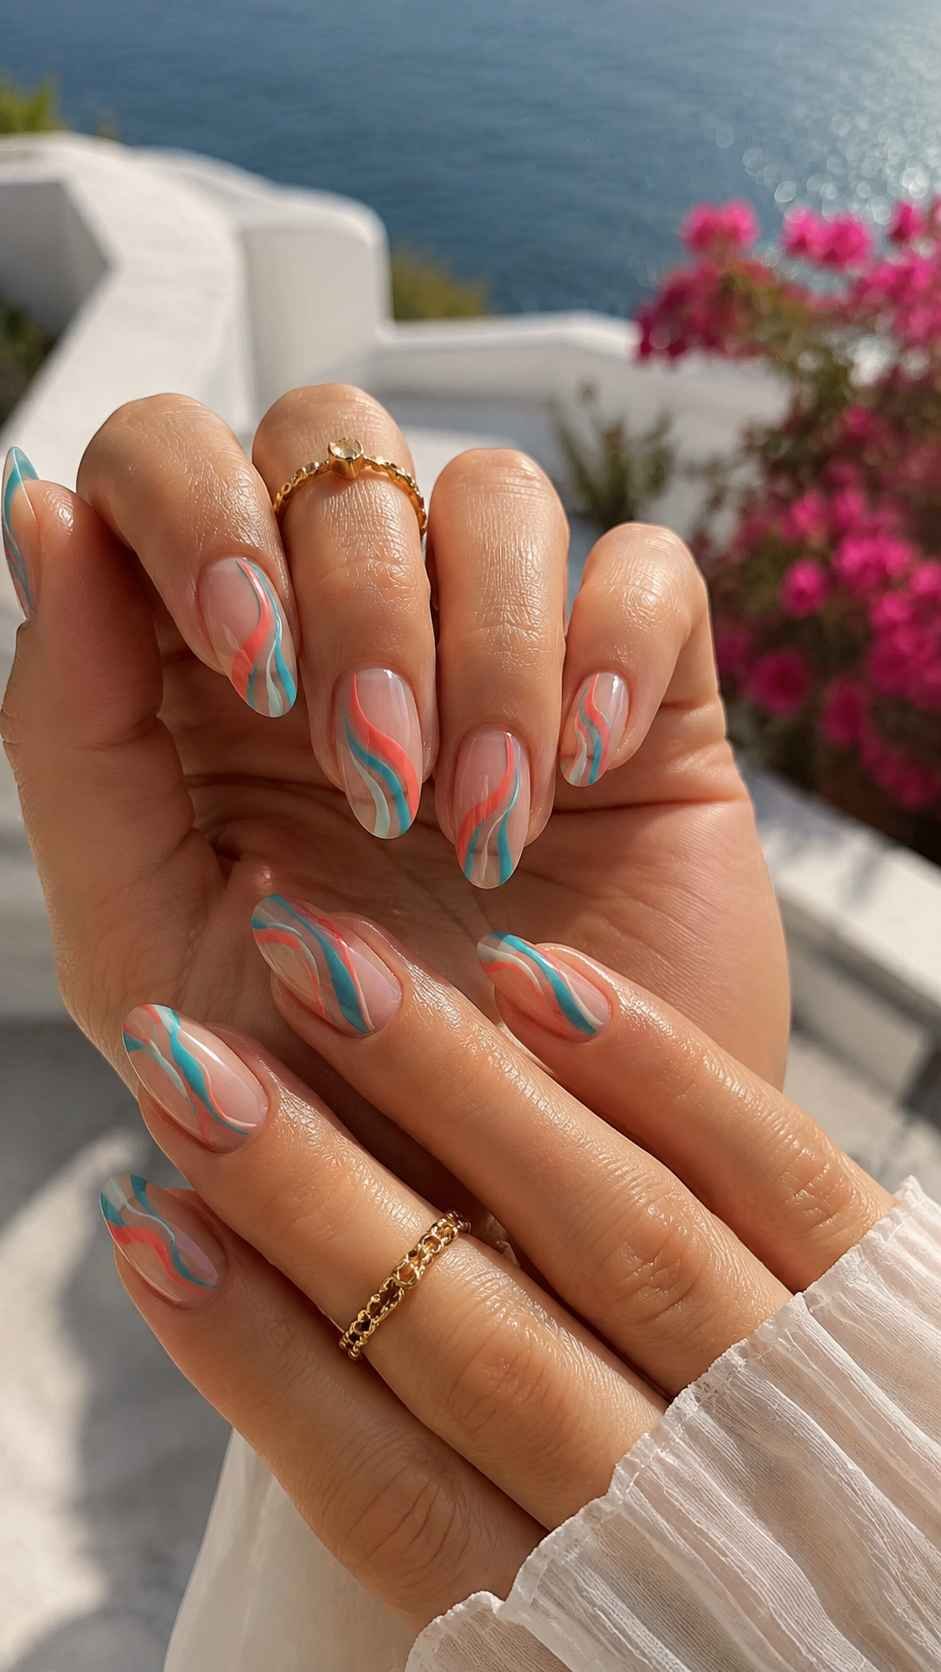
Sweep turquoise and coral lines from one side of the nail toward the opposite tip. Add a narrow cream curve between them to create separation and improve definition. Keep two fingers simpler with only one turquoise stroke, giving the set breathing room. Rounded square nails provide enough width for the design while remaining practical for everyday styling and routines.
Chocolate and Blush Satin Waves
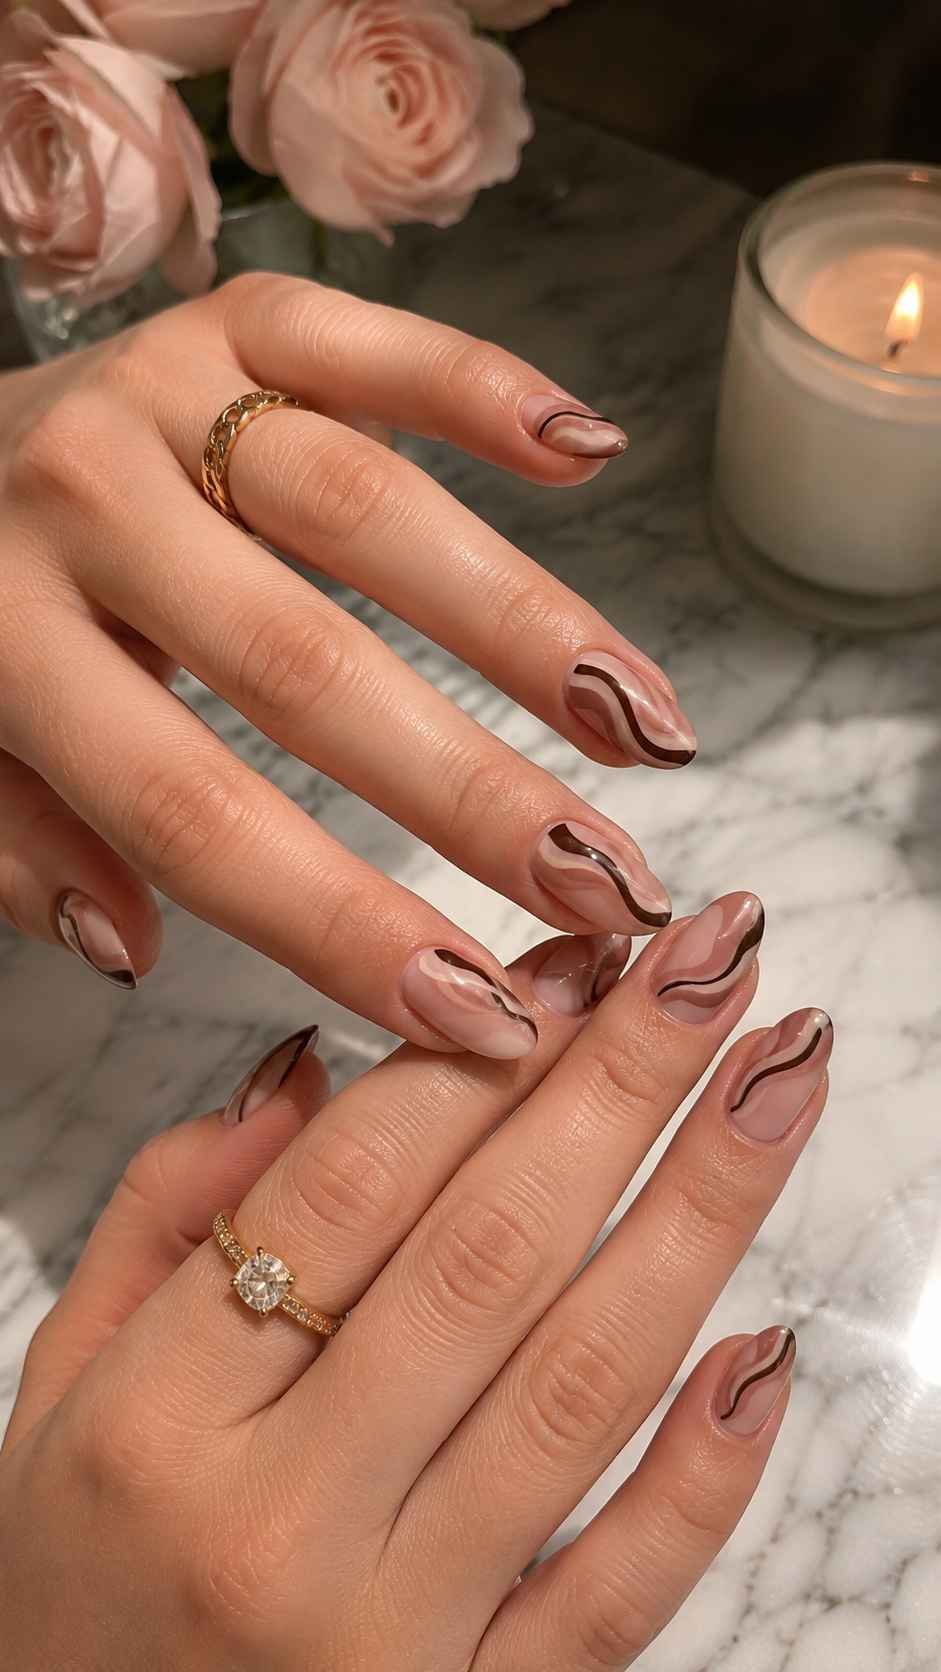
Paint broad chocolate and blush waves over a sheer beige base, then use a satin finish instead of intense gloss. Limit each nail to two main curves so the neutral palette remains calm and composed. Add one fine pearl line beside the blush wave on an accent finger. This small reflective detail brings light without changing the manicure’s soft character.
Find the Nail Idea That Feels Like You
The best manicure is the one that fits your routine, preferred length, outfits, and confidence. Save the colors and placements that attract you, then notice whether you prefer transparent depth, bold borders, tiny artwork, or flowing movement. You can also combine elements thoughtfully, such as sorbet tips with micro dots or crystal edges with lunula accents. Explore related nail color, shape, short manicure, and seasonal styling articles to build a collection worth bringing to future appointments.
